
Introduction
Noctua originates from a collaboration between the Austrian Rascom Computer distribution Ges.m.b.H. and the Taiwanese cooling specialist Kolink International Corporation, pooling more than thirty years of experience in the development, manufacturing, and marketing of high-end cooling components. Established in 2005, Noctua took international silent enthusiasts’ hearts by storm and quickly developed into one of the most acclaimed suppliers of premium quality quiet cooling products. Today, Noctua is present in more than 30 countries across the globe and working with several hundred sales partners. Chosen by noise-conscious PC users, system integrators and industry clients alike, Noctua has become synonymous with impeccable quality, excellent customer service, and class-leading quiet cooling performance.
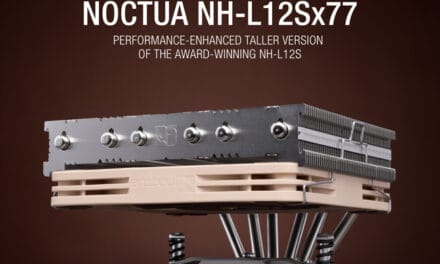
Earlier I have reviewed the Noctua NH-L12S a low profile CPU Cooler which stands out the competition on my test bench. This time, Noctua has sent me their compact, low profile NH-L9x65 CPU Cooler for the review. It has a height of just 65mm. Taking upon the NH-L9 the NH-L9x65 further enhances the performance from going to the 65mm from the 37mm in height and incorporating 4 heat pipes instead of the 2. It has smaller footprint with just 95x95mm but has increased the performance many folds. How did this cooler perform? Let’s take a look.
Item: NH-L9x65
Manufacturer: Noctua
Price: UK £39.99 / USD 49.95 [At the time of the review]
Specifications

Packaging and Unboxing
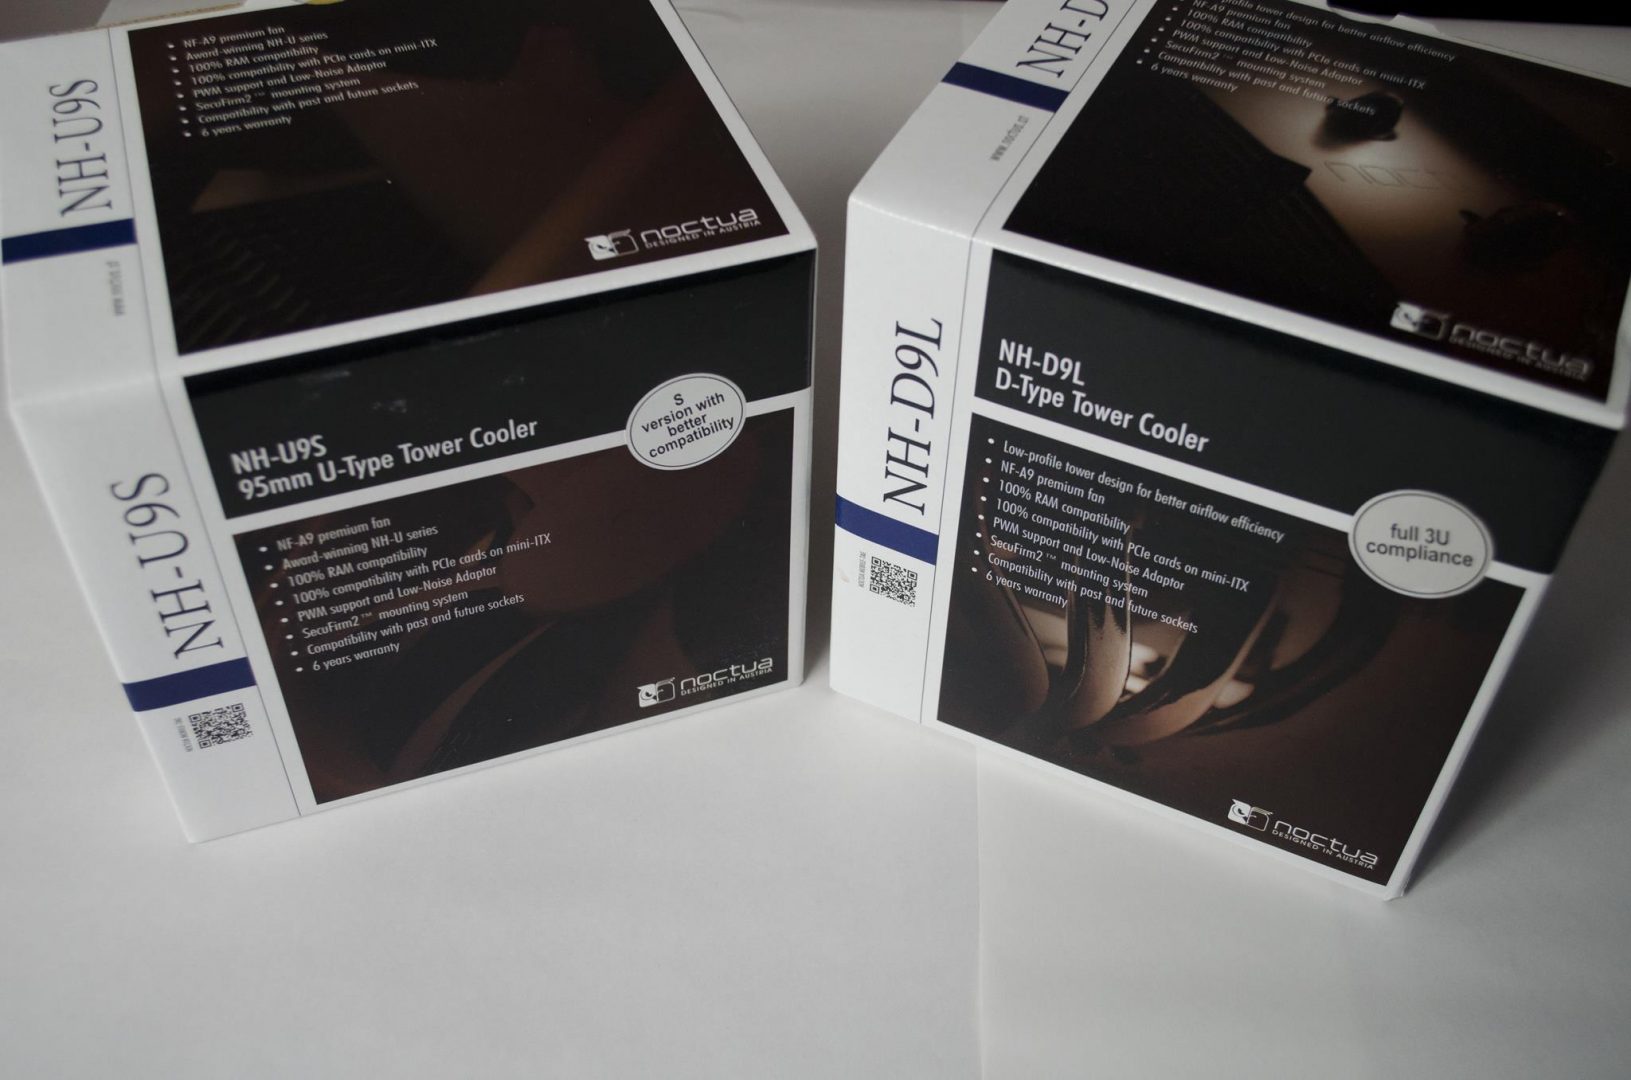
The Noctua NH-L9x65 comes in a standard Noctua style and colored cardboard box packing. The front side has the cooler’s model printed on the top of the box. It is an L-Type Low-Profile CPU Cooler. Salient features of the cooler are printed under the model no. A silver stamped sticker is pasted on the right side mentioning that it is a performance enhanced version of the award-winning NH-L9. The cooler’s model is printed on the left side in vertical layout. Noctua brand name and logo are printed on the bottom right side.

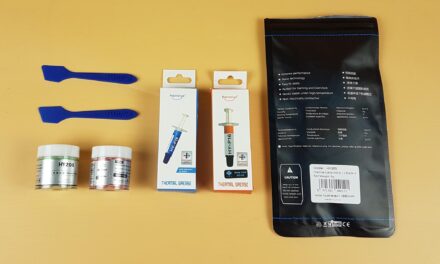
The left side of the packing box highlights the salient features along with the diagram on the main section. The cooler comes with the Noctua’s premium thermal paste NT-H1 and features the legendary mounting mechanism i.e SecuFirm2. This cooler has outstanding compatibility out of the box. It will be covered later in the Compatibility section. The cooler’s model is printed on the right side in vertical layout.

The right side of the packing box has the specifications of the cooler and the fan printed on it. The EAN and the UPC labels are printed on the right side. The cooler is made in Taiwan. Tow diagrams are printed on the bottom right side highlighting the dimensions of the cooler.

The backside of the packing box has the cooler’s highlights printed in the 8 different languages.

The top cover of the packing box has the cooler’s model printed on the left side in the vertical layout. The salient features are printed in the main section. The Noctua brand name and the logo are printed on the bottom right side.

The contents of the parcel are placed inside two recycled cardboard boxes. When we open the box, there is an accessory and hardware box placed on the top side. Taking it out would reveal the cooler nicely tucked inside the rugged packing which is the Noctua’s standard and I really appreciate Noctua for this level of protection being provided through their packing.


Let’s open the accessory box. It has three sections which is the typical Noctua layout. The left side has the common parts like the screwdriver, thermal paste, and a low noise adapter. The right side has two sections. Top one contains the Intel mounting hardware and the bottom section has the AMD mounting hardware. There are 3 manuals. One is for the AMD, one is for the Intel LGA 2011(3) and the last one is for the Intel LGA-115(x). Manuals are very well laid out and provide pictorial information on how to install the cooler.


Accessories
Accessories include: –
- 2x NM-AMB1 Mounting Bars
- 4x NM-ALS1 Screws
- 4x NM-APS1 Plastic Spacer
- 2x NM-IMB2 Mounting Bars
- 4x NM-IBT2 Bolts
- 4x NM-ITS1 Thumbscrews
- 1x NM-IBP2 Backplate
- 4x NM-IPS1 Spacers
- 1x NT-H1 Thermalpaste
- 1x Screw Driver
- 1x NA-RC7 LN Adapter
NH-L9x65 Closer Look
The NH-L9x65 is a taller, performance enhanced version of the award-winning NH-L9 CPU Cooler. It takes the height of the cooler to the 65mm from the 37mm and has 4 heat pipes as compared to the 2 on the NH-L9. All this with just 95×95 area making it a smaller footprint which packs quite a punch to deliver. It comes with the optimized NF-A9x14 premium fan. Please note that x14 here indicates the height of the fan. In this case, it is 14mm.


Let’s take a look at the heatsink from the top side. It has 49 fins which are joined from two sides. Our sample has the assembly of few fins broken from the front side though it would not impact the performance at all. There is a cut-out section in the middle of the heatsink from both edges. Spring-loaded screws are visible in these cut-out areas. This is done to help with the installation of the heatsink. The dimensions of the heatsink only (not incorporating the heatpipes) from this side are 82mmx95mm.

The front side of the heatsink has the Noctua’s brand name and the logo embossed in the fin. You will immediately spot the unique design of this cooler. It has 4 heat pipes. Two of these heat pipes are terminating at this side of the heatsink while the other two terminate on the rear side of the heatsink. By going this route, Noctua has achieved more compatibility clearance and this makes the heatsink almost identical from either side so mounting considerations are eased out. The dimensions on this side are 34mmx95mm.

The rear side of the heatsink has the same layout as on the front side except that there is no Noctua brand name or the logo here. The fins assembly joints are protruding from the edges. The dimensions of this side are 34mmx95mm.

The left and the right sides of the heatsinks are identical. They have 3 layered style on the fins which help with the air flow and the drag on the edges. The cut-out section and the spring loaded screw are visible in the middle. The dimensions of these sides are same which are 81mmx34mm.


Let’s take a look at the bottom side of the heatsink. The underneath of the base and the mounting block we have the same layout as is on the top side of the heatsink with the same dimensions i.e 82mmx95mm. The cooler has a copper base plate which is nickel plated. It has the dimension of 38mmx40mm. There are total 4 heat pipes made of copper and nickel plated. They are 6mm thick. The traditional approach in implementing the heatpipes is that they are soldered in the base block area with one side terminates on the base area while the other side terminates on the top side of the heatsink. All heatpipes follow this pattern. Noctua has taken a different approach with the heatpipes implementation on this cooler. Two heatpipes terminate on one side while the other two terminate on the other side with interweaving pattern. So, we have L-type cooler effectively from either side we take it. Notice that there is a gap of few millimeters between the block and the heatsink.


Noctua has supplied their premium NF-A9x14 fan with this cooler. This fan has the dimensions of the 92x92x14mm. The user can also mount 92x92x25mm fan on this heatsink. This fan has the Noctua’s legendary SSO2 bearing.

The fan bears SSO2 bearing which is Noctua’s own design. The self-stabilizing oil-pressure bearing (SSO-Bearing) system has always been at the heart of Noctua’s award-winning premium fans. SSO combines the proven concept of oil-based hydrodynamic bearings with an additional magnet that supports the self-stabilization of the rotor axis. Due to the axis being stabilized by the magnetic field, Noctua’s SSO Bearing achieves higher precision and better longevity than conventional ball-, sleeve- or hydrodynamic bearings. SSO2 is the further optimized second generation of SSO. Made possible by the use of metal bearing shells and new injection molding techniques, the magnet is now placed closer to the rotor axis and thus exerts higher magnetic force to it. This results in even better stabilization, precision, and durability.

The fan has a maximum speed of the 2500 ±10% RPM. With LNA, this speed is 1800 ±10% RPM. Maximum static pressure is 2.11 mmH₂O. With LNA the static pressure is 1.06 mmH₂O. The fan takes input power of the 2.52W with the 12V DC. The maximum airflow is 33.86 CFM. With LNA it is 24.03 CFM. Maximum acoustical noise is 23.6 dBA. With LNA it is 14.8 dBA. The fan has a 4 pin PWM connector. The cable’s length is approximately 210mm. It comes in a typical brown color scheme. There are rubber mounts on the mounting holes to prevent the vibration noise. There is a 4-arm assembly on the backside holding the motor hub and connecting it to the mainframe. Quality is top notch as is the case with the Noctua’s products. There is a sticker on the backside of the fan. It has Noctua brand name and the logo printed on it. The fan is connected using two metal clips. There is no push/pull option with this cooler.
Installation
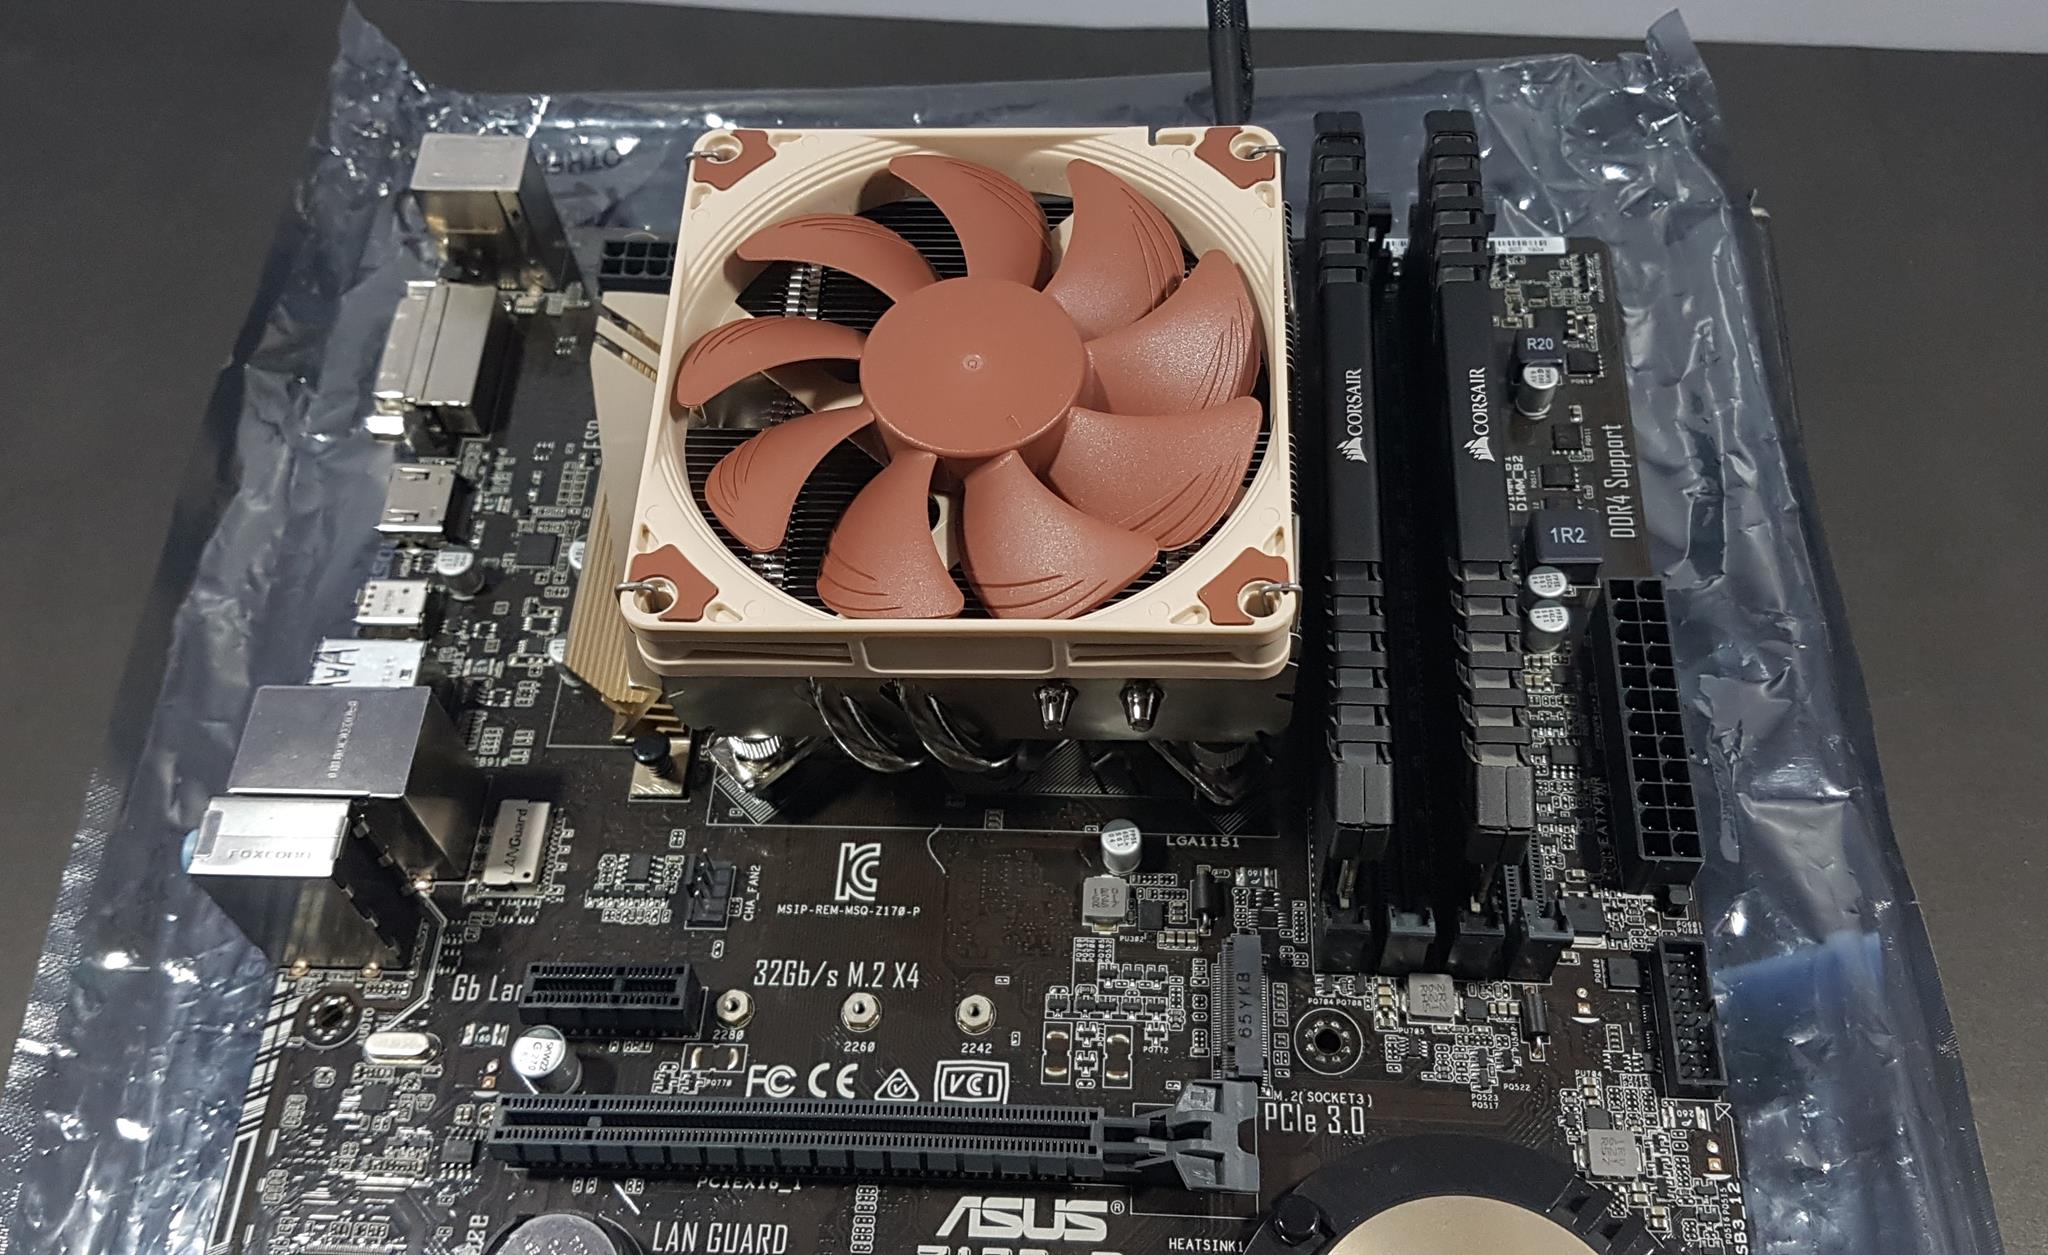
The cooler was tested on the LGA-1151 using Intel i7 7700k and Asus Z170-P. Place the Intel backplate on the backside of the motherboard by matching the holes on the backplate with three screws coming out of the socket mounting.

Put the black color spacers on each of the screws of the backplate from the front side of the motherboard.

Decide the orientation of the cooler then place the mounting bars accordingly. Do it so that the raised part of the central edge faces outwards.

Use the thumbscrews to secure the mounting bars with the backplate.

Apply the thermal paste. Place the cooler on the top of the IHS by aligning the spring-loaded screws with the standoffs on the mounting bars. Start screwing in the spring-loaded screws with few torques on each one at a time to ensure the even pressure and correct installation. Install the fan using the two metal clips. Connect the 4-pin connector on the CPU fan header or any other header of your choice. This would complete the installation.

Compatibility and the Clearance
This cooler is intended for the SFF or HTPC form factor builds though not limited to them only. We need to know if it has enough clearance for the RAM, PCIe slot and the VRM heatsink covers on the motherboard.
This cooler has the height of the 65mm with the fan making it compatible with the majority of the SFF/HTPC PC Chassis. Unfortunately, I don’t have mini-ITX motherboard so it was tested on the standard ATX board. I did not see any clearance issue with respect to the first PCIe slot. Also, there is no RAM incompatibility in any orientation.
On this board, I did not encounter any clearance issue with the heatsink cover on the motherboard but the boards with the taller covers and compacted space, installing the cooler with the heatpipe sides may give hindrance.


Test Bench
The following test bench was used to test the cooler:
- Intel i7 7700k [Thanks to the PCFanatics]
- Asus Z170-P [Thanks to the PCFanatics]
- Corsair 2x8GB Vengeance Red LED @ 2666MHz
- HyperX 120GB SSD
- Thermaltake TP DPS RGB 750W PSU [Thanks to the Thermaltake]
Asus Realbench 2.44 and the RealTemp 3.70 are used for the stress test and the temperature monitoring. The Noctua NT-H1 thermal paste is used to test all the coolers on my test benches. This helps ensure the standardization and to reduce the effect of any bundled thermal paste that could benefit the performance.
Methodology
First, the cooler is tested on the stock clocks i.e 4.2GHz at manual 1.16V Vcore. The average of the core temps is calculated to provide the temps at idle and under the load. The ambient temps are subtracted from these temperature readings to give the delta temps. My graphs report the delta temps. This helps in an uncontrolled environment to mitigate the temperature variation.
Next, the CPU is overclocked to 4.7GHz using manual 1.22V VCore. Three runs of the stress test program are carried out. The average of each run is separately taken and the highest reading of the three tests is used. Ambient temperatures are subtracted from the selected average temperature reading and delta temperature is reported on the graph. Each run was of 60 minutes.
I have categorized the low-profile coolers in the two categories on my test bench. These are Non-Compact, Low-Profile CPU Coolers and the Compact, Low-Profile Coolers. The NH-L9x65 falls in the Compact, Low-Profile CPU Coolers against the likes of the Reeven Brontes and the SilverStone AR-06.
Without a further due, let’s take a look at the results.
Results
On stock testing, the Noctua NH-L9x65 has topped in the category of the compact low-profile coolers competing against the likes of the Reeven Brontes and the SilverStone AR06. Though the difference with the other coolers is 1.5°C and 2°C.

With overclocking, the NH-L9x65 again came out as the winner in the compact, low profile coolers category with the temp of 61.5°C. The difference with the other coolers is 2.1°C and the 3.55°C which speaks for itself.

Maximum noise level on the NF-A9x14 at the full speed is 28 dBA which is still good though higher than the rated one. No surprise if the top two slots are being taken by the Noctua fans.

Conclusion
Noctua has provided an ultimate cooling solution in the form of their premium NH-L9x65 cooler in the category of the compact, low-profile ones. It is based on their legendary NH-L9 cooler. Not only this cooler has continued the legacy of the NH-L9 but also provides better clearance and cooling potential. It has 4 heat pipes each of 6mm thickness making a linear contact with the fin stacks. The base and the heat pipes are copper made with a nickel coating. The heatsink has 49 aluminum fins on it. Noctua has clearly specified that this cooler is intended for the SFF/HTPC builds and that its rated TDP is 84W so overclocking on it is not recommended. Still, I put the cooler to the challenge and tested it with overclocking the 7700k. The heatsink has the dimensions of the 95x95x51mm without a fan. With fan it is 95x95x65mm. Noctua has implemented the heatpipes in quite an innovative manner to provide the best cooling with the highest level of the clearance for the RAM and PCIe slot. Instead of terminating 4 heatpipes on one side of the heat sink, two are terminated on each side making both sides identical.
Noctua has provided an NF-A9x14 PWM fan which is a 14mm slim-profile fan. The fan has the maximum speed of the 2500 ±10% RPM. With LNA, this speed is 1800 ±10% RPM. Maximum static pressure is 2.11 mmH₂O. With LNA the static pressure is 1.06 mmH₂O. The fan takes input power of the 2.52W with the 12V DC. The maximum airflow is 33.86 CFM. With LNA it is 24.03 CFM. Maximum acoustical noise is 23.6 dBA. With LNA it is 14.8 dBA. The fan has a 4 pin PWM connector. The cable’s length is approximately 210mm. It comes in a typical brown color scheme. This fan has Noctua’s SSO2 bearings. SSO2 is the further optimised second generation of SSO. Made possible by the use of metal bearing shells and new injection molding techniques, the magnet is now placed closer to the rotor axis and thus exerts higher magnetic force to it. This results in even better stabilization, precision, and durability. Noctua has bundled a plethora of accessories with the cooler. They have provided a Low Noise Adapter, their legendary NT-H1 thermal compound, three users guides (AMD, Intel 2011, Intel 115x/755) and even a screwdriver. And did I forget to mention that this cooler has 6 years warranty!
Being a low-profile, this cooler is targeted for the SFF/HTPC builds. It has a height of 65mm with a fan. The cooler has no RAM incompatibility. For 90 degree mounting, raised IO cover can hinder the installation. Other than that, I have no other observation to report.
I have categorized the low-profile coolers in the two categories on my test bench. These are Non-Compact, Low-Profile CPU Coolers and the Compact, Low-Profile Coolers. The NH-L9x65 falls in the Compact, Low-Profile CPU Coolers against the likes of the Reeven Brontes and the SilverStone AR-06.
Value
The price of the Noctua NH-L9x65 at the time of this review is $49.95. The Reeven Brontes is listed at $36.49 and the SilverStone AR-06 is listed at $39.99. This makes the Noctua NH-L9x65 less Value oriented.
Performance
Five low profile coolers were tested with the same configuration on my test bench. The Noctua NH-L9x65 has emerged as a winner in the category of the compact, low profile coolers with the other contenders being the SilverStone AR06 and the Reeven Brontes.
All the coolers were put to cool the hot-headed i7 7700k chip. My chip has poor thermals on it out of the box so I would not be blaming the coolers entirely if the temperature is high as even the Noctua NH-D15 and the Reeven Naia 240 have struggled to keep the temperatures in check.
It is really up to the users to decide if they are willing to pay more for the performance improvement of up to 3°C. Taking in due consideration of 84W rated TDP, comfortable acoustics level even at 100% RPM and excellent thermal performance in the given pool of the coolers despite being a little pricey, the Noctua NH-L12S has won our Performance award.

I am thankful to the Noctua for giving me the opportunity to review their NH-L9x65.


