
Introduction
- Manufacturer: Kolink
- Model: Aviator V
- Purchase: £46.99 At the time of review from Overclockers UK
Kolink may not be a brand you have heard of before but they are well worth looking into. Kolink currently offers an arsenal of gaming grade PC products focused at those who are more budget conscious. Focusing mainly on Cases and Power Supplies, Kolink is definitely starting to make a name for themselves. While their cases look to be catering to the ‘Gaming Market’ they don’t look overly gimmicky and most of them are quite tasteful. Most of their power supplies feature an all black exterior while most of their cases are black and feature either red or blue accenting and LED fans.
Today, we will be taking a look at the Kolink Aviator V case. The Aviator V features a massive acrylic side panel that is held on with four screws and offers a full view of everything inside. It also features toolless drive installation, a pair of front intake red LED fans, USB 3.0 and USB 2.0 ports and it even has an inbuilt card reader. Remembering that the price is only around £47 here in the UK, Kolink surely is offering some great features for the price. Can Kolink capture the budget friendly gamer’s heart with their Aviator V? Well, let’s take a closer look and see for ourselves!
Closer Look
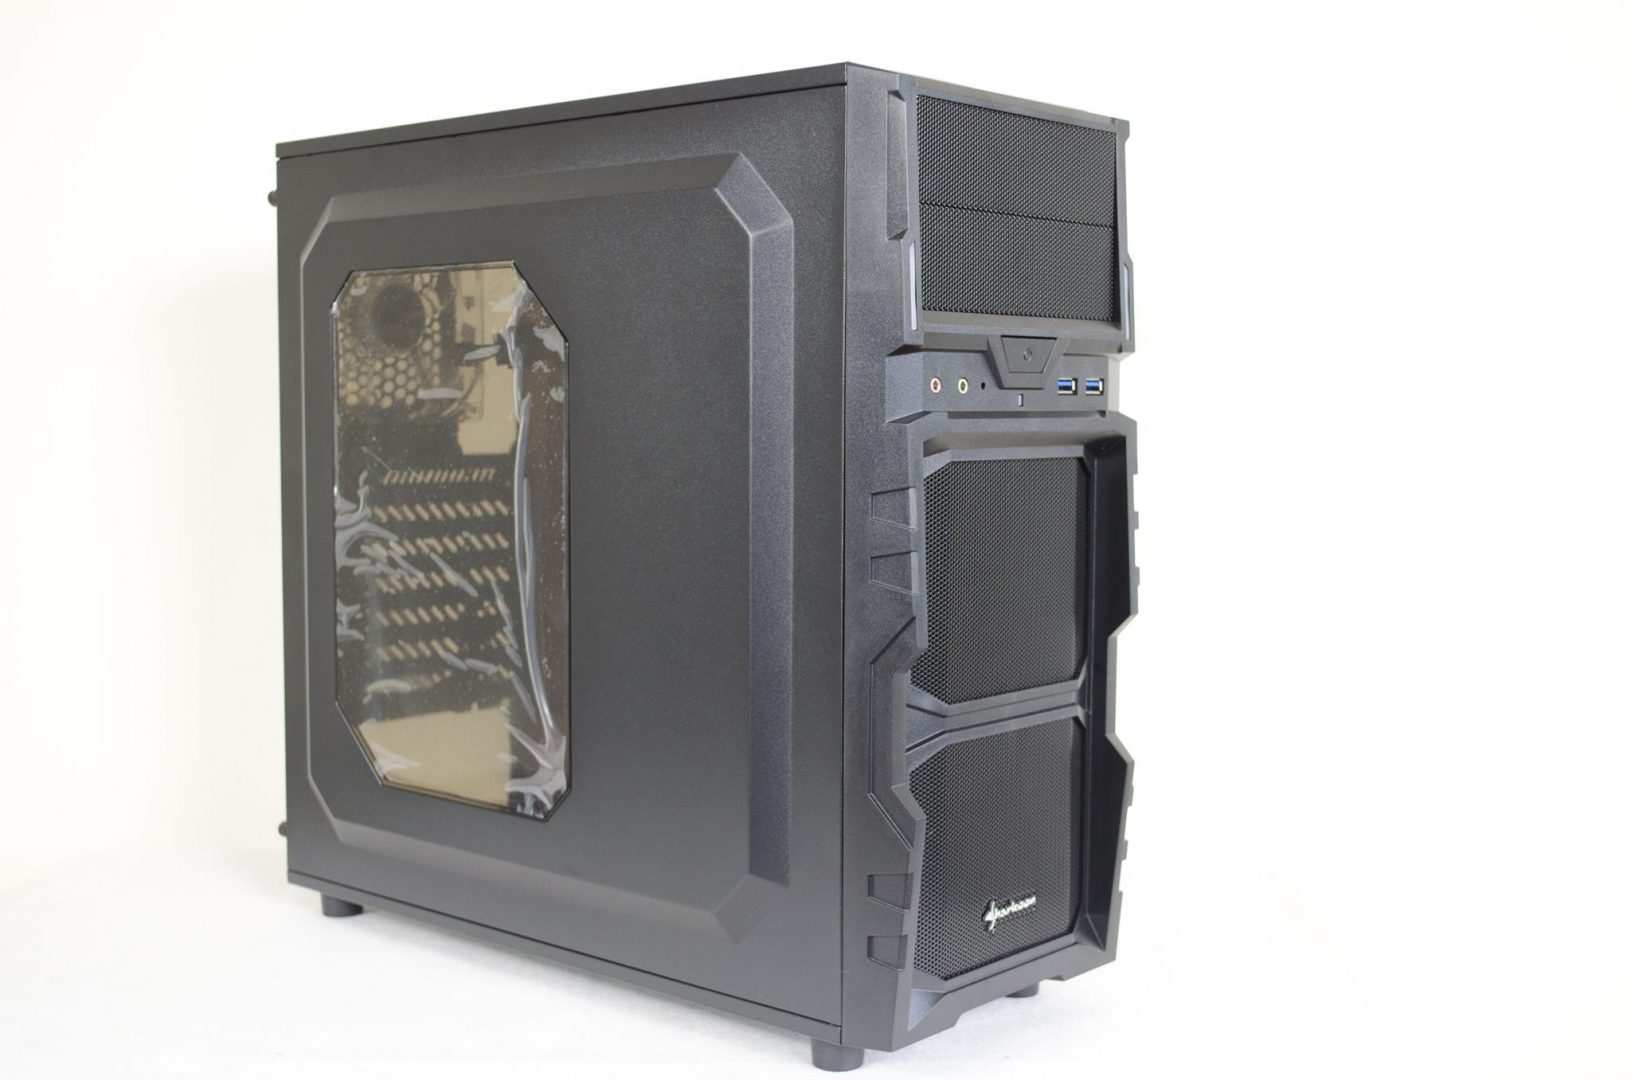
Starting off with the front of the Aviator V and Kolink have gone with a very shiny piano black type finish. As you can see by my lights reflecting off the case, the front panel is highly reflective. This also means that you will leave fingerprints on it ay time you go to touch it, so be warned. However, this is the same with any case of the type and is something you can either live with or can’t.

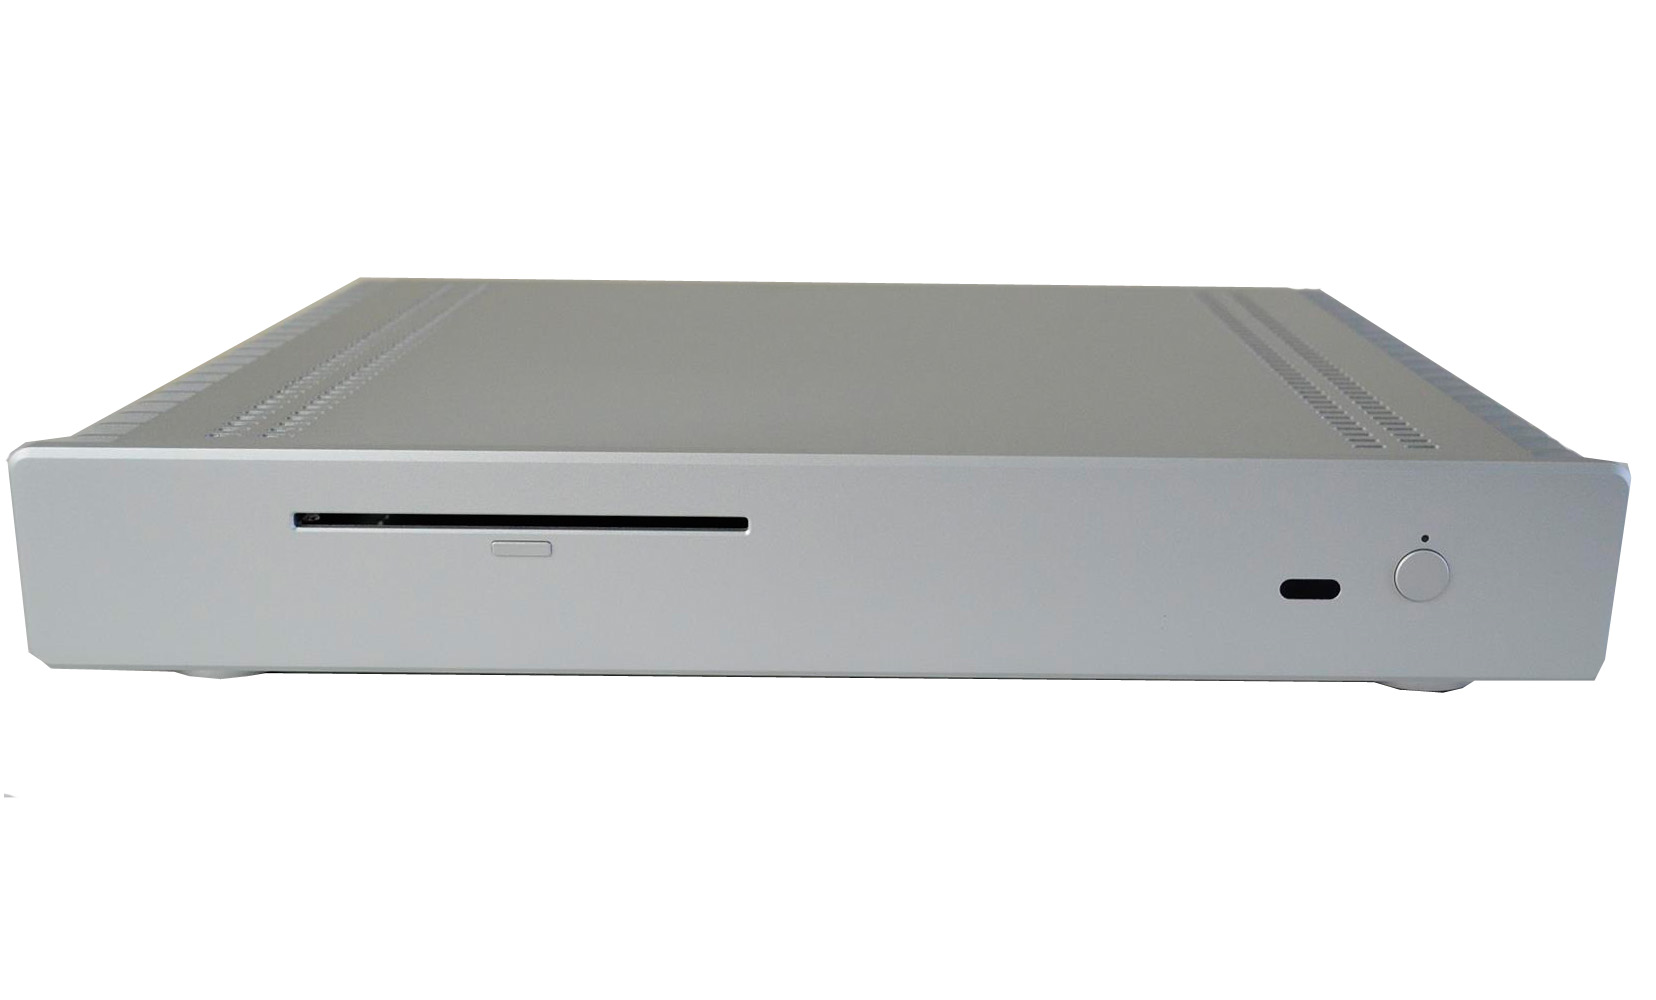
The top of the front opens to reveal two 5.25″ drive bays and a memory card reader bay as well. While I haven’t used an optical drive in many years, it is still nice to see some cases come with them.

At this point, I have only taken the case out of the box and took the above photos. The reason I am telling you this is so you can also see the markings left behind on the massive acrylic side panel. Unlike most, who would show you it looking all shiny and new, I like to show what its actually going to look like should you want to touch it and build inside it. Now, in showing this, it can easily be avoided by wearing gloves, or, it can easily be cleaned once you are all down building inside it. A bit of window cleaner and a paper towel will go a very long way when it comes to the Aviator V.
Now, this acrylic side panel does look very nice when cleaned up. It will also allow you to show off your build inside with ease. The panel is held on by 4x screws, 1x in each corner and the whole side panel is the see-through acrylic which is a nice touch. Add a LED strip or two inside this case will result in easily being able to show off your build inside.

Onto the back of the case and we have the standard 7x PCI expansion bays alongside the motherboard cutout and bottom mounted PSU cutout.

The right side panel is a solid black. It also has a nice raised out section to help with the internal cable management on the backside of the motherboard tray by allowing more room for cables.

There is quite a bit of fun going on with the top of the case. Smack dab in the middle up front is the power button and on the left side are the reset buttons, fan control buttons and a card reader. I for one love seeing a card reader as I use one almost daily as you can imagine and not having to worry about where my USB reader is would be amazing.

Over on the other side of the top, we have the 2x USB 3.0 ports, 1x USB 2.0 and the audio inputs.

Now that we have seen what the exterior has to offer, let’s work our way inside the case. Starting off with the top which is easily removed, here we find room to install 2x 120mm fans or a 240mm radiator for an AIO CPU Cooler.

Removing the front panel and we now have access to the 2x preinstalled 120mm intake fans. These fans have a red LED and offer a very nice look to the case when it is fully assembled and turned on.

The Aviator V is designed to house an ATX motherboard. One of the first things I noticed was that the drive bays have a nice big gap between the HDD bays and the ODD bays. This is good for two main reasons. 1, this can increase airflow into the case as there isn’t as much blocking that top intake fan and 2, it will allow for the installation of some pretty long GPUS (up to 370mm)
. 
When it comes to storage, there is a total of 3x 3.5″ HDD bays and 2x 2.5″ SSD bays. The 3x HDD bays can be seen in the below pic with 1 of the SSD bays on top. The second SSD bay is actually on the backside of the motherboard tray and that SSD would actually need to be installed before the motherboard if you wanted to utilize that space.

As mentioned, there are 2x 5.25″ ODD bays and a 3rd bay for memory card readers or similarly sized components that can utilize a drive bay.

Towards the back, we can see the 3rd fan which comes preinstalled. This is an exhaust fan by default and will help to expel the hot air out of the case. I would have loved to seen it match the 2x front red LED fans and offer a bit of light inside the main chamber but am just happy to see that Kolink have included both intake and exhaust fans in their Aviator V case.

As we saw, the top is designed to house 2x 120mm fans or a 240mm radiator. Looking at it from inside you can actually get an idea of the type of clearance offered thanks to the way Kolink have designed the case.

There’s not too much going on on the backside of the motherboard tray. We can see the SSD mount in the middle and there are various clips around that can be used to zip tie the cables out of the way and route them how you want. While there doesn’t look to be a massive amount of room here for cables, it is worth remembering that the side panel has a raised area to help make sure all the cables will fit inside the case.

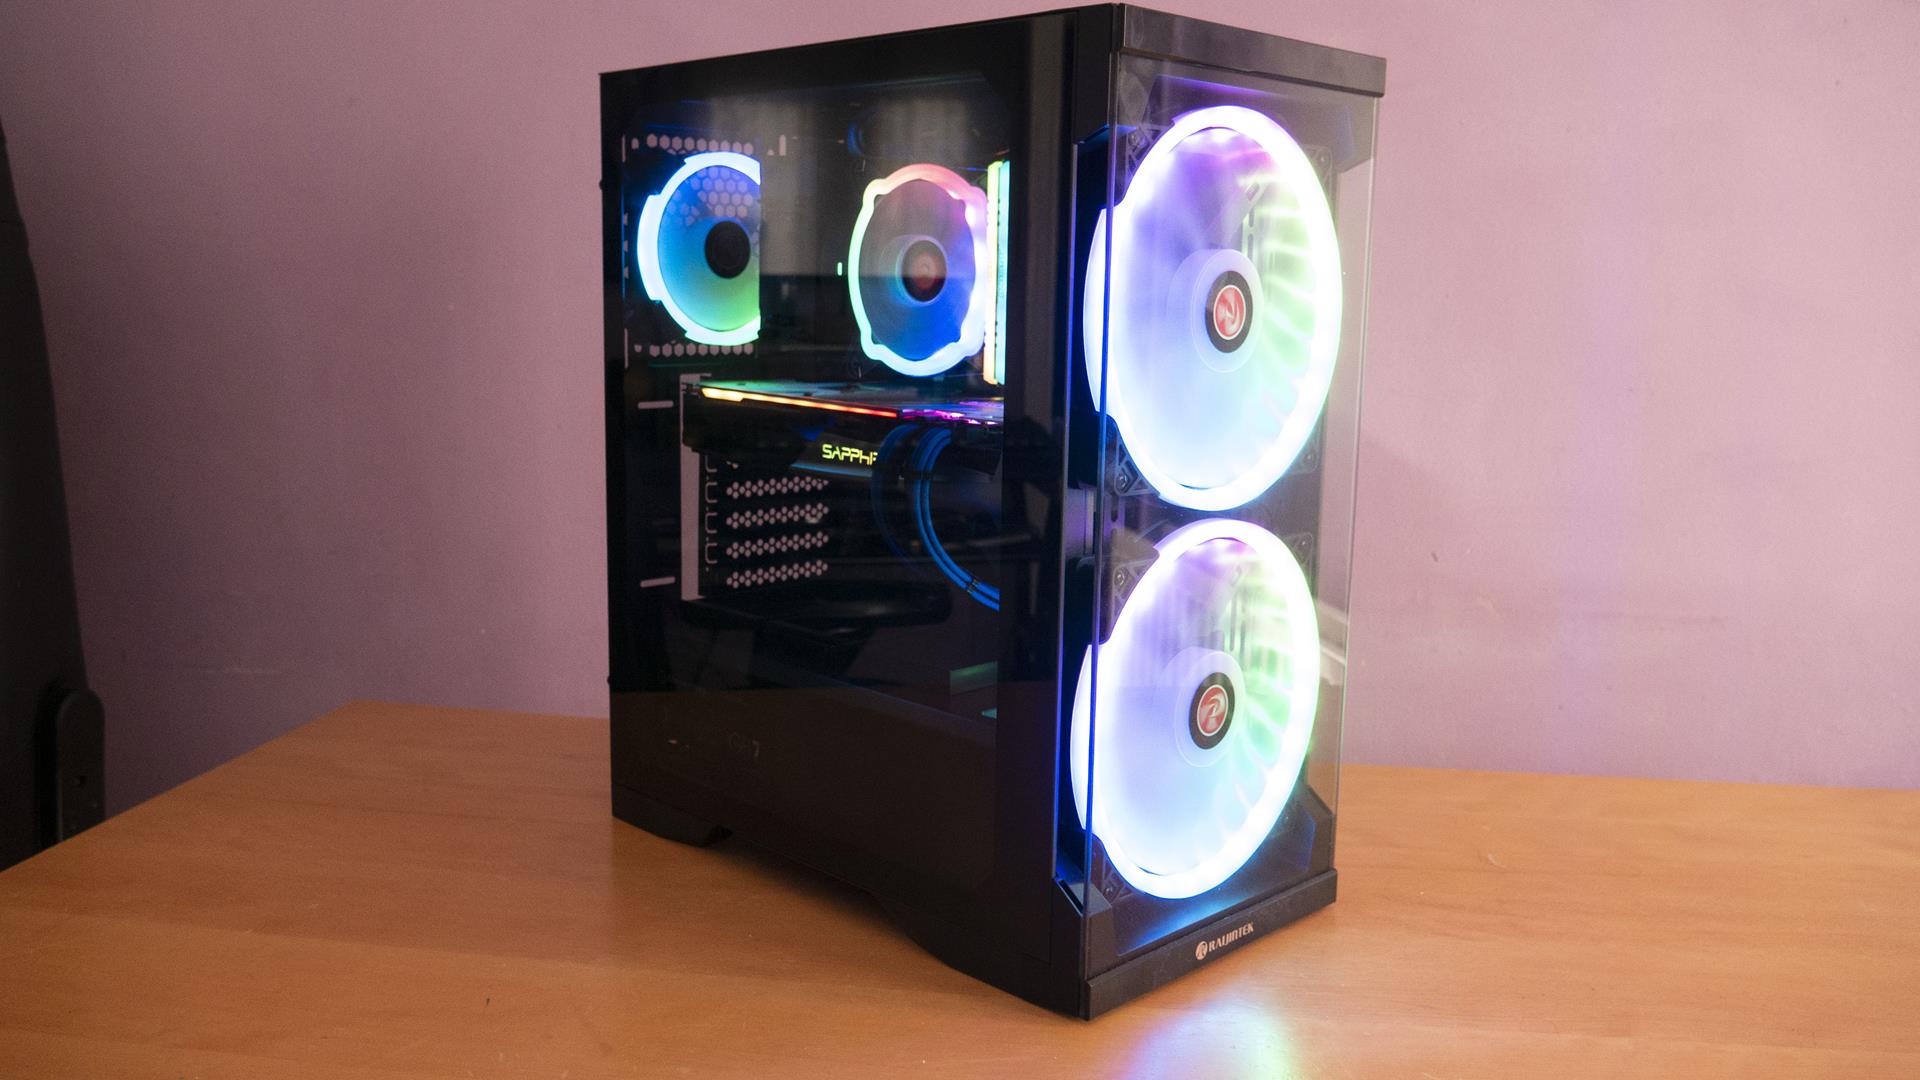
Final Build
Once the system is all built you can see the red lighting it has on the front and top. The front lighting is from the 2x intake fans and are placed behind a nice honeycomb effect on the front panel. The lighting is quite subtle and won’t really be seen unless you are looking at it which is nice.

There are a few accent lights on the top around the power button and on each side. Again, nothing to major but just enough to add a bit of fun to the case and give it sort of that gamer feel.

Building inside the Aviator V was a mostly easy process. While things can get a little tight at times, with a bit of patience it will all work out just fine. Everything fit where it was supposed to and I didn’t have to force anything into place. I liked being able to place the SSD on top of the HDD bays as this can allow you to only use a single SATA power cable from the PSU. This will definitely come in handy for those of you using a modular PSU in the case as the least amount of cables the better!
While the RX480 I used in this build is far from the longest GPU out there, you can see there is plenty more room should it have been a bit longer. One thing worth looking into is CPU cooler clearance for those of you looking to use bigger air coolers. The CPU cooler clearance is listed as being 170mm and I will say that the Raijintek Tisis only just fits in this case when you put the side panel on! It definitely gets a little tight in a couple areas but for a standard build, the Aviator V offers more than enough room to accommodate a nice gaming rig.

Final Thoughts
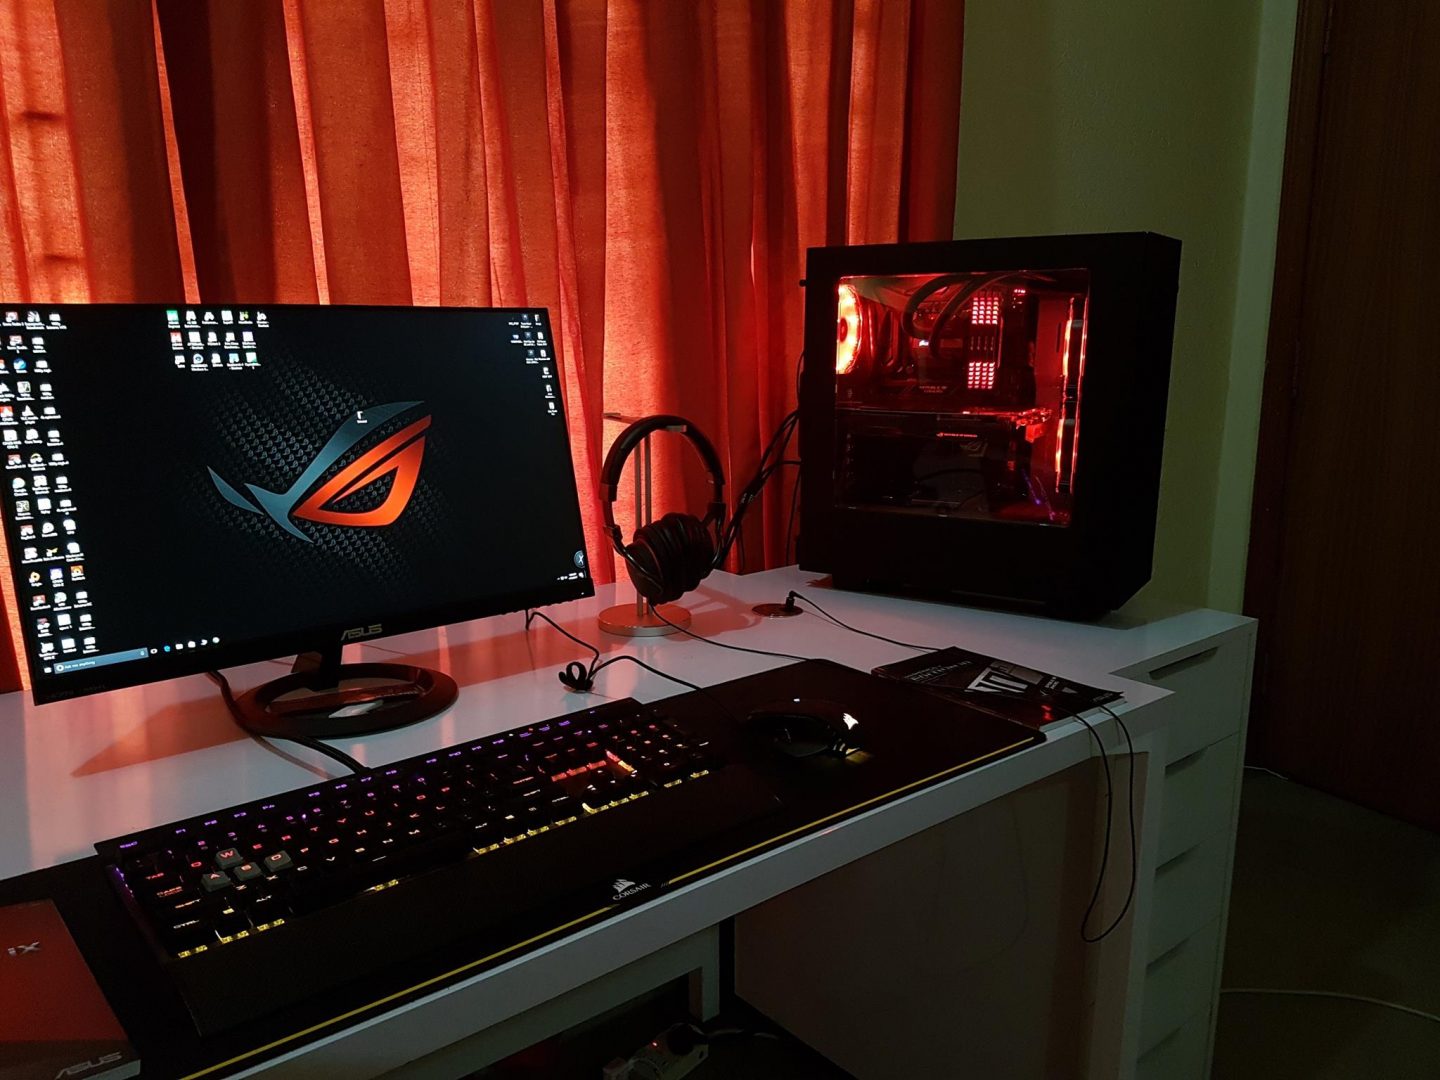
I’ve built a half decent gaming rig inside the Kolink Aviator and used it for a few days to see how it fairs. I have to say, I am quite impressed with it overall, especially at its current price point. Kolink may not be the most well-known brand out there but they are making some headway with their ranges of affordable and dependable gaming cases and PSUs. It’s always nice to see another company start to shake things up, especially when they are not charging the earth for their products.
Performance
When it comes to performance, Kolink’s Aviator V holds its own for its size. This is a Midi tower and while it is designed to house a full-size ATX motherboard, it is not meant to have a lot of leftover space. However, You can fit quite a nice gaming system inside and could even have 2x GPUs for those who like Crossfire and SLI options. The included fans do a decent enough job of keeping air flowing through the case which is always important and can even be turned off with the press of a button for when you want silent operation. Monitoring my temps with the fans on and there wasn’t any noticeable difference from other cases I have recently reviewed.
Design
Kolink has gone with what I would consider to be a ‘Gamer’ look to this case. It has some nice curves and a few LEDs in all the right places. Kolink has kept it fun without going over the top with things which is great to see. There is plenty enough room for a nice dual GPU gaming system while still be able to have adequate CPU Cooling. While not all of the massive air coolers will fit, you should be able to fit a wide-range of them and even better, there is enough room to fit a 240mm AIO cooler. My only real niggle with the design is the use of a different fan on the rear exhaust VS the pair of matching intake fans and that really isn’t a major issue. While I would have loved another red LED fan that would have hopefully added a bit of light in the main chamber, it is easy to get over and shouldn’t keep you from purchasing the case.
Value
And this is where Kolink brings it on home, the value! The Aviator V offers some pretty impressive value for its £47 price tag. It features an appealing aesthetic and is designed to be suitable for a very decent gaming system. Kolink has done a great job at adding some flair to the case with the red LEDs, yet they haven’t overdone it at all. If you are in the market for a case that won’t break the bank but still has some pretty impressive features then the Kolin Aviator V is definitely worth a look. For the money, you really just can’t go wrong.

Major thanks to Overclockers UK for sending today’s sample in for review on behalf of Kolink!
Want to discuss this review further, head on over to the Kolink Aviator V thread, in the Enos Tech Reviews Sub-category on the Gaming Exodus forums!


