


Case Mod Cuts That Don’t Fray Edges: A Practical Guide for Aluminum Panels
Tin pan edges, velvety burrs, and a panel which vibrates like a drum–any one who has cut aluminum in a side window or vent has been there. The good news: non-fraying clean cuts are reduced to a few foundational elements: rigid workholding, right cutter, sane feeds and speeds, and brief, effective finishing cycle. Think process, not just tools.
Choose the Right Cutter and Setup
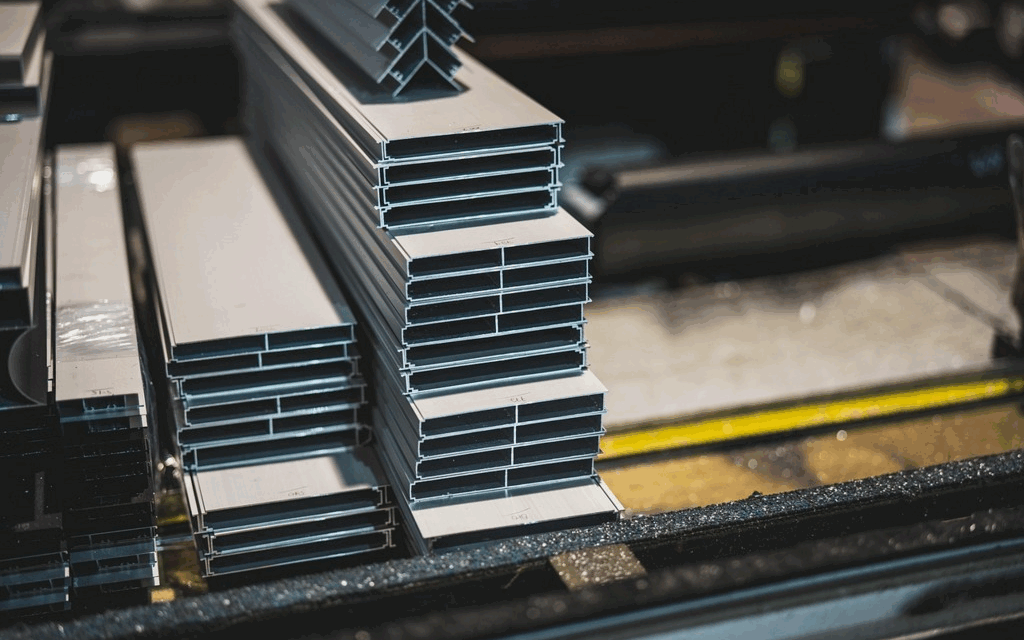
When compared to steel, aluminum is soft and sticky, and that is why it desires to weld on your teeth and smear along your cut. You can cut a 120 mm fan opening or a rectangular PSU pass-through, but whatever you choose, use pick cutters that evacuate the chips fast and do not, in any way, rub. In the case of rotary tools and trim routers, it corresponds to sharp, two or three-flute designs intended to cut on non-ferrous metals, and where the flutes are polished to project the chips rather than to accumulate them. When working with a jigsaw, a fine-tooth bi-metal blade that is rated to cut non-ferrous sheet should be used and the stroke made clean–cut with the blade not pushed.
Coatings are important as most of the builders consider. Aluminum also has the advantage of reduced friction surfaces which do not permit the accumulation of edges and galling. When you take hobby bits to the next level of dedicated cutters, consider end mill coatings for aluminum, you will hear words like ZrN and DLC which allow the chips to slide, welding to decrease, and edges to remain cooler, resulting in a finish that stays bright. To minimize chatter, keep the cutter short; and to eliminate the tendency of the panel to be oiled-canned when under load, support it firmly on a sacrificial board.
Clamping is half the battle. Support your panel with an MDF or rigid foam, tape your cut lines, and clamp some low-profile clamps along the edges to ensure that your tool body does not hit the panel. When you are routing you can use a thin template of acrylic or 3D-printed (as a fence). In the case of jigsaws, the blue tape on the sole allows it to slide without bending an anodized surface.
Control Heat, Chips, and Vibration
Fuzzy edges tend to be a heat/chip problem. Aluminum is unfriendly to heat; the chips are little radiators–when they hang about, they re-weld themselves to the edge. Apply a light non-staining lubricant when slotting or contouring: a drop of cutting fluid, a spray of WD-40 on a rag, or specially-designed non-ferrous spray sprayed lightly so that it does not spray everywhere. Only at the sound of harsh tones or dullness on the surface re-lubricate.
Your next lever is called chip evacuation. Occasionally stop and vacuum chips instead of driving through a pile of glitter. When routing keep the nozzle of the shop-vac close to the cut, when using a jigsaw or nibbler you should clear the chips every few centimeters or the chips will ride under the shoe. Make feeds aggressive enough that the tool is not scraping, it is cutting–low RPM with a constant feed beats high RPM with shy advance.
There is no vibration that kills the quality of the edges. When the edge of one of the large side panels flutters during your cutting, place some temporary stiffeners: painters tape with a straight scrap on the back, or, more extreme, two magnets between the paper to hold the sheet in place at the cut. On tight inside corners, pre-drill with a small twist bit to ensure that instead of the jigsaw or rotary tool hammering the corner into a burr, it will turn.
Make the Cut: Methods That Keep Edges Clean
Trim router + template: To be used with circular fan holes and rectangular windows, a short, two or three-flute router end mill with a bearing-guided template provides the best edges. Do not plunge once; do two times with a heavy plunge, but leave, on the first stroke, about 0.5 mm, complete to full depth on the last. Should you find a spot of aluminum on the flute, quit and clean it–do not cut through the hard edge.
Jigsaw using non-ferrous blade: Pierce a starting point at an angle, and cut on the opposite side of the line. Get the teeth going; pressing the saw arches the paper and cuts the edge. Whenever the chatter begins, slow down, add a little more feed and make your clamps tighter.
Nibbler or step-shear straight vents: Mechanical nibblers are designed to do straight, vent-type cuts with little to no burr. They do dimple the sheet; intend to follow up the dimples with a light stroke of a flat file or a Scotch-Brite pad.
However, whatever the tool, do not use a back-and-forth sawing of the line. The stop and go rubs aluminum and creates a lumpy burr that is more difficult to clean.
Deburr and Break the Edge Without Rounding the Profile
Even a clean cut leaves a thin edge. The trick is to deburr without the loss of geometry. Use a sharp, one-cut mill file, kept flat, and cut along the edges in long strokes– not see-saw. A single or two passes would suffice. Making by hand: follow with countersink or chamfer tool: two slight twists merely to cut off the feather. When you have a rotary tool a small 90 countersink at low speed will kiss the edge, but can be quickly removed; so you do not cut a notch.
When doing inside corners, a triangular needle file comes to your rescue, without making you over-cut. A deburring scraper (Noga-style) is used on long straight edges and slides along the edge and removes micro-burrs in a single pass. Then clean up with a Scotch-Brite pad to remove the high spots, and remove your masking tape one piece at a time, keeping it against itself, to avoid removing the anodizing at the edge.
In case the panel requires a more gentle touch in areas where hands will be used (front I/O cutouts, lift handles), an insignificant 0.2-0.3 mm bevel will help. This micro-chamfer is final, conceals microscopic waviness and will not hold onto cables or sleeves without making the opening appear melted.
Work Safely and Keep Your Finish
Aluminum discharges small, quick pieces–treat with all the care you would the Dremel cutoff wheel. The use of safety glasses or face shield is no longer a choice when you are cutting not below the shoulder height but above and when you are working in a side panel. Regulatory directions are that eye/face protection is needed when you are exposed to flying material; and that is just what we are up to Deburring sheet and cutting it. The requirement underpinning this is seen in the OSHA standard of eye and face protection.
Guard the finish of the surface as well as yourself. Tape the area of the tool path on either side with painters tape to prevent skate marks. Always clean the bottom of the tool–grit on the chip under a jigsaw shoe will leave the marks which are not to be wiped off afterwards. When cutting anodized panel, you can test your deburring sequence before you start on the actual board, as rough countersinks may tend to halo the color at the edges. On raw aluminum, pass a non-woven abrasive to establish a consistent grain; it is always best to move in a straight direction, then with a jobber stroke across to mix the abrasive.
Lastly, leave edges fingerprint-free prior to assembly. After deburring to expose the tape and gaskets, spray it with isopropyl alcohol and ensure that fans do not stick to a combination of cutting fluid and dust. When you re-install, stroke your fingers a bit on the inside of the cutout, that way, you will see something snagging a glove, then take another pass with the deburring tool instead of relying on paint or trim to cover it.
Take away: Clean non-fraying cuts in aluminum panels are not magic. Clamp the sheet, select a cutter to clear chips, run the cut cool and stable, then deburr using a light, repeatable process. Do that and you will find that the next window or vent you open will seem to have been so made in the factory.


