


Thermaltake Water 3.0 240 ARGB SYNC AIO Cooler Review
Introduction
- Manufacturer: Thermaltake
- Product Page: Water 3.0 240 ARGB Sync
- Purchase: £124.99 At the time of review from SCAN
Specifications
| P/N | CL-W233-PL12SW-A |
|---|---|
| Weight | 1230 g |
| Pump | Motor Speed: 3600 RPM Rated Voltage: 12 V & 5V Power Input: 12V – 3.9 W , 5V – 1.06 W |
| Water Block | Material: Copper |
| Fan | Dimension: 120 x 120 x 25 mm Speed: PWM 500~1500 R.P.M (2510-4PIN) Noise Level: 25.8 dB-A Rated Voltage: 12 V & 5V Power Input: 12V- 1.44 W, 5V – 1.6W (one fan) Max. Air Flow: 56.45 CFM Max. Pressure: 1.59 mm-H2O LED Control: ARGB controller or 5V addressable RGB header on motherboard |
| Tube | Length: 326mm Material: Rubber |
| Radiator | Dimension: 270 x 120 x 27 mm |
| Compatibility | Intel LGA 2066/20113/2011/1366/1156/1155/1151/1150 AMD TR4/AM4/FM2/FM1/AM3+/AM3/AM2+/AM2 *AIO Cooler bracket adapter comes in the AMD Threadripper CPU box. |
Closer Look
Starting off with the front of the box and we can see a nice big image of the cooler. We can also see a list of compatible motherboard brands where we will be able to connect the Water 3.0 240 ARGB directly to the motherboard.

The back of the box goes into more details on the features and some of the RGB modes. We also get some more specific images of different parts of the cooler itself.

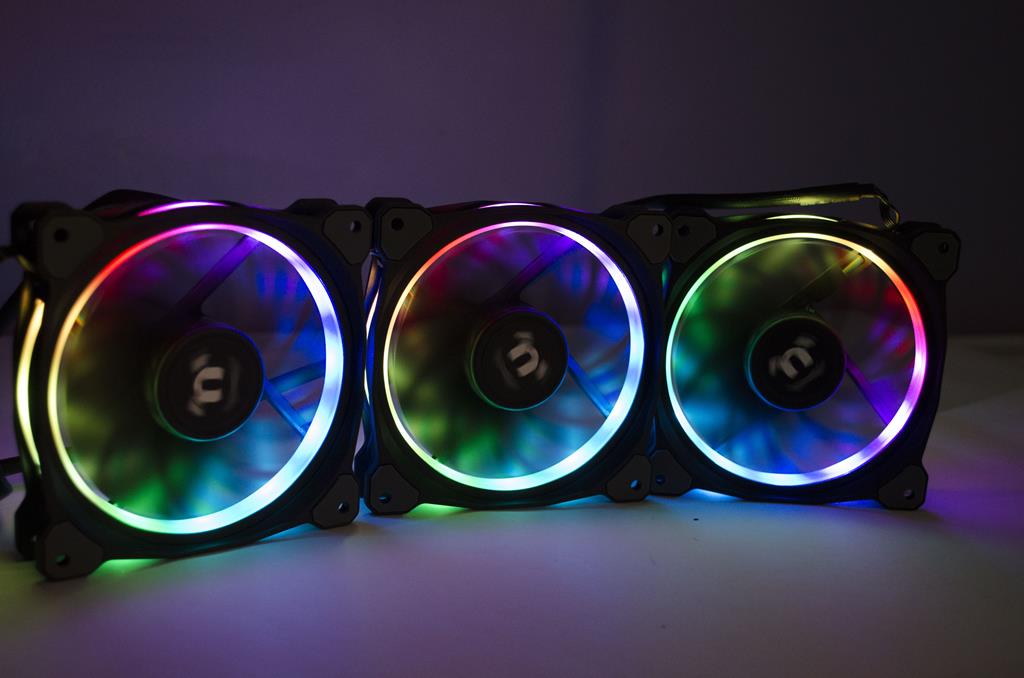
Getting everything out of the box and as you can see, there is quite a bit of stuff here. If you haven’t used an RGB AIO before, it can be a bit overwhleming but trust me, the insstructions will help and it’s not quite as bad as it looks. We have Intel and AMD mounting hardware, 2x fans, the AIO itself as well as a fan controller switch.

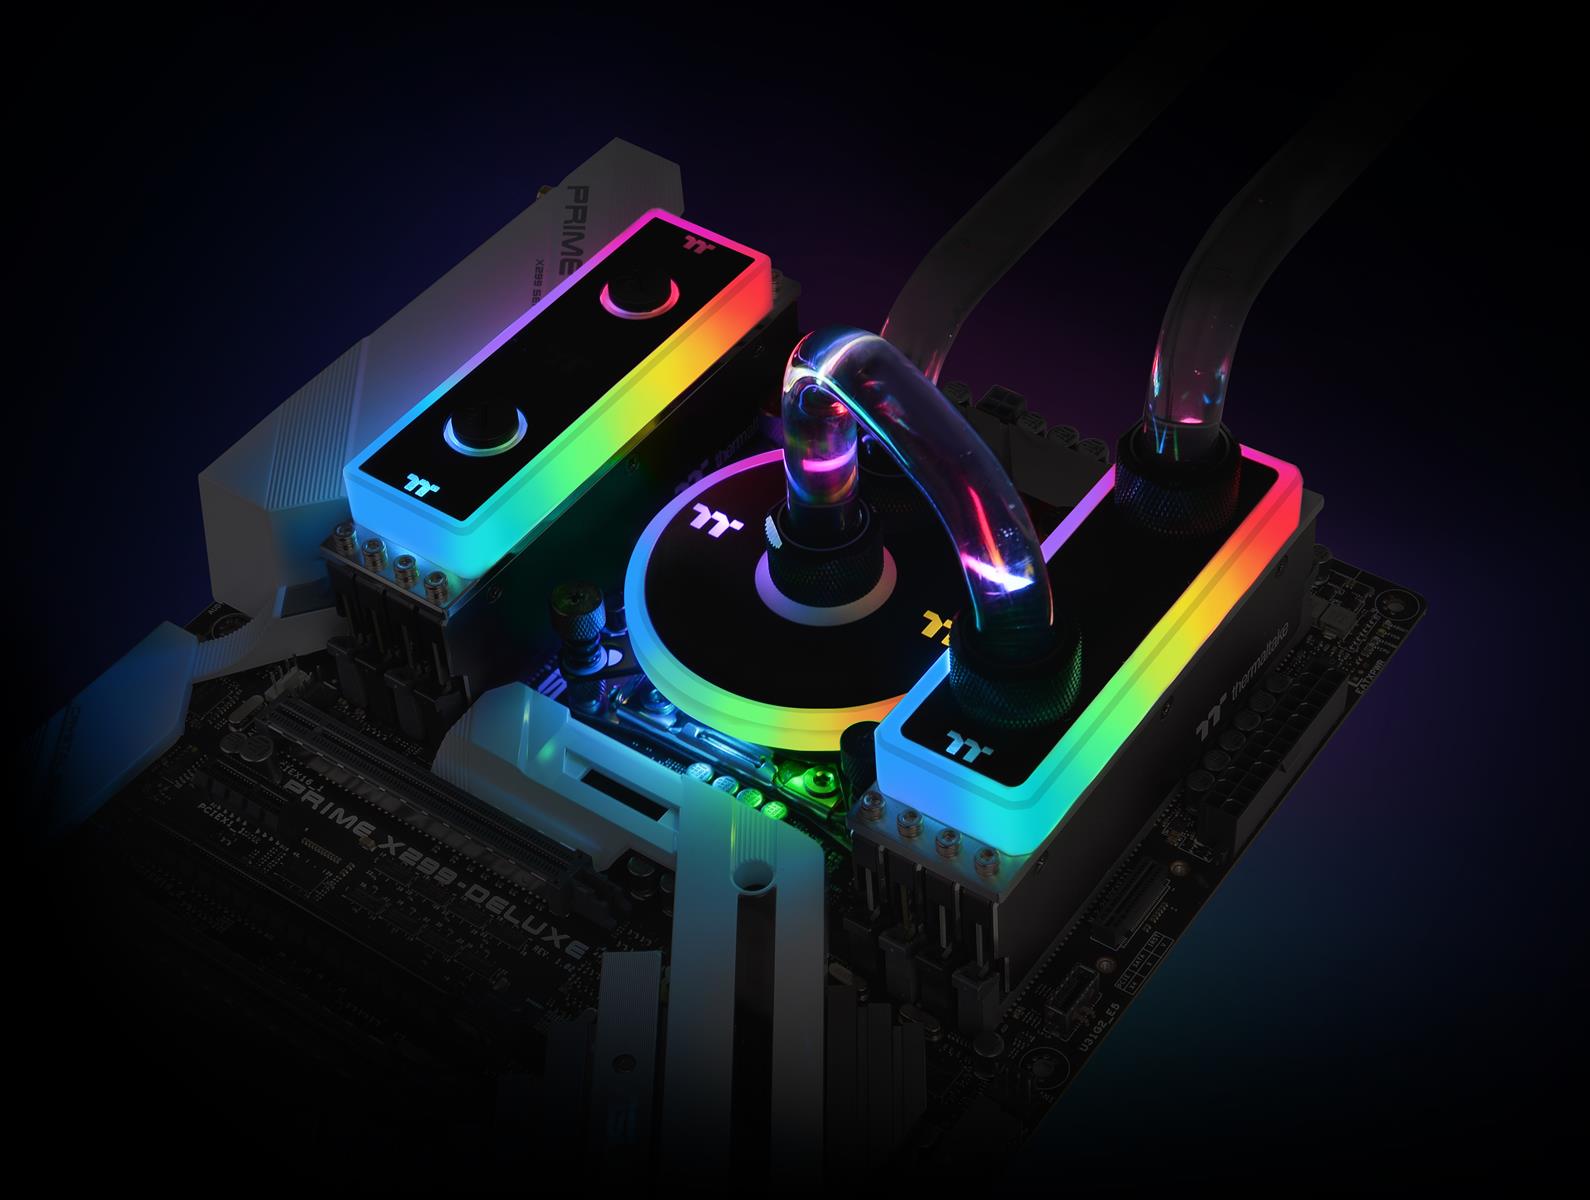
The pump is connected to the radiator with a nice rubberised tubing! This setup looks very sleek and clean on its own and will fit in well with most builds. It is a shame to see the numbers on the side of the radiator but is what it is. There aren’t overly big just not something most people will want to see in their builds!

The radiator has a very good fin density and will help to expell all the heat from your rig. As the water passes through, the fins will help extract the heat and then the fans will blow it out, keeping your CPU as cool as can be. There are 8 mounting holes on each side of the radiator so you can connect up to 4x 120mm fans for even better cooling performance.

The pump top features the newer TT Premium logo and is ARGB capable. This can all be ocntrolled VIA the TT software as can the fans ARGB. You can also control this with compatible motherboards and make sure your colours are flwoing nicely through your whole buiild.

We installed the Water 3.0 240 ARGB Sync on an AM4 motherboard so installation was very easy. First up, you need to get the AMD pump bracket and get the thumbscrew on one side ready to be installed.

Next, you put it on the pump top and make sure it clicks into place properly.

Lastly, you will fasten it to the already installed AM4 bracket that comes standard on all AM4 motherboard. This can take a bit of playing around to get on right but once you do it once, it gets much easier should you need to change your thermal paste down the road.


Testing Results