


Corsair High Static Pressure HD120 RGB Fans Review
Introduction
The year 2016 has been the year of Lights or particularly the RGB Lighting for the PC industry. Products ranging from Motherboards to RAMs to PC Fans to Mouse mats and what not, have seen RGB Lighting implementation. While many would have argued against it, I like the approach being taken by the manufacturers. RGB Lighting does not mean you will have disco show; though you can, but it gives the users to have aesthetically pleasing colourful looks on their PC builds and setups. Also, RGB implementation would enable the users to save their bucks in case they have to implement the different colour schemes. Without RGB lighting on various components, if one would have to go from red/black to green/black, they may have to buy some components in green colour implementation, for example. But, with RGB lighting implementation, one would just change the colour on their desired components and have the same build looks different.
Corsair was not behind the competition and released interesting yet exciting products with RGB implementation. We see Corsair releasing SP120 RGB fans, HD120 RGB fans, Polaris 800M RGB mouse mat, Corsair VOID headset with RGB implementation. Besides, RGB gimmick on them, these products carry performance punch as well. Today, we will be reviewing Corsair HD 120 RGB fans in particular.

HD series is a new lineup from Corsair with the main focus being on RGB lighting yet providing the user with the performance that they would need.

Specs:
| Rated Current – Fan | 0.30A |
| Rate Current – LED | 0.47A |
| Dimensions | 120mm x 120mm x 25mm |
| Air Flow (at 12V) | 54.4 CFM |
| Speed (at 12V) | 800-1725 RPM +/- 10% |
| Sound Level (at 12V) | 30 dBA |
| Static Pressure (at 12V) | 2.25 mm-H2O |
| Operating Voltage | 7V – 12V |
| Connection Cable | 4-Pin |
| Warranty | 2 Year Corsair Guarantee |
Packing:
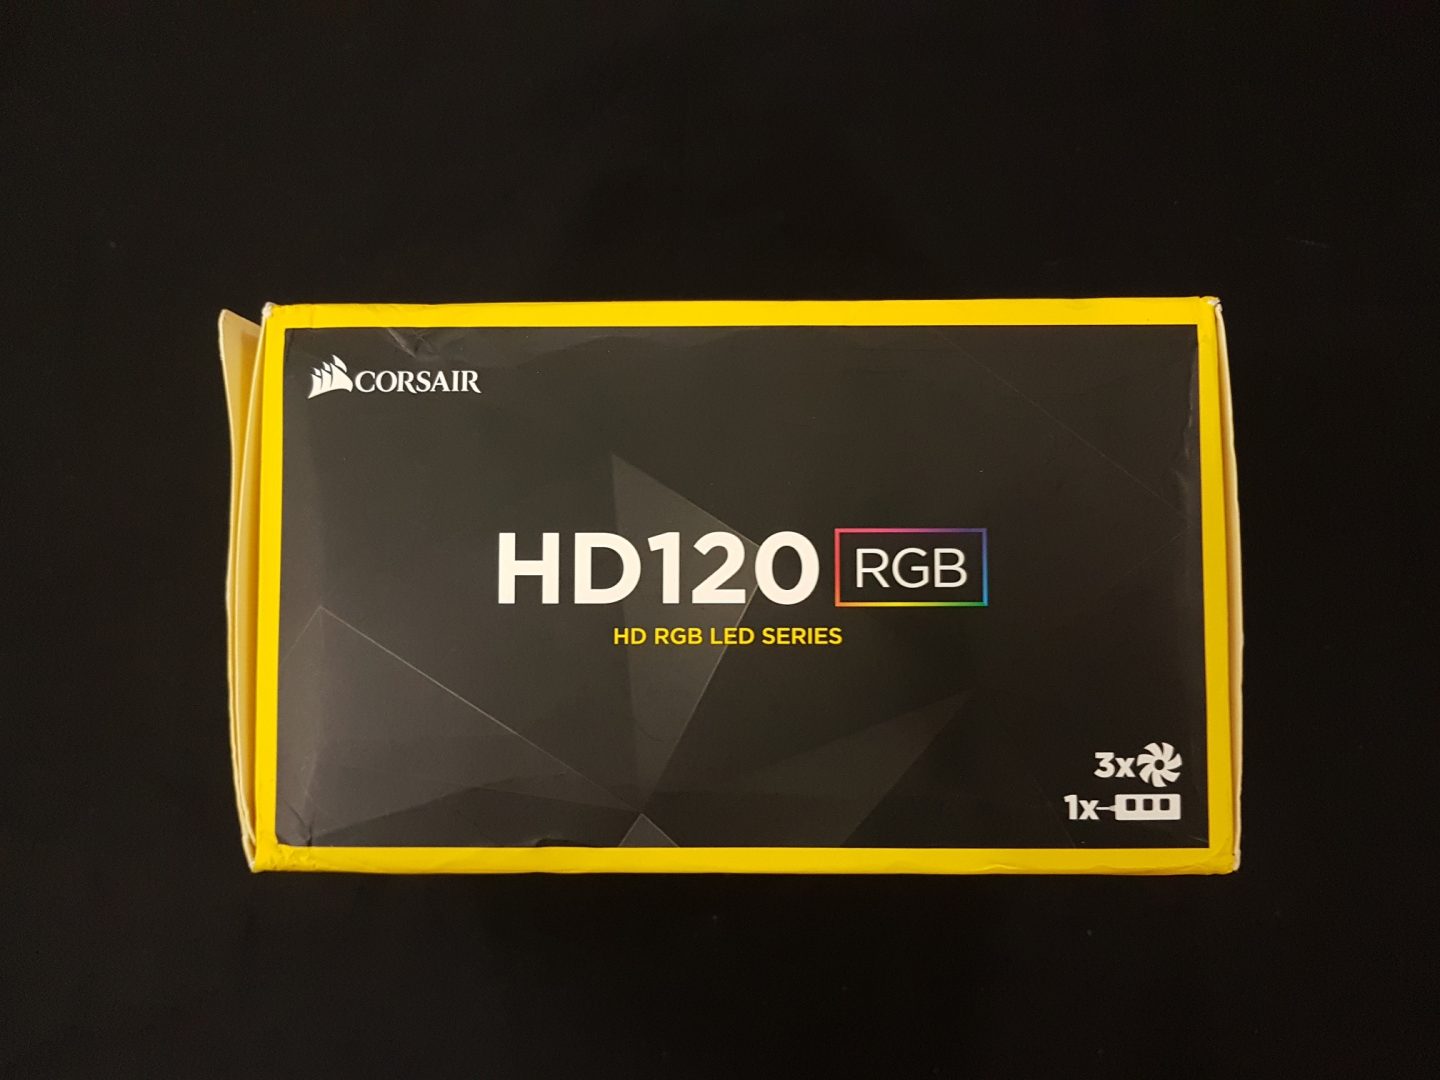
Corsair has released three retail packs for these fans. One is Single Fan only (CO-9050065-WW). Second is Single Fan with Controller (CO-9050066-WW) and third is a pack of three fans with a controller (CO-9050067-WW). We got a pack of three fans with a controller for review. Fans come with a cardboard packing box with Corsair branding and colours of yellow and black. Unfortunately, packing was damaged from several points but fans and accessories were safe.

On the front side of the retail packing, Fan picture is visible without any colour. RGB Lighting is enclosed in RGB colours on the top right side. Salient specs are mentioned in yellow colour. There is a diagram of controller and fan on the right bottom along with number indicator. Here, it shows that this pack has 1 controller and 3 fans.

The backside of the box has all the specs printed on the bottom left with feature highlights in 7 languages. HD 120 RGB is printed on the top right side.
Left and right sides of the packing have HD120 RGB printed on the centre along with the contents diagram on the bottom right side. Corsair logo and name are printed on the top left side.

The bottom side of the packing has the serial no and part no of the products printed along with warranty period of the product.
There are four cardboard boxes inside the main packing, the top most are the accessories and controller box placed horizontally.

All the inside boxes are in deep yellow colour The colour on the boxes makes them look aesthetically pleasing to the viewers.

Removing the first box will reveal three boxes placed vertically in the packing. These are also in same deep yellow colour. Each box has a fan placed inside. Corsair was thoughtful by providing cut outs in the middle for easy handling of the boxes. Just pick the raised cut out part of the box and pull it gently to take out the corresponding box.

Fans are placed inside the inlay sort of design on these boxes. All boxes are sturdy. Behold the Corsair High Static Pressure HD120 RGB fans placed nicely in their packing boxes.

Cables of the fan are nicely hidden inside the contained portion of the box making the overall presentation of the fan very good.
Accessory Box
Controller, RGB LED hub, fan screws, Installation guide and warranty info are included in the accessory box.


Note the text on the controller. It has HD Lighting Controller printed on it. Controllers of SP120 RGB fans have SP Lighting Controller printed on them. Controllers of both fans are different.
The controller is in black colour. It has three buttons on it. Speed button controls the interval between lighting effects. Don’t confuse it for controlling the speed of the fan as it won’t control the speed of the fan.

Speed button is to make lighting effects appear/disappear in fast, medium and slow mode. Colour button will change the LEDs colour one by one with each tap. HD fans have total 7 colours which are White, Red, Orange, Yellow, Green, Blue and Violet. There are 7 Modes on these fans, Demo (All modes), Static, Breathing, Flicker, Sequential, Marquee and Rainbow. The mode button is used to switch through these modes.

RGB LED hub has total 6 headers which are numbered in serial. It is SATA powered. Pay attention here. You can connect up to 6 HD120 RGB fans on a single hub. Fans must start with header no 1 otherwise, you won’t get any light or effect on the fans. Also, as these fans sequential effect on them, numbering is important. Let’s say you have three fans installed on the front of the chassis and you would want the sequential effect to start from the top fan to the middle fan to the bottom fan, then make sure that top fan is connected on header no 1, middle fan on header no 2 and bottom fan on header no 3. This is the assumption that you are using only 3 HD 120 RGB fans. If you have more than 3 fans, just make sure to keep the order of the fans in check.

SATA cable is coming out of one side of the hub and it is fixed inside the hub, hence can’t be removed. The other side of the hub has a header for connectivity with the controller.

3M’s double sided tape is preinstalled on the backside of the hub. Corsair was thoughtful on the mounting mechanism of the hub inside the chassis and has saved customers’ from hassle.

To power the hub you will require a SATA power connector from your PSU.
The controller has fixed cable on one side to be connected with the RGB LED hub while there is an additional (optional) header. An optional cable is supplied with the accessory which can be hooked up to the controller. There are three-panel ends of this cable.
Each can be connected with a push button for easy control of the RGB LED. An example for such Push Buttons is Power/Reset button on the chassis.

The controller has 3M’s double-sided tape on the backside of it for easy installation of the controller inside the chassis.

Last, we have three bags of 4 M3 screws for the fans.
By now, cable management freaks would have realised that they are going to be busy doing cable management should they opt for these fans. One would have to deal with 6 cables from the fans, interconnecting the cable between fan, RGB LED hub and Controller and SATA cable from RGB LED hub to PSU cable.
Closer Look
Removing the fan would reveal that there are two cables per fan. Surprised? Not really as Corsair, this time has taken a good approach towards providing independent power sources for the fan motor and LEDs. The majority of the designs in the market have the same power source for the LED and the fan motor so much so LEDs’ brightness is reduced when the speed of the fan is reduced. By providing independent sources, brightness and power of the LEDs are no longer dependent on the fan speed. Though there is no mechanism on these fans to adjust the brightness of the LEDs.

One cable is for Fan motor power and the other goes to the fan hub. The length of a cable is approx. 24” including the connector which is plenty. Cables are not sleeved. I like this approach as it helps in hiding the cable clutter. Fan connector is 4-pin with PWM-based regulation. The majority of the motherboards these days have built-in PWM-based regulation to control the speed of the fans. Hence, controlling the speed of these fans should not be a concern to many.

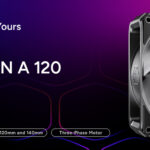
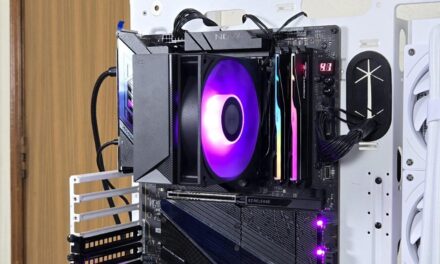
There are nine blades on this fan. The diameter of the fan motor hub is approx. 1.5”. LEDs implementation is different on these fans as compared to the SP120 RGB fans. There are 12 LEDs which are built in the frame of the fan. The frame of the fan is made of plastic with plexiglass on the boundary wall for LED effects.

It is simple but stylish on the edges. There are no rubber paddings on the edges to reduce the vibration. Corsair logo is visible in the centre of the motor hub.


On the backside, Voltage and Amp ratings are mentioned along with the part no of the fan. The motor is rated at 0.30Amp making it 3.6W. LED power draw is approx. 0.47A which is independent of this 0.30Amp. LEDs are drawing power directly from the PSU using fan hub provided with the controller. That is why we have two cables per fan.

Air flow and Fan spin direction indicators are only on one side of the fan which is somehow, disappointing as two opposite side of many fans have this crucial info. The fan has Hydraulic bearings.

Plexiglass runs across the boundary. Edges have a black colour cover on the Plexi. This really adds to the colour effects.


Center frame on the boundary is implemented in such a way that plexi is covered from the middle section of the outer frame. This makes the colour effects on the fan really unique as one would experience the colour from the top and the bottom side.


Overall, these fans carry a bold design which is unique on its own and does look appear aesthetically pleasing.
RGB LED Performance
There are 12 LEDs on a single fan. Controller retains the last colour on the fan and next time you power it up, it will be the same colour. As described above, there are 7 colours available on these fans. Pressing the Colour button one at a time will change the single colour.


For color effects, please watch these videos:
Peformance and Usage
Test Bench and Methodology
Following test bench was used to measure the thermal performance of the fans.
Asus Rampage V Edition 10
Intel i7 6850k
Corsair H100i V2
Corsair 64 gigs Vengeance DDR4 @ 2666MHz
Following equipment was used to measure the air flow and decibels of the fans:
UNI-T UT 352
Amprobe TMA 10A
Following software were used for stress testing and fan speed monitoring/control:
Speed Fan 4.52
Real Bench 2.44
Real TempGT
Matlab R2013a for Graphs
Test data includes two fans. Both fans were mounted on Corsair H100i V2 which has 27mm thin radiator with Avg FPI of 22. The stress test was run for 15 minutes on the stock clock at full speed and low speed. The system was allowed to cool itself with minimum 30 minutes before next run. CPU was overclocked to 4.4GHz at 1.360V. The stress test was run for 15 minutes on full speed and on low speed. Average of six cores was taken. Graphs will show the Max and Average temps during all these tests.
These fans were compared with Corsair SP120 RGB fans. Low speeds on both were approx. set to 800 RPM with +/- 10% as Corsair has rated these fans to go as low as 800 RPM though in our testing RPM went to lower range of 450.
Asus motherboard has very PWM control on it. HD fans’ speed was regulated at regular interval of 10% power, against each of this rating, air flow was measured using TMA 10A which was placed 6” away from the radiator. Similarly, on each voltage reading, dBA was recorded using UT 352 placed at 6” distance. Every value was double checked for validation purpose. Room dBA was 29. Delta of decibel reading from room decibel was taken for more accurate representation of the statistical data.
On a side note, higher CFM values are better, lower dBA values are better. Similarly, lower dBA values against the higher RPMs are better.
First, we will look at linear air flow and decibels of the fans followed by the thermal results.
Below graph shows the relationship between airflow in CFM sound level in dBA of the Fans. This is an average RPM of two fans. Maximum CFM was 41 at 31 dBA during our testing. The fan has rated air flow of 54.4 CFM and sound level of 30 dBA. Remember, our readings are coming from the air passing through the radiator. 41 CFM is a good value.

Below graph shows the relationship between air flow taken at various speeds of the fan measured in RPM. Maximum CFM was 41 at 1829 RPM. This relation is not as linear as on SP fans, we have tested. Next graph will show the relation between air flow and sound level.

Next up is the relation between sound levels recorded at various speeds of the fans. Max 31 dBA was recorded on 1829 RPM.

As many users would want to know if they can use these fans as case fans, we measured the air flow free of any resistance and then tested them against the dust filter. The performance was impressive. Fan managed to produce 92CFM at full speed without any resistance against it. Against dust filter, the fan managed to provide 60 CFM at full speed.
Thermal Performance
Corsair has maintained the static pressure rating on these fans. This would mean one can mount these fans on the radiator and put them to good use. We measure the thermal performance of these fans on H100i V2 as described above. Fans were run on Full speed and on Low Speed with the chip on stock clocks at 1.136V and then on 4.4GHz with 1.360V. Room temp was 18C. Voltages on Vcore were set to be in manual mode to avoid any fluctuation or voltage spikes. HD fans are rated at 800 RPM as the minimum though our samples made it to 447 RPM. Hence, 800 RPM was taken as the minimum for both fans and both types of fans were tried to operate at near or at 800 RPM with the approximation.
Both fans were run on approx. 800 RPM with +/- 10%. CPU was on stock clocks at 1.136V with XMP enabled. Average temps were 44C on HD120 RGB fans.

Both fans were run at their full speed with +/- 10%. CPU was on stock clocks at 1.136V with XMP enabled. Average temps with HD120 RGB were 41C.

CPU was overclocked to 4.4GHz at 1.360V with XMP enabled. Fans were run on their low speeds at approx. 800 RPM with +/-10%. Max temps on HD120 RGB were 81C with average being 71C. Remember, 1.360V for the 6-core chip will produce too high a heat to dissipate and it will put more stress on the cooling unit.

CPU was overclocked to 4.4GHz at 1.360V with XMP enabled. Fans were run at their full speeds with +/-10%. The result is very good. 65C average temp with HD120 RGB fans with the max of 72C.

As maximum speed on SP120 RGB fans is 1400 RPM with +/-10%, HD120 RGB fans were set to run at 1400 RPM (approx.) and a test was repeated first without overclocking the CPU then with overclock.

No surprise there. Both fans have same motor and bearings with approx. same airflow rating. Both were doing 43C on average under stress test on stock clocks.

HD120 RGB fans were doing 66C at approx. 1400 RPM (remember their rated speed is 1725 RPM with +/- 10%. SP fans were leading with mere 1C delta which in itself a good figure for SP fans.
Final Thoughts
Corsair made an entry into the RGB fan world with SP120 RGB and HD120 RGB series of fans. SP120 RGB is a new generation in a SP series of fans, whereas HD120 is a new line from them with more focus on RGB LED lighting. In our testing, both fans have performed almost similar. The difference comes from the design and RGB LED implementation and of course the price tag.
Prices of three retail packs of HD120 RGB fans are as under: –
Single Fan pack @ $29.99
Single Fan with a Controller pack @ $49.99
Three Fans with a Controller pack @ $89.99
Remember, without the controller, we won’t have any light on the fans so minimum $49.99 are to be expensed. Prices are definitely high. Here are the Pros and Cons of these fans:
Pros
- 12 RGB LEDs built in the frame of the fans
- PWM Regulation
- Independent power sources for RGB LEDs and fan motor.
- Performed very well on X99 though performance difference is marginal as compared to SP120 RGB fans.
- Stylish design which is very pleasing
- Fan Hub can accommodate up to RGB LED 6 fans, which is plenty for the majority of the users.
Cons
- Very high price tag
- Not the best value product as compared to the SP120 RGB fans
- No control to adjust the brightness of the fans. Fans have high brightness
- No integration in Corsair Link
- Not true RGB Implementation as there is no software to change the colours on colour spectrum
- Only 7 colours on the LEDs
- Challenge for the cable management lovers
In a nut shell, if you are up to a very good RGB LED fan solution in the market and has got the budget then these fans are for you otherwise, SP120 RGB fans are better options.


