












DeepCool CH270 Digital White Review

Back in time, when I tested ALTA G1M from SilverStone, it got my praise. The concept behind the design is the tower-style SFF for mATX and mini-ITX that can provide clearance and support for high-end components, including bulky graphics cards and up to 360mm radiator support.
This time, I have tested a similar design from DeepCool named CH270 Digital. This case is available in black and white, and it is designed around providing maximum support for high-end builds while remaining within a small form factor. The word digital in the naming convention refers to the display screen installed on the base of this case that can display the sensor’s readout from CPU, PSU, and graphics card, etc.
The panels feature a wraparound design, and DeepCool has ensured dust filtration all around. The provision of tempered glass on the front panel elevates the outlook of this case considerably. This case has a total of 6x fan mounts.
The MSRP of this case is USD 79.99 and has a one-year warranty.
Specifications

Packaging and Unboxing
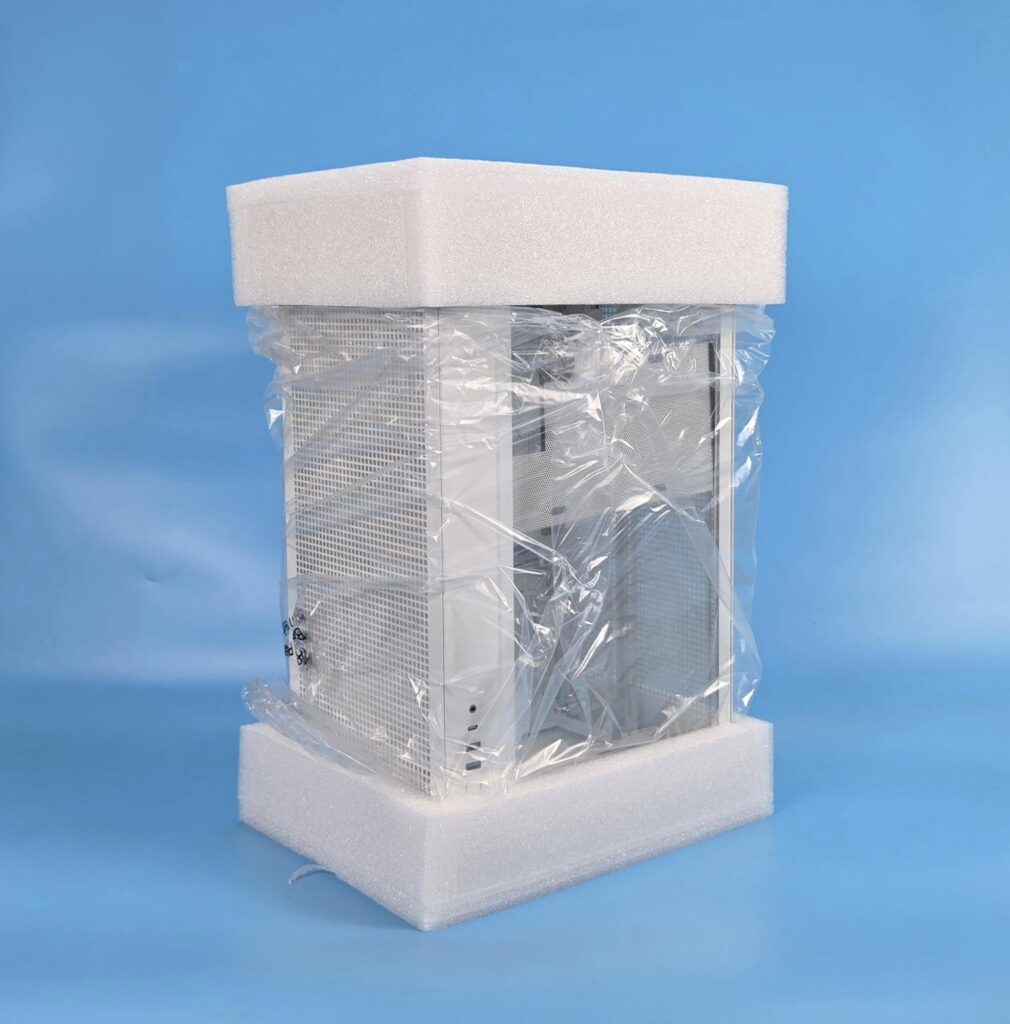
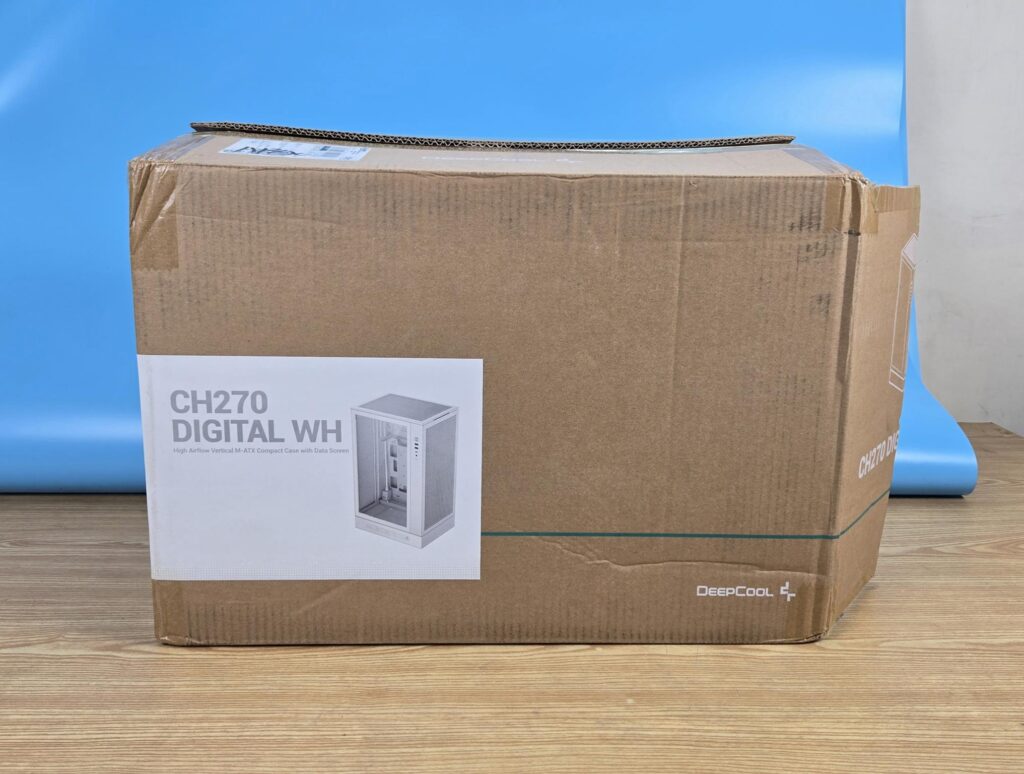
The case is shipped inside a standard cardboard box finished in brown. DeepCool ships the product in another cardboard box for an extra layer of protection. However, our sample arrives in a cardboard box cut on two sides.
The features and specifications are also listed on the shipping box. The two thick white Styrofoam pads sandwich the case for safe shipping.
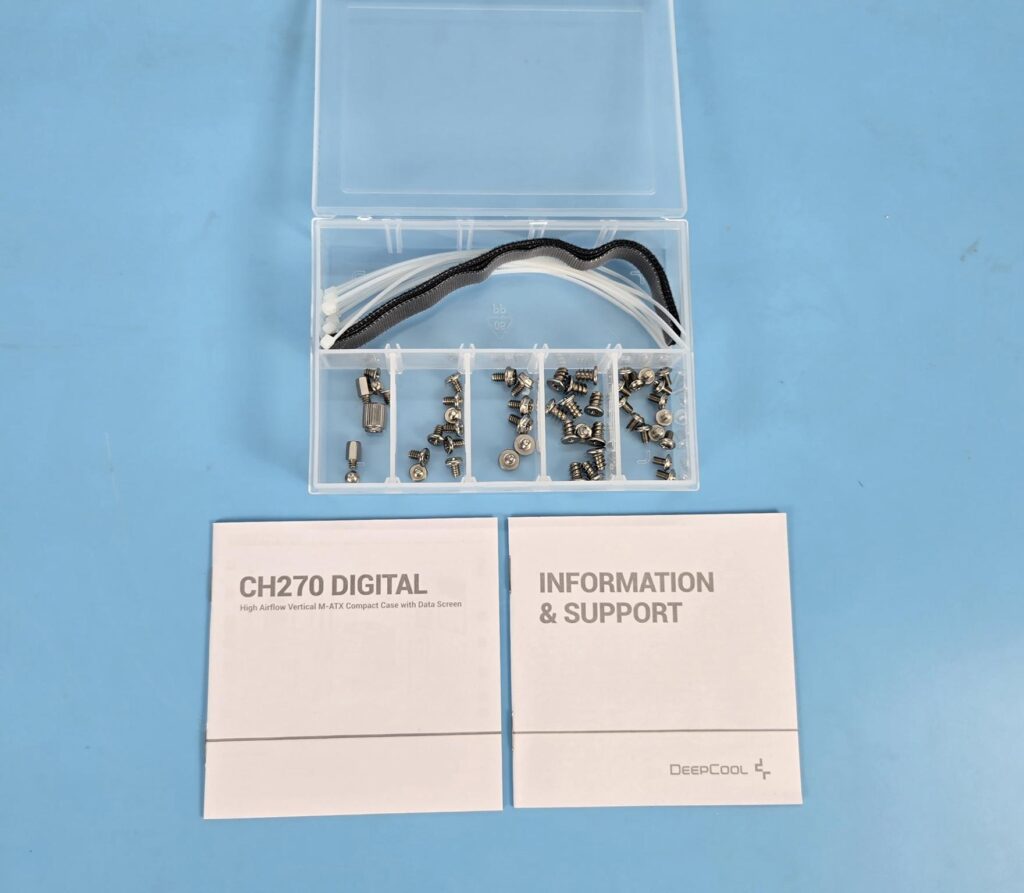
DeepCool has used a transparent container for the accessories, giving a premium feel to the product. The following are provided:
- Quick User Guide
- Information and Support brochure
- Motherboard Tray Standoffs
- Motherboard Screws
- PSU Screws
- HDD Cage Screws
- Socket Wrench for standoffs
- Zip Ties
- Velcro Strips
Closer Look
The CH270 Digital White has a dimension of 296x225x486mm (LxWxH). 486mm is the height of this case. It is made of ABS, SPCC, and Tempered Glass. The weight of this case is 5.8Kg.
Exterior View
Let’s start with an exterior view of the chassis, starting from the front.

The front of the case is identified with the tempered glass panel showcasing the complete build inside the case. This panel is not tool-less, and you need to remove two screws to remove the panel. You can see a diffuser style on the base, which is actually the display screen.
The IO panel is on the right frame. This frame is also removable. This frame sits in front of the graphics card or PCIe slots. Removing it would make it convenient to install the graphics card.
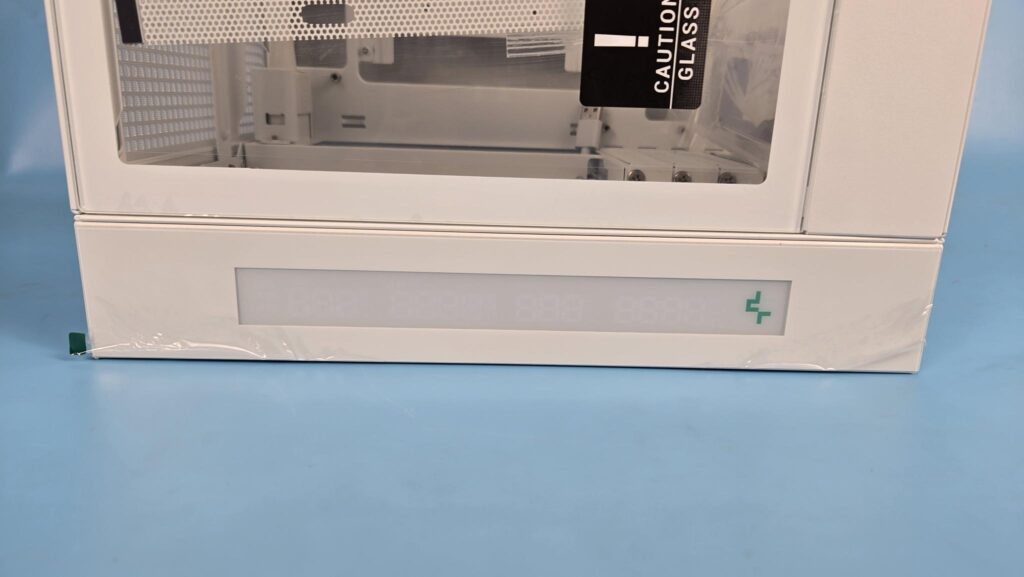
Here is a close-up of the display screen.
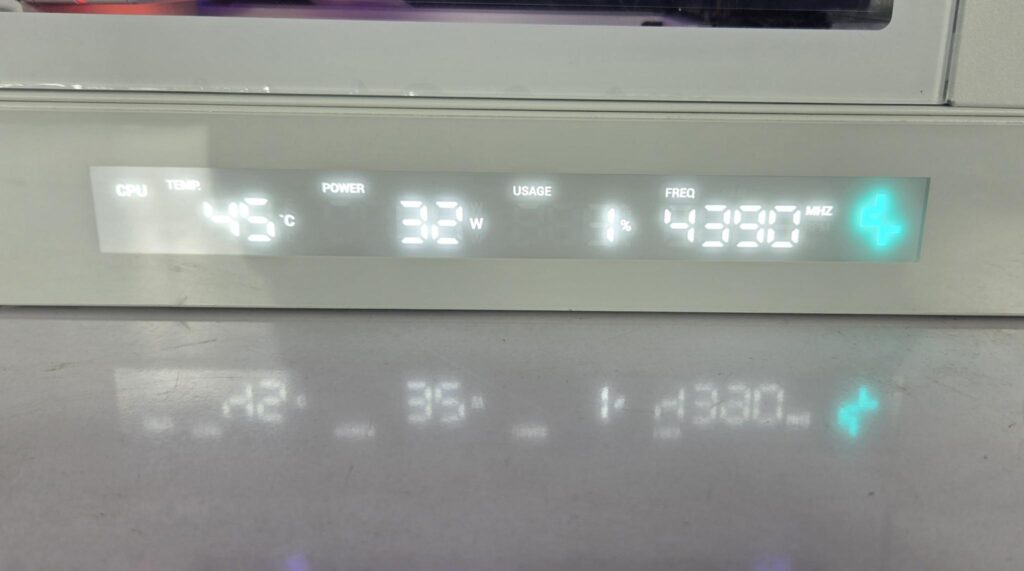
The above picture shows the display screen in action. Sorry for the poor picture. My camera struggled to capture the true display. You need to download the software fromthe DeepCool website to set up the screen.
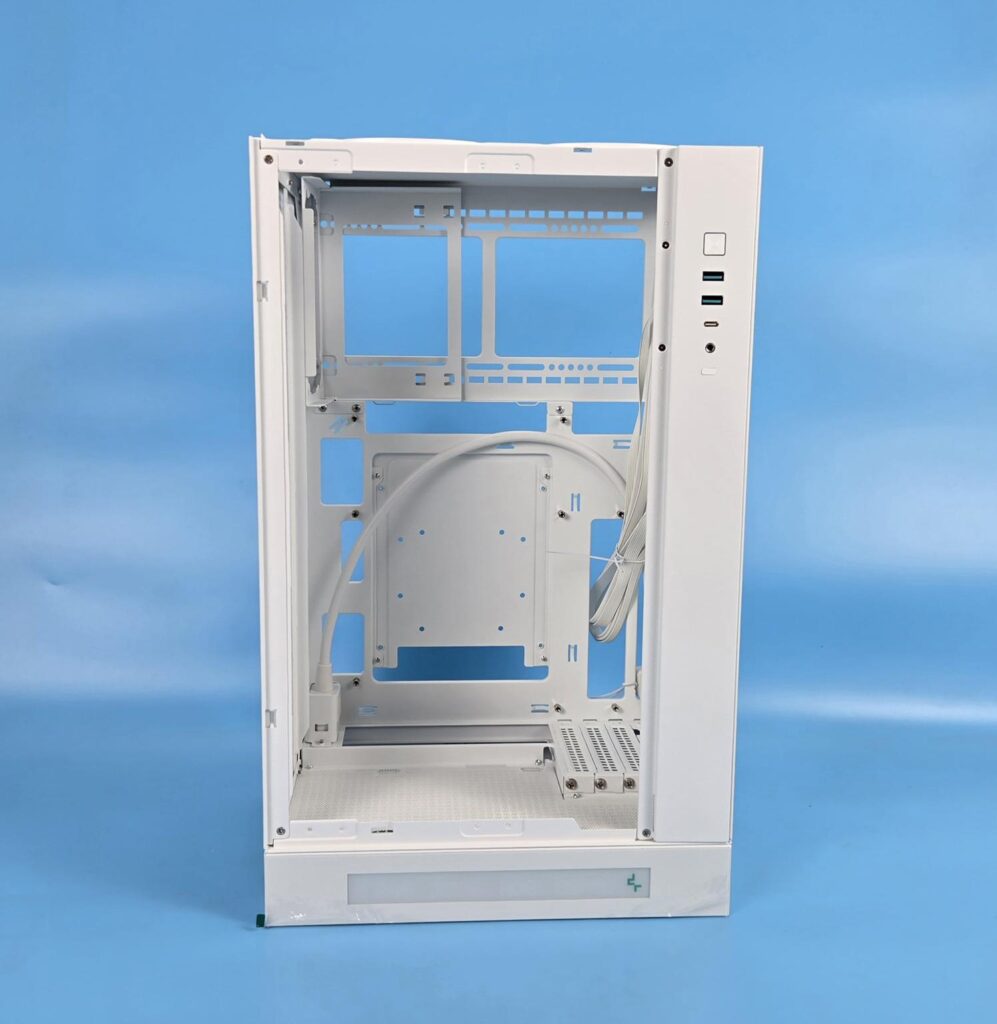
I have removed the front panel. You can now clearly see the inside of the case. You will get to see the motherboard, cooler, some portion of the graphics card, PSU clearly once the build is done.
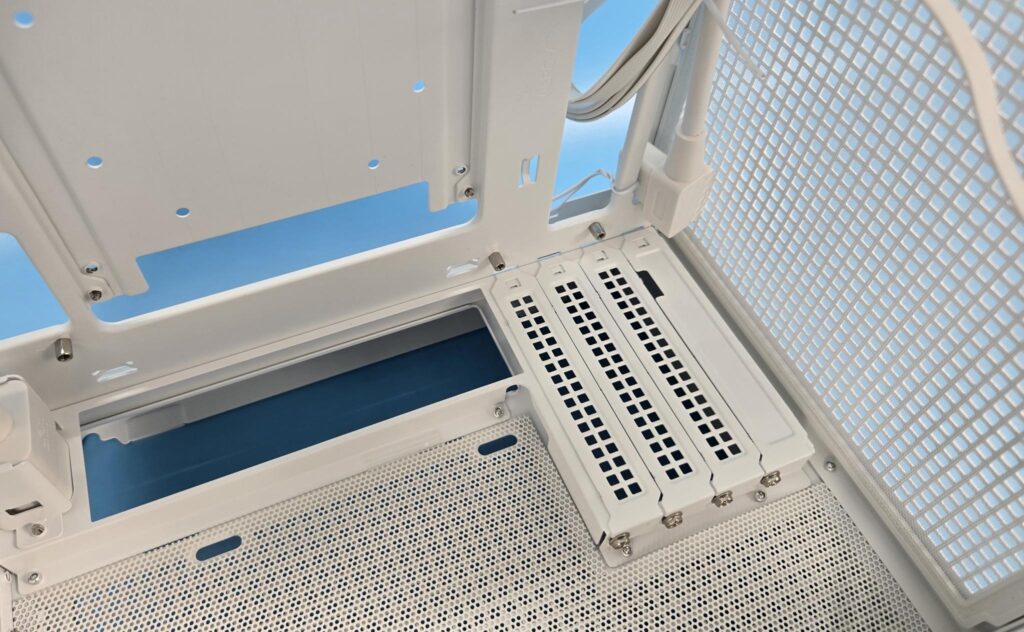
The case supports a total of 4x expansion slots. The three are vented whereas the last one has a solid surface without cutout or perforation.
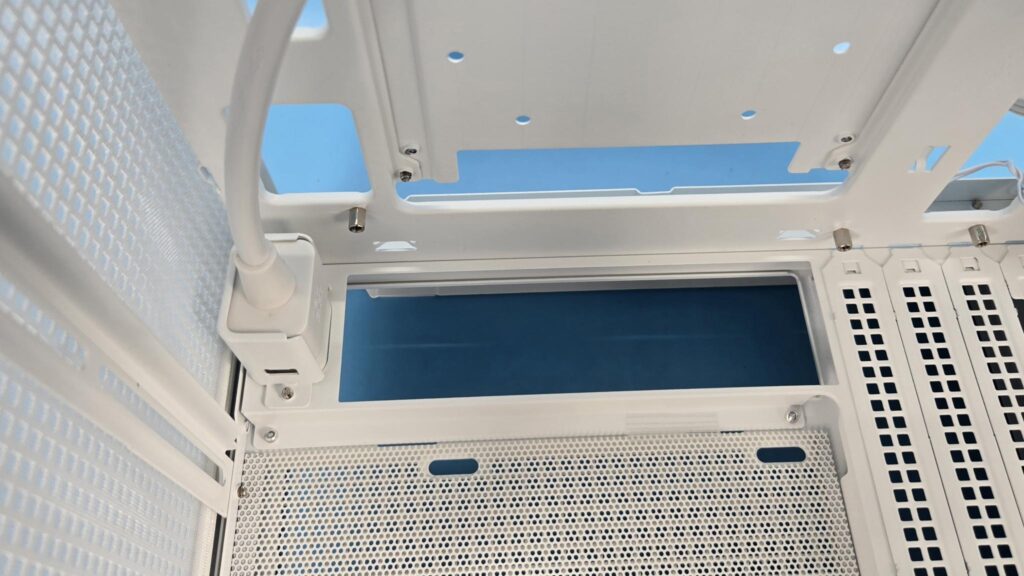
The large cutout is where the rear IO of the motherboard will rest. You can see a plug on the top left. Since the PSU is installed on the far end of the case, DeepCool has provided an internal power extension cable, which is a standard SFF design.
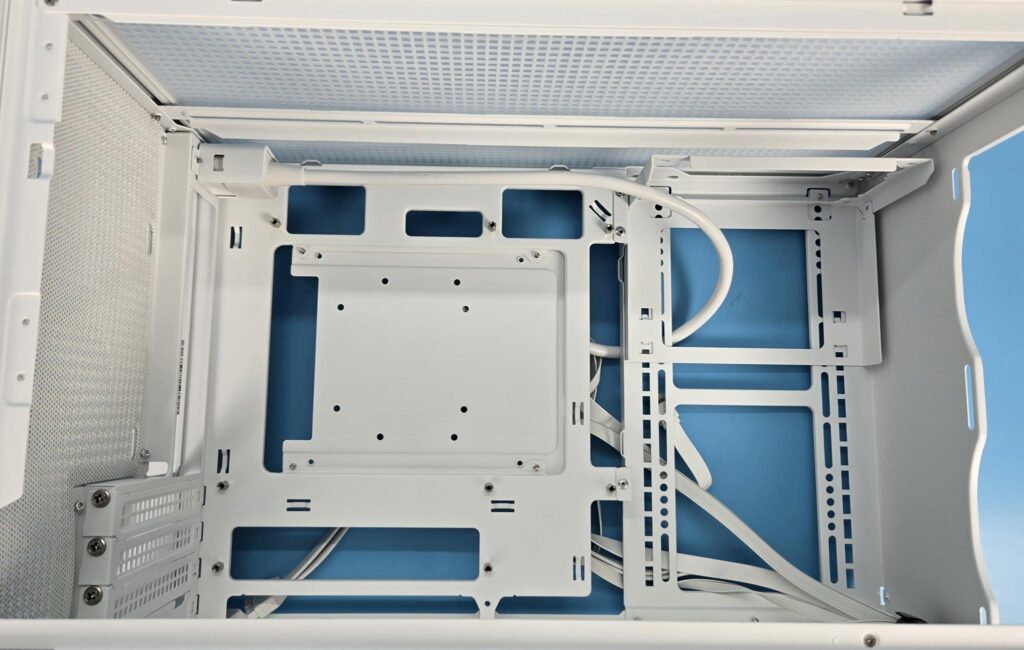
This is a top view of the motherboard tray. The large size cutout has a bracket that can be removed from the opposite side. This case supports backplug motherboards in mATX form factor as well. The cutouts provide aan ccess way for the cables to be connected to the components. The right side cutouts sit closer to the PSU. You need to plan ahead for this part for clean cable management.
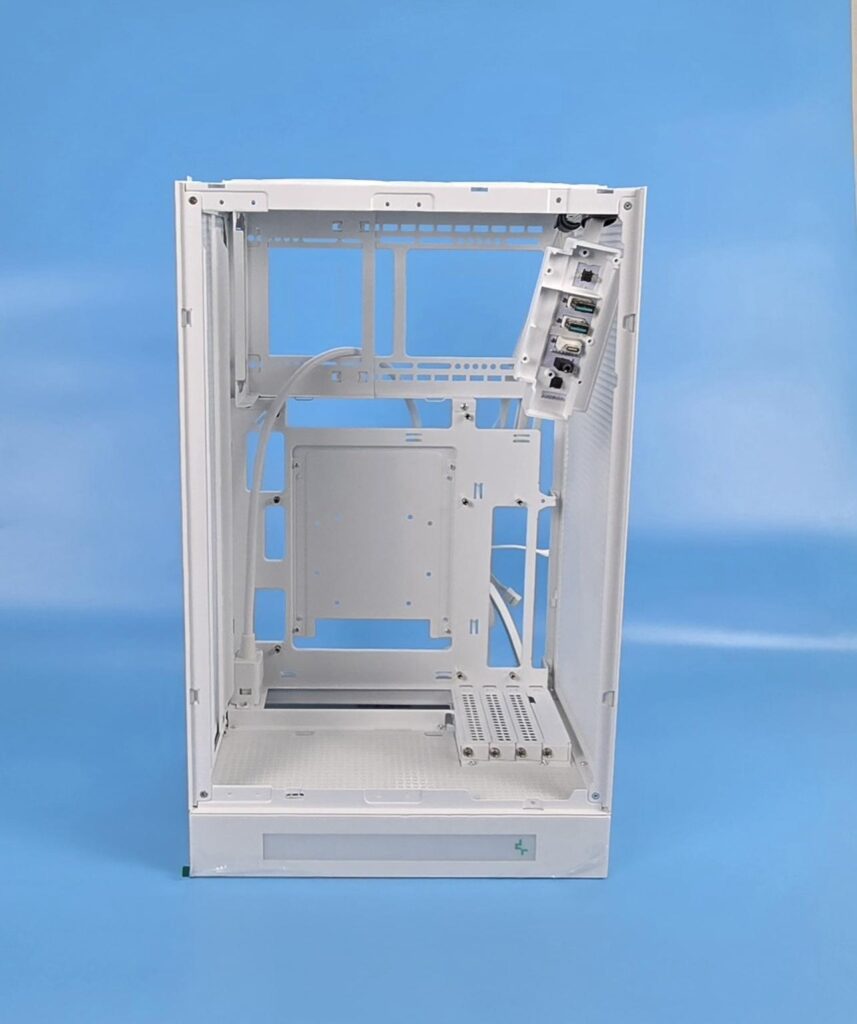
I have removed the side frame on the front side, and now you can see a clear view of the chassis inside.
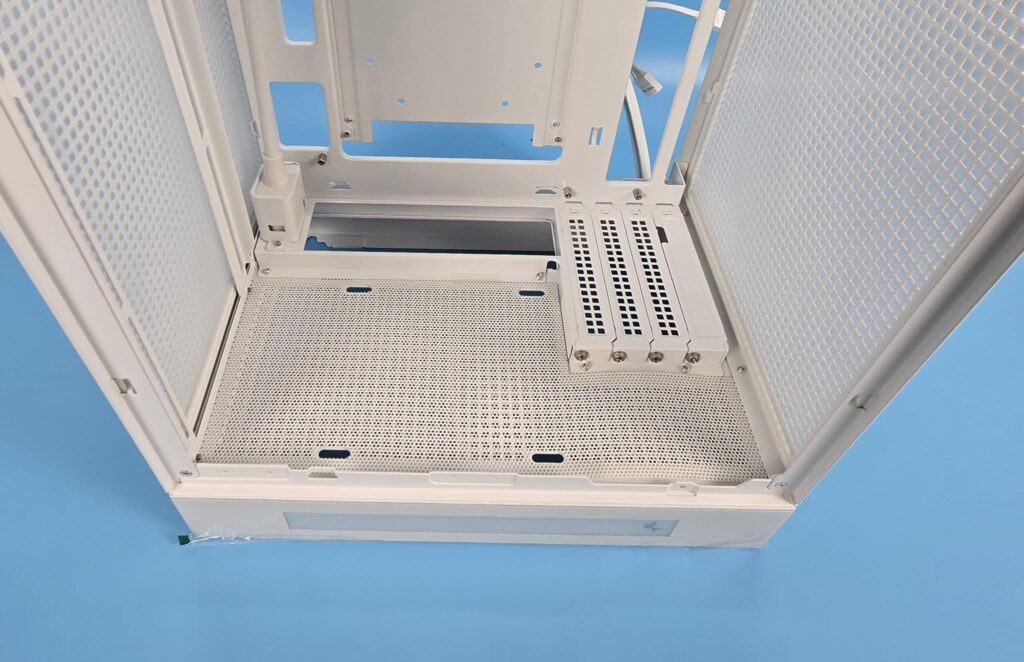
This is actually the base of the case. You can install 1x 120mm fan here. The dust filter is also provided here.
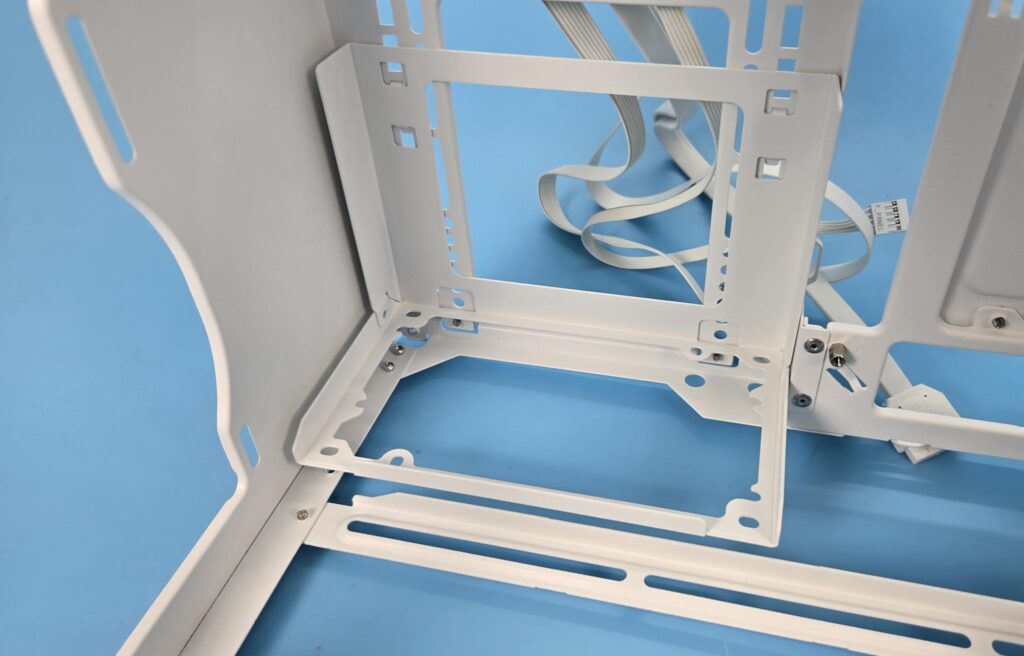
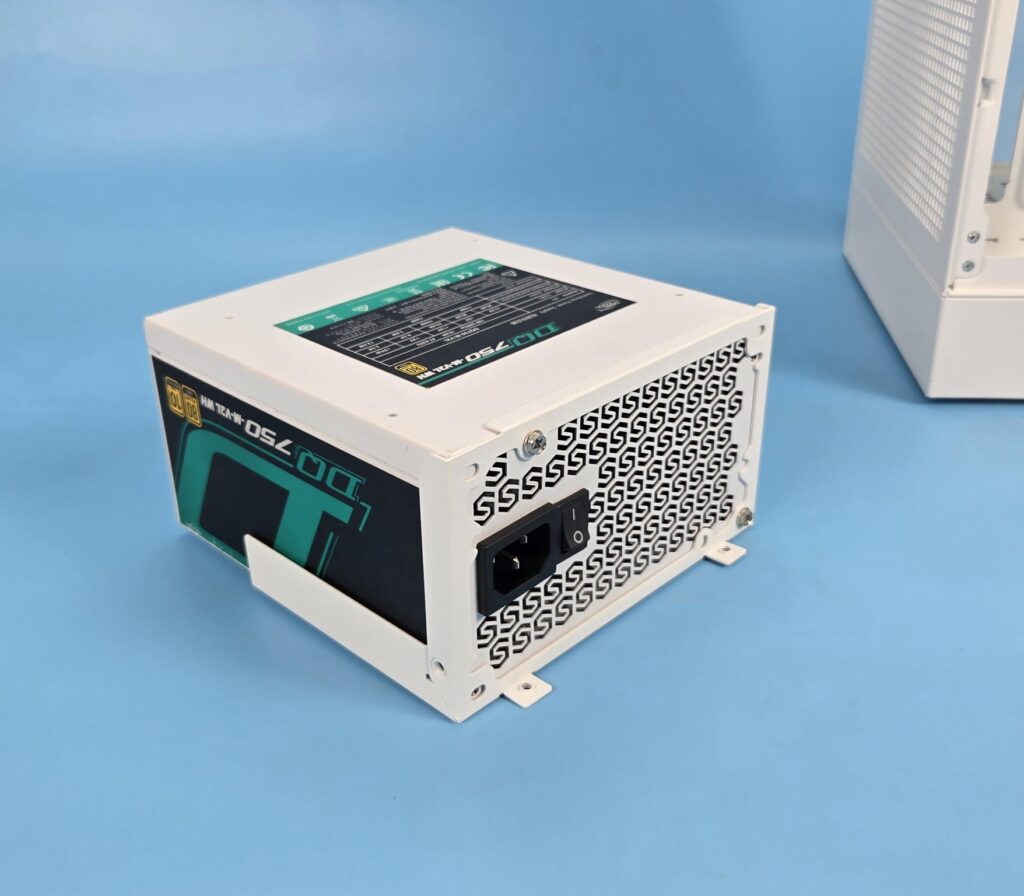
The PSU bracket is attached to the top of the case. It supports ATX as well as the SFF PSUs. A single bracket covers both types of PSUs.
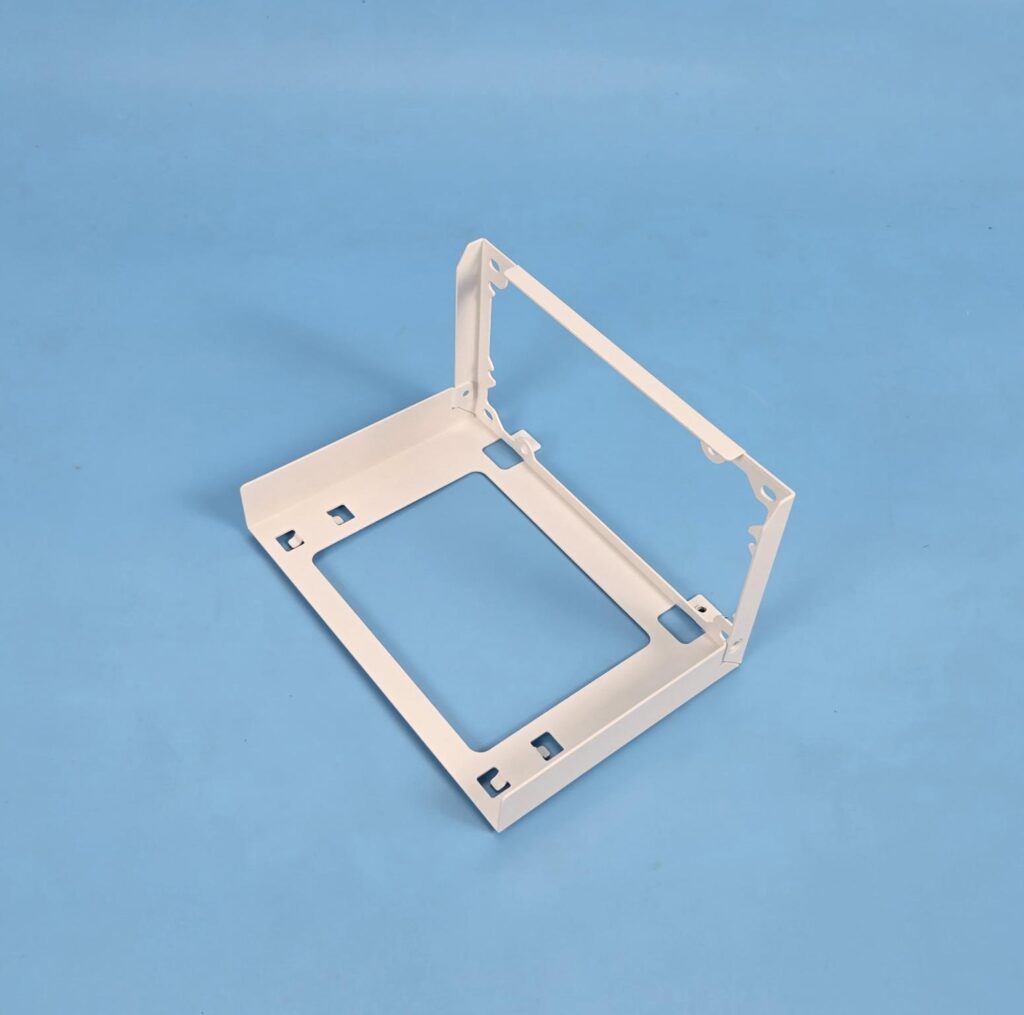
I have removed the PSU bracket from the chassis. You’d better take it out to install the PSU conveniently than trying to install the PSU inside the case.
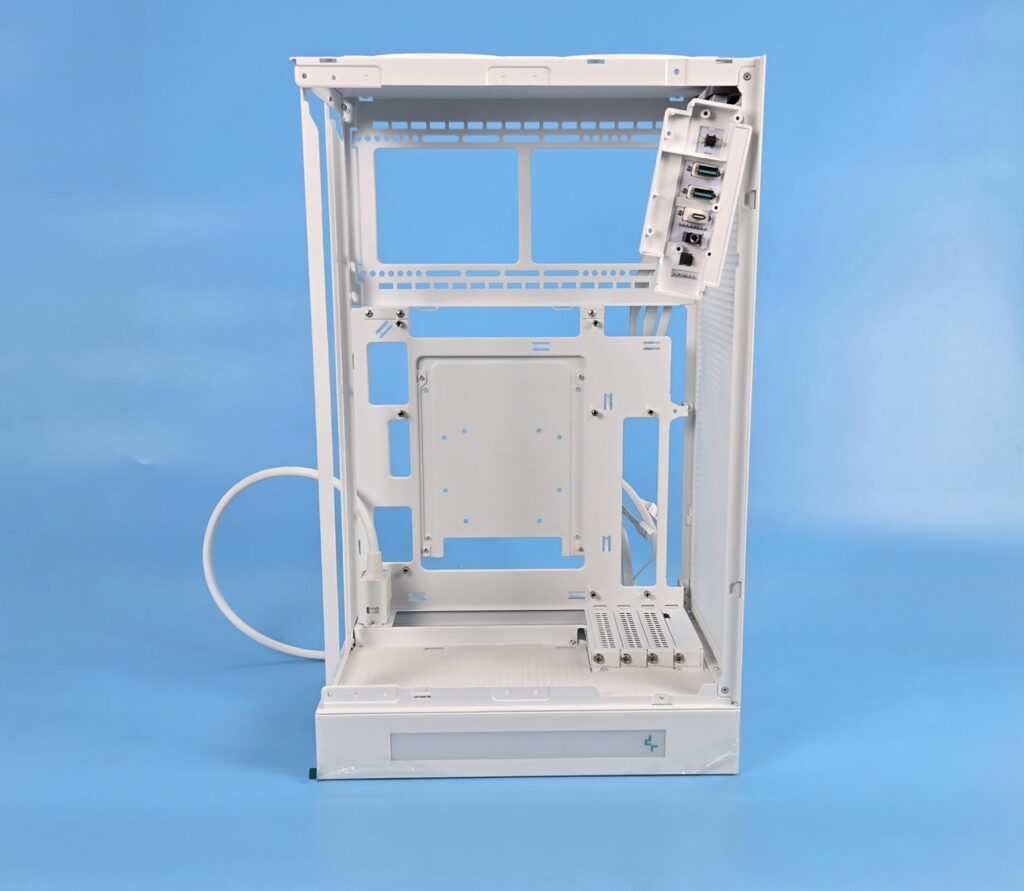
I have removed the PSU bracket. You can see a rail mount design on the top backside. This rail mount is for the PSU since you are allowed to adjust the position of the PSU along this rail.
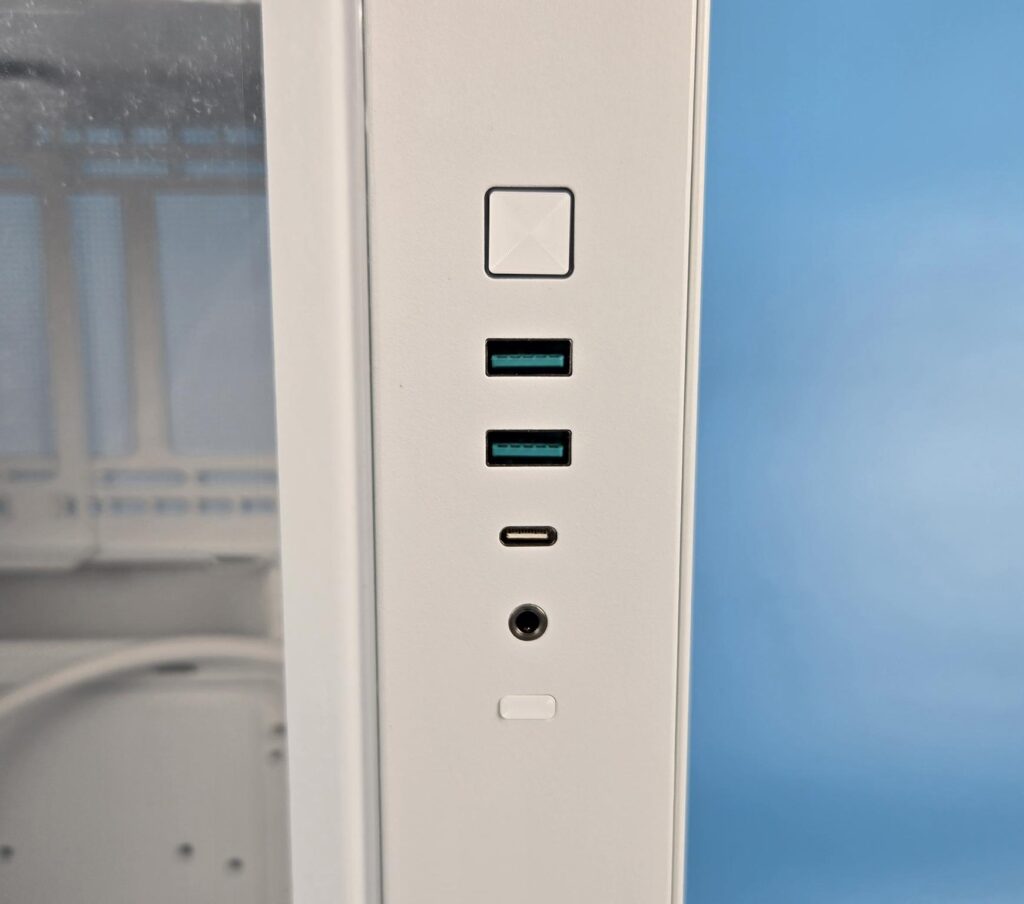
The IO panel has the following ports:
- 2x USB 3.0 Ports
- 1x USB Gen-2 Type-C Port
- 1x Mic and Audio Port
- 1x Power Button
- 1x Reset Button
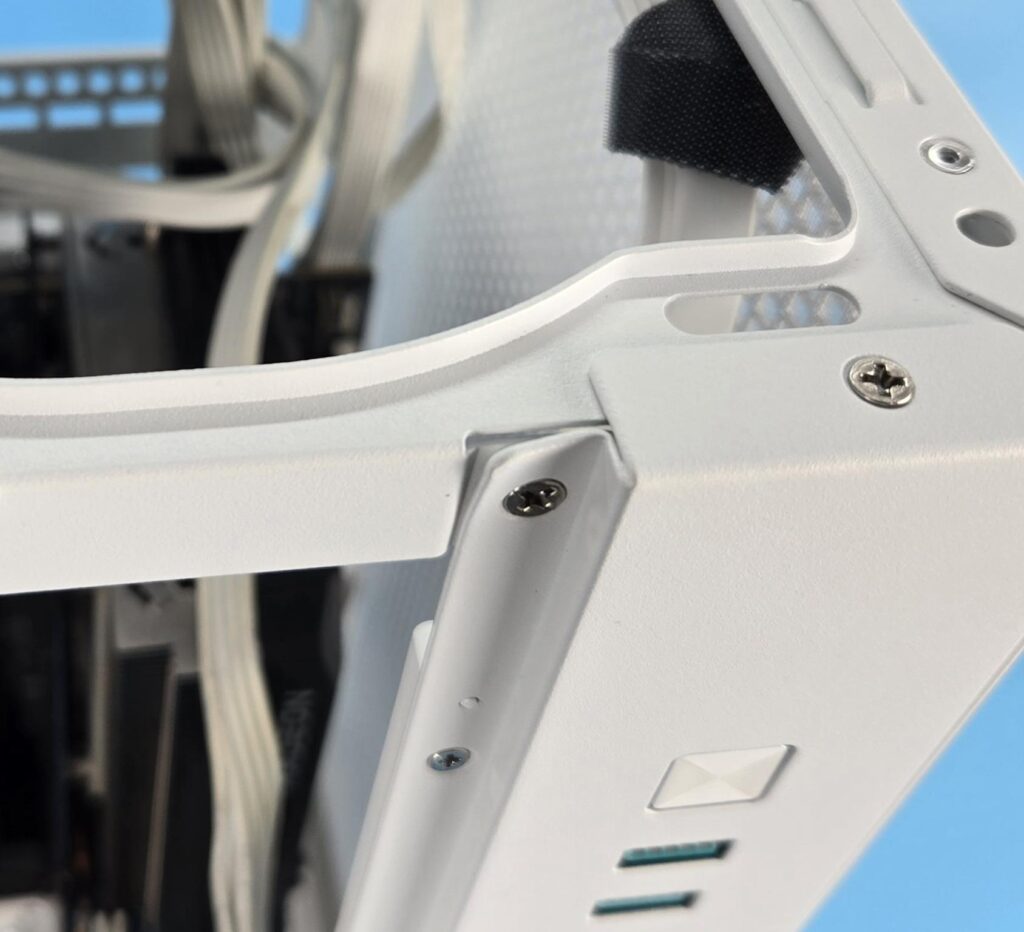
If this is not by design, then we have a QC overlook in this case. The corner of the frame is bent, as can be seen in the picture.
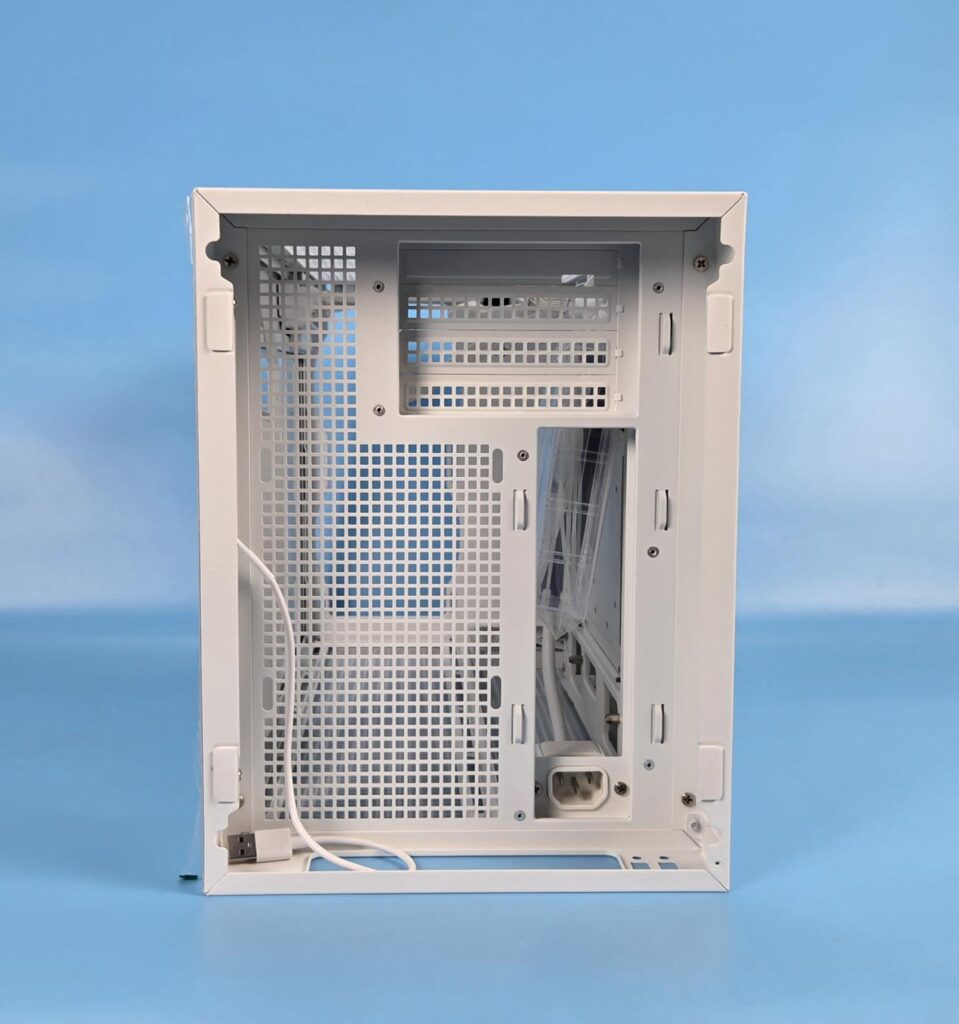
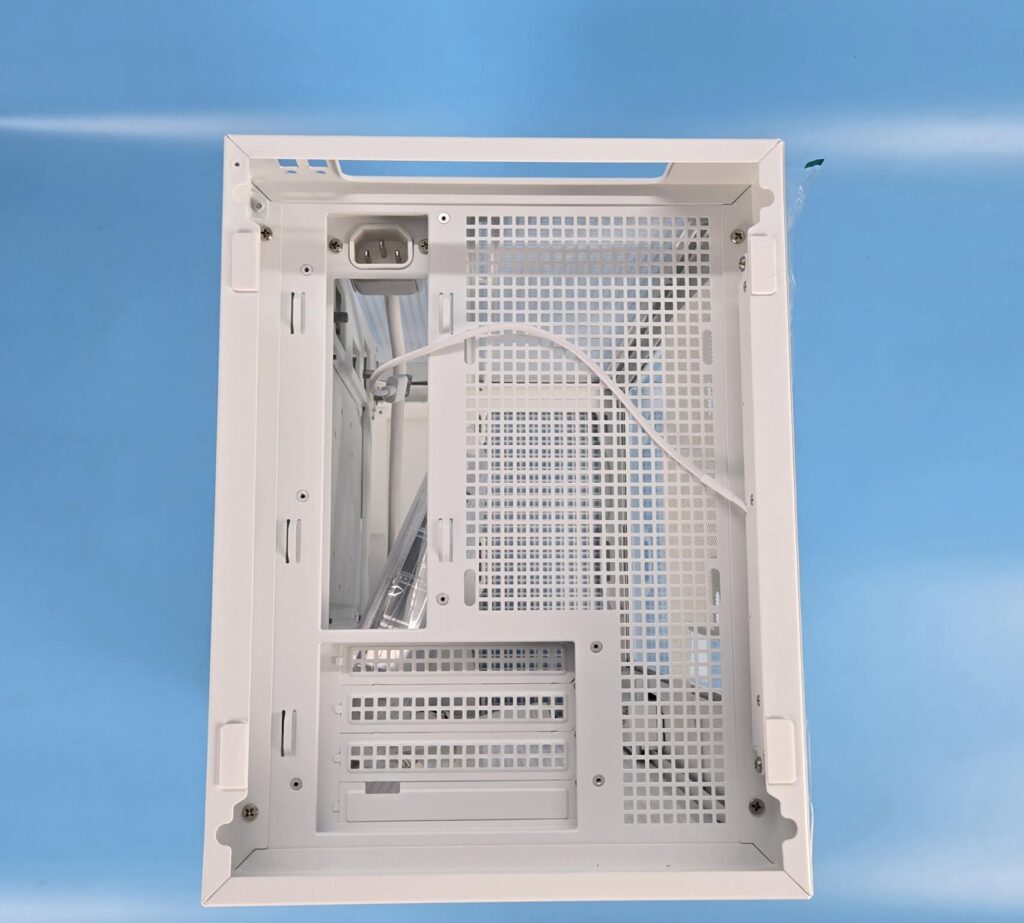
I am now showing the bottom view of the case if it stands on the table. You can also call it the rear side of the case if it is placed horizontally. A USB cable is visible, which needs to be connected to the motherboard’s rear IO panel. This cable is for the display screen. The cutout on one side of the frame allows the connected cables to be passed through the case.
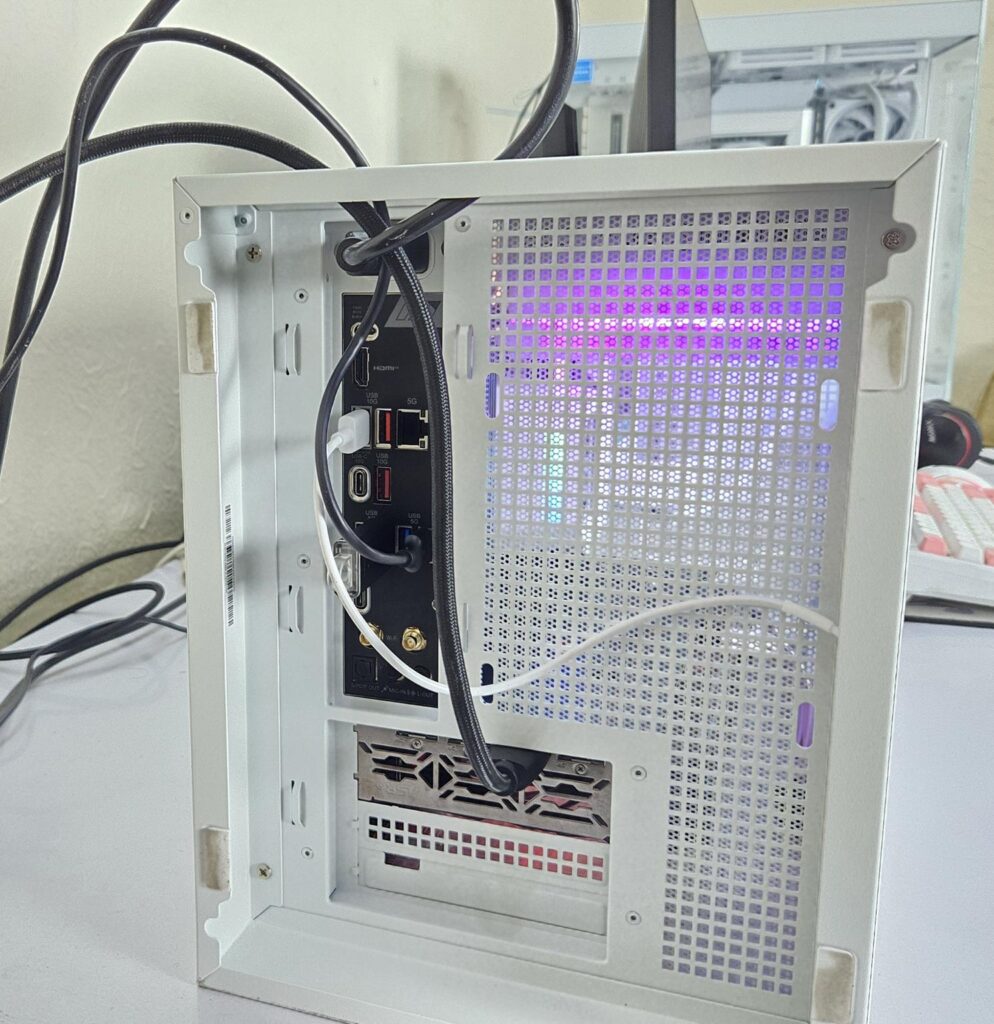
My gripe with this design is that the motherboard sits on the base of the case in a standing configuration. This means you will not have access to the rear of the motherboard. This area will have access only when the case is in horizontal placement, which is not by default. Comparing this with SST ALTA G1M, the SilverStone case has a better placement of the motherboard as it sits on top, providing good access to the motherboard’s rear IO and graphics card’s rear connection.
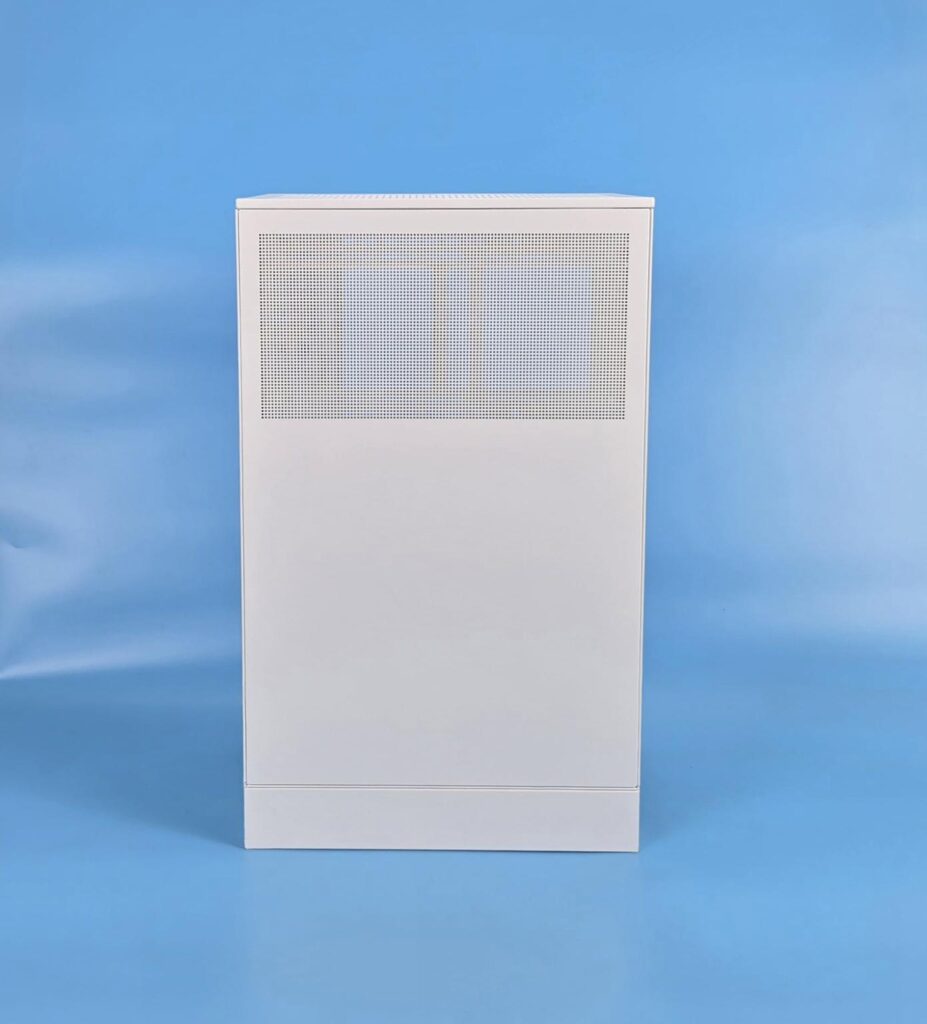
Now, I am showing the backside of the case in a standing configuration. You can see mesh on the top. This mesh faces the PSU mount on the main housing. You can also install a storage drive here.
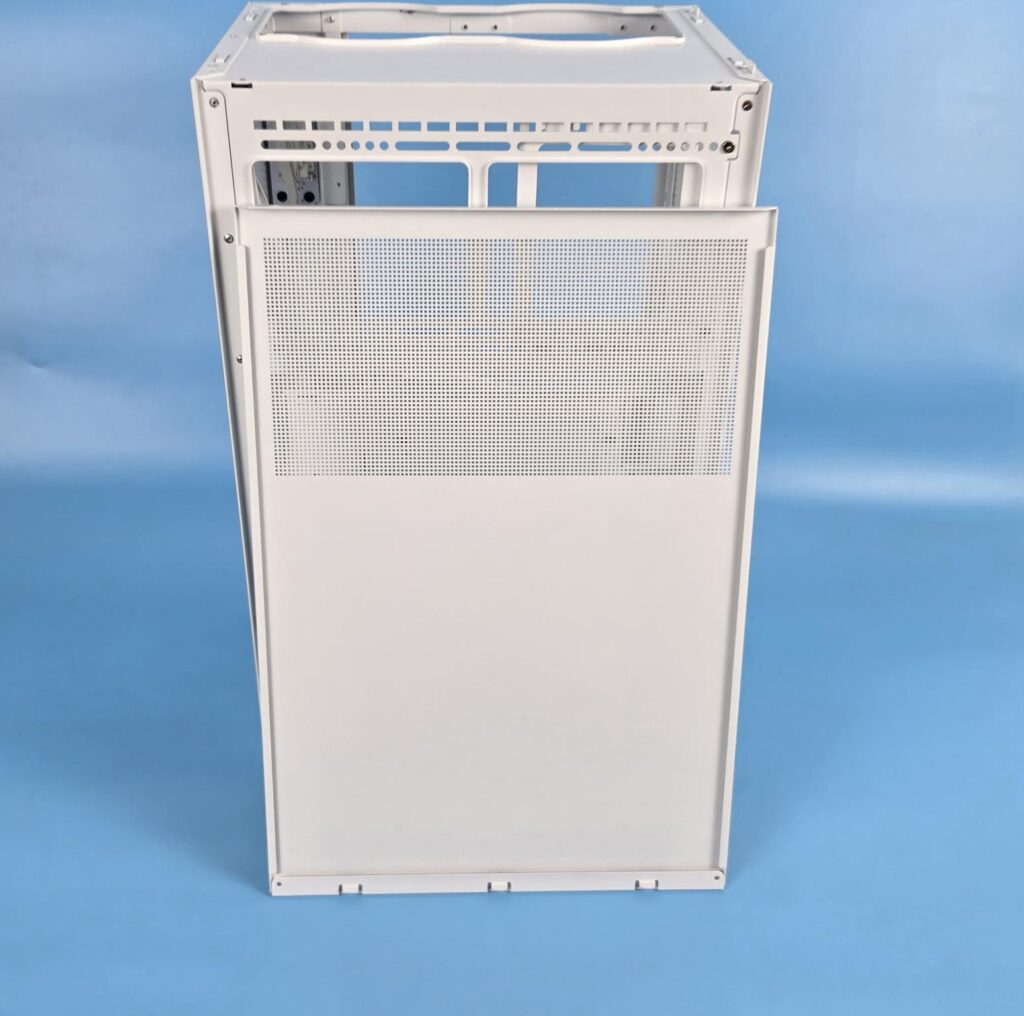
This is the only area where I did not see a dust filter in this case.
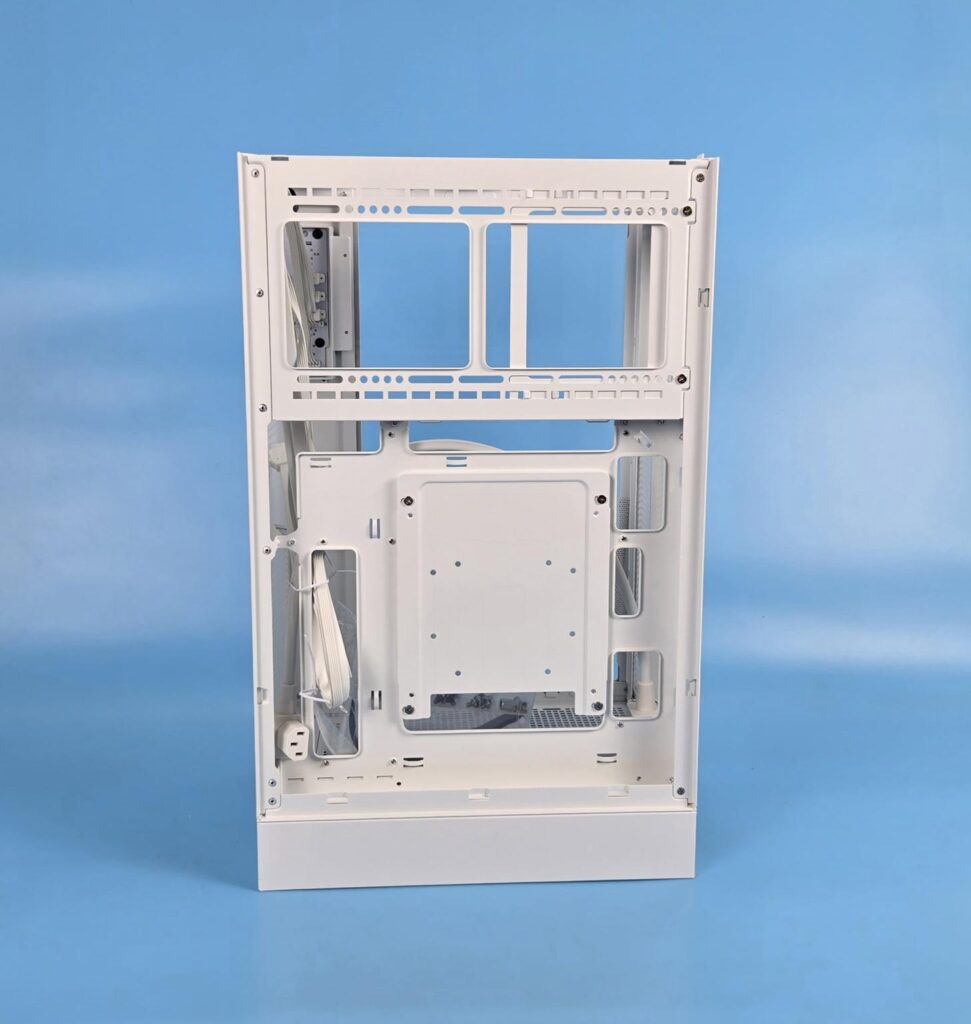
Now you can see the backside of the case with the panel removed. Up top, you can see a rail mount for the PSU. The lower and larger section has an inset, and it is the backside of the motherboard tray. The bracket is installed on the CPU cutout using 4x screws.
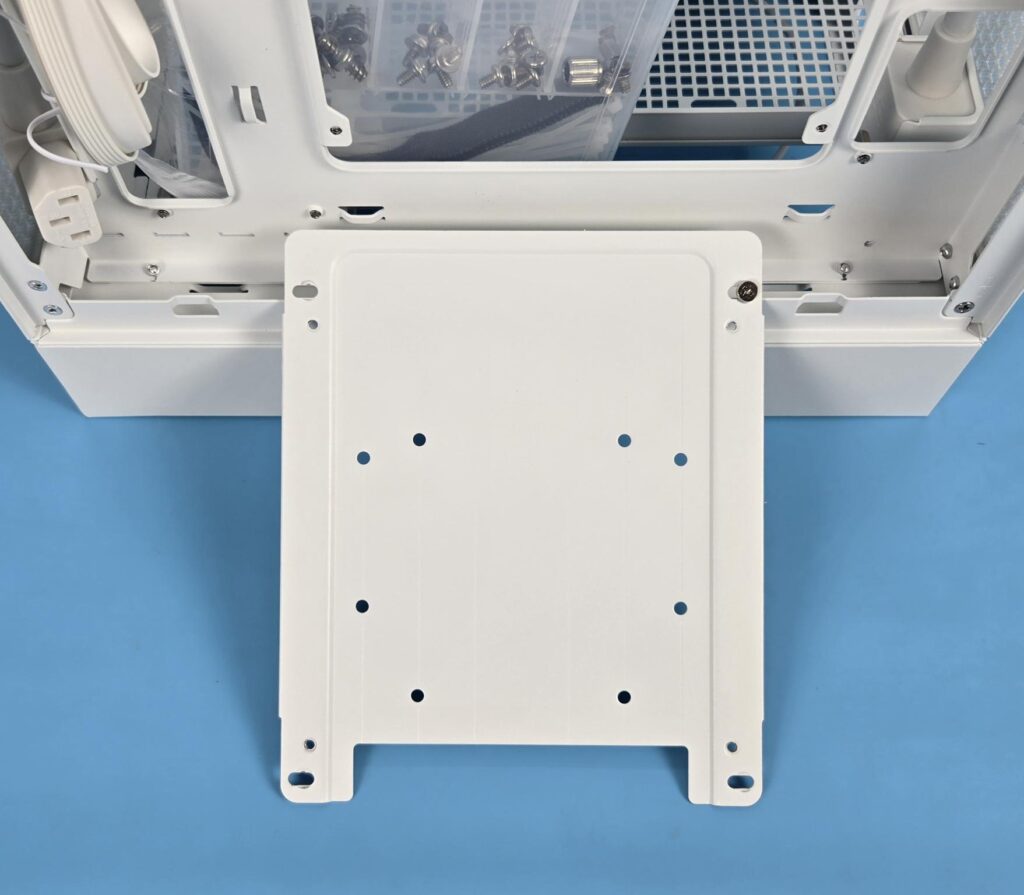
I have removed the bracket. A second storage drive can be mounted on this bracket.
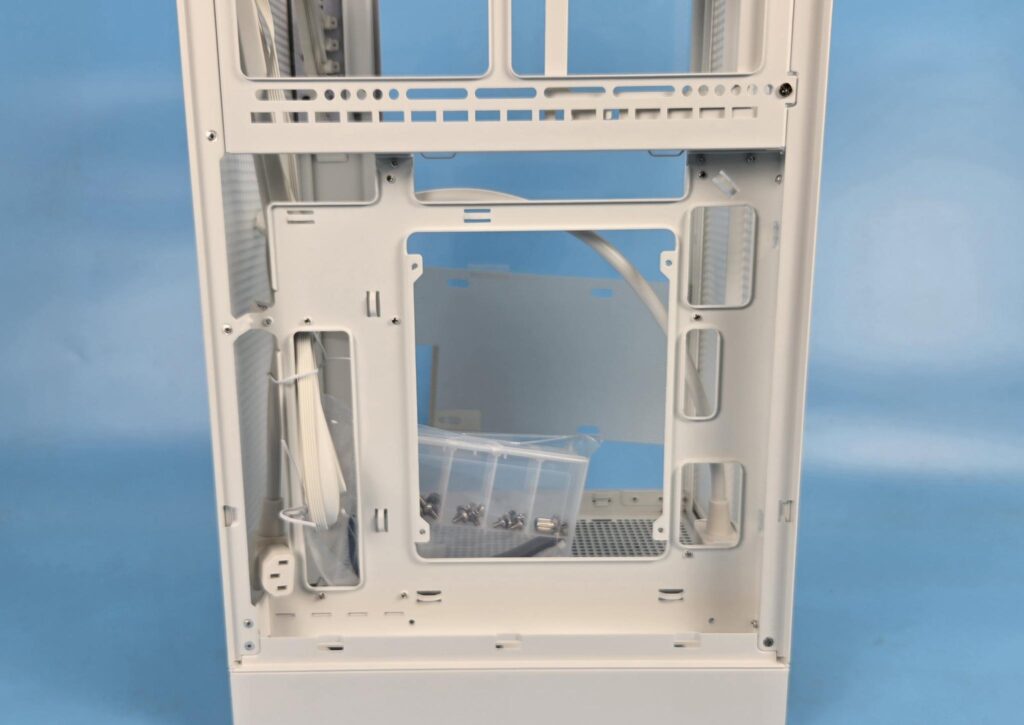
Now, I am showing the backside of the motherboard tray with the bracket removed.
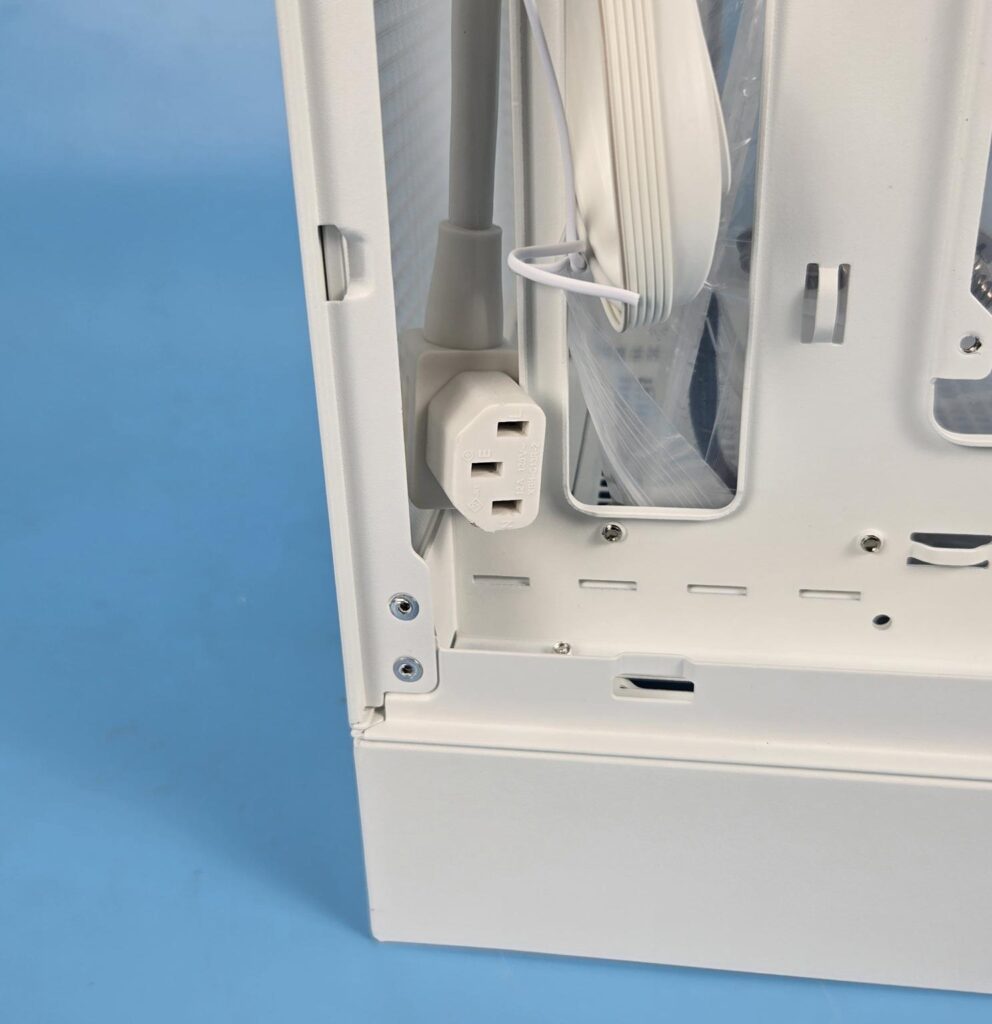
A right-angled 3-pin plug is visible. This is to be connected to the PSU. Don’t forget to power on the PSU button, as you will have limited access to the PSU once the build is done.
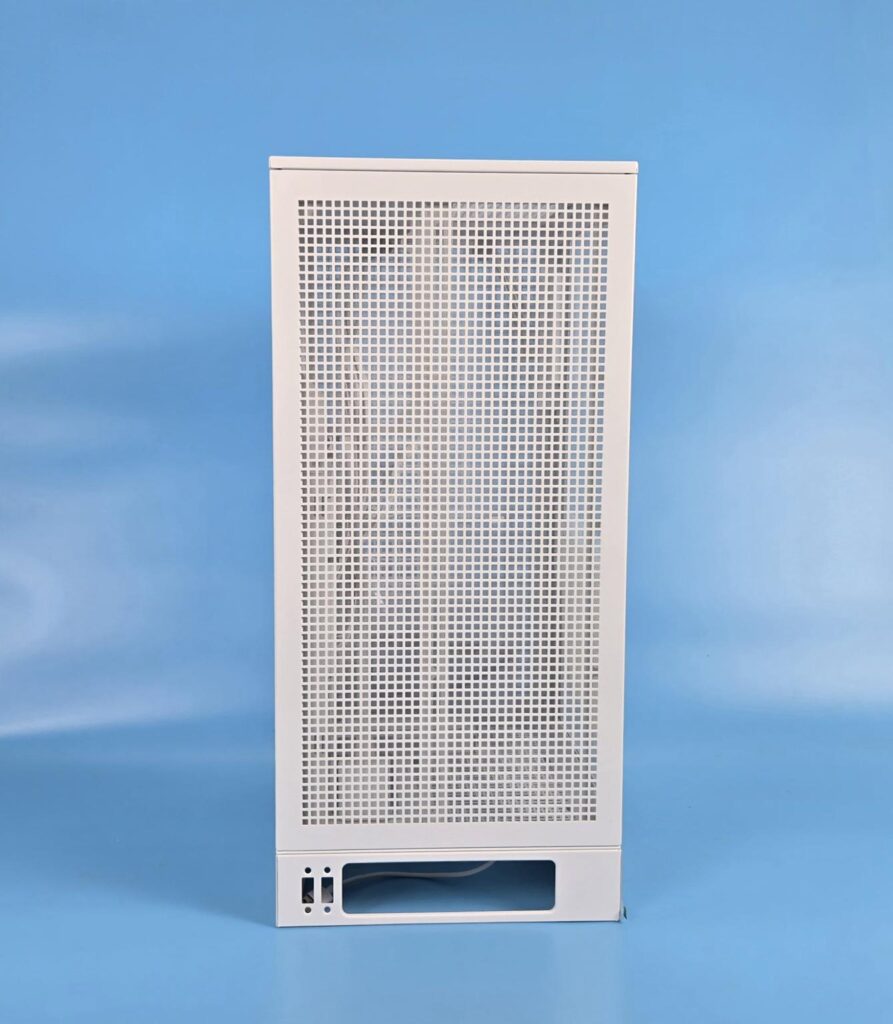
Now, I am showing the left side of the chassis. This is where the radiator/fan can be installed. We have a large perforated mesh panel.
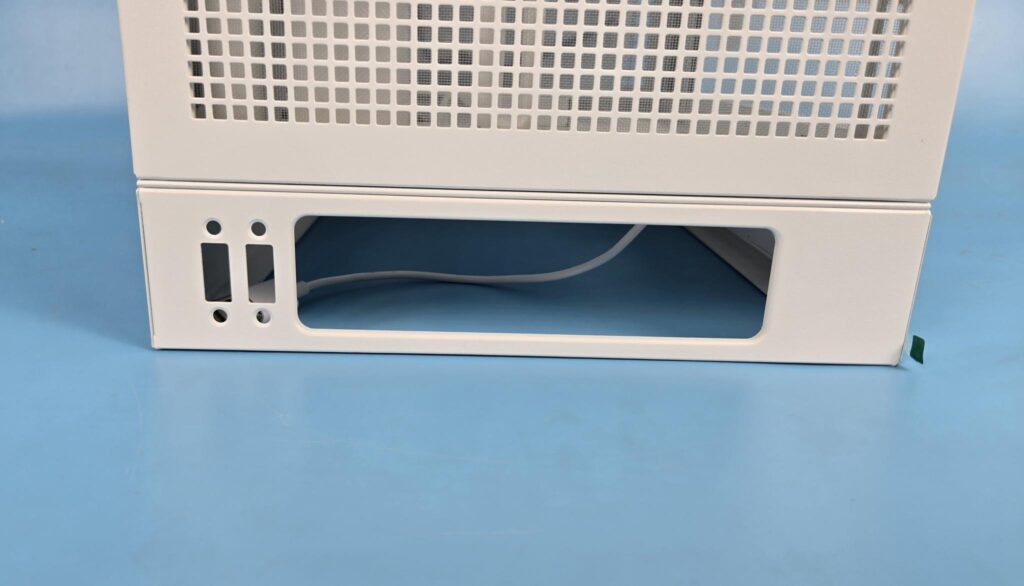
The base has a large cutout, which I have mentioned above, is used to pass the cables coming from the rear IO of the motherboard.
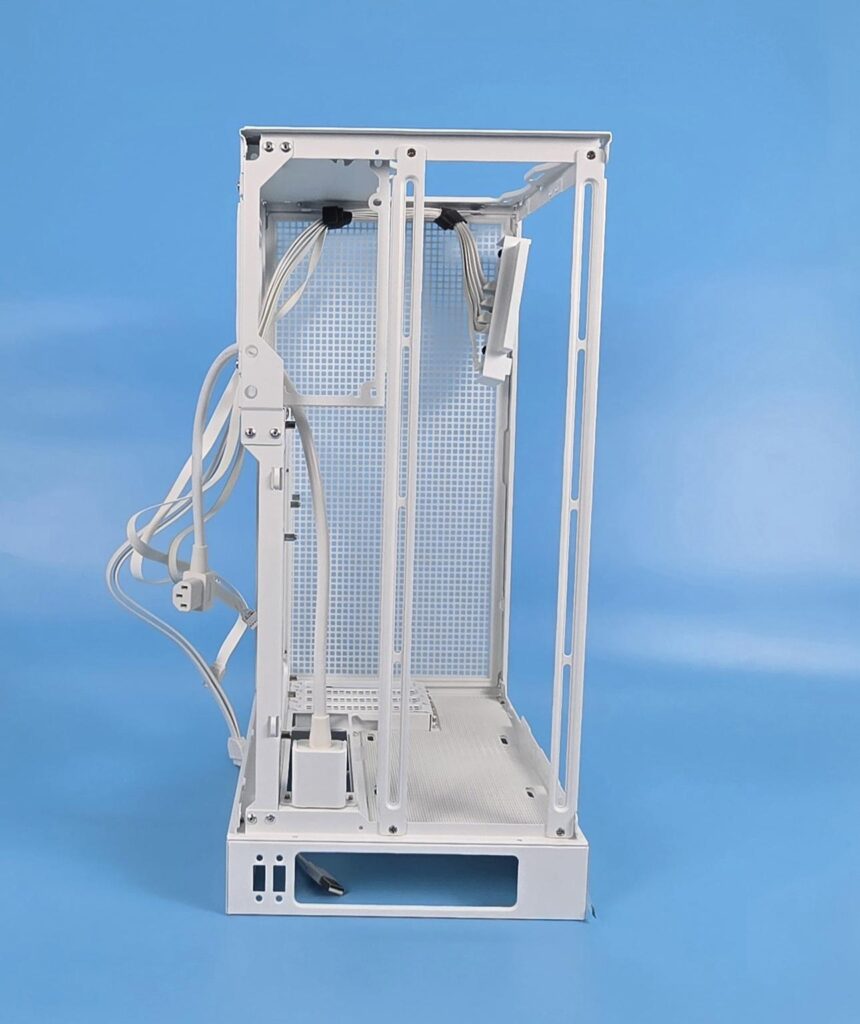
I have removed the panel. You can see a rail mount that is by default installed for the 120mm fan size. The top left area is where the backside of the PSU will be at hence the power cord is on this side of the frame. Clearly, DeepCool has been paying close attention to the overall layout.
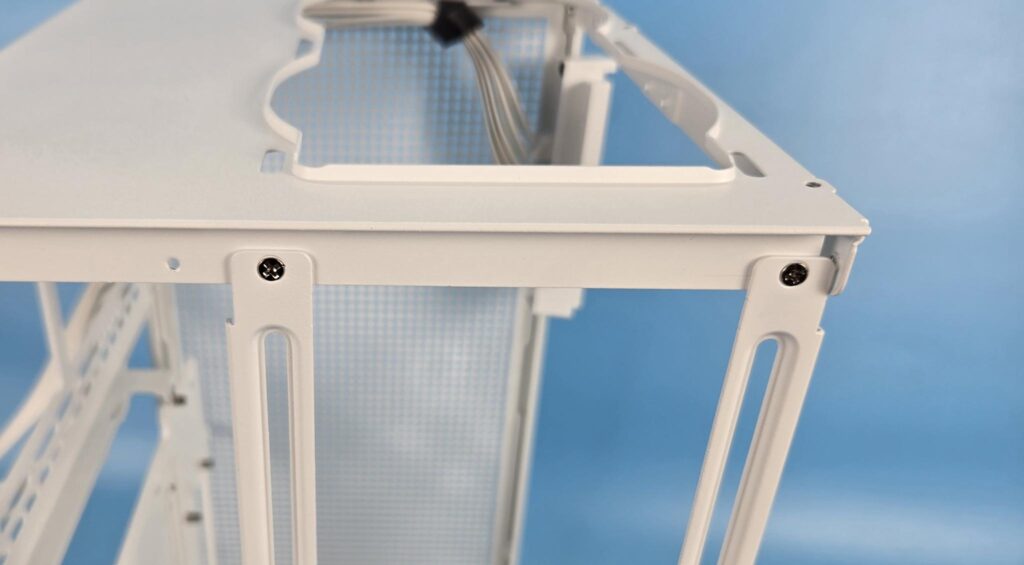
You can relocate one bracket to the further mounting provision so that 140mm fans can be installed here.
You can install:
- 3x 120mm or 2x 140mm fans
- 120mm or 240mm, or 360mm Radiator
140mm fans could be a tight fit with the ATX PSU.
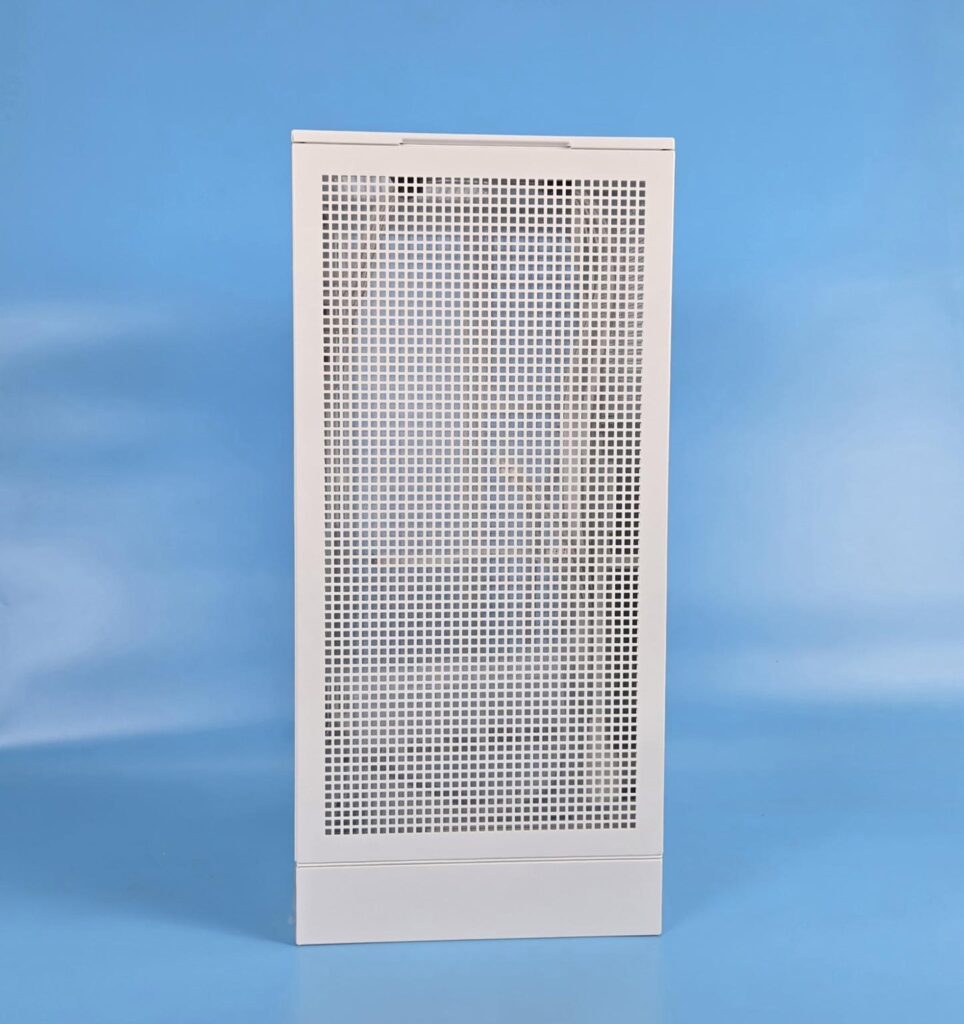
The right side panel is fixed. It has the same perforated mesh design.
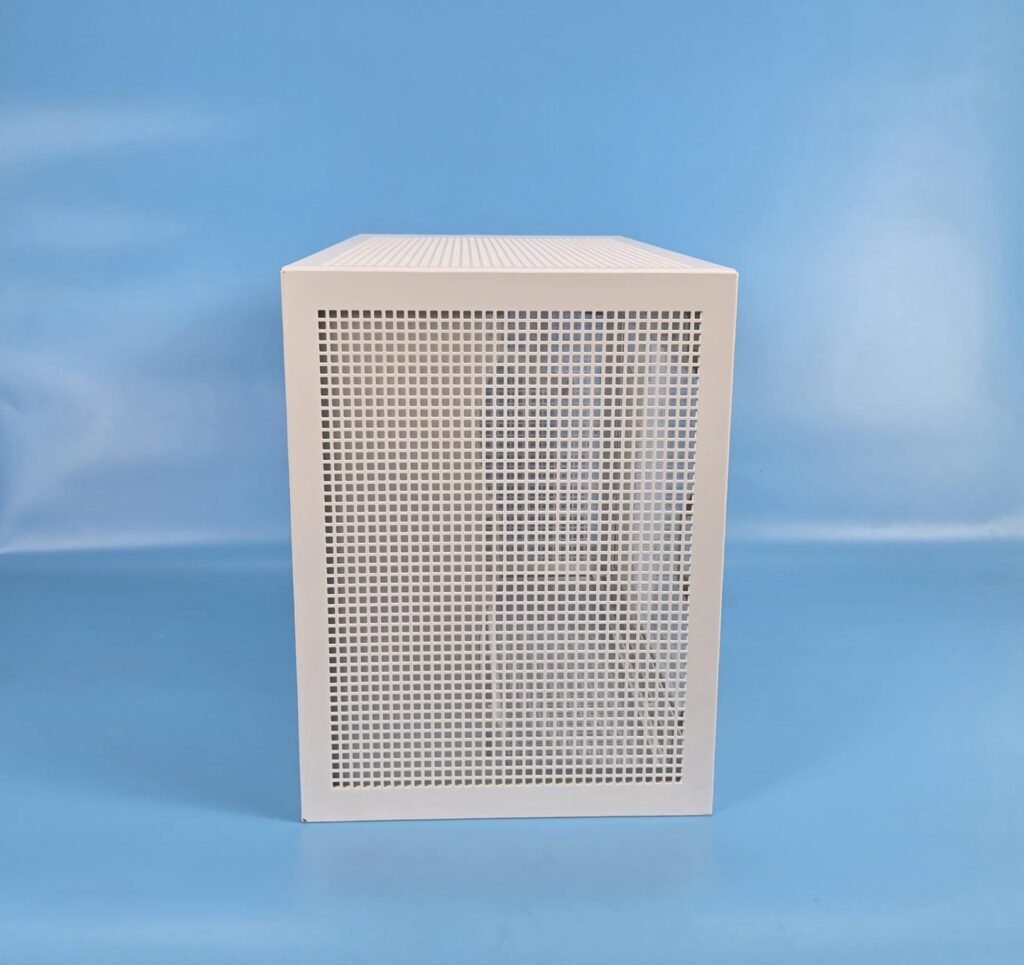
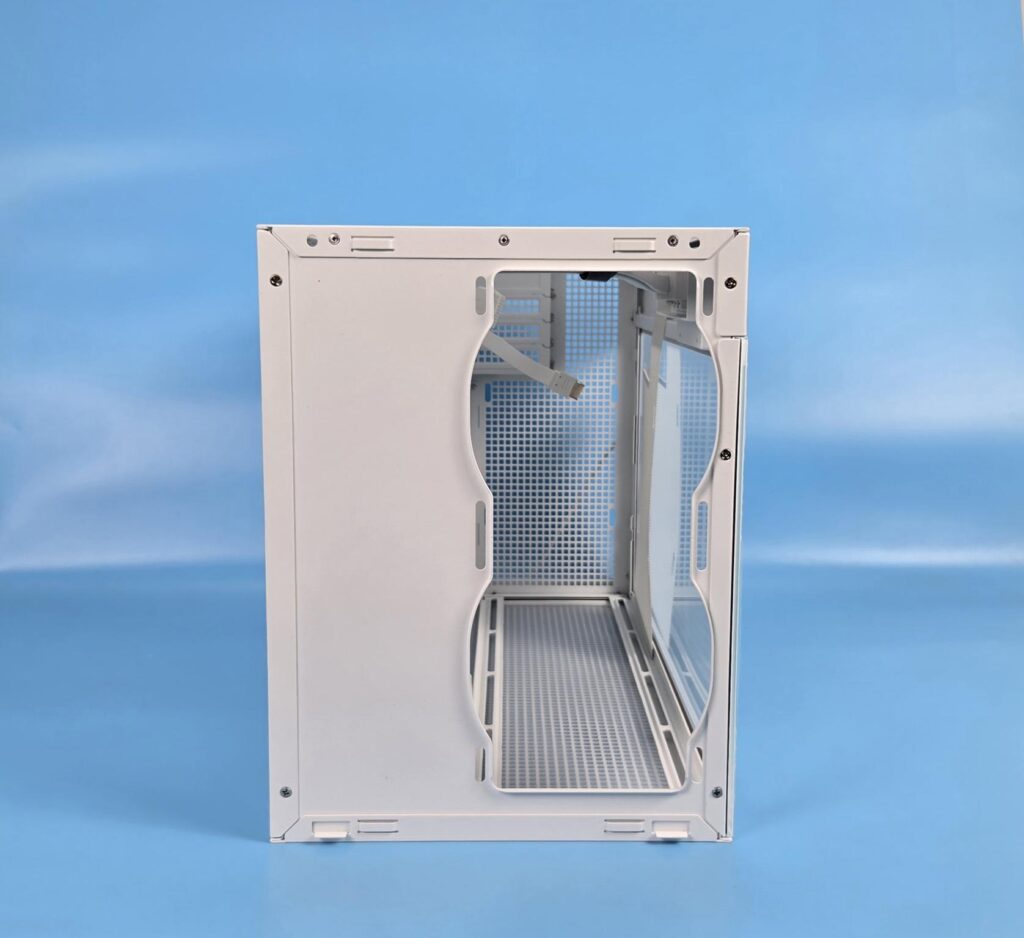
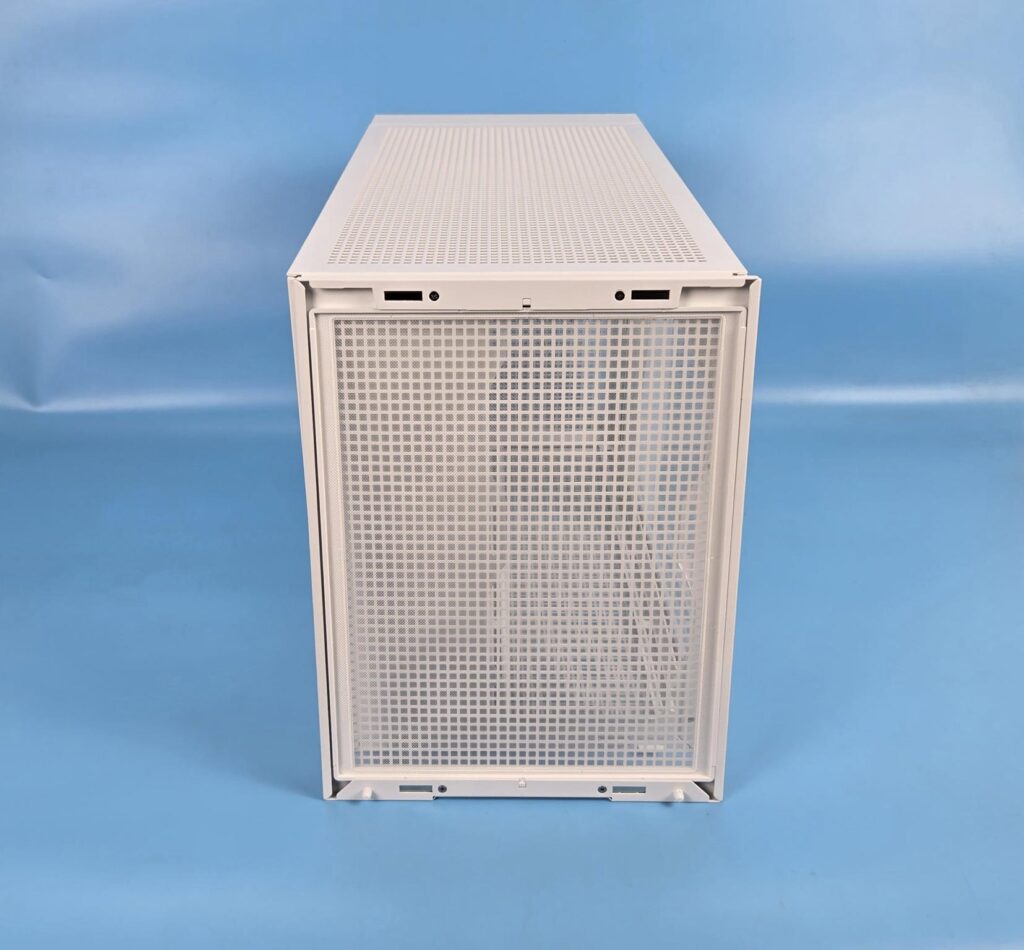
The top side of the case also has a perforated mesh panel. It has a magnetic dust filter as well. You can install 2x 120mm fans on the top.
Cables
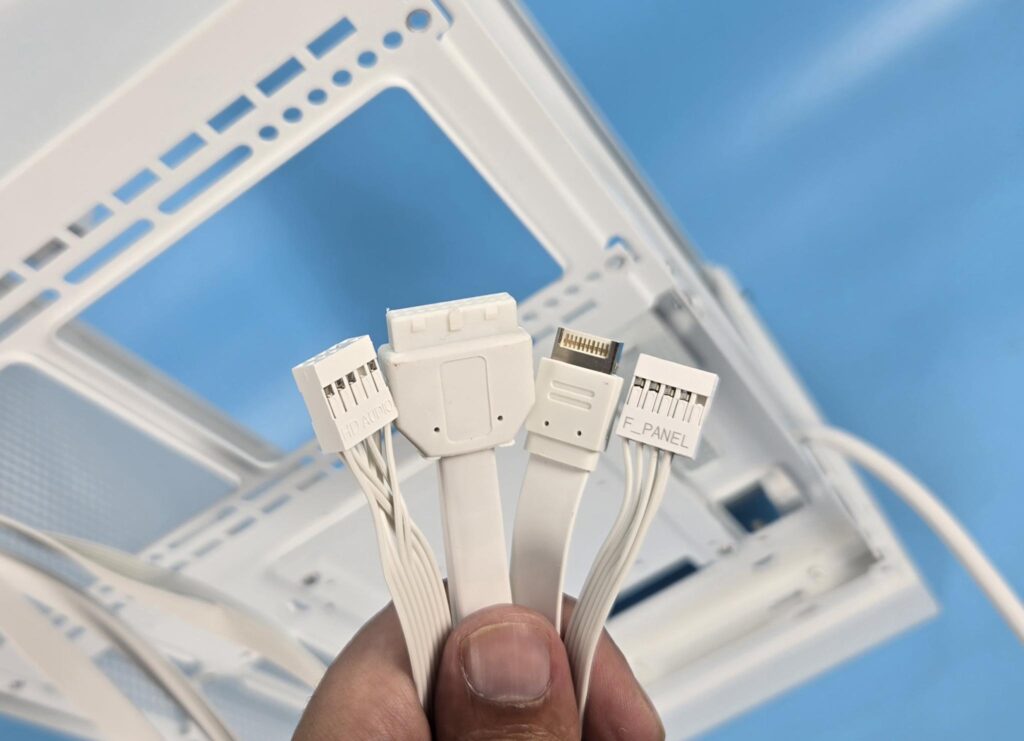
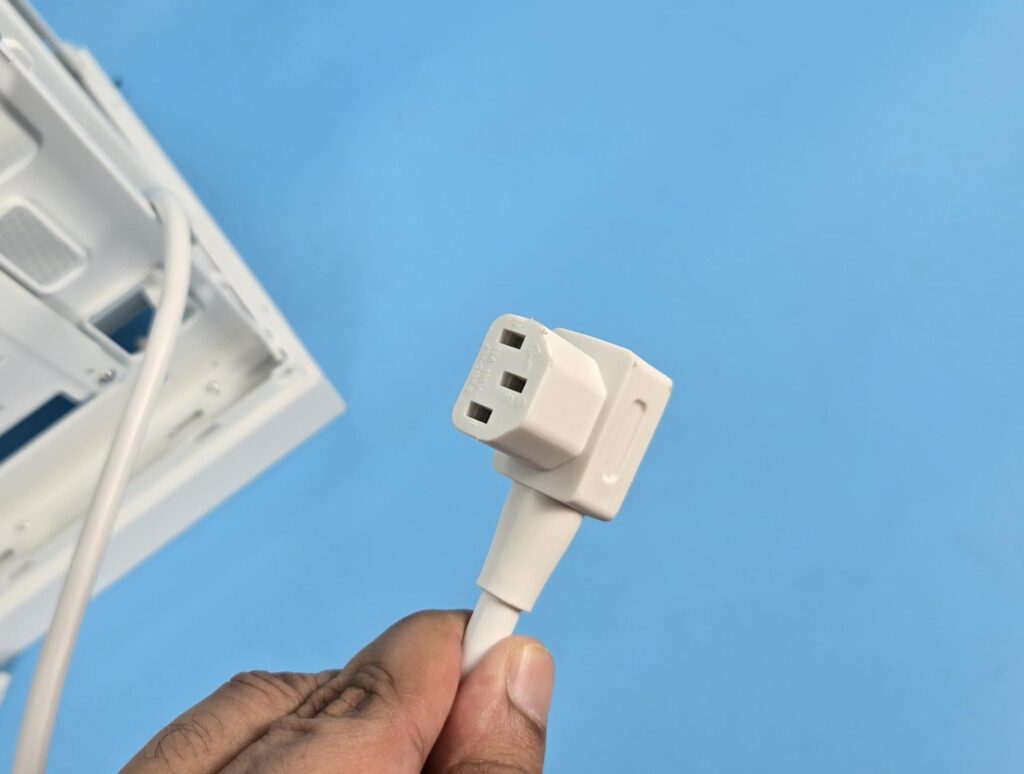
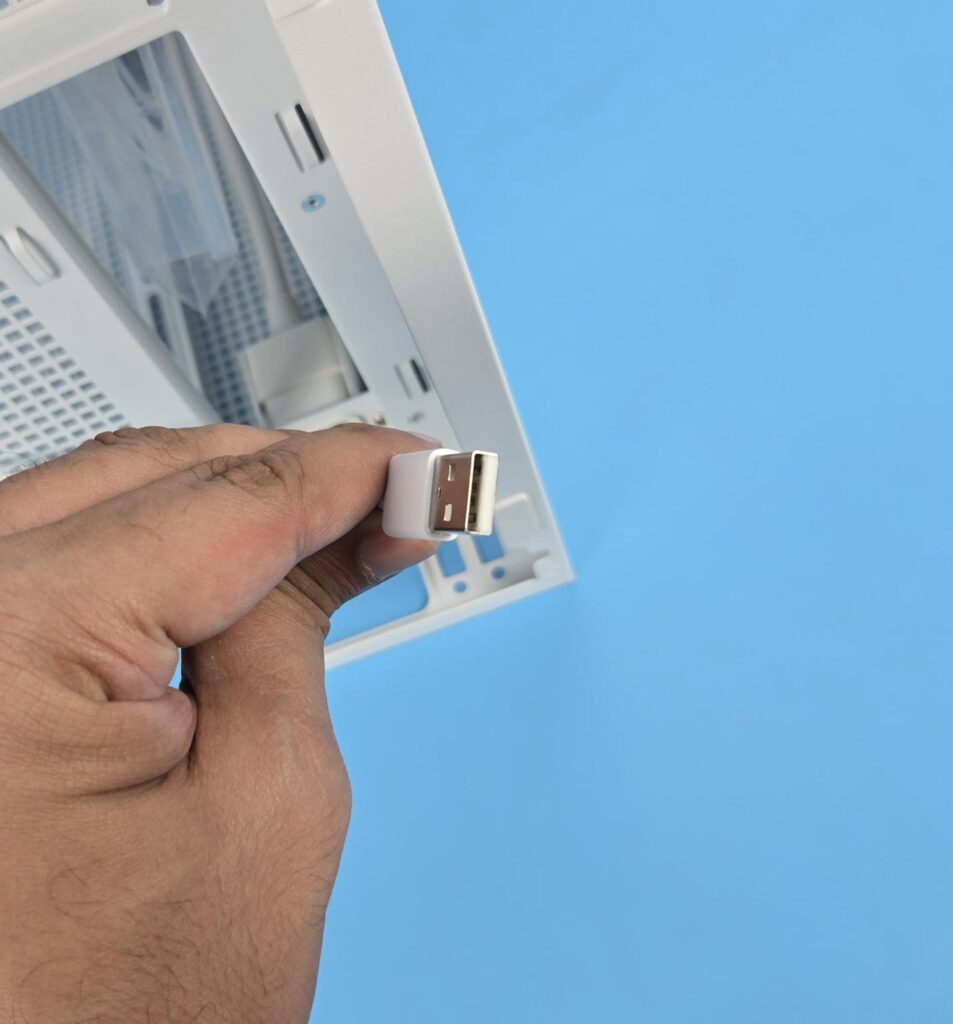
DeepCool has provided cables/connectors:
- USB 3.0 Connector
- USB Type-C Connector
- HD-Audio Connector
- Front Panel Single Connector
- USB Type-A Connector for the Screen
- A 3-pin Power Plug with extension cord
Test Build Installation
The following configuration is used:
- AMD Ryzen 9 9900X
- MSI B850MPOWER
- ASRock Radeon RX7600 Phantom Gaming 8G OC
- DeepCool LM360 White
- G.Skill Trident Z NEO RGB 32GB @ 6400MHz DDR5 kit
- Biwin NV7400 2TB PCIe Gen4 NVMe SSD
- DeepCool DQ 750-M-V2L-White PSU
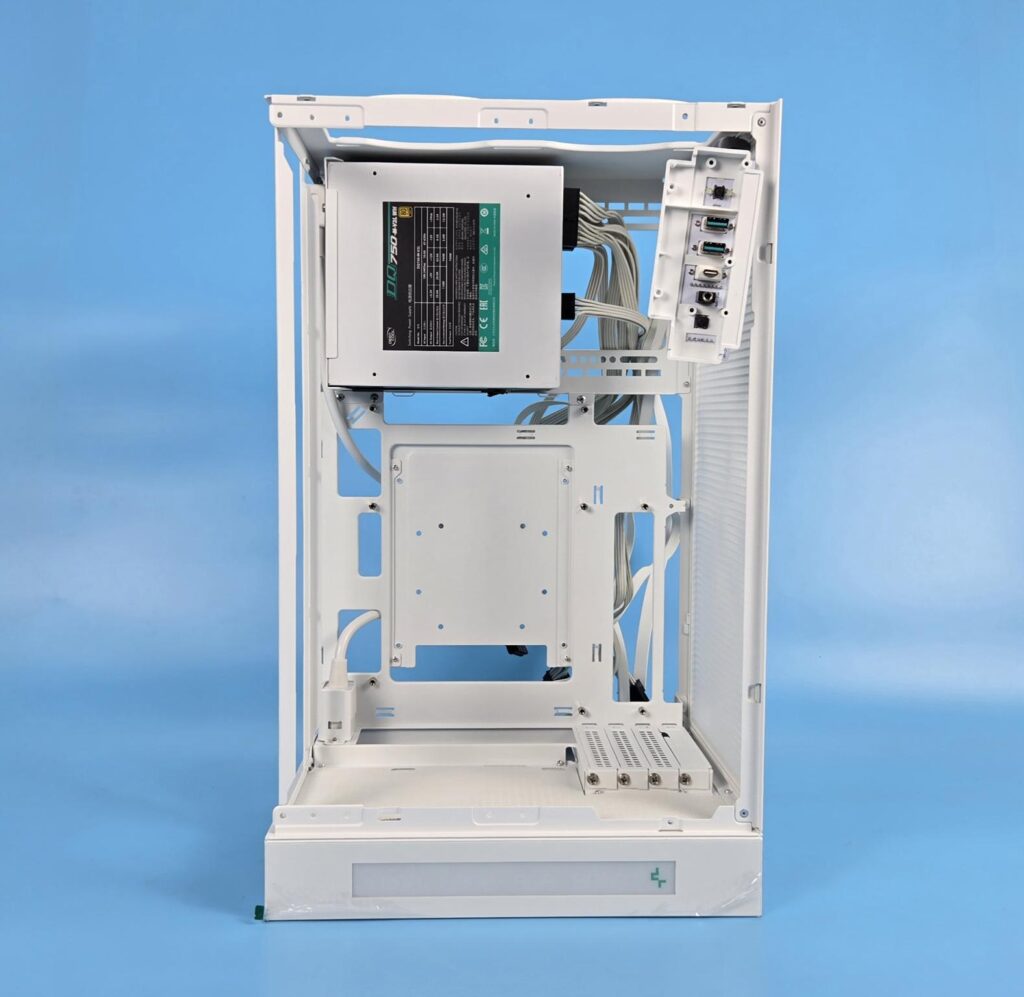
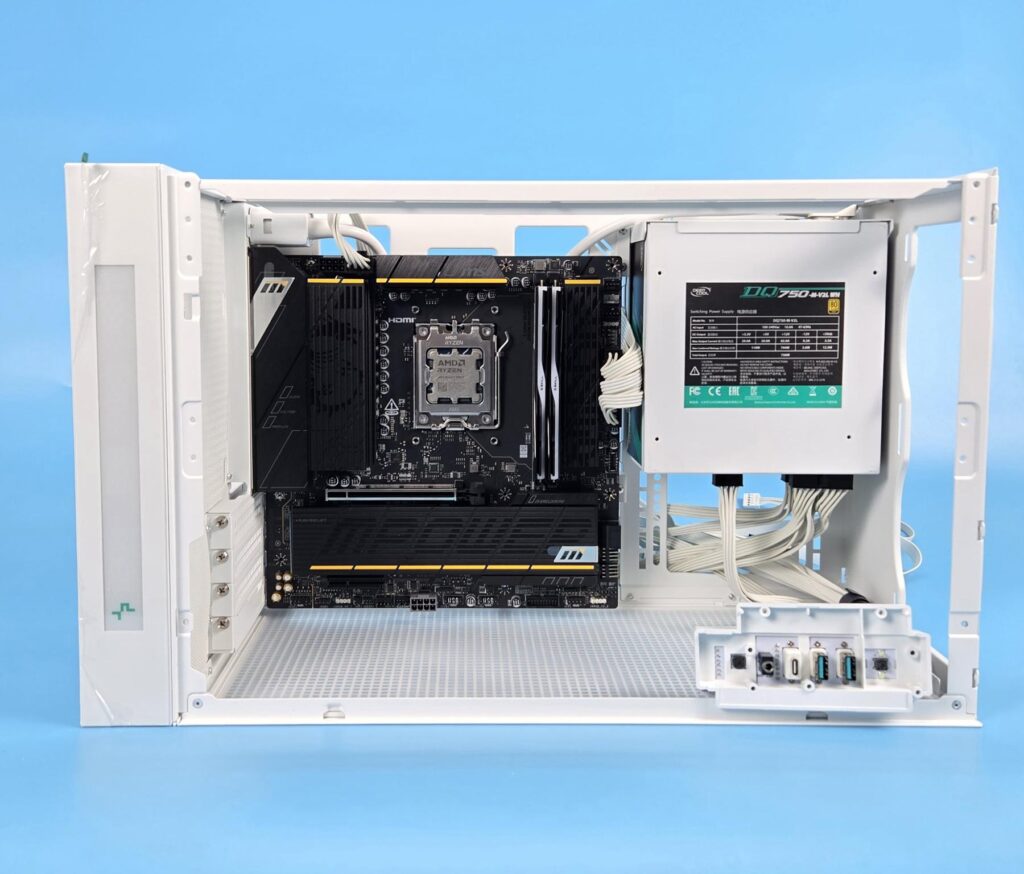
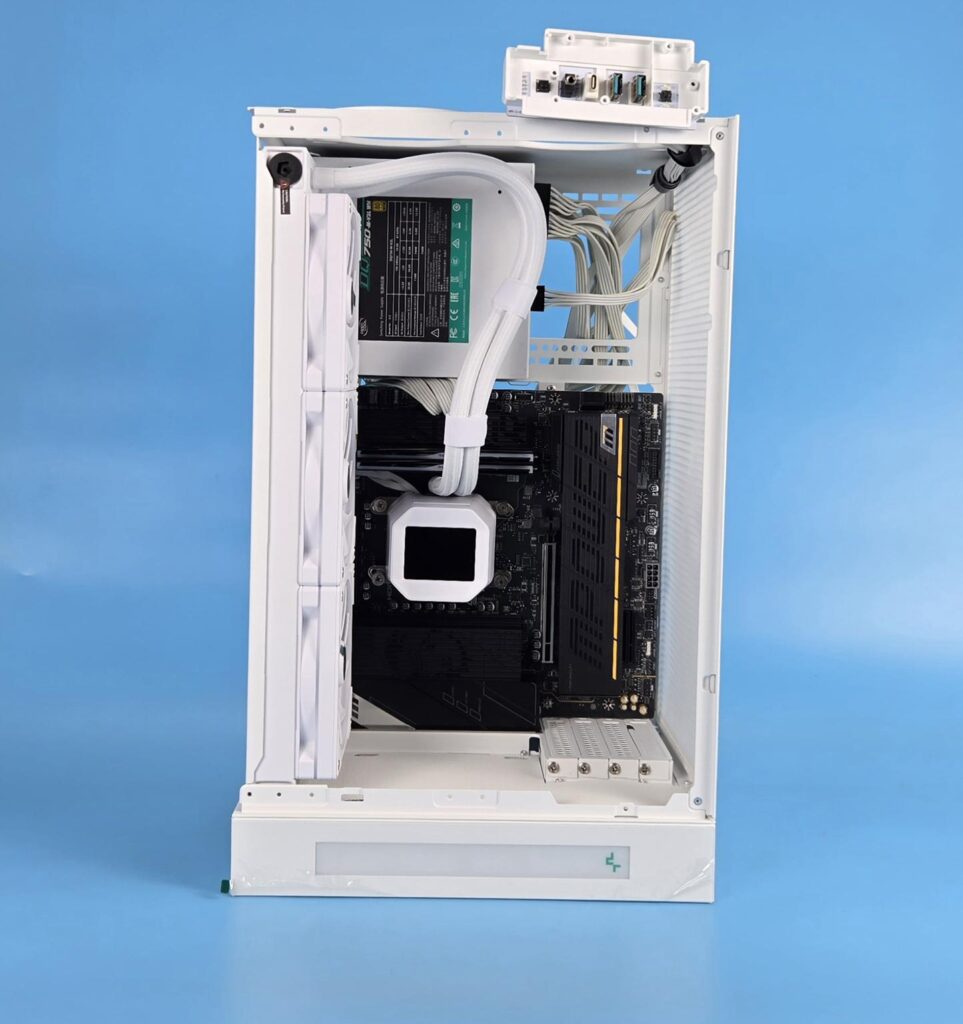
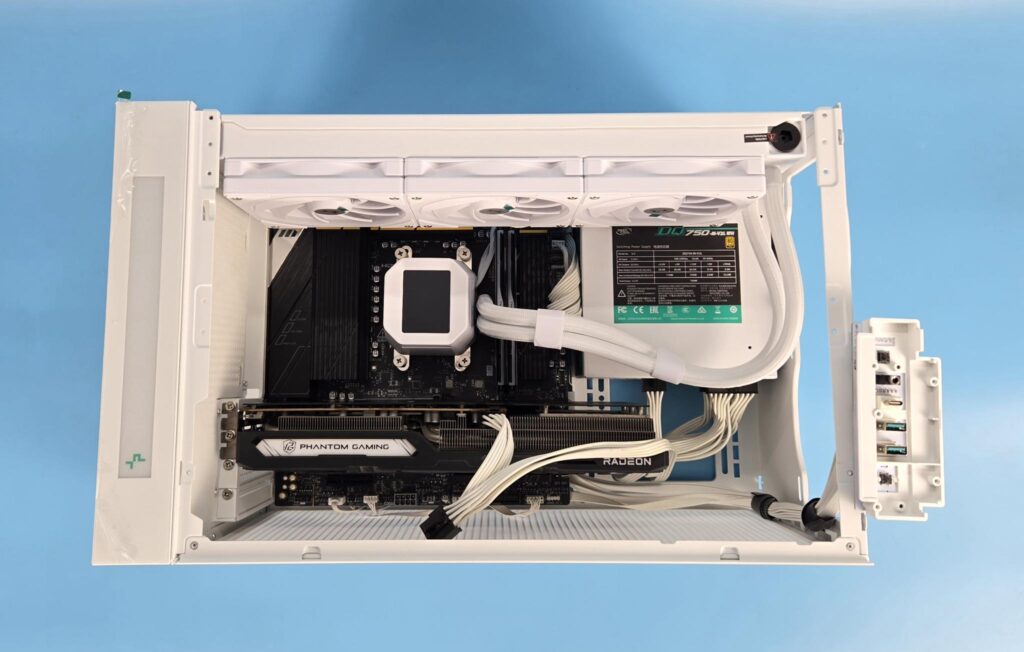
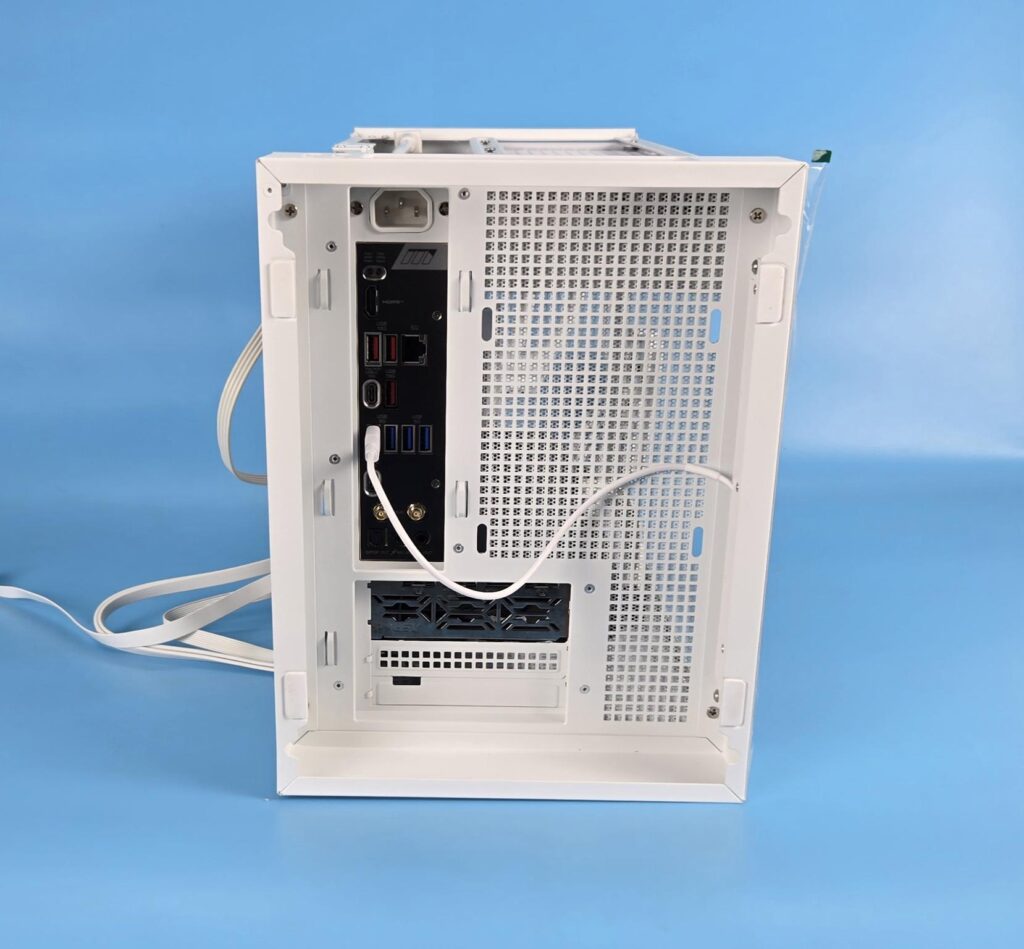
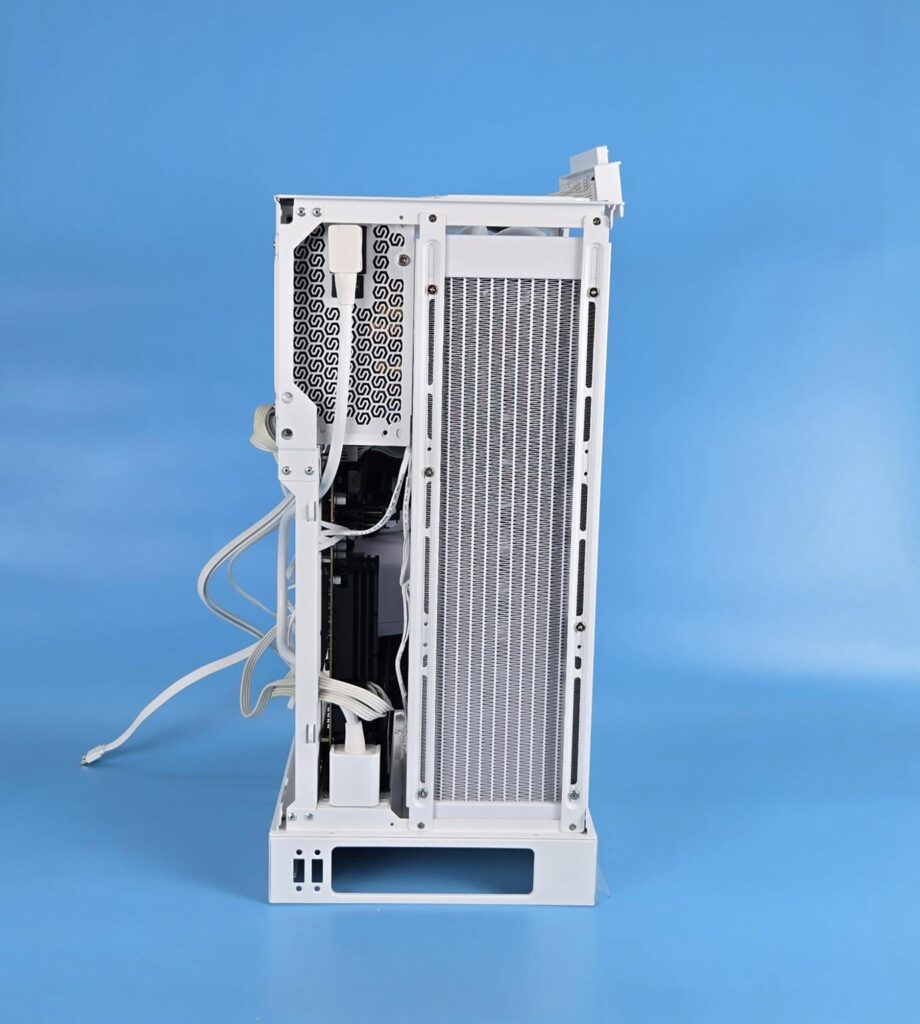
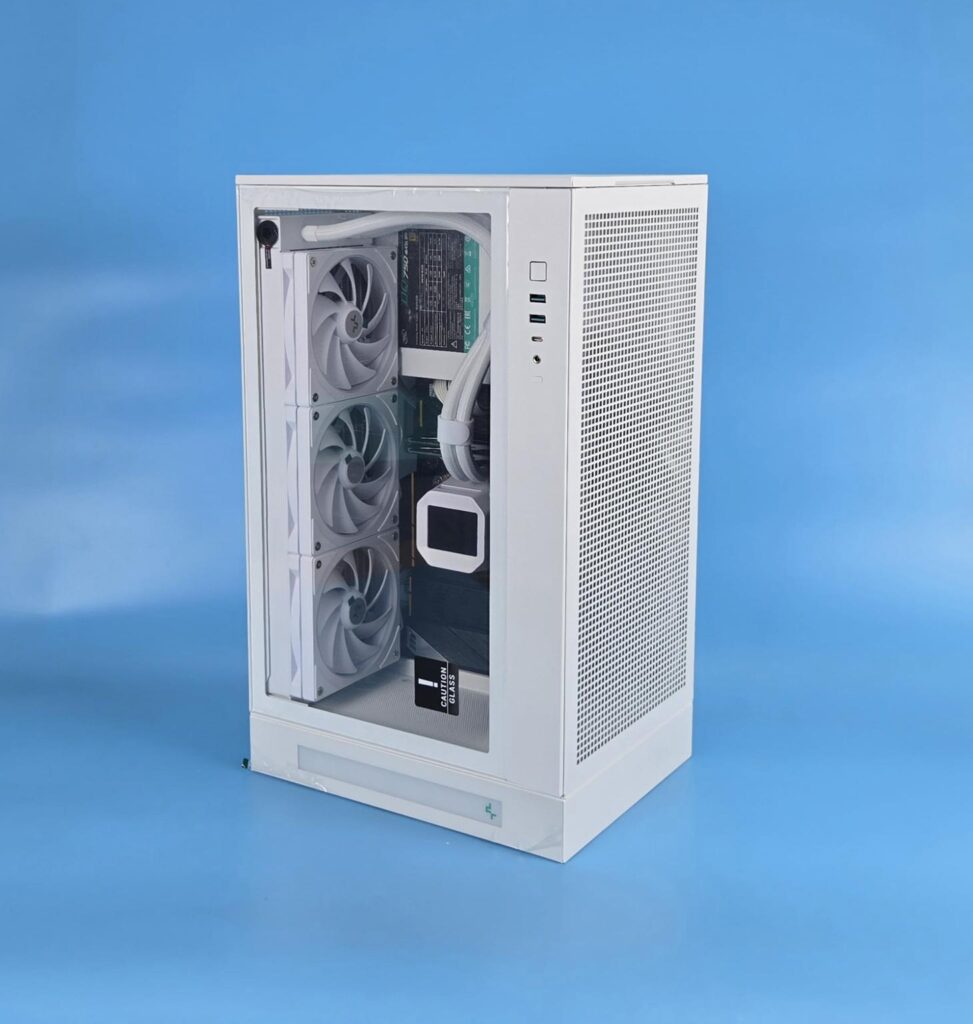
I started the build with the PSU. I usually start with the motherboard, but in this case, in my opinion is better done with the PSU and cables layout in mind first. Once done, the motherboard was installed, and cable connections were established. Then the liquid cooler was installed. The last step was the installation of the graphics card.
In terms of hardware installation and setup, I did not face any issues and it was a convenient job. DeepCool has done well in providing a spacious layout to work with, and cable management is easy as well. You need to be good at doing the cable management since cables coming out from the PSU will be visible from the front.

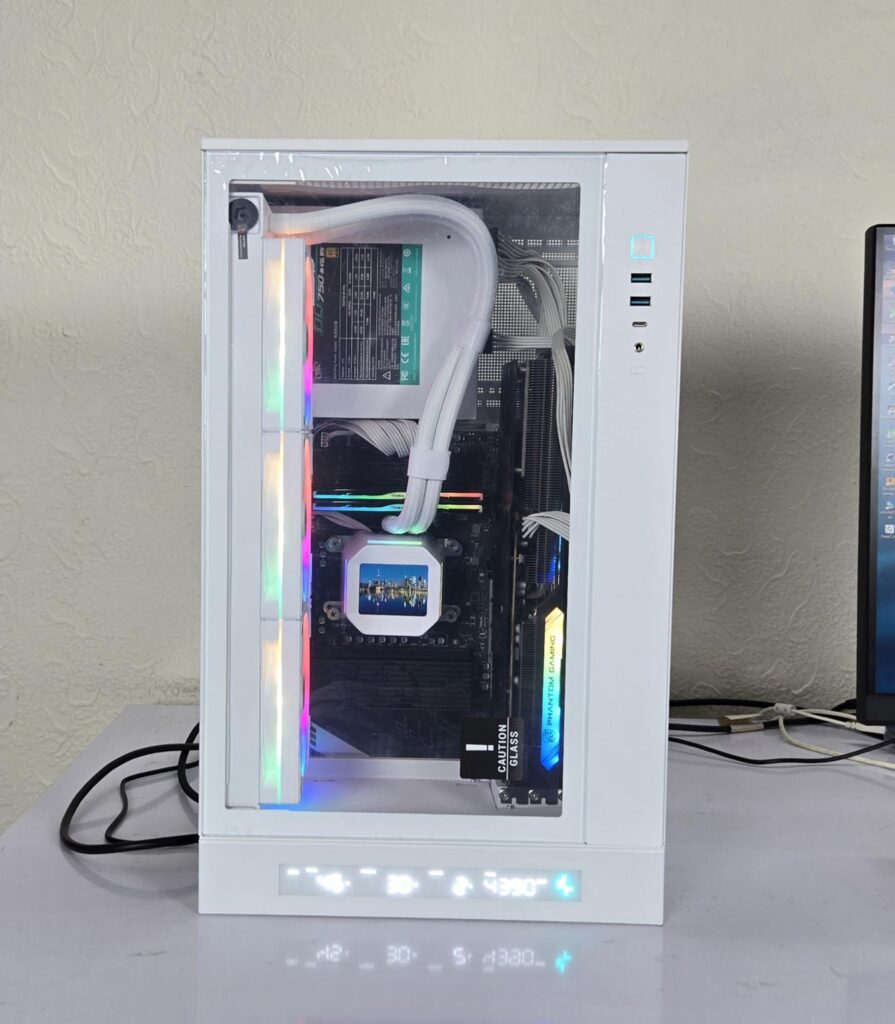
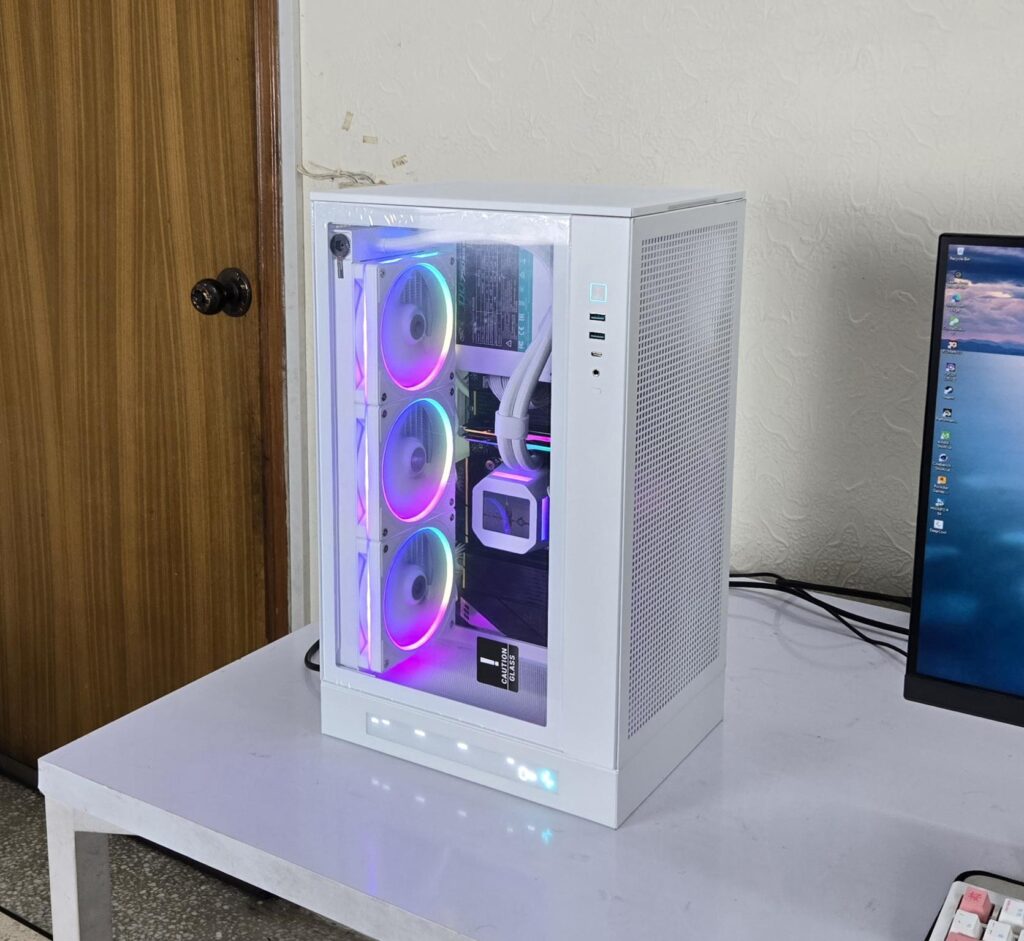
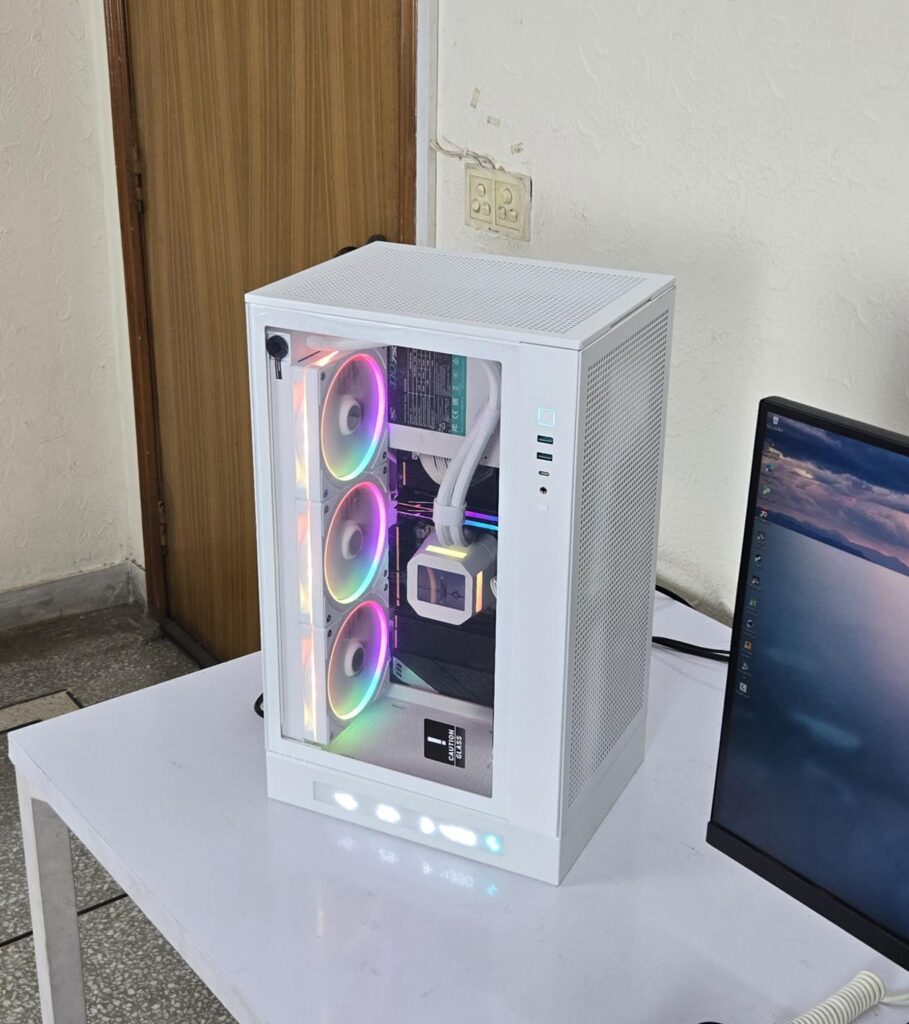
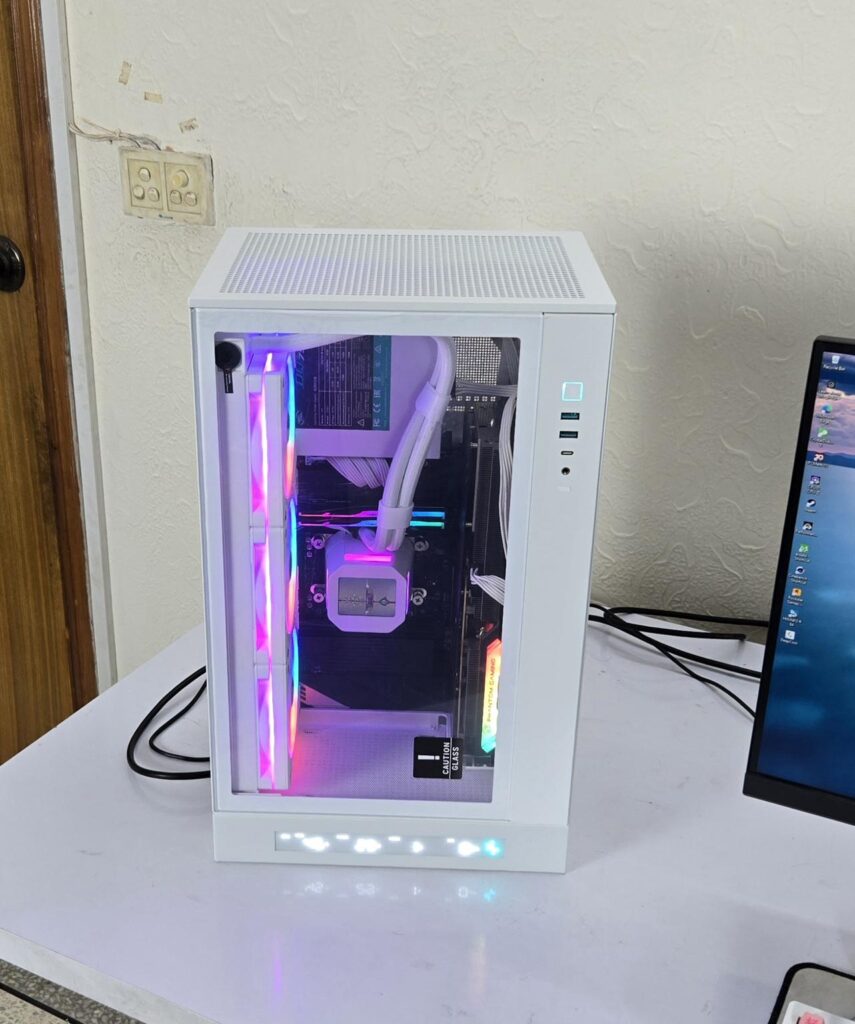

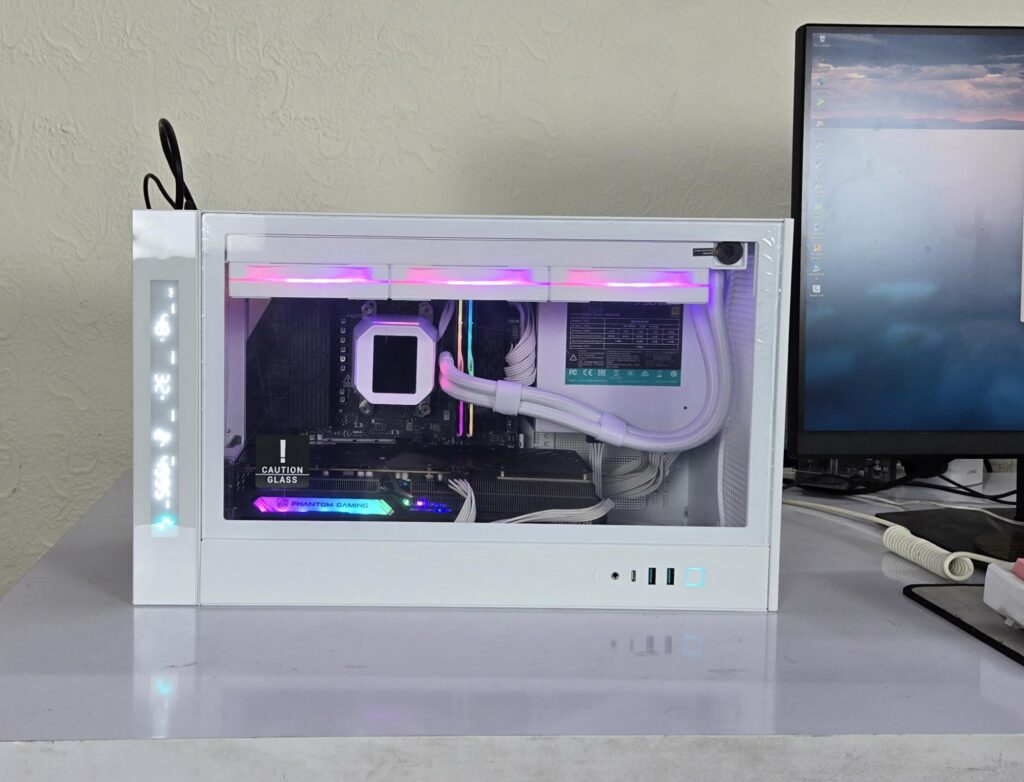
The above are a few pictures of the build.
Thermal Testing
The test build configuration is already mentioned above. I have tested the fans and pump at full speed on their 100% PWM cycle (PWM where applicable). The graphics card was running at stock settings. I have used the stock thermal paste on the cooler. The AIDA64 Engineer was used to stress the CPU (using FPU) and the GPU at a time. The ambient temperature was 26°C.
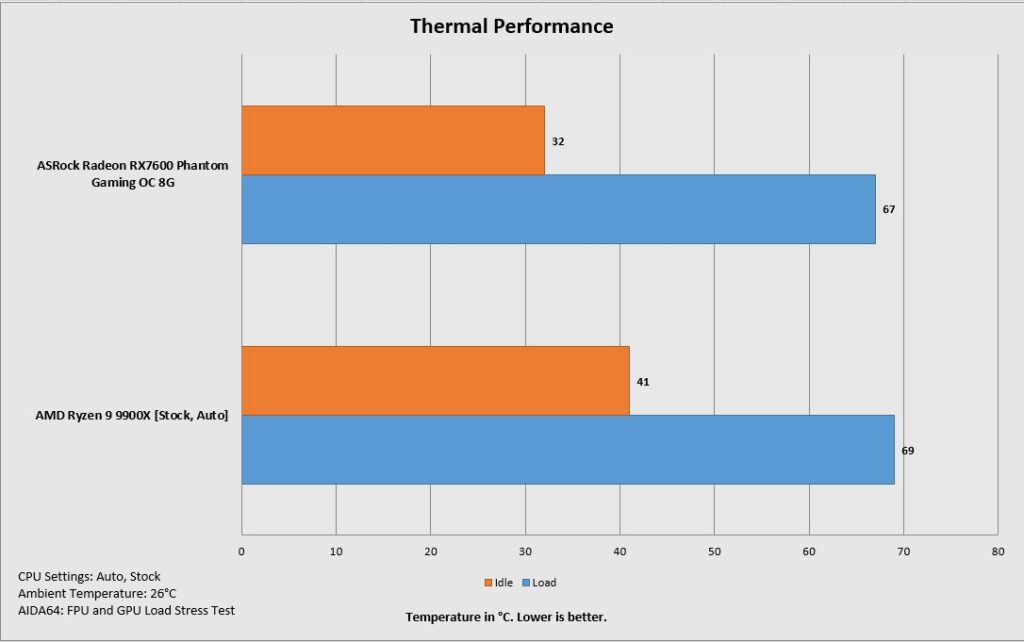
This case does not have any airflow issue,s and thermals are excellent.
Conclusion
The CH270 Digital white is a second tower-style SFF case that I have tested. The first one was SilverStone ALTA G1M. The DeepCool case is available in white and black options. It has perforated, stylish mesh design panels all around with adequate dust filtration. This case supports mATX and mini-ITX form factor motherboards. This case also supports the backplug mATX motherboard, which gives it a competitive advantage.
The housing of this case is made of SPCC for its metal frame, along with ABS material. The front panel has tempered glass, which is not tinted. The complete assembly is white coated. It has a dimension of 296x225x486mm (LxWxH). The weight of this case is 5.8Kg and it comes with a 1-year warranty from the manufacturer.
The fan support is as under:
- 3x 120mm or 2x 140mm fans on the side.
- 1x 120mm fan on the bottom
- 2x 120mm fans on the top
The radiator support is as under:
- 120mm/240mm/360mm on the side
- 120mm on the bottom
Clearance is:
CPU Cooler Height: Up to 174mm
Graphics Card Length: Up to 413mm without top fans. It is 388mm with top fans
PSU Length: Up to 150mm [ATX PSU]
Storage provision is:
- 1x 3.5” drive bay
- 1x 2.5″ drive bay
Dust Filtration:
- Magnetic filters on all sides except the back
This case has a strong cooling provision and a very limited storage provision. DeepCool has provided a power extension cord, which is a common feature on SSF cases since the PSU is on the top of the case, away from the base. Cable connectivity is provided at the base.
This case has 4 PCIe slots with 3x reusable covers. Clearly, the 3.5 slot card is an easy go with this case. The case does not come with any pre-installed fa,n which is not a complaint. However, my complaint with this case is that once it is placed in a vertical or tower style configuration on the table or surface, you will not have access to the rear IO of the motherboard and graphics card.
The IO panel is located on the front side frame. It has a USB Type-C port along with USB 3.0 ports. The power button has a nice clicky sound and does not wobble. DeepCool has provided a spacious layout. All that you need is a good cable plan and that is it.
This case retails at around USD 79.99. I am impressed with the wraparound panel design with a glass front panel and support for high-end PC components. The case has airflow airflow-friendly design, which yields good thermals. It has a one-year warranty from the manufacturer.
Pros:
- Mini Tower in SFF
- Display Screen
- Perforated Mesh Panels
- TG Front Panel
- 6x fan mounts
- Backplug Motherboard Support
- Support for 360mm size AIO
- USB Gen2 Type-C Port
- Graphics Card Clearance
- Price
Cons:
- No access to the motherboard and graphics card rear IO in the tower config
- No tool-less panels