Introduction
Manufacturer: RAIJINTEK
Product Page: MYA RBW
Purchase: $69.99 at the time of review at Newegg
With the aim of designing high-end products for Lifestyle, Computer, and Day-to-Day usage, RAIJINTEK was established in 2013 to accomplish the future of IT and Lifestyle products. This task and aim lead us to grow and toward a global brand. Not only highly recommended IT products but we also provide Gaming Gear such as Chassis, PSU’s and Lifestyle products for Smartphones and all your tablet PCs. Fully dedicated to developing best Products for global users, RAIJINTEK’s R&D team never forget the aim to provide a friendly and performing product. Decades of experience in the industry, RAIJINTEK management would never give up service and product quality to value customers. Alliances with strong partners and global suppliers, RAIJINTEK is able to achieve its aim – the future of IT and Lifestyle products for all valuable customers.
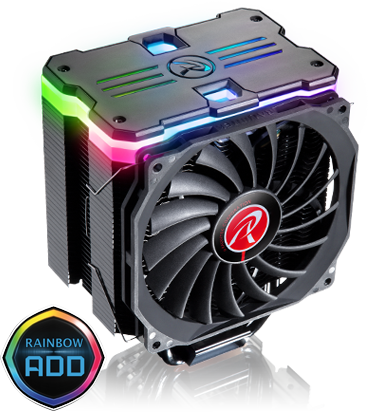
Today we are taking a look at one of Raijintek’s flagship RBW coolers the MYA RBW Tower cooler. The MYA is a part of Raijintek’s RBW series of cooling that includes the DELOS, JUNO PRO air coolers, and ORCUS 120/140/240/280/360mm line up of AIOs. The MYA comes with a super slim fan designed to stay out of the way of your memory leaving no height requirements for your memory with the cooler. The MYA RBW is a beast weighing in at 925g with the heatsink and fan so I am more than positive that the MYA will offer good performance but only time will tell. Let us take a dive in and look at what is in the box and how the MYA RBW performs.
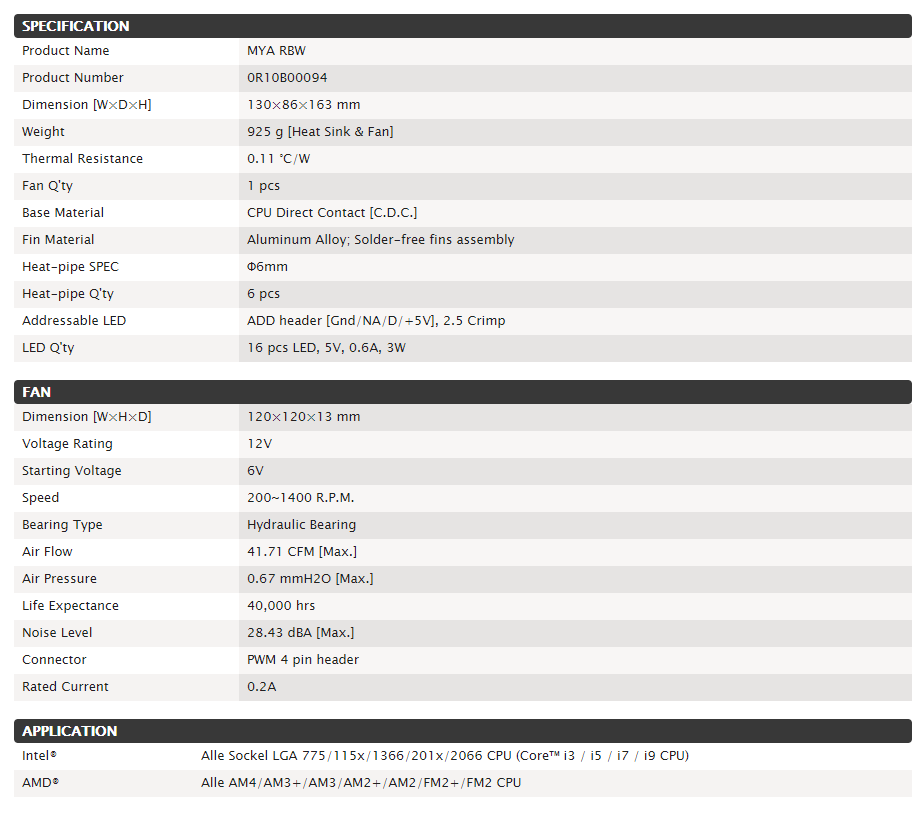
Specifications
Closer Look
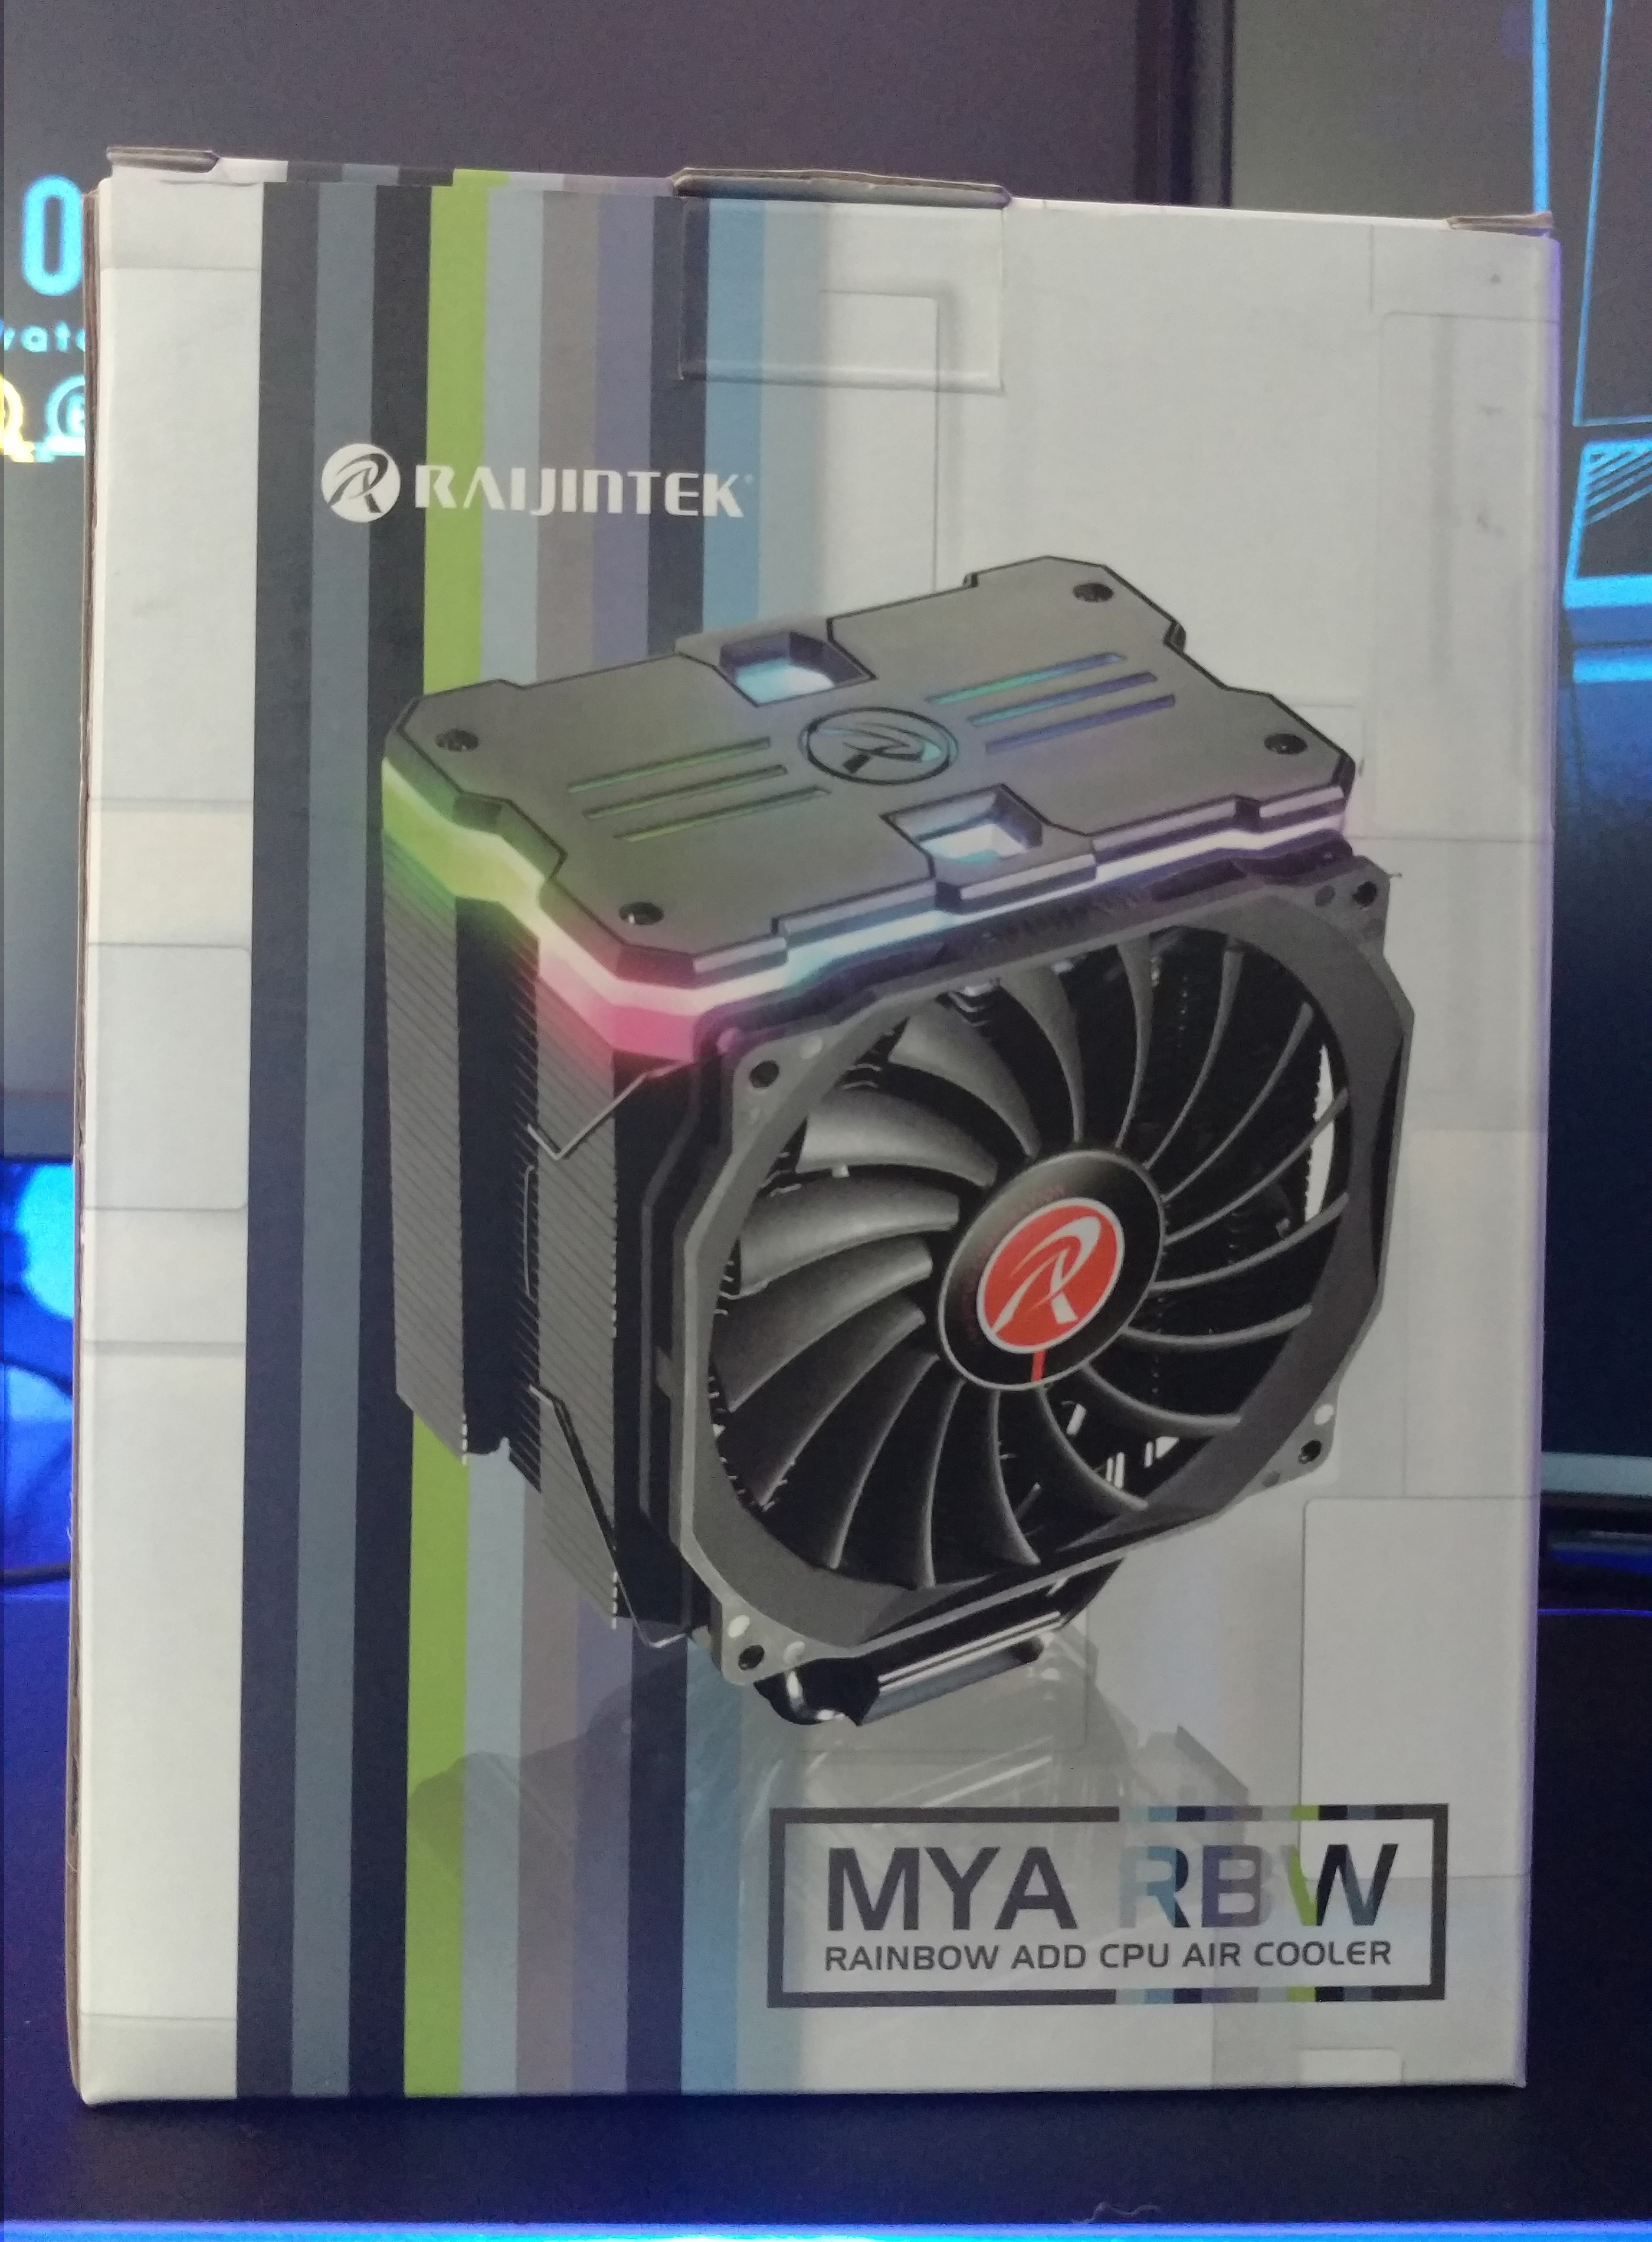
The front of the box has a splashy but not bright effect on it with the MYA RBW cooler showing a small reflection on the bottom. This photo shows a pretty good representation of what the cooler is and the features it comes with which is helpful on a product box.
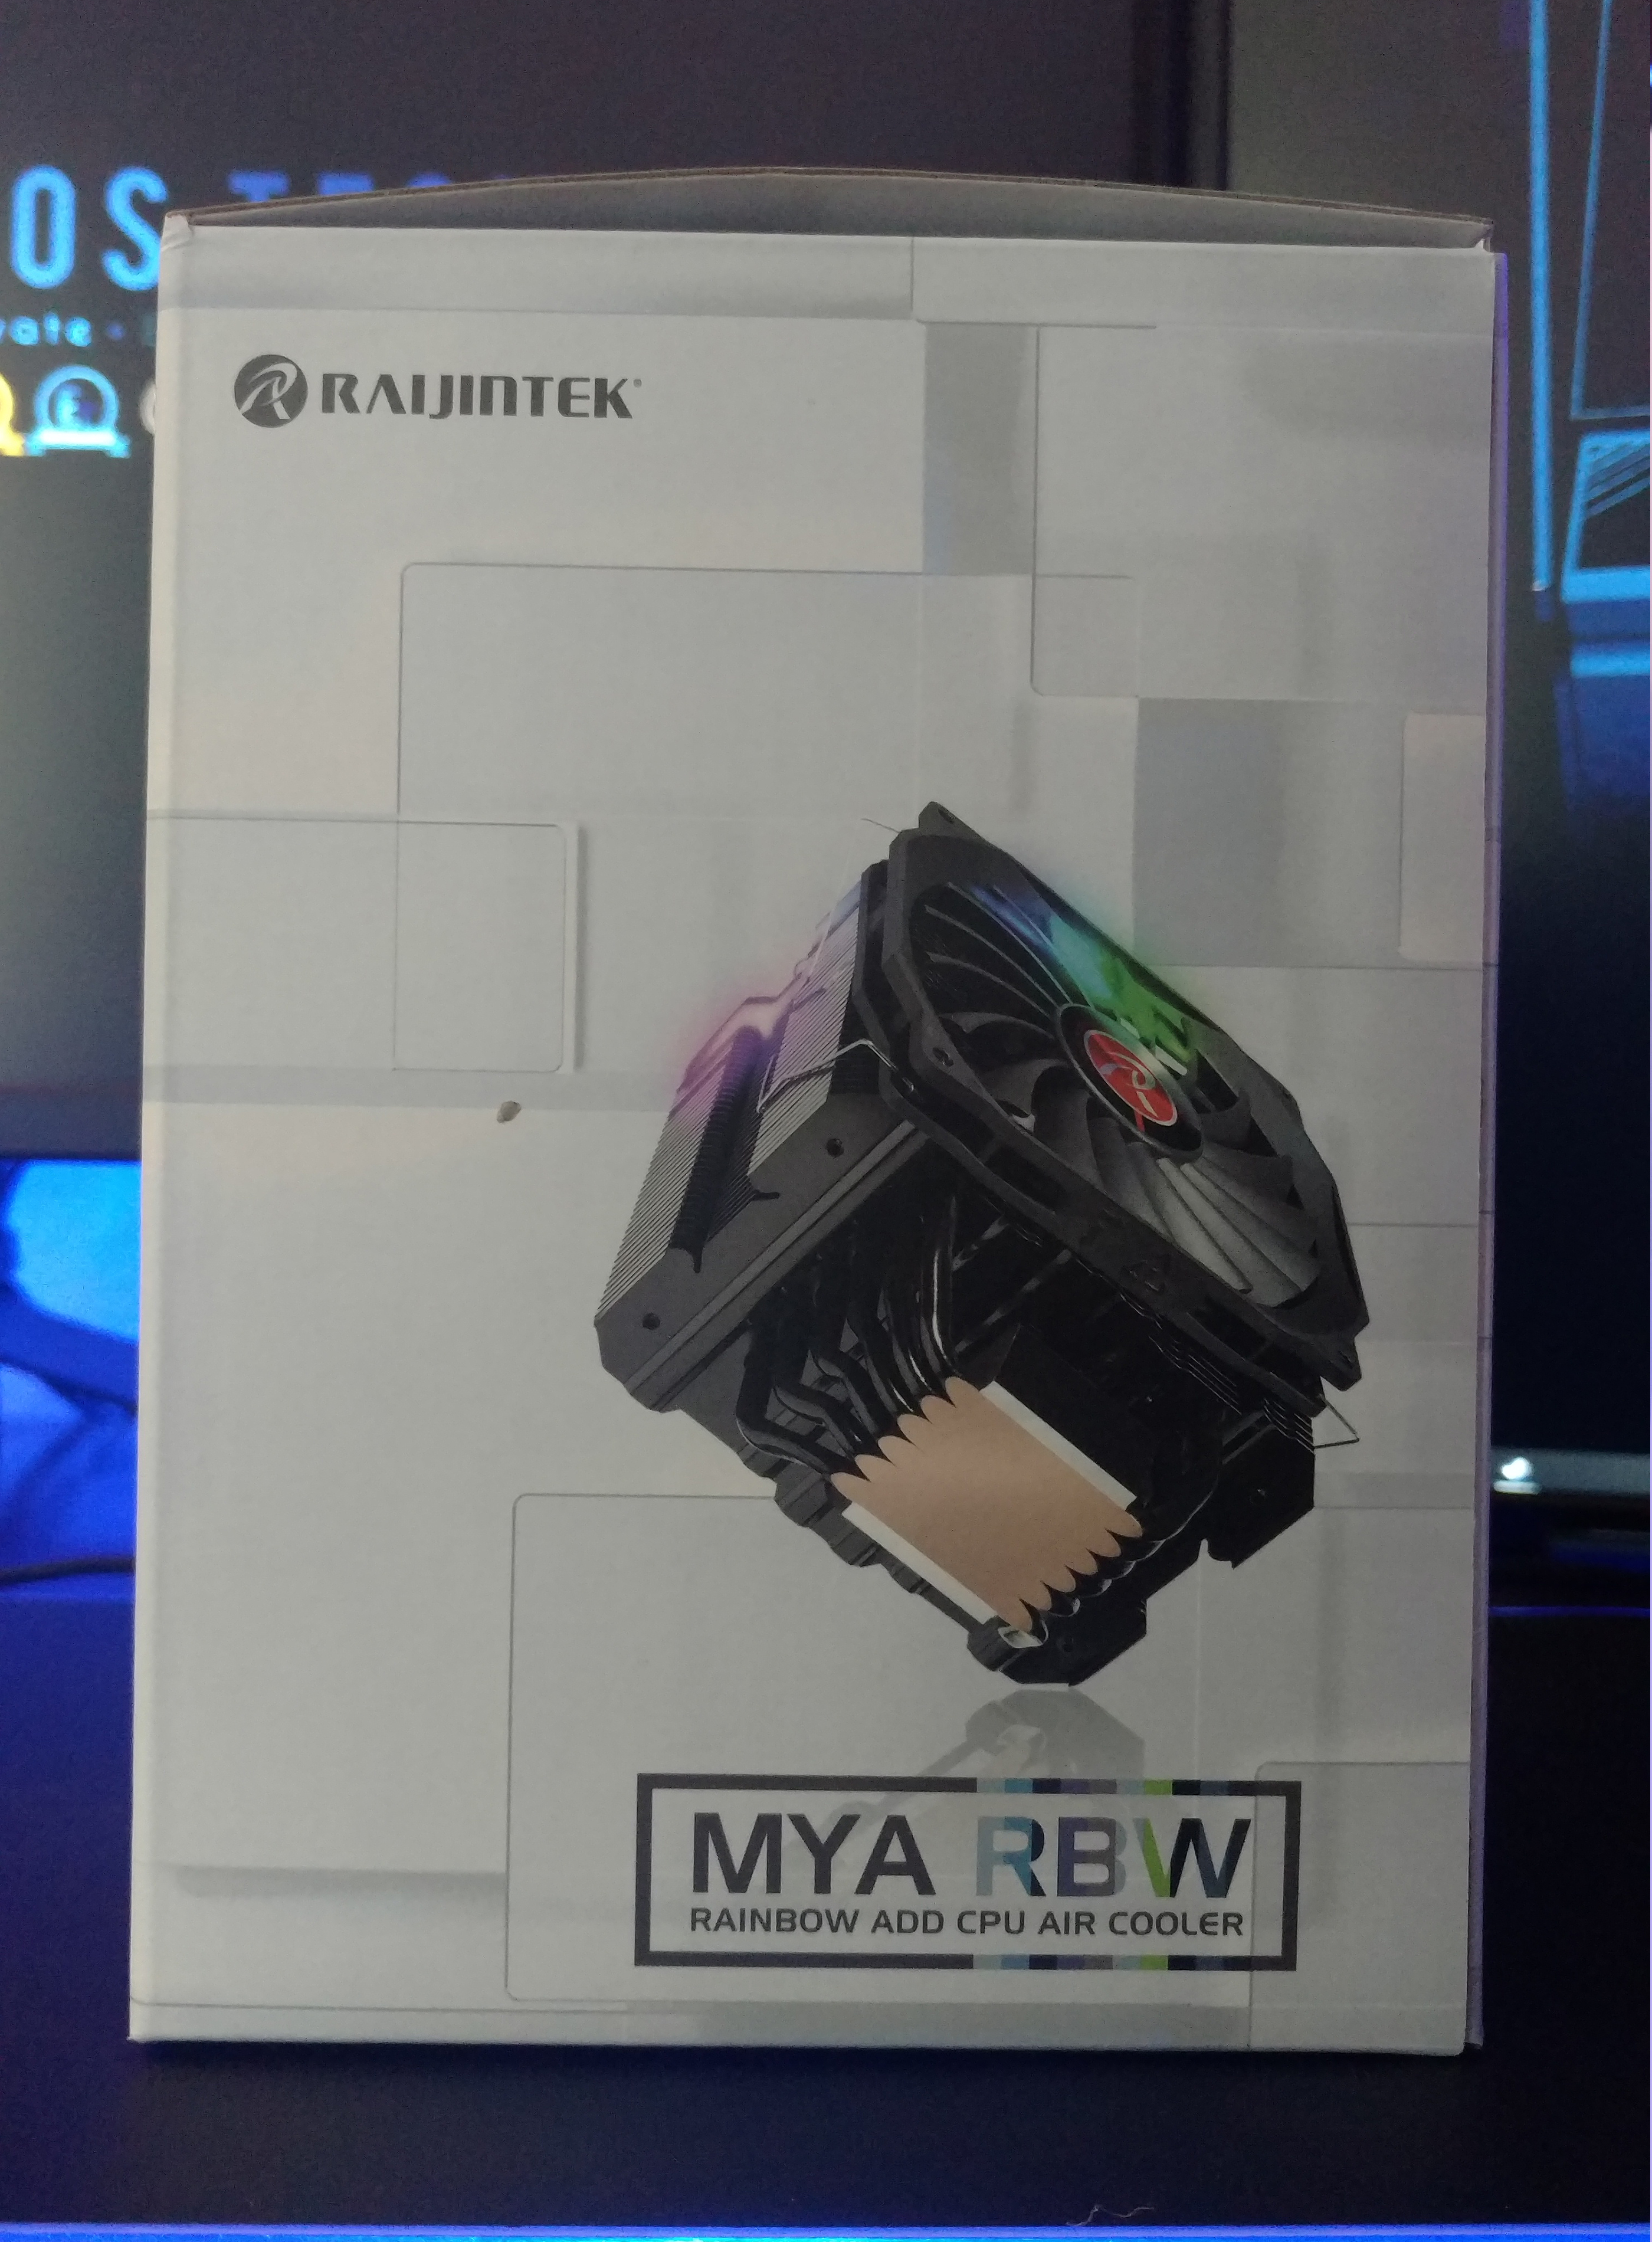
Here on one of the sides, you get a tilted view of the MYA RBW tower cooler and here you get a good view of the 6 direct contact heat pipes that will help dissipate the heat away from your CPU and spread it across the fins of the cooler.
The top of the box is fairly plain with the continued stripes from all around the box and the RAIJINTEK logo over it.
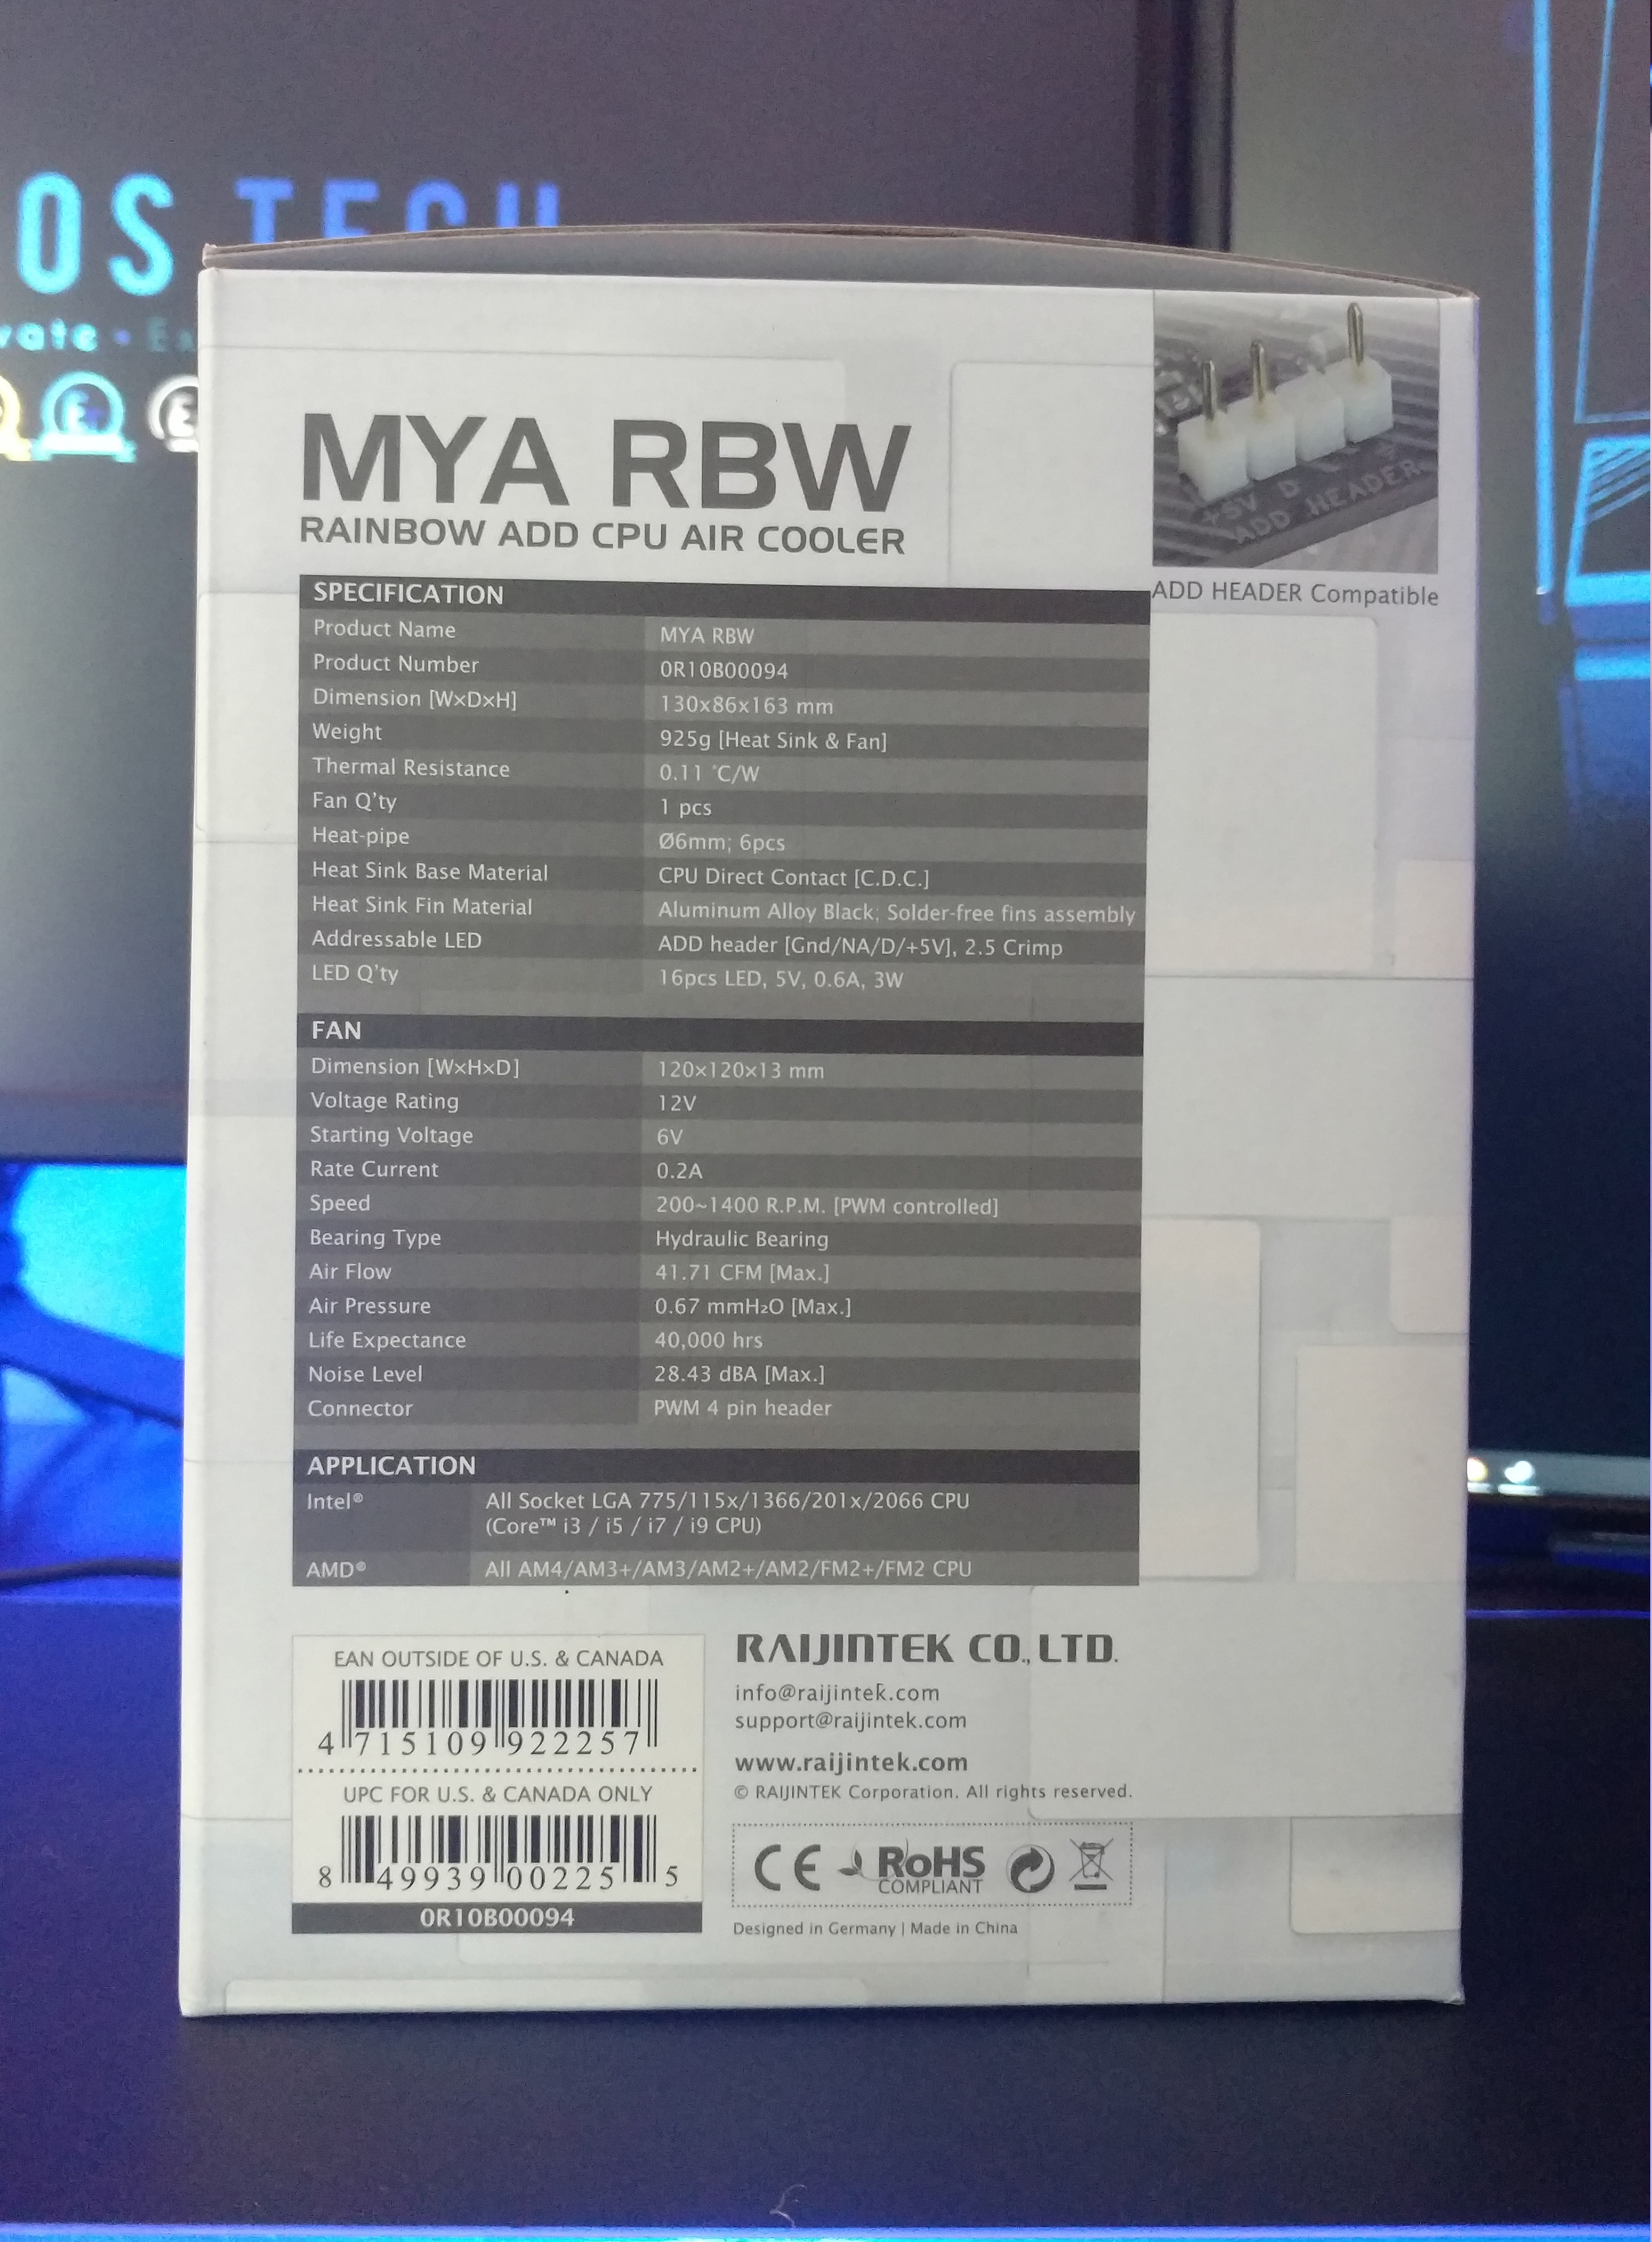
On the backside of the box are the MYA RBW specifications, here you will find a lot of the hard data you will need to help make a decision on a new cooler for your CPU.
Unboxing
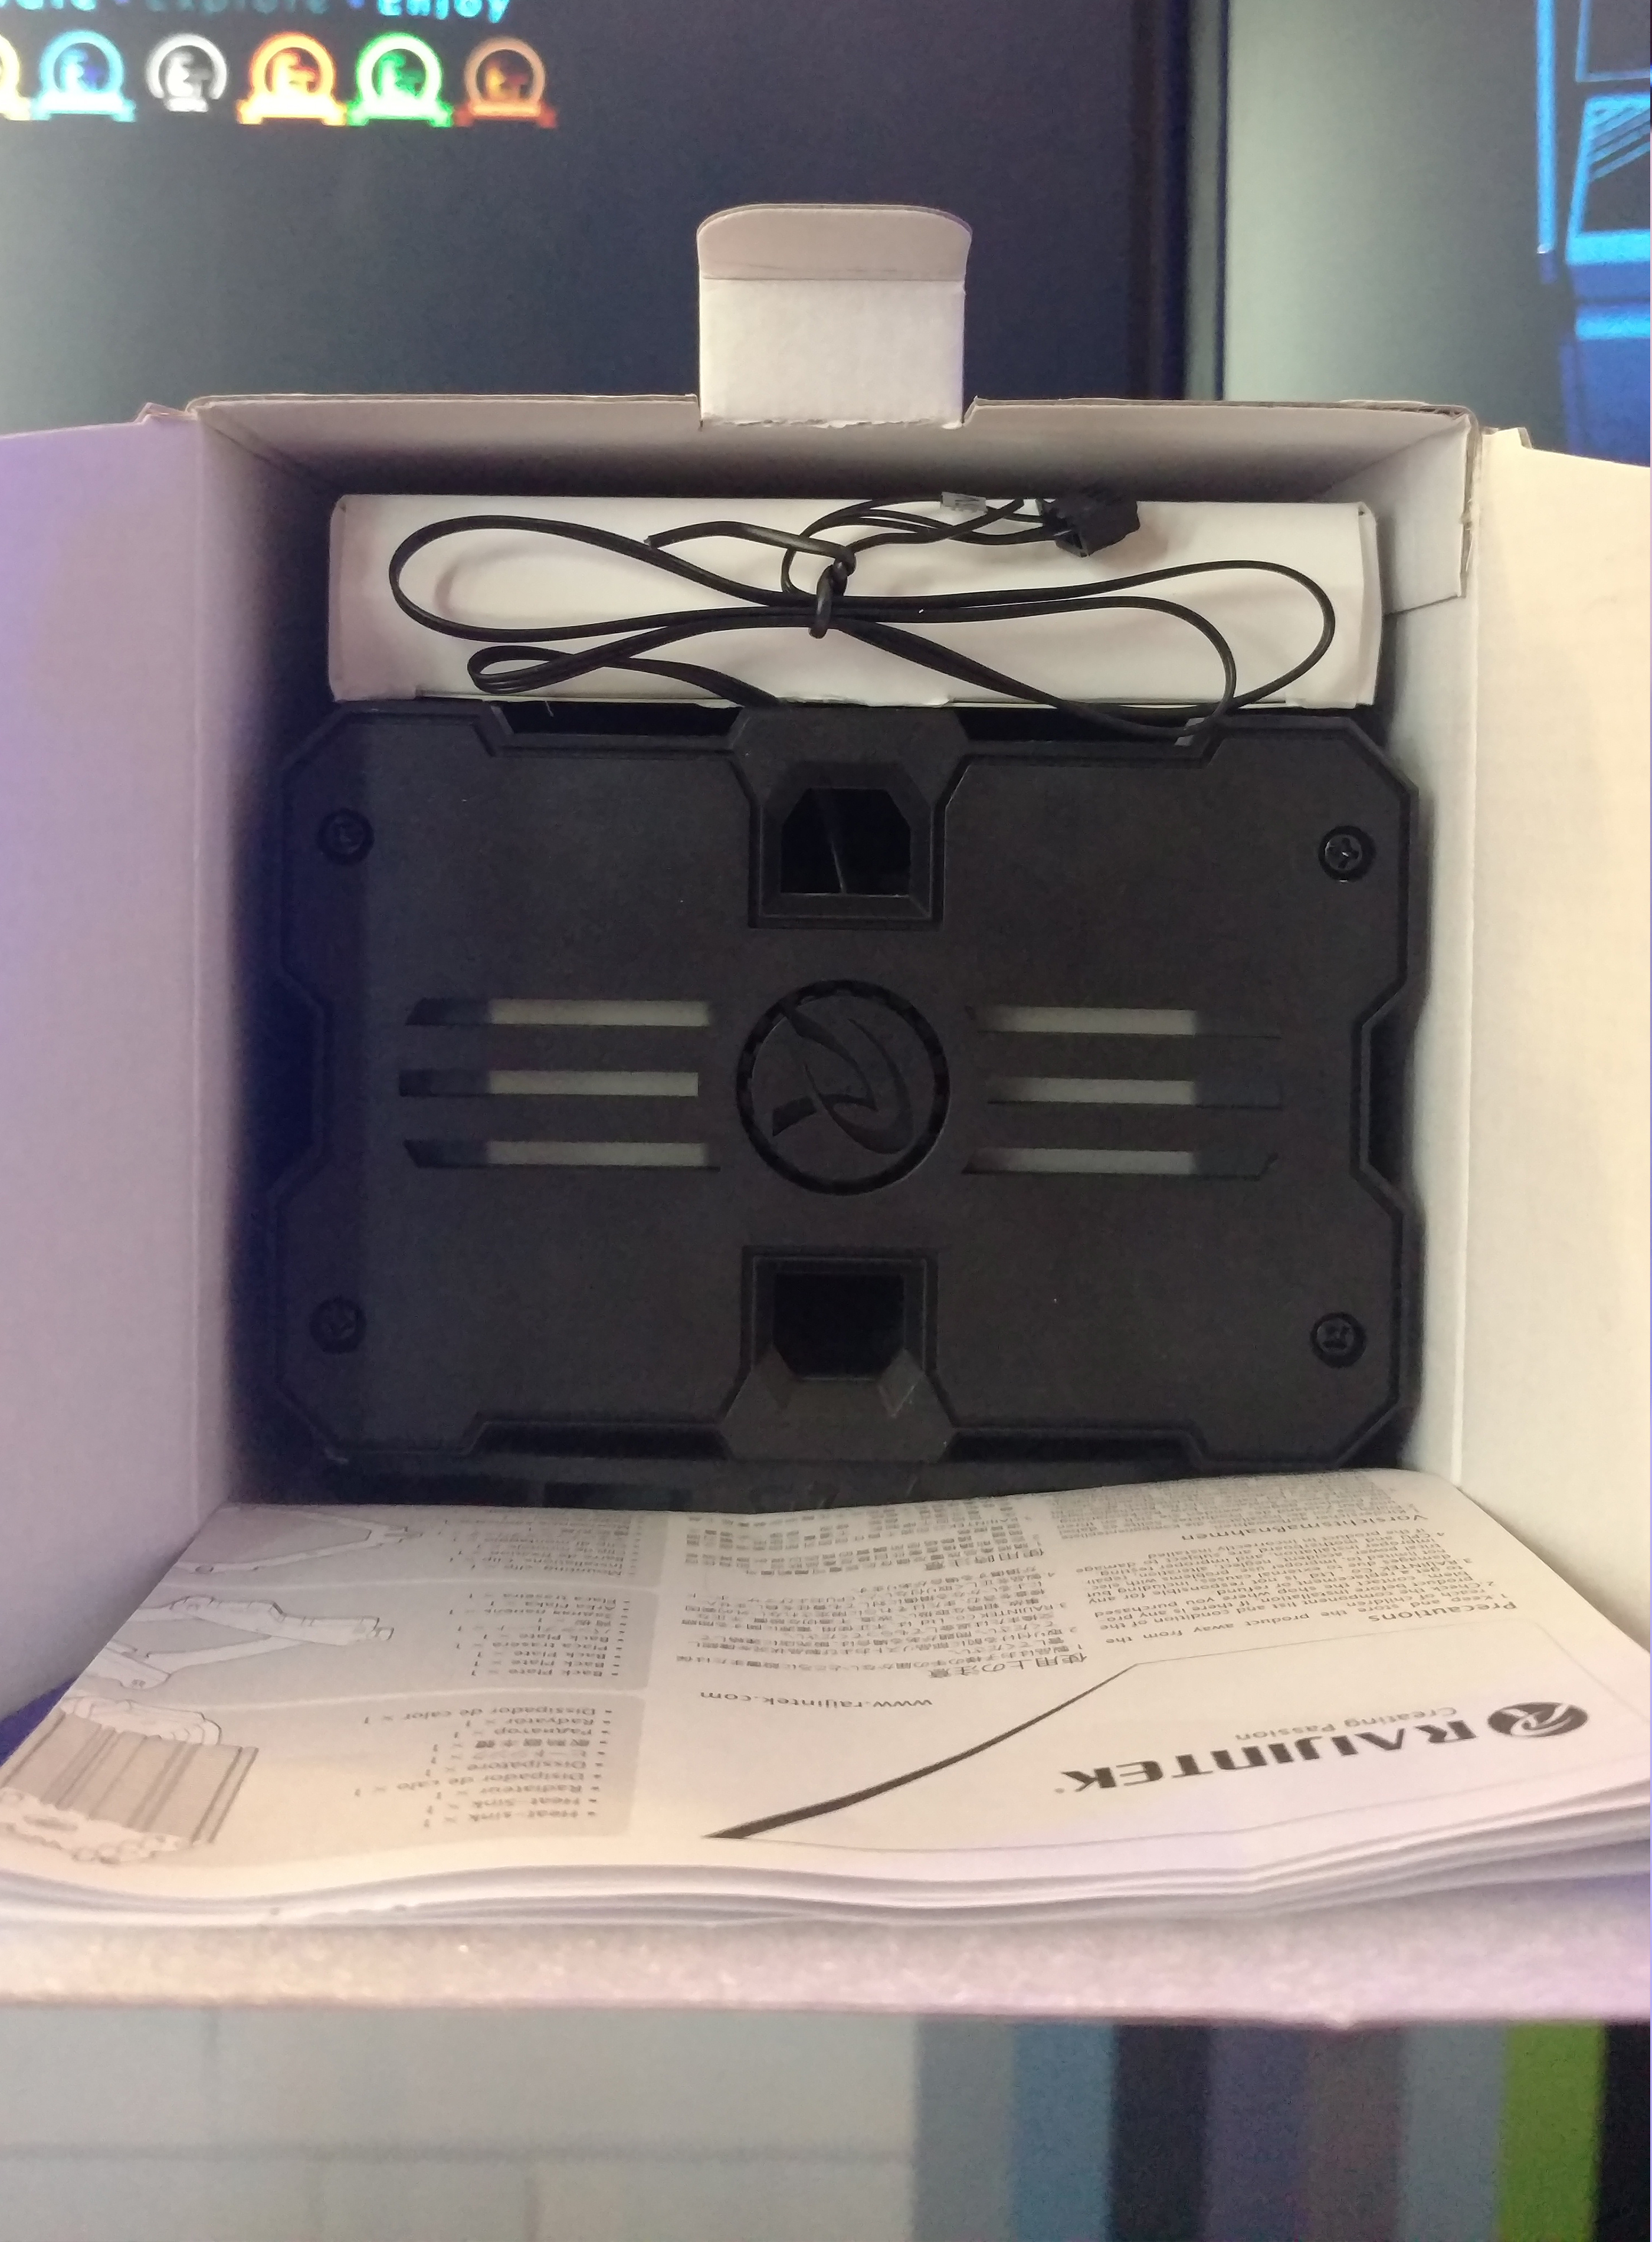
Popping the top of the box open and you will be greeted with a thin foam layer over the manual and the MYA RBW Tower Cooler itself. The tower comes with the fan pre-installed and behind the cooler, you will also find a little white box that holds all of your Intel and AMD mounting hardware and a small packet of thermal paste (about 2 applications worth).
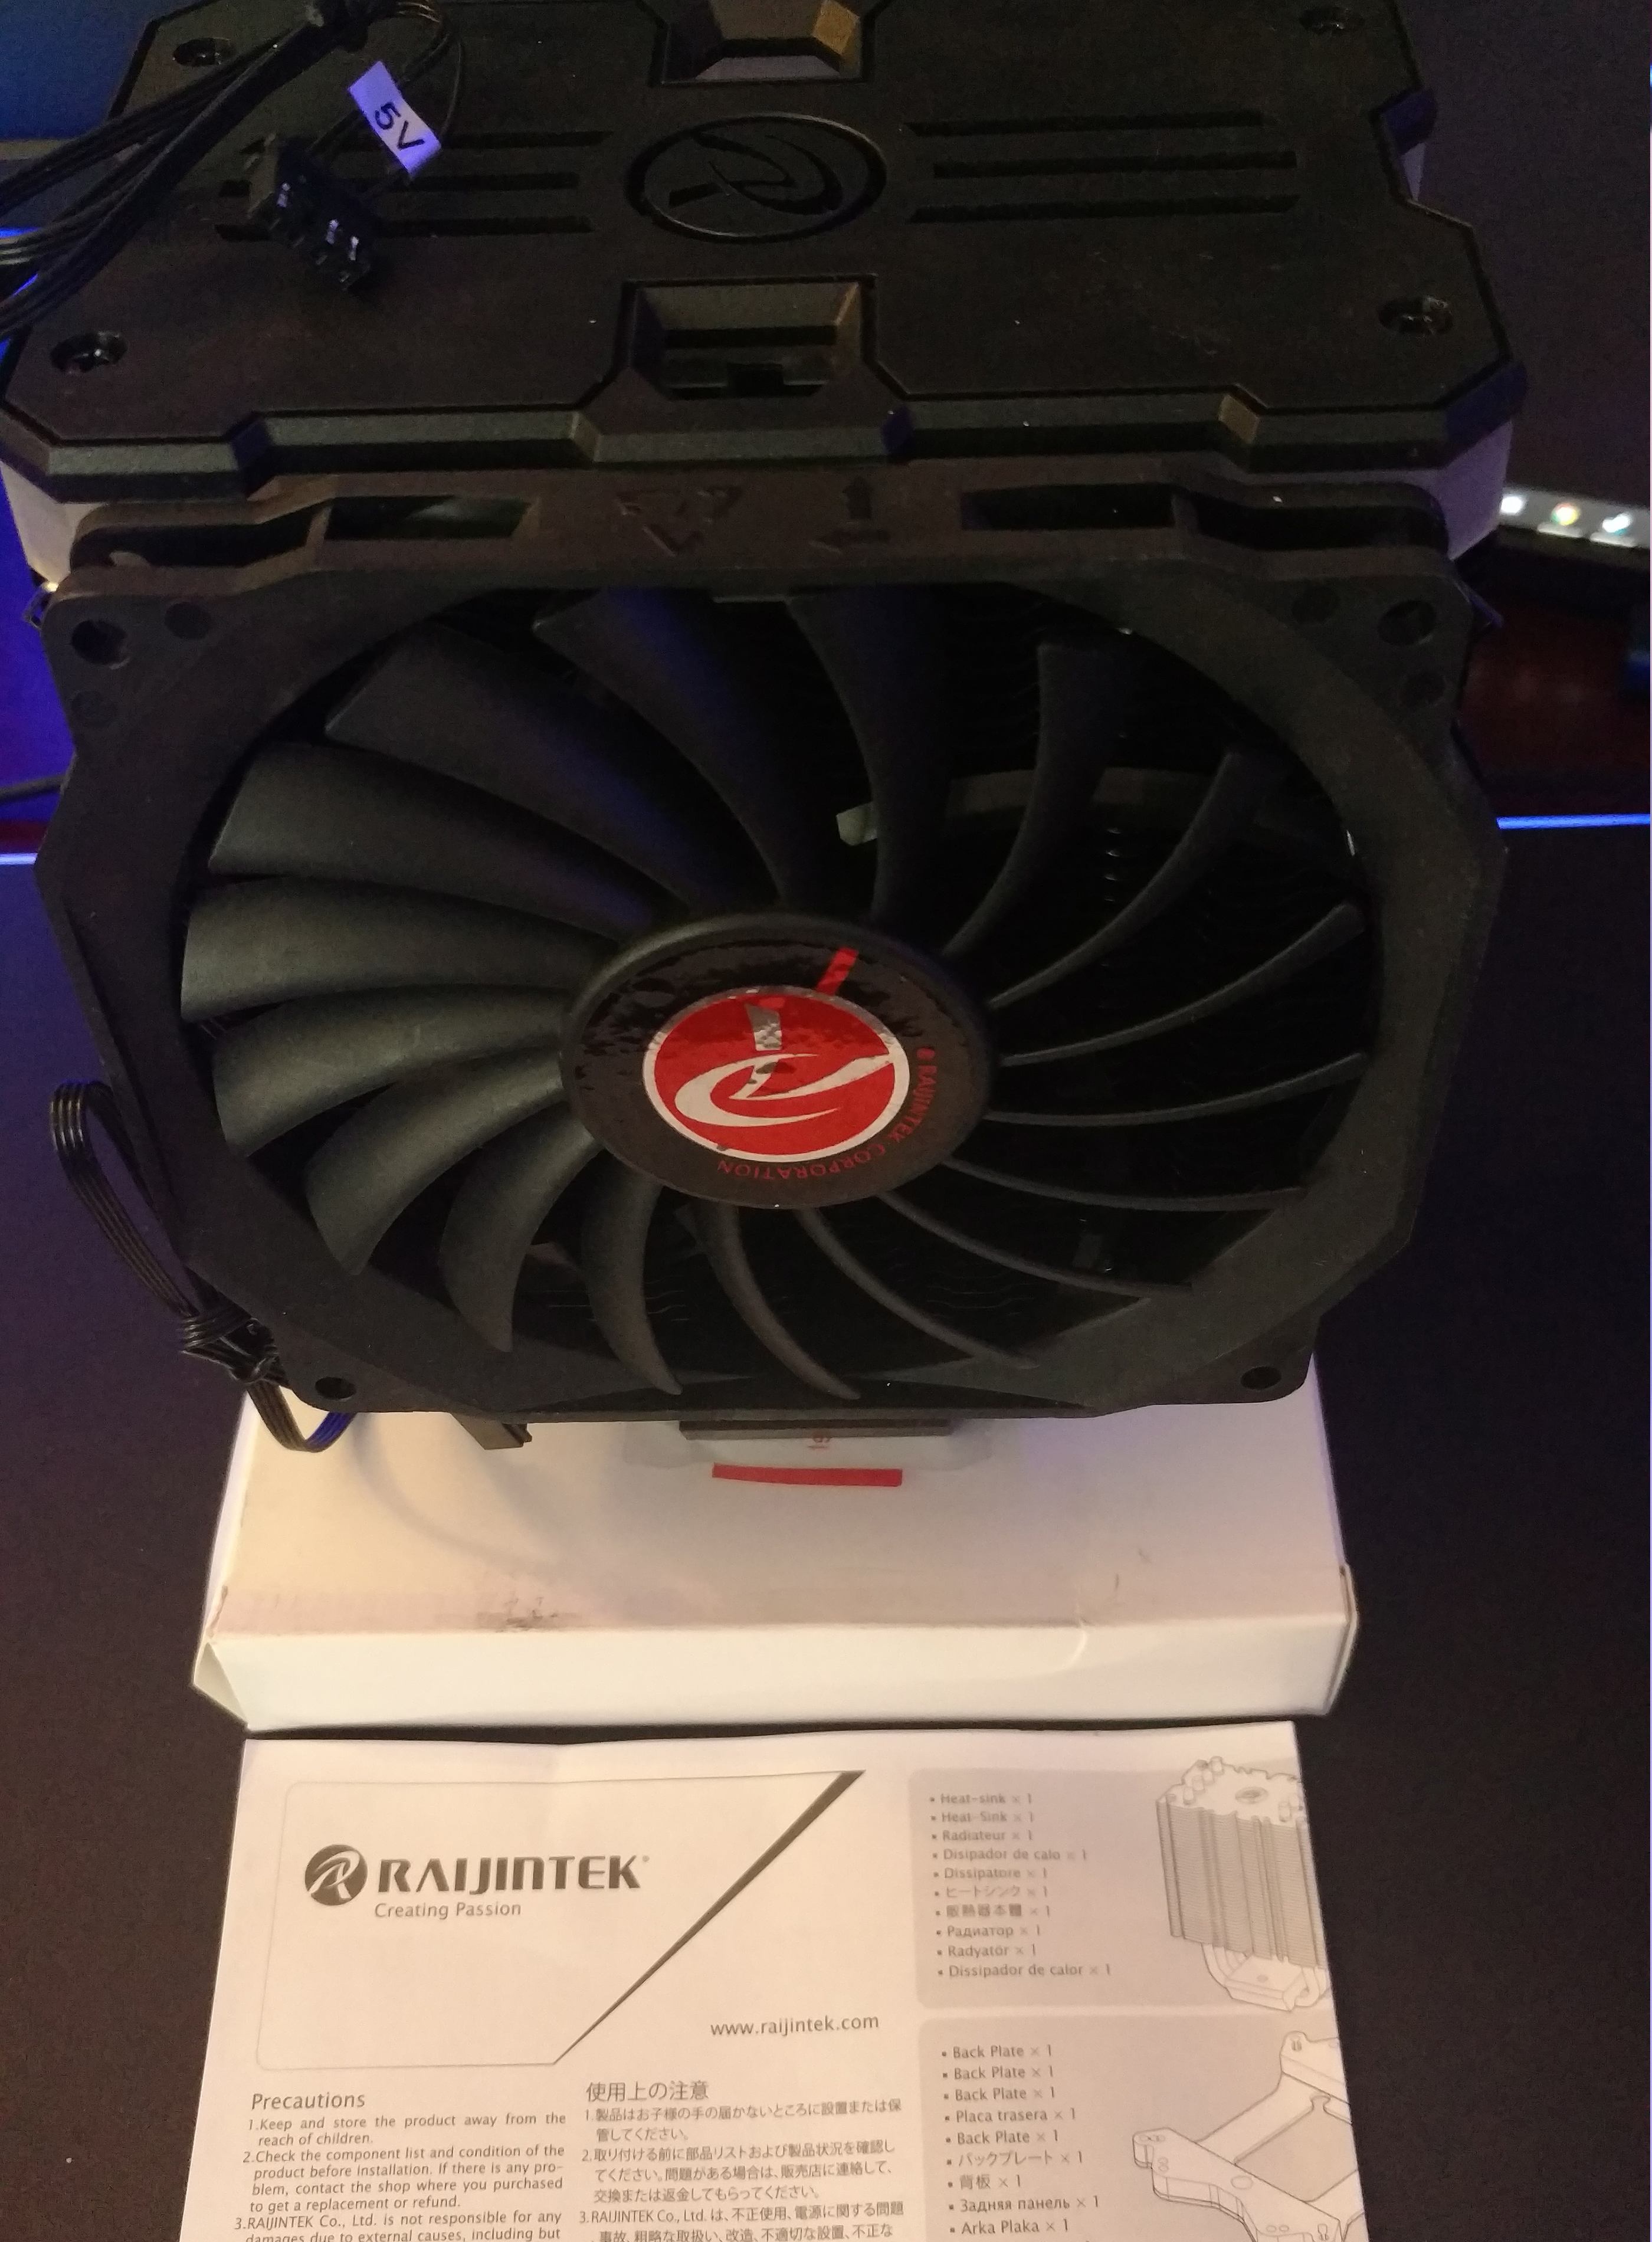
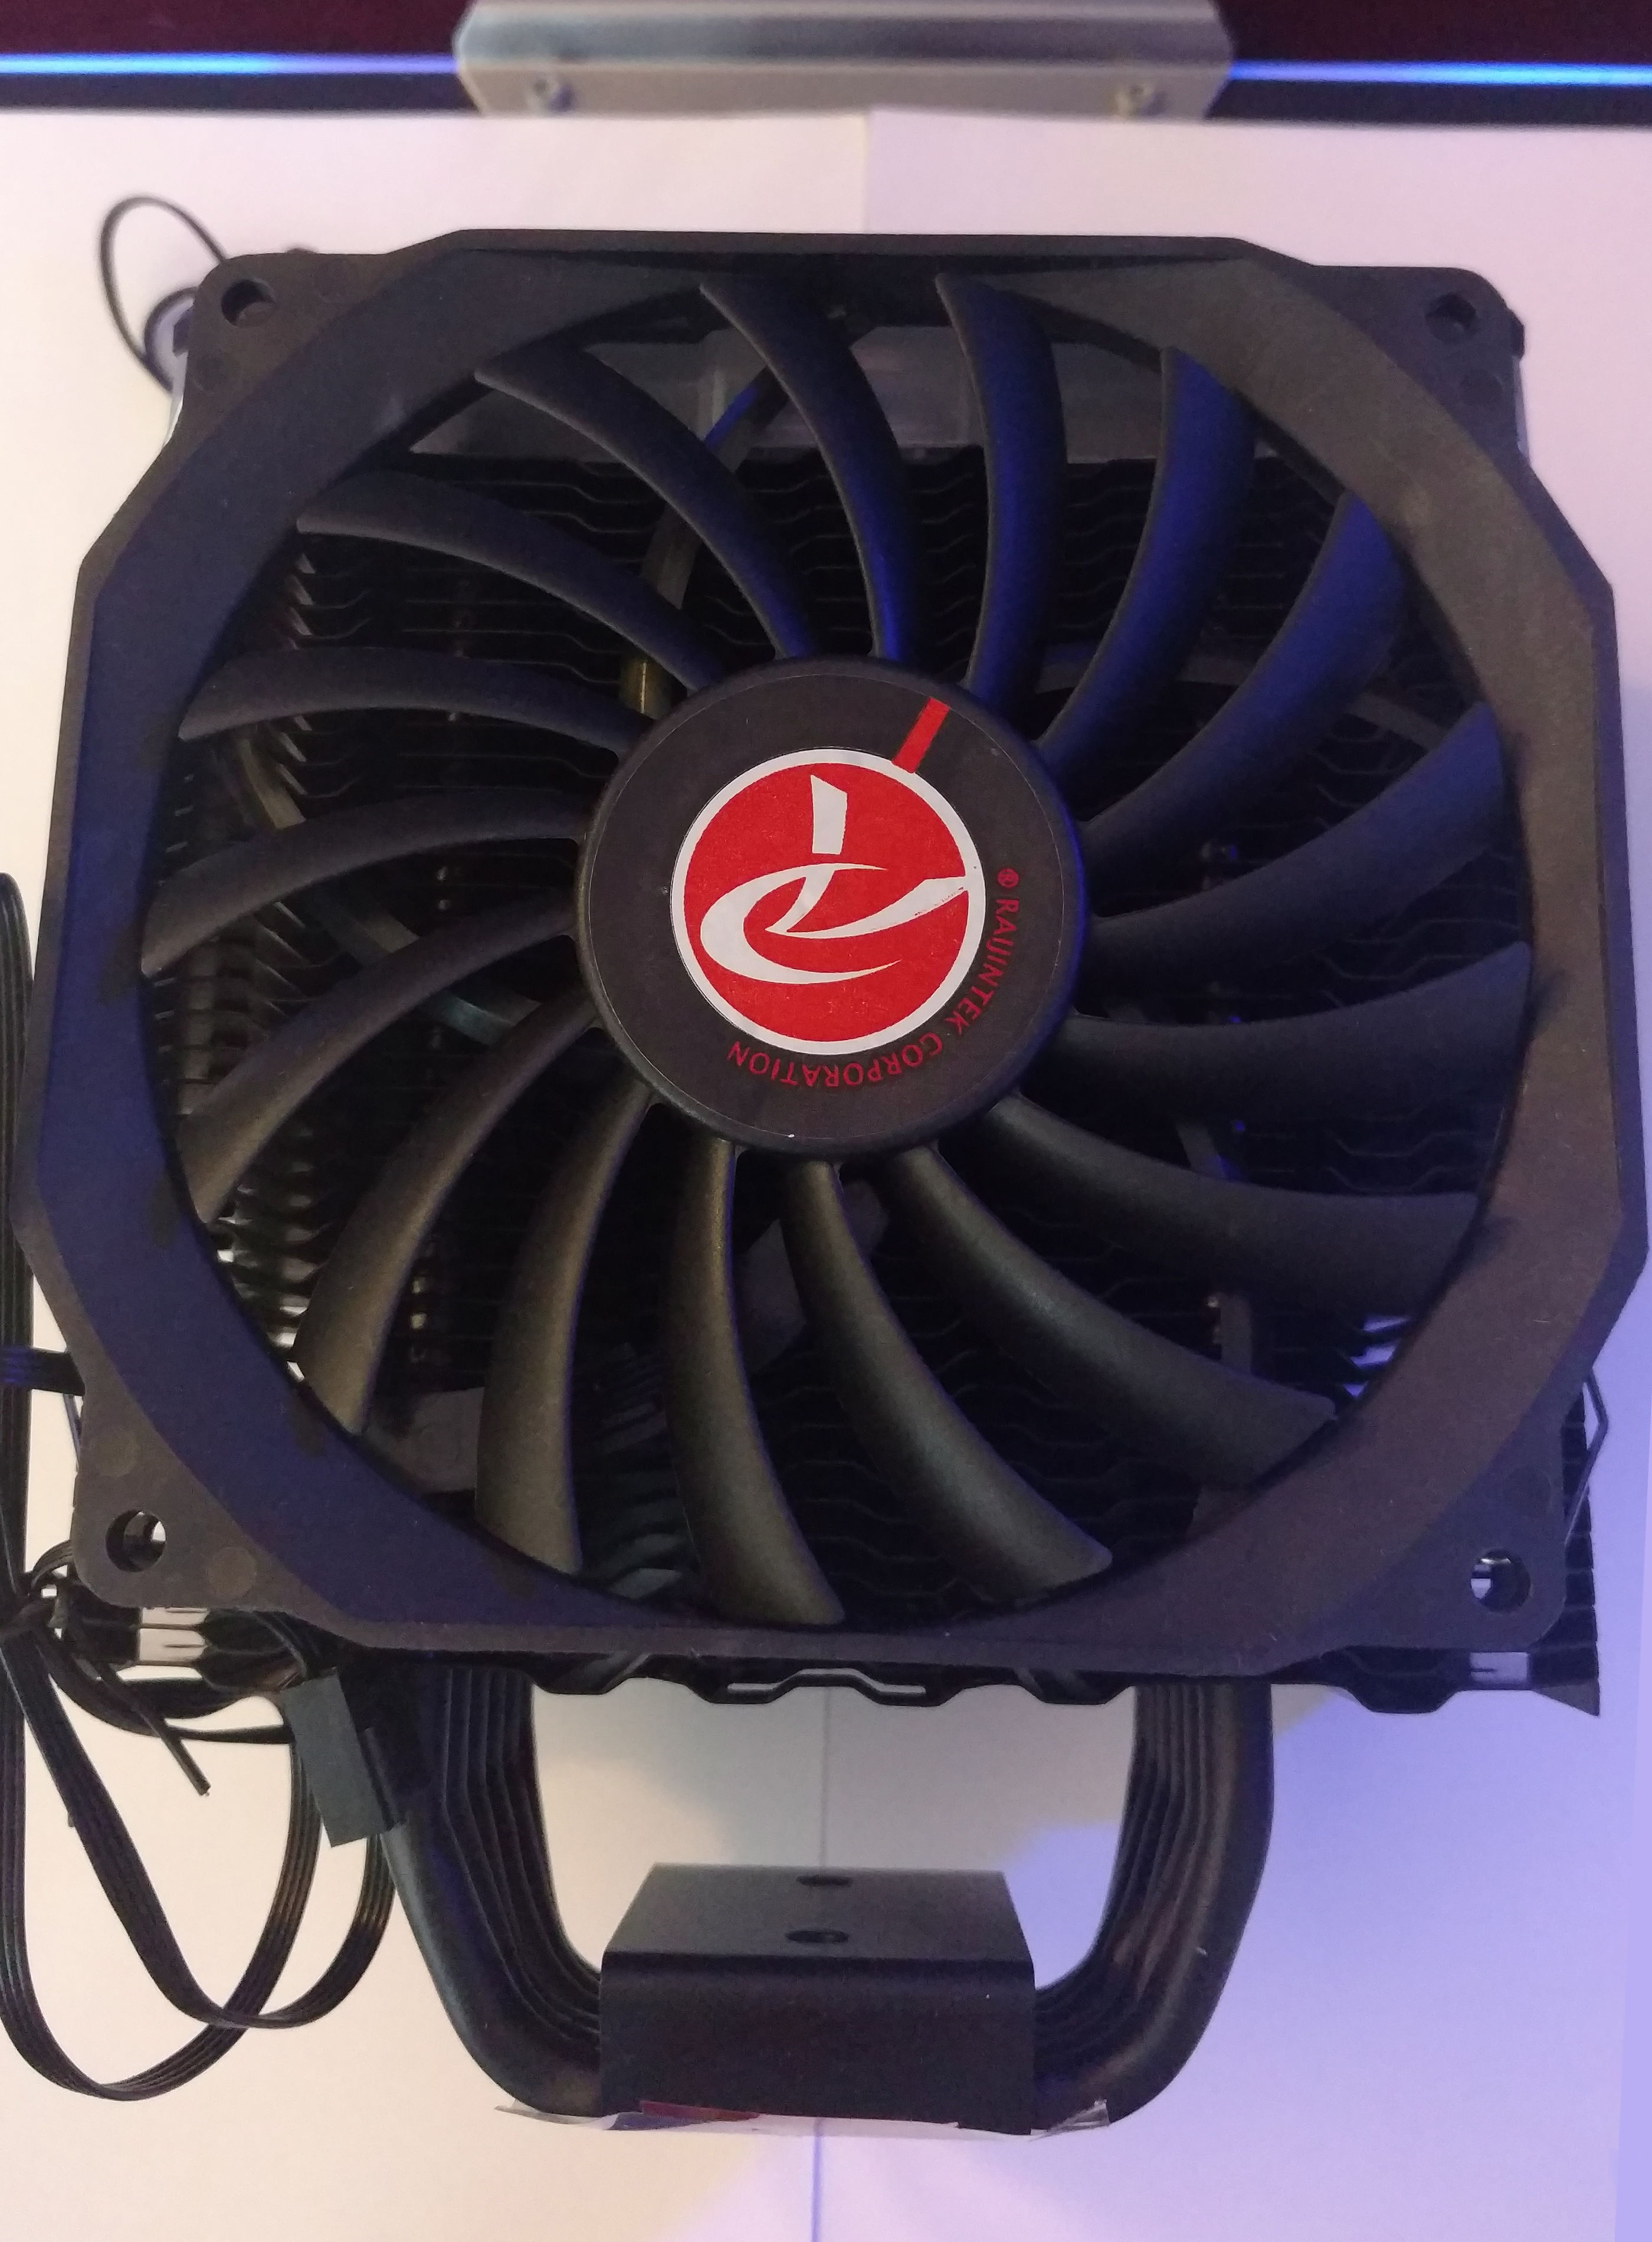
Pulling the cooler out of the box you can get a good view of the fan which is a 13mm x 120mm fan with 17 blades. This has two purposes. (A) The thickness of the fan does not block any of my RGB memory kits at all. (B) The high blade count helps to push the air through the rather thick tower.
A bit of a closer look at the fan and cooler from the front, the fan features a 4pin PWM connection.
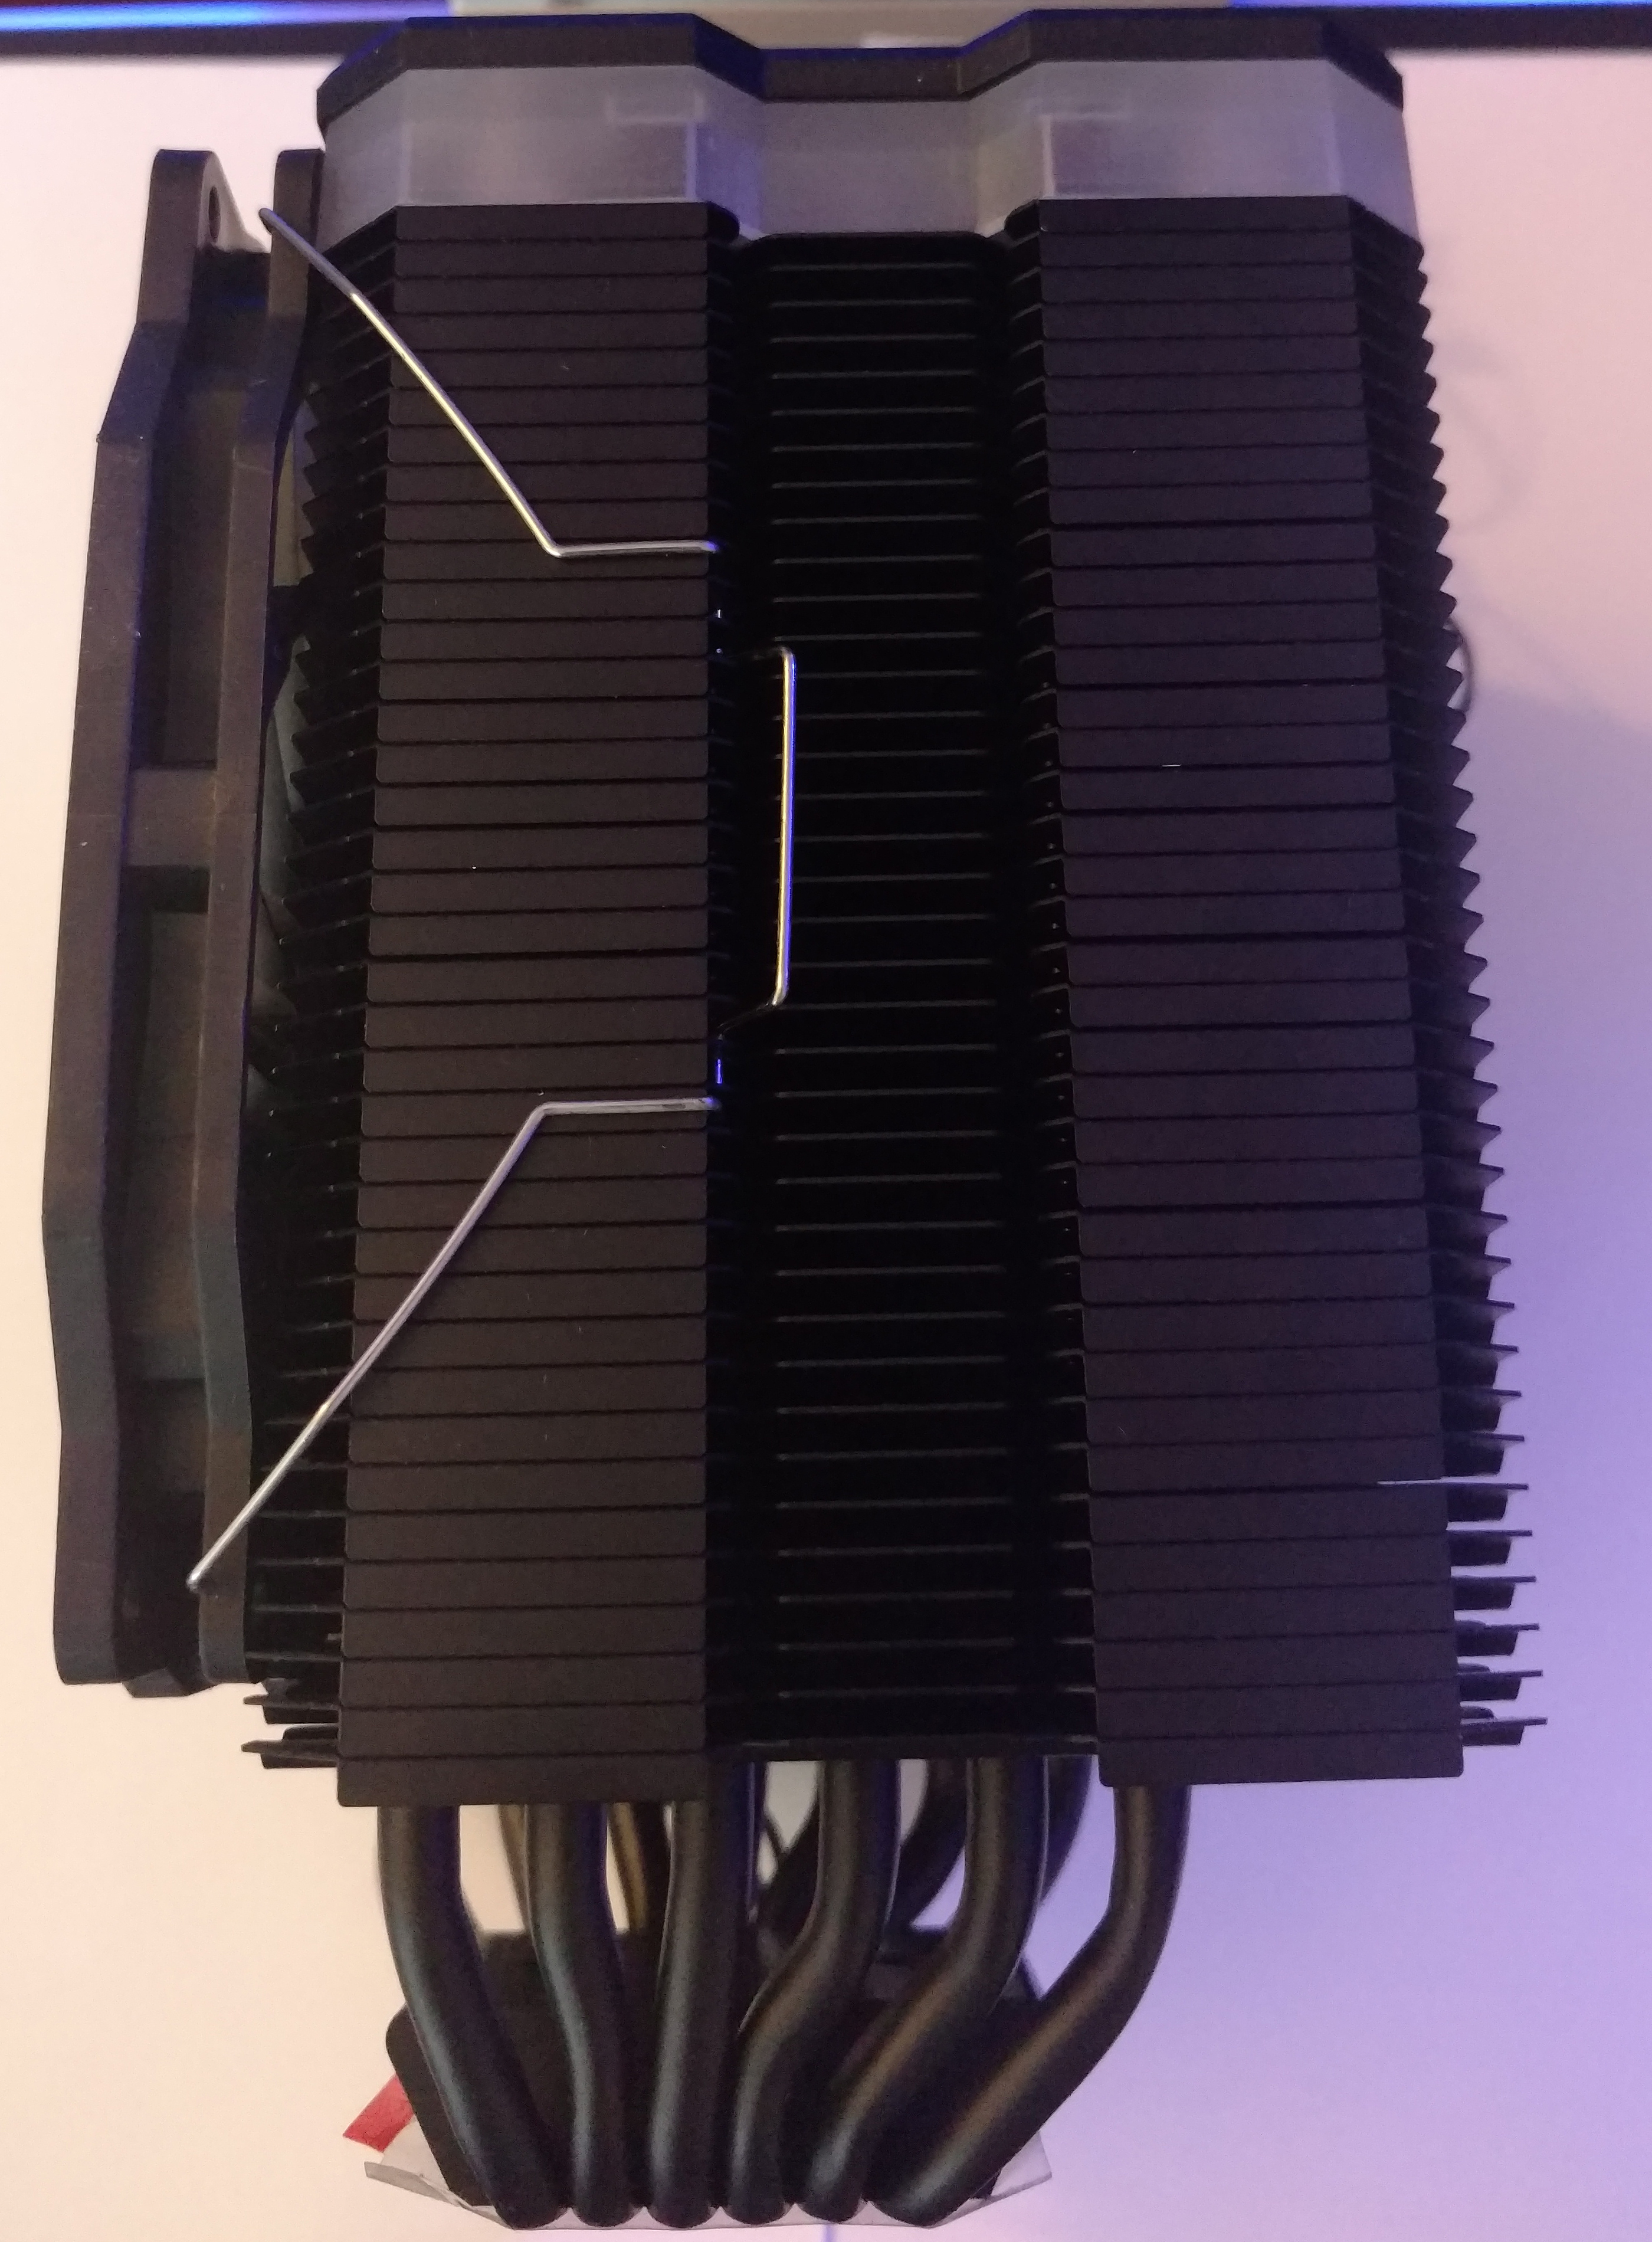
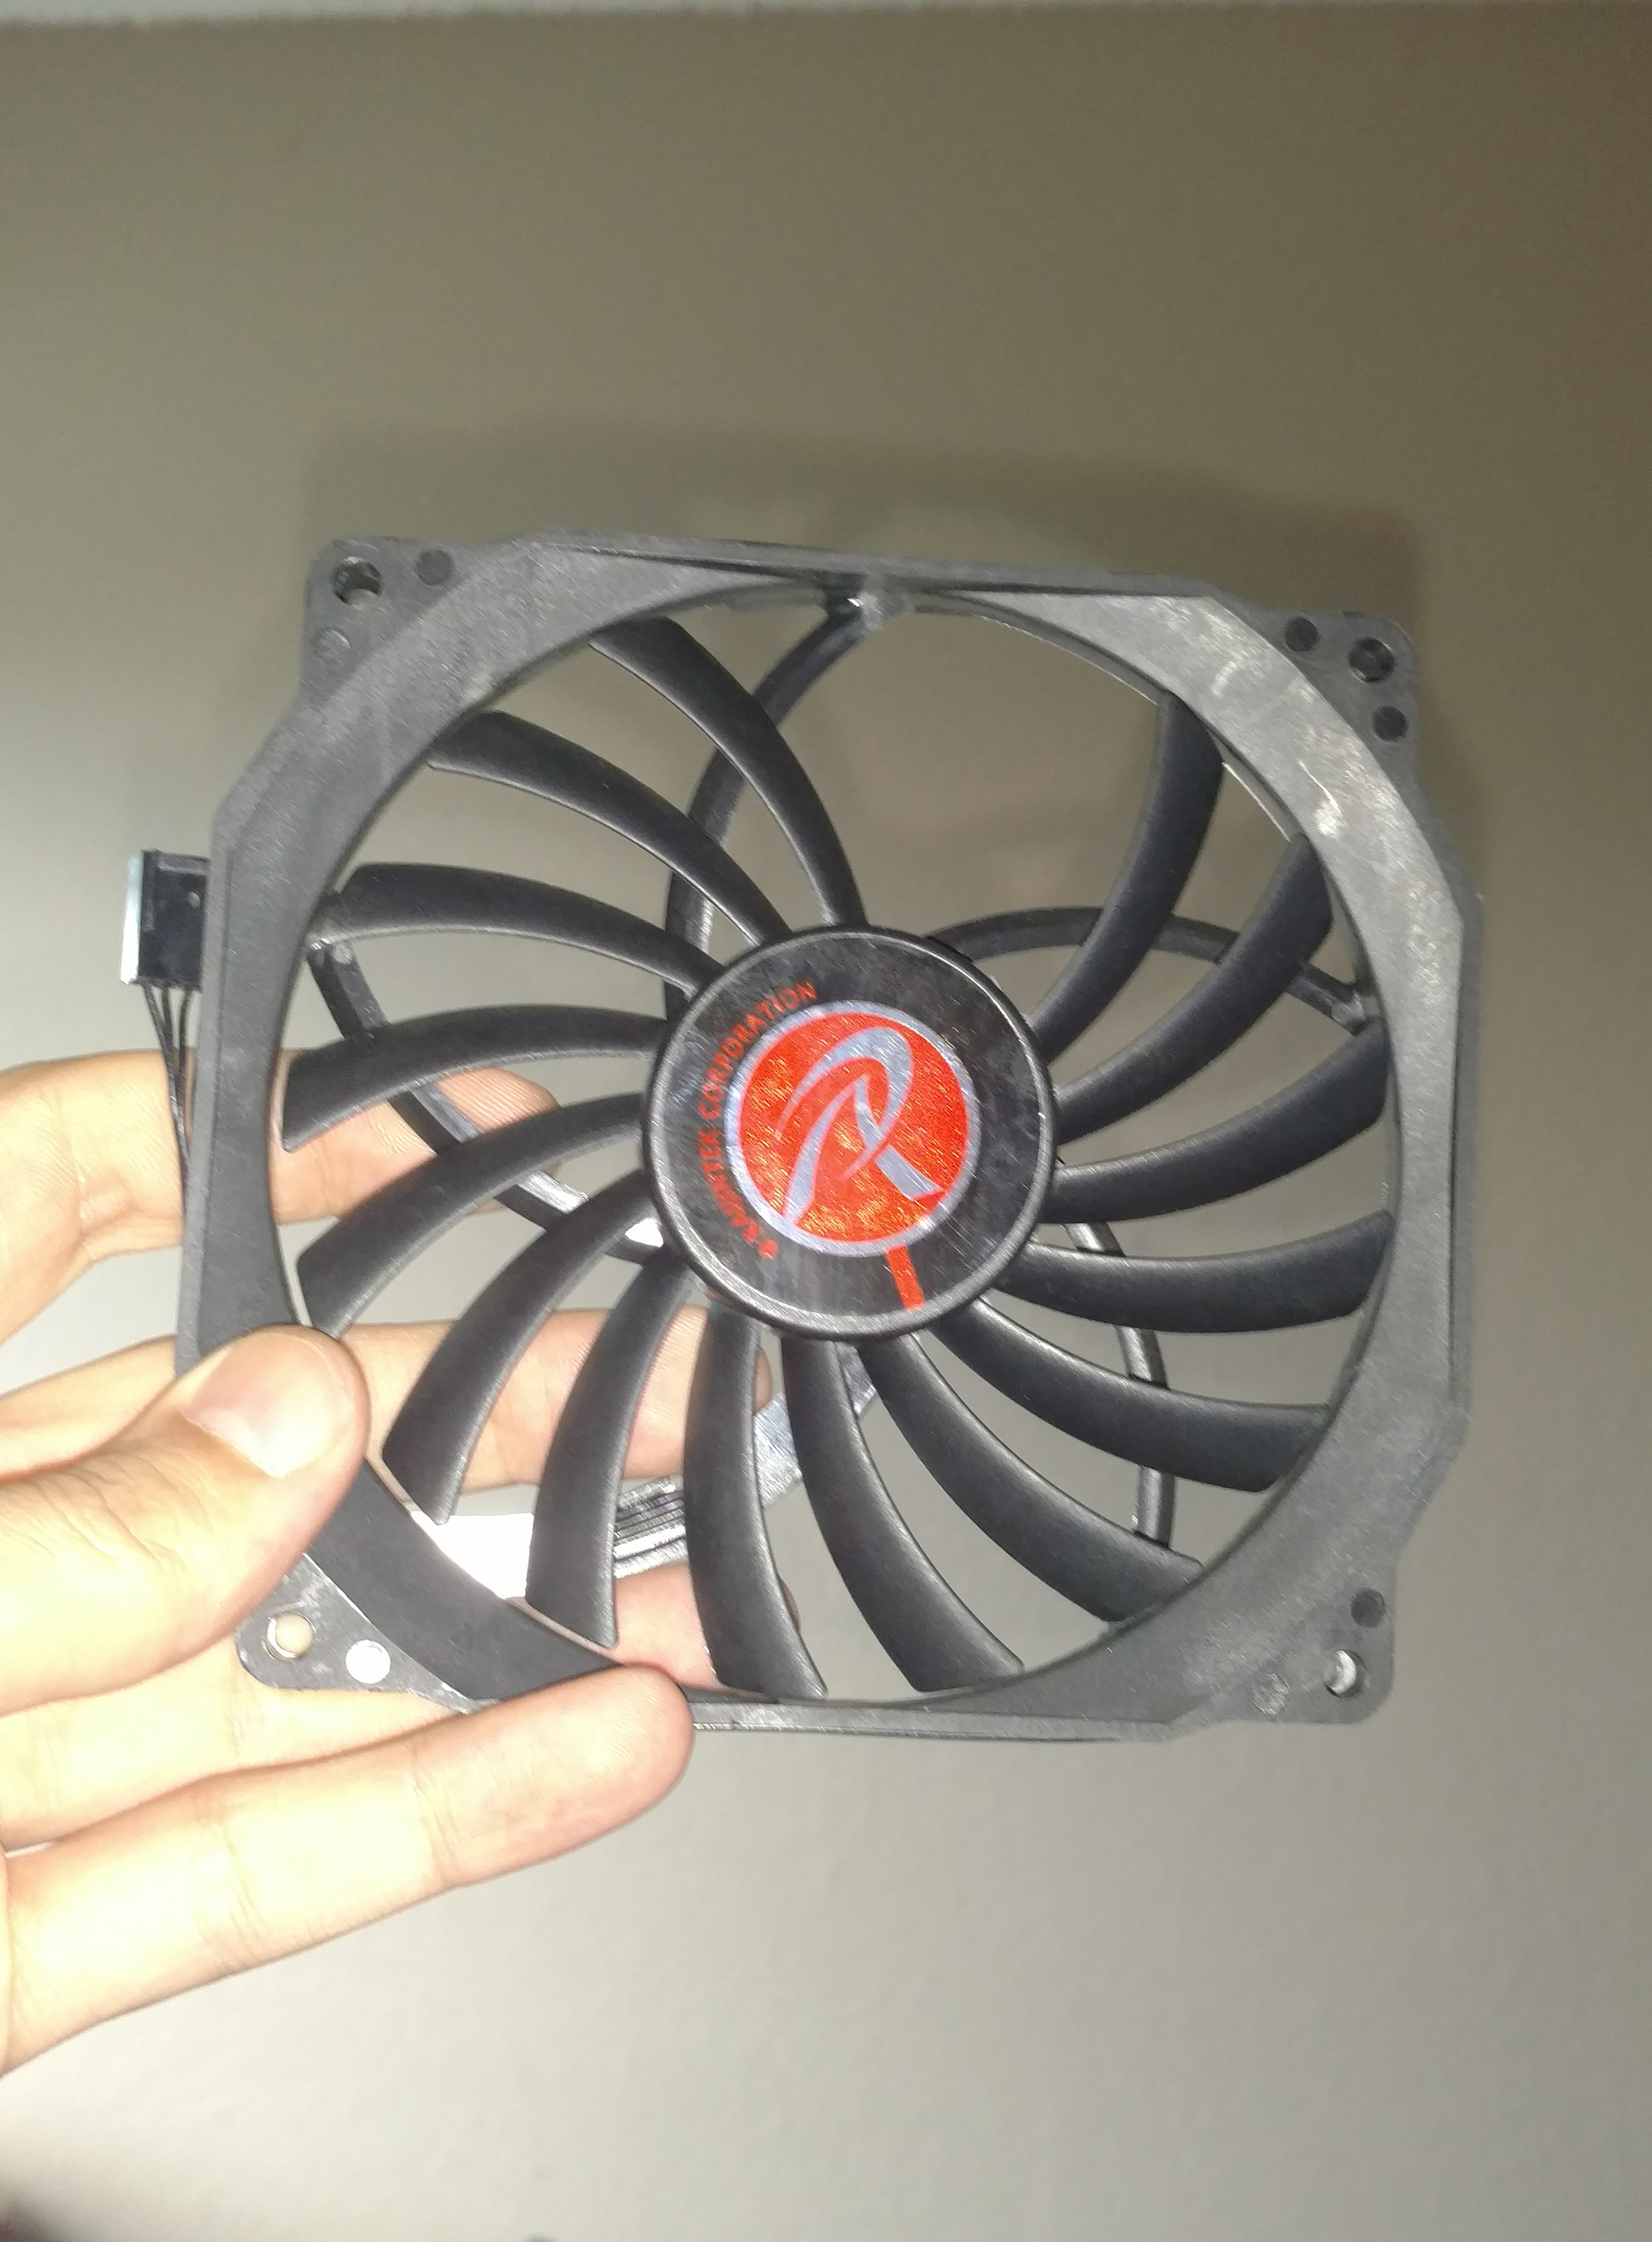
Here from the side, you can see the implementation of metal clips is how the fan is held in place. This particular tower is not too terrible to clip these onto, the fan doesn’t slide around a bunch or anything like that. The one thing you will want to do is never install this inside a case. I only have one system and testing has to stay in the case for time and business sake. The lesson to be learned here is that while putting things together after checking to see if my pressure was good with paste spread I slipped and my thumb broke two blades off of the fan. Thankfully this was after my final round of thermal testing.
A photo of my rookie mistake of shame. . . In my personal opinion, do not install big coolers (probably not any cooler) inside of your case it is not worth it. Put it on before installing your motherboard when you can. Due to having just one build, and it being one I use for more purposes than just reviewing, for time’s sake, I don’t tear the build down because I need it for other work, so here is a lesson as to why that is bad.
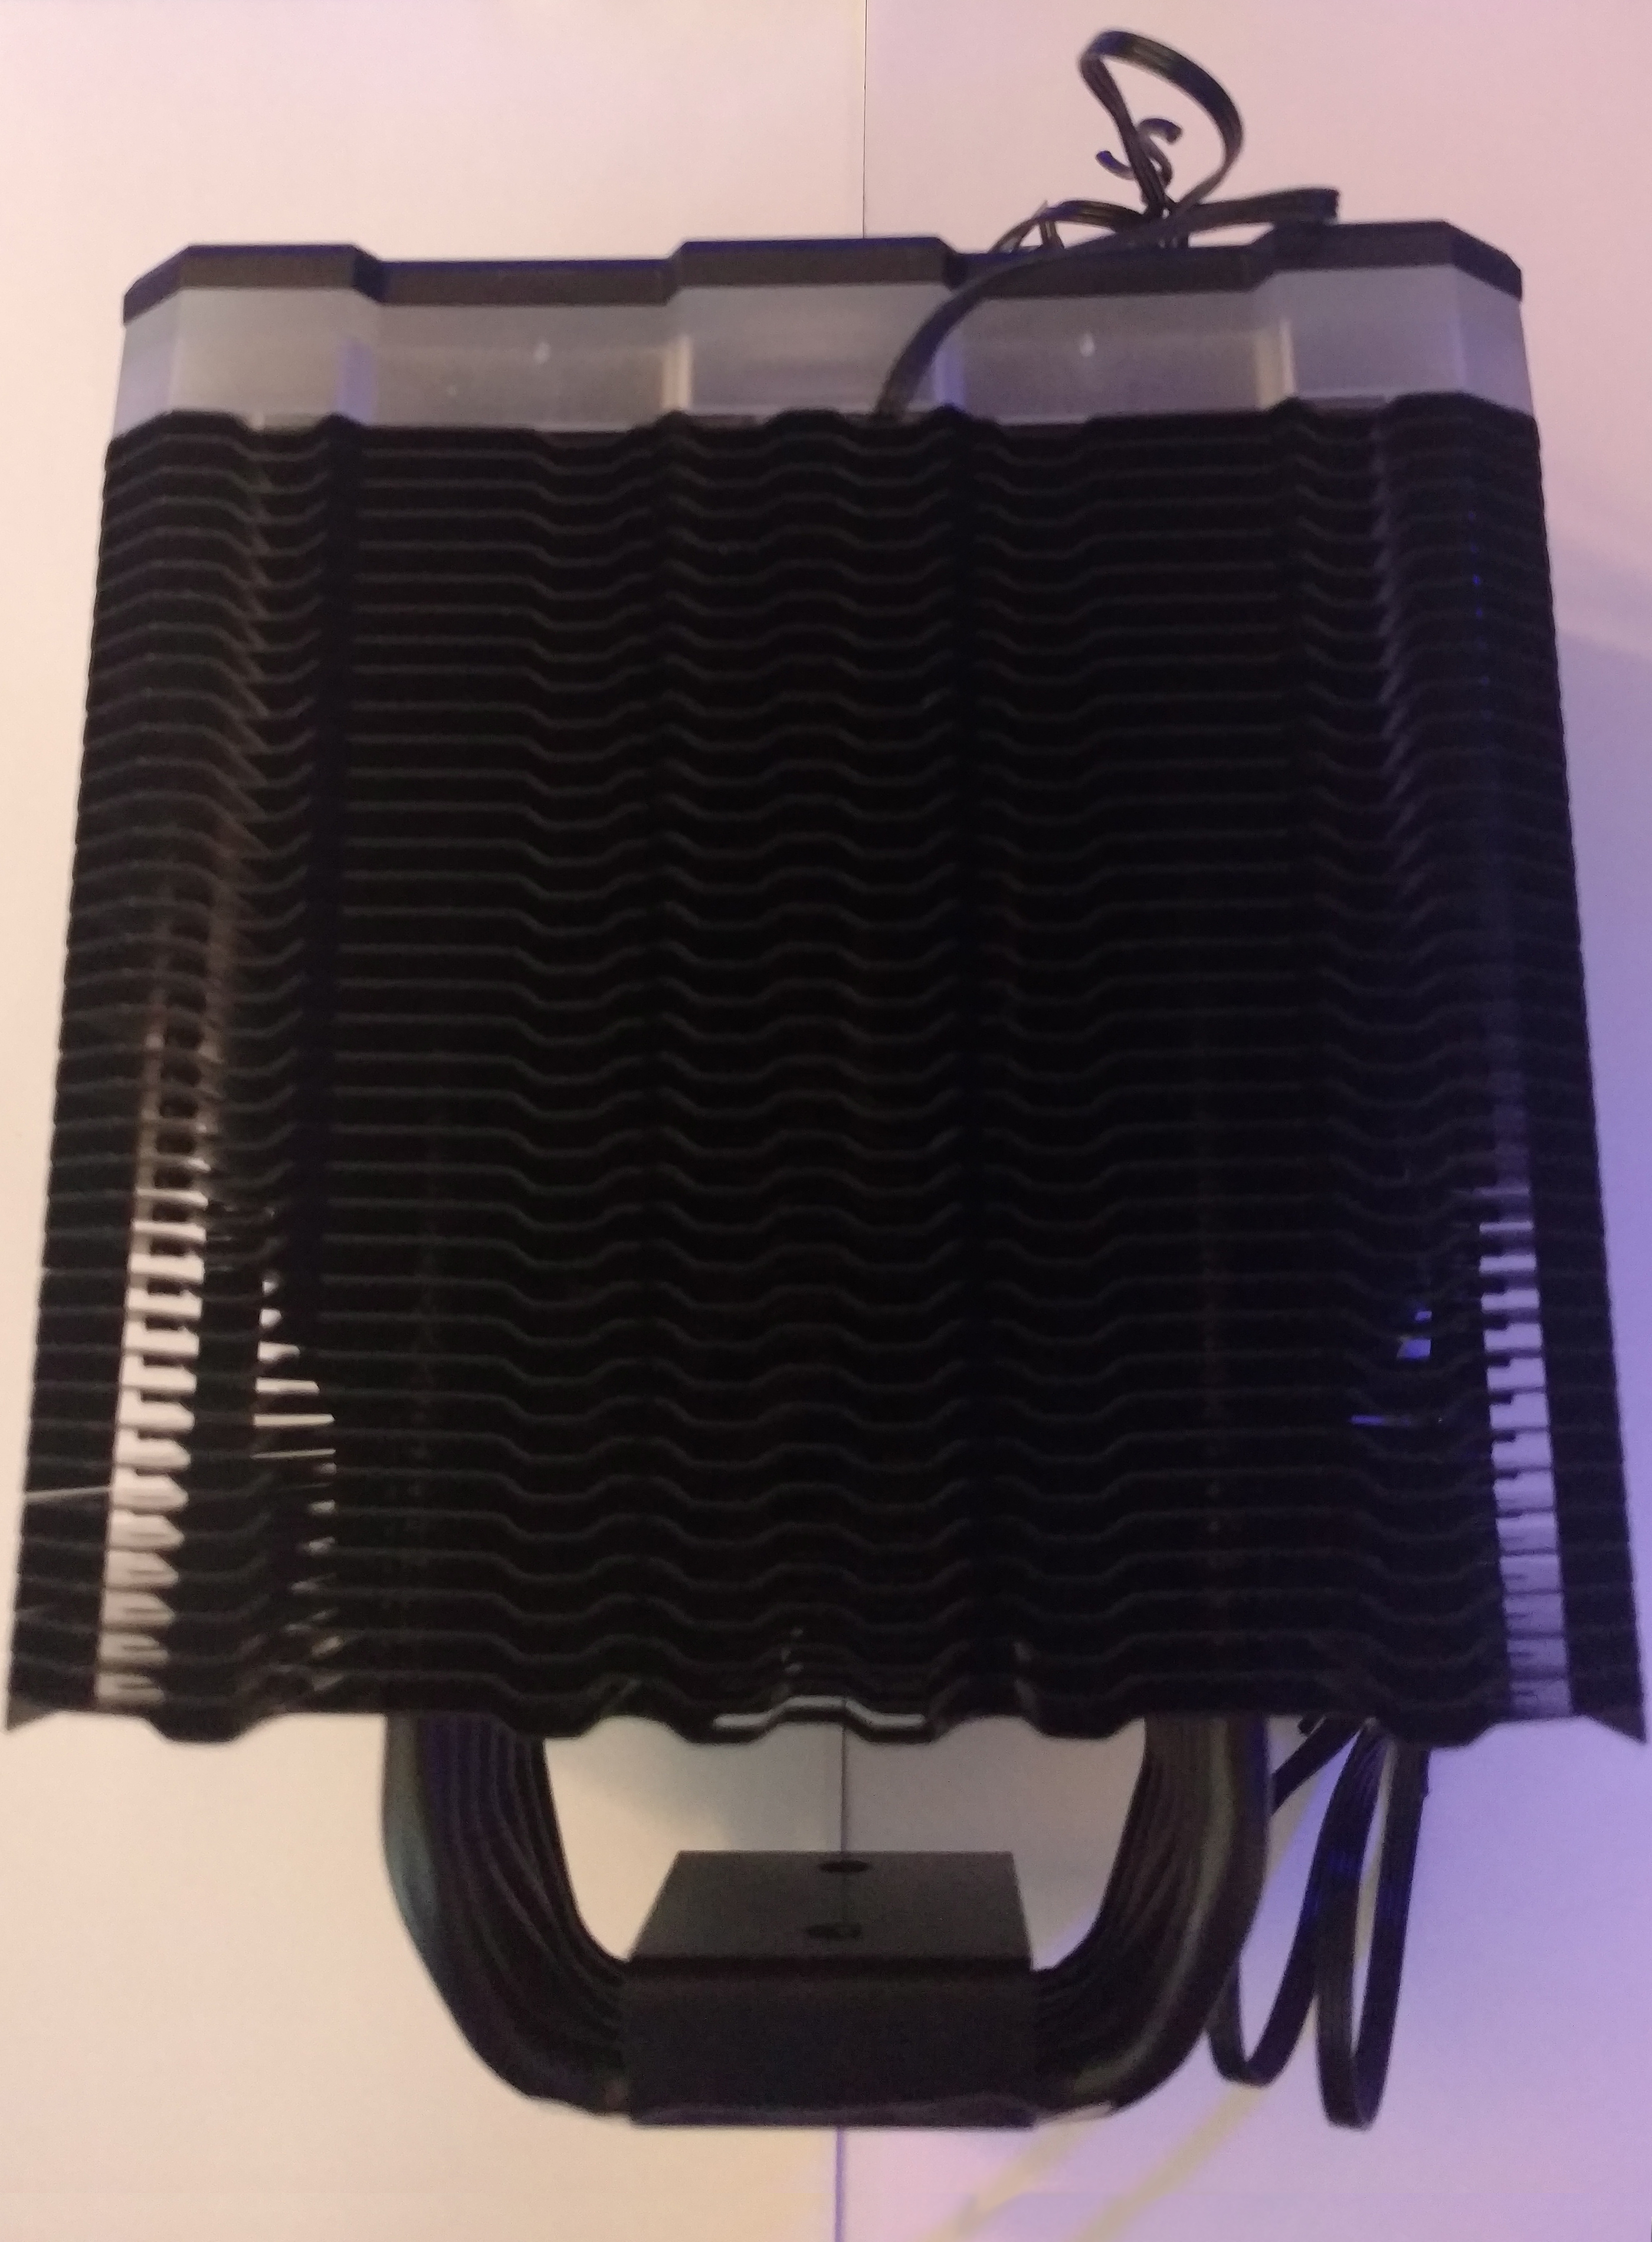
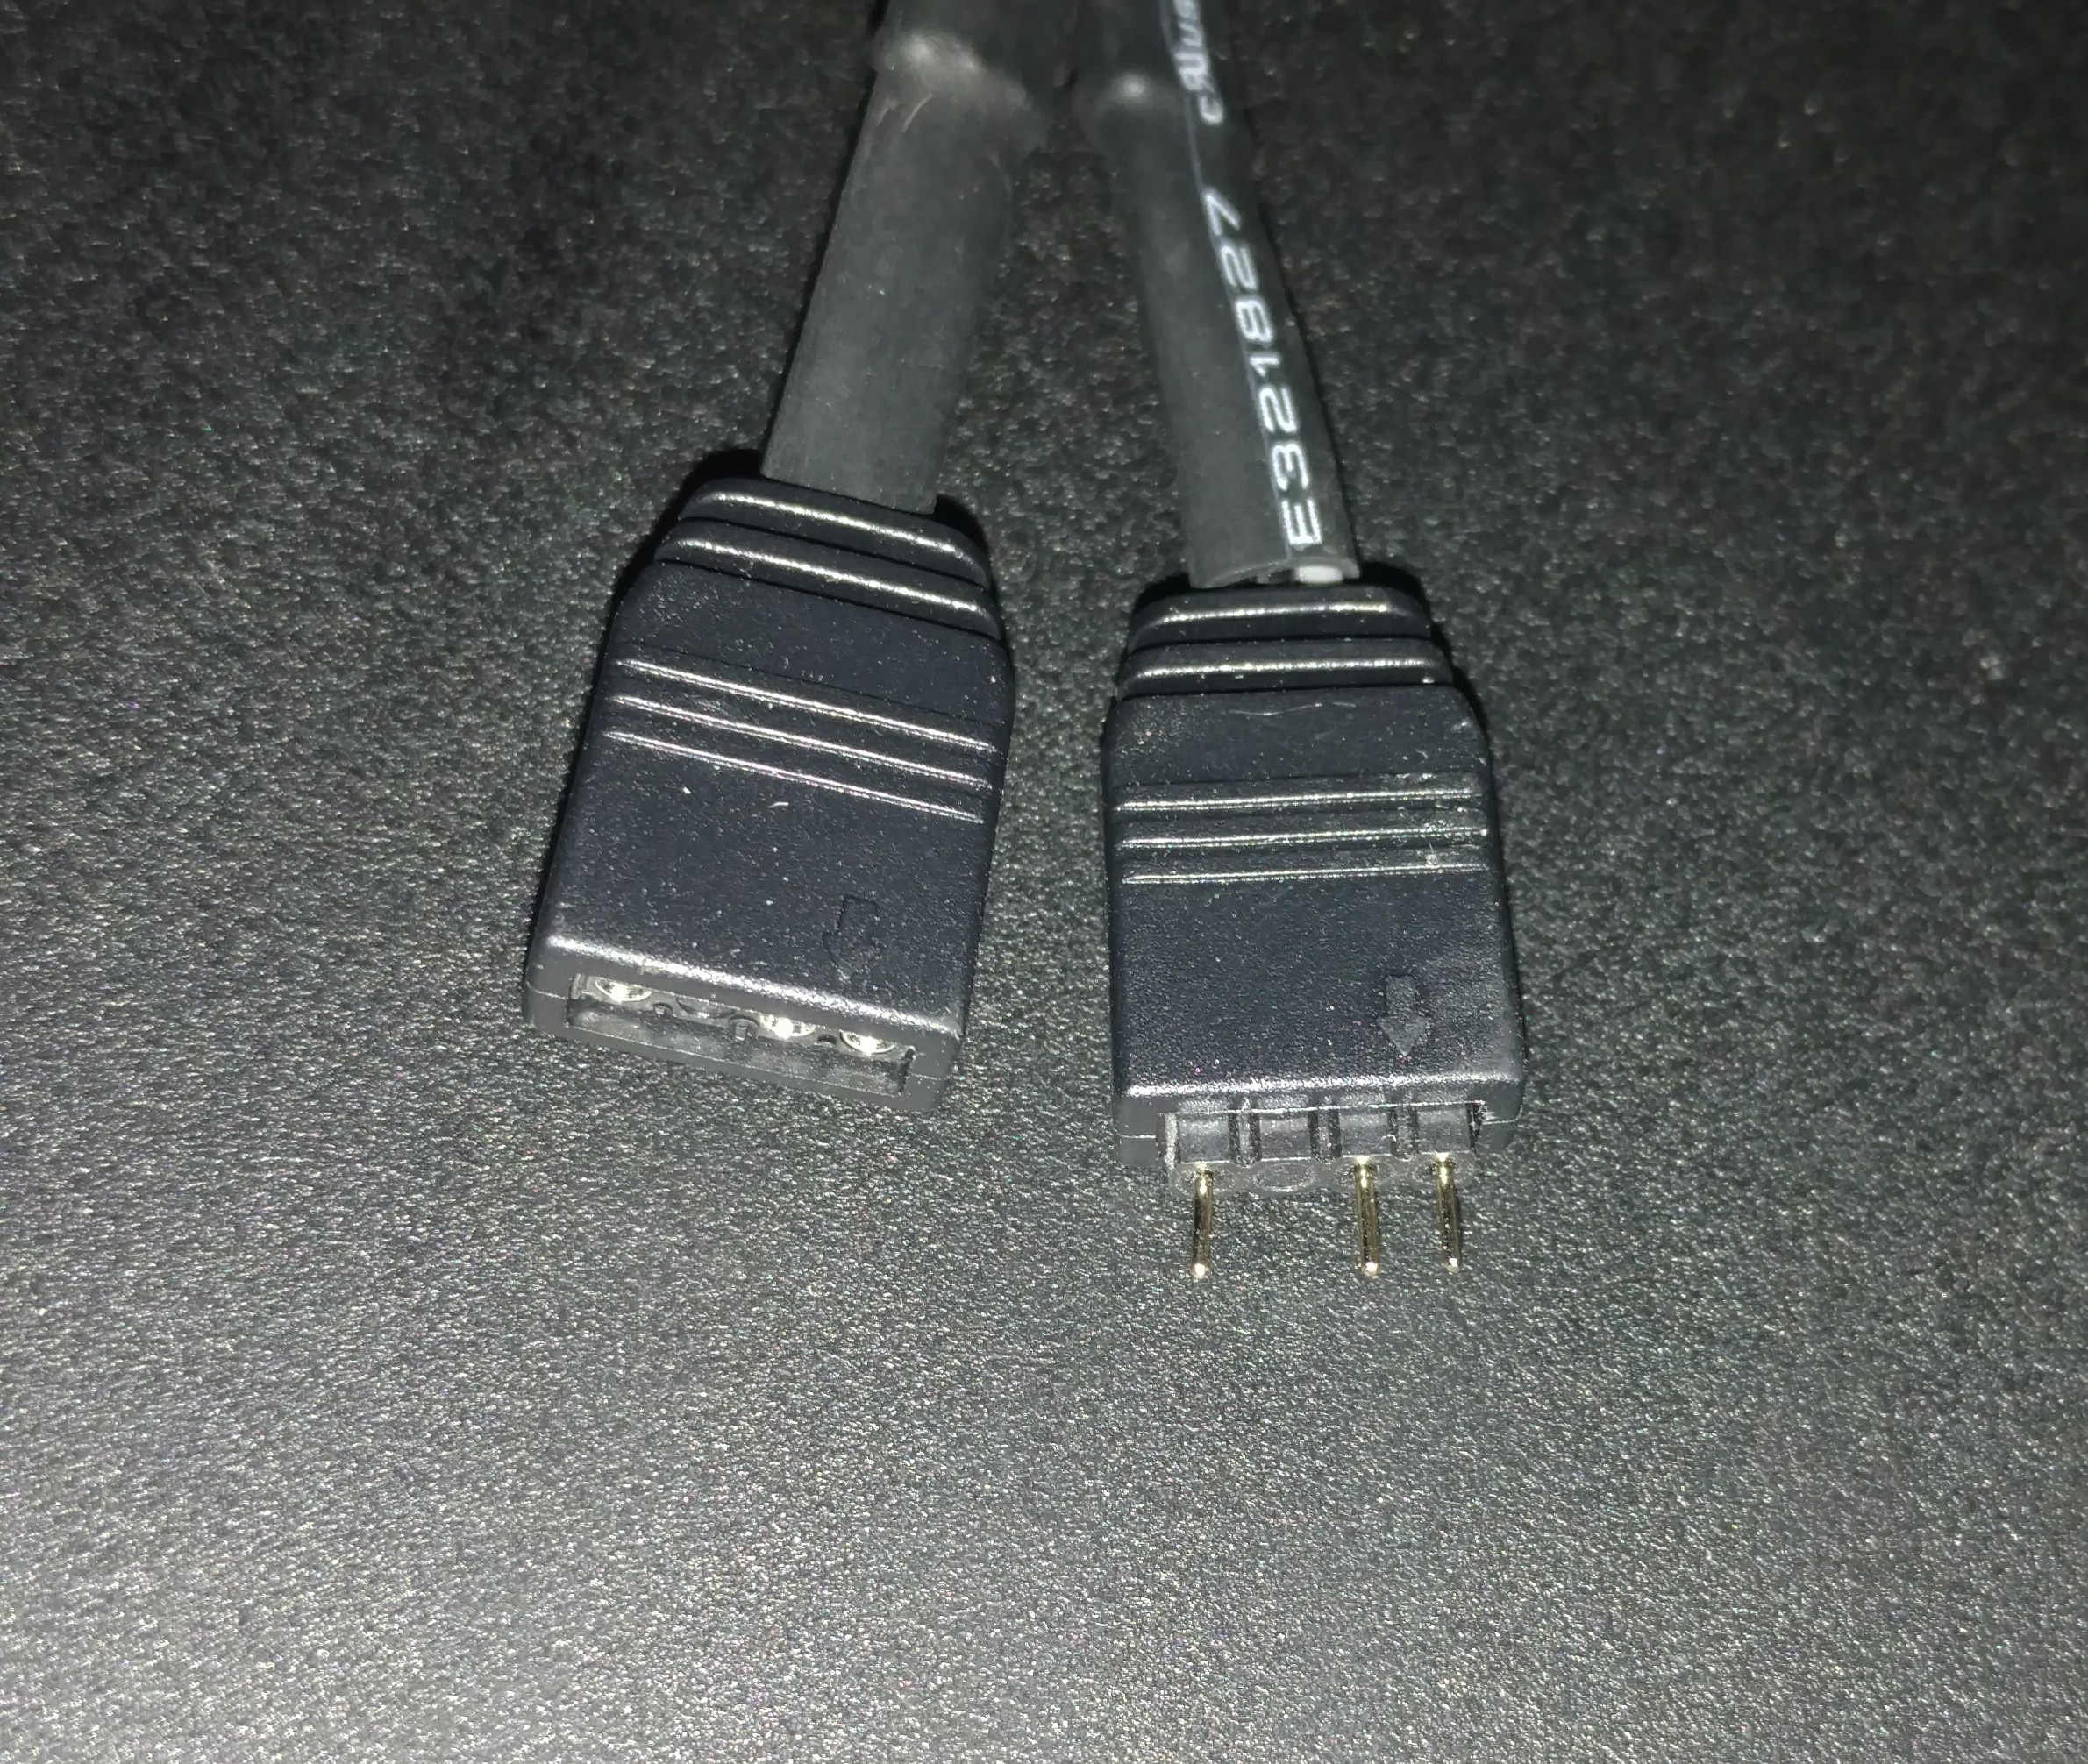
I have counted 37 fins stacked together on the 6 heat pipes running through the middle of them. Topping that off is an ADD RBG light bar that can be customized with a Rainbow ADD compatible motherboard/controller, the RJK RBW-ADD Control Set or an Addressable RGB Sata Adapter like this one I got from FrozenCPU.com. The point is without a Rainbow ADD compatible motherboard you will need to spend a little extra on a way to turn on and control the RGB. There was nothing included in the box for this outside the Rainbow ADD 3pin 5v cable attached to the cooler itself.
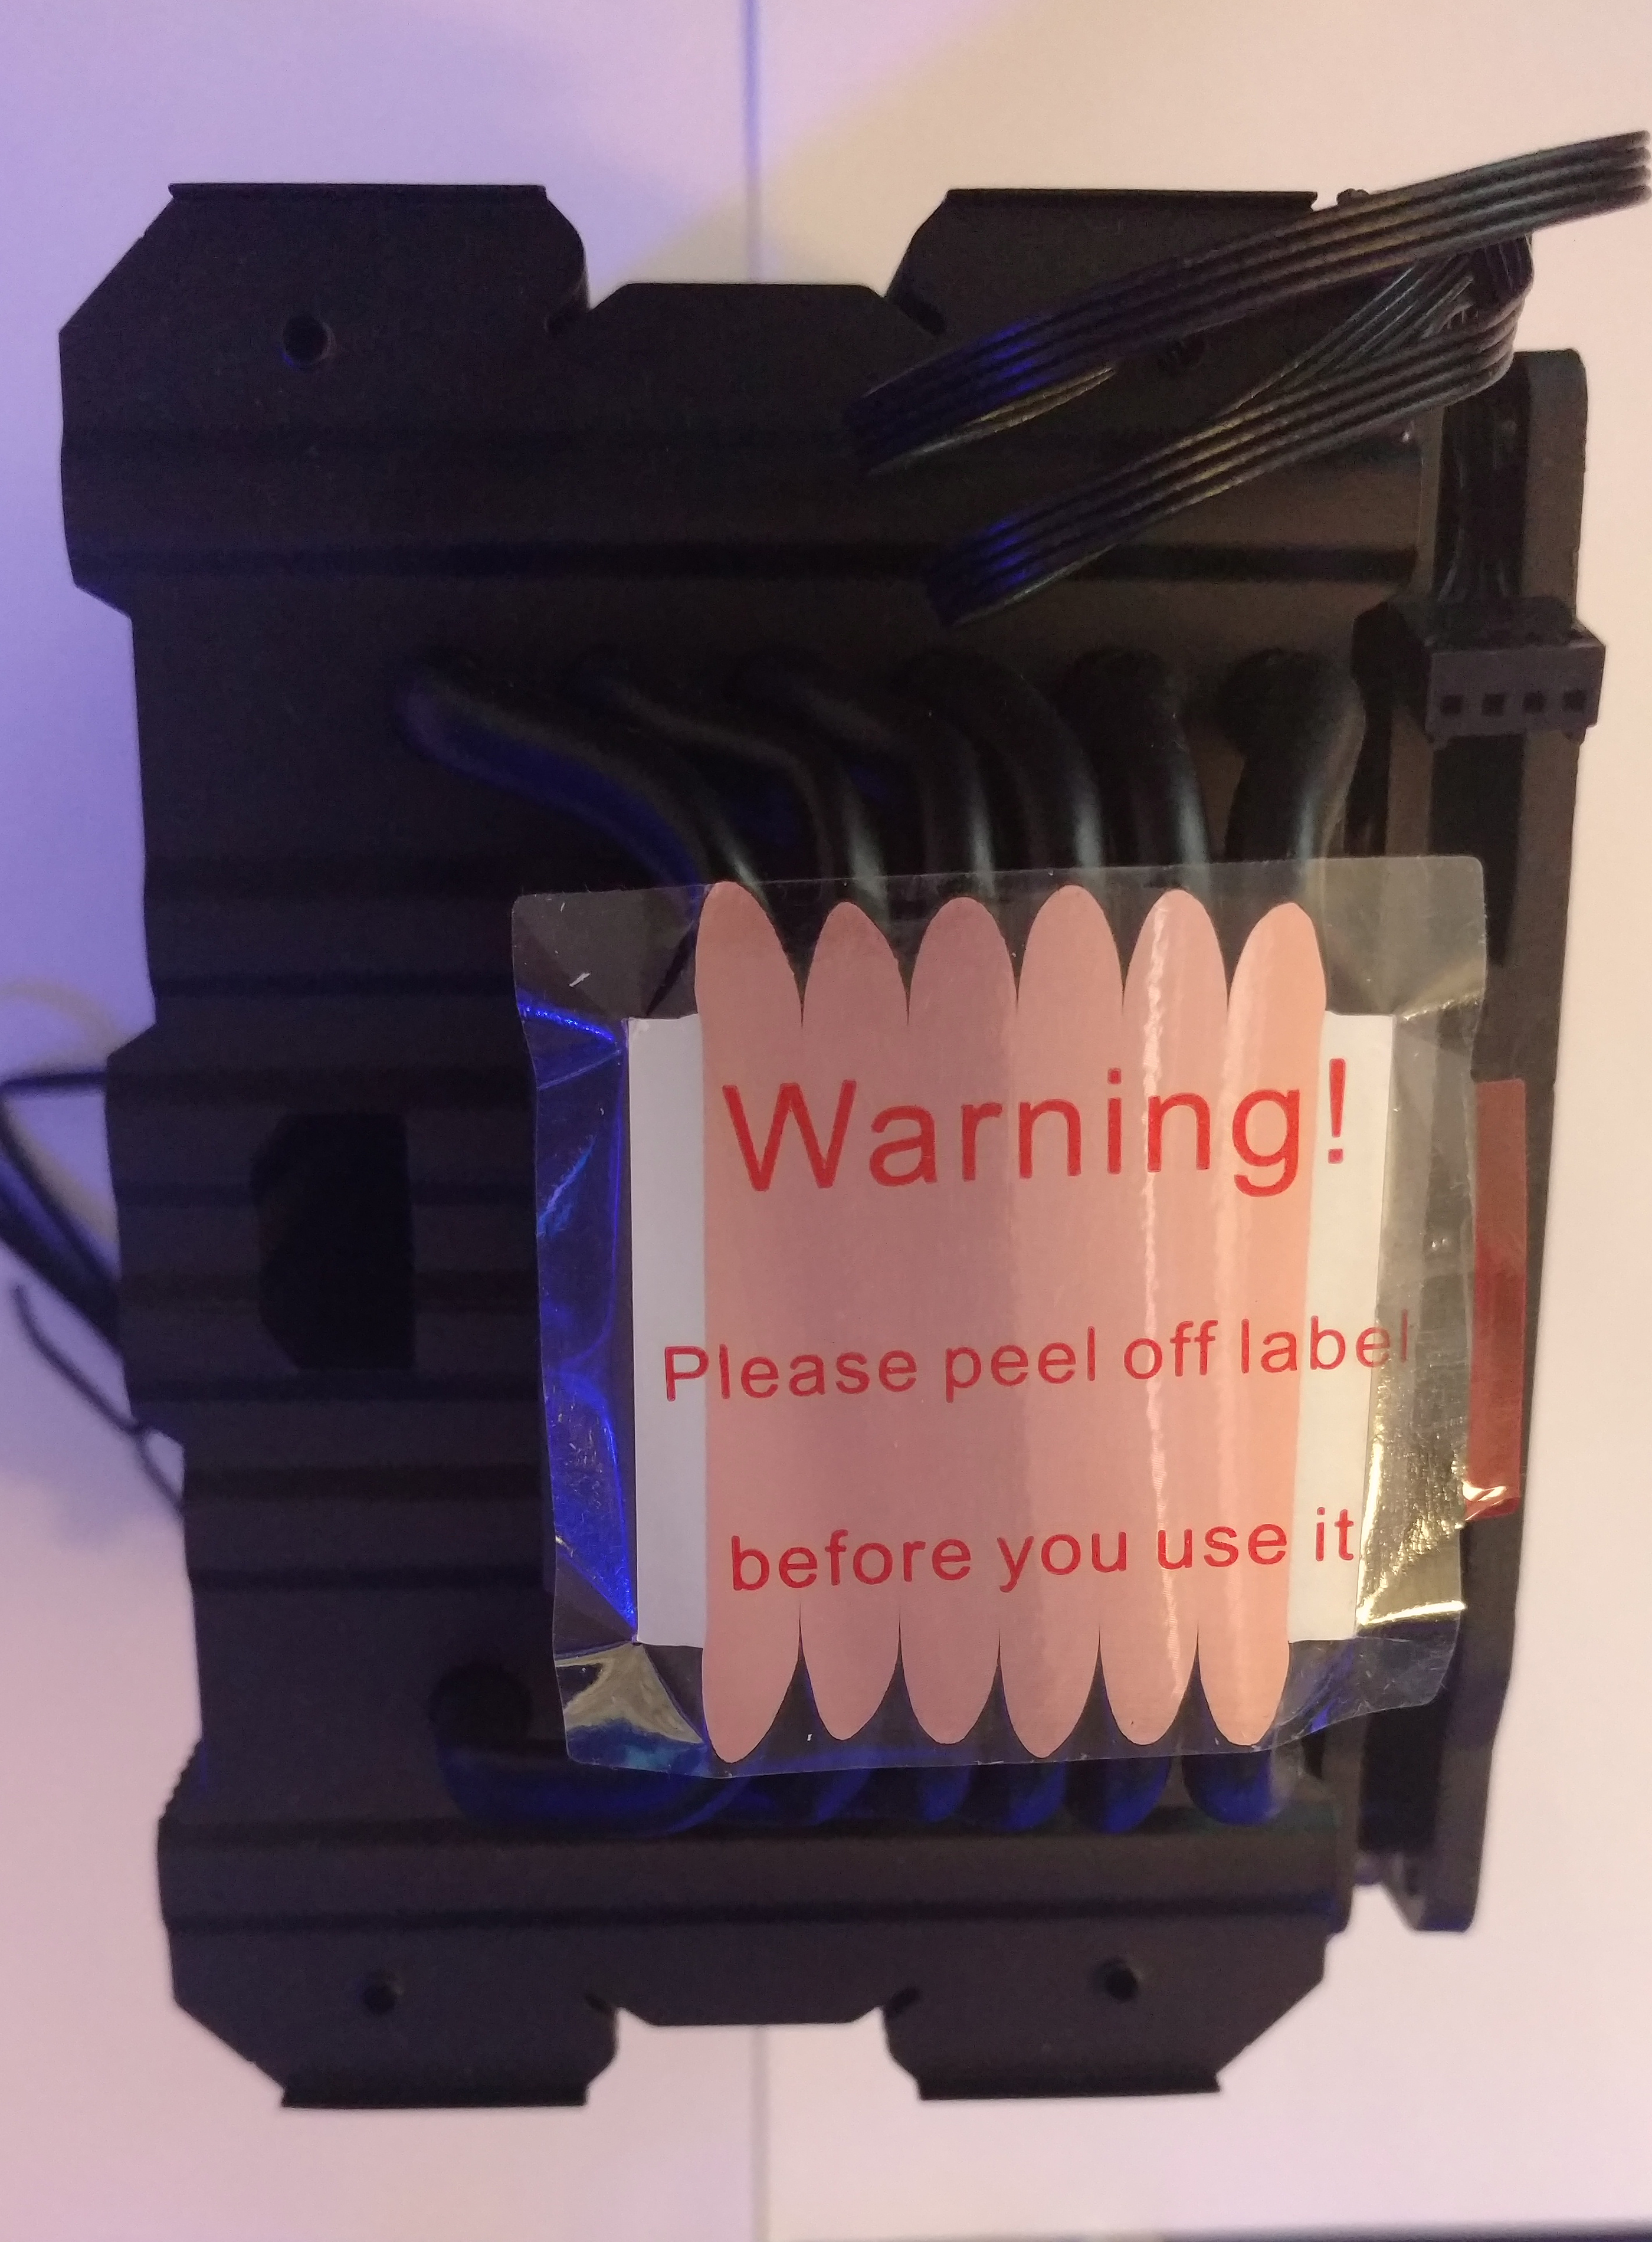
Here is a bottom view of the 6 direct contact heap pipes. Remember to peel your protective stickers people! Seriously though do not install any cooler with this on there.
RGB Effects
Below is a short 1:30 video displaying some of the effects I was able to get with the additional cable I purchased to connect the MYA RBW to my ASUS Aura Sync build. To be clear this is the 3 pin out connection with one pin missing in the 4 pin layout.

I also want to note that if you do not have this specific RGB pinout on your motherboard you will need an adapter cable like I used or Raijintek’s controller box that will allow both motherboard and remote control. Outside of that there is no way to connect the RGB out of the box minus having a “Rainbow ADD” RGB header. A small SATA powered RGB controller like I picked up would be a nice addition for Raijintek to consider here to make their cooler work with more systems.
Installation
This one is a little complicated and you need to make sure you get all your parts snug and into the right place. For the most part, the backplate and mounting clip are fine and rather easy to set up and get installed. Once it comes to mounting the cooler with the crossbar the story changes a bit. One of the screws (generally the front or top one depending on cooler orientation) is easily accessible but the other is going to require a long Phillips screwdriver to reach through the hole in the cooler to the screw below.
Once you get through that hurdle you simply have to snap the fans into place with the provided fan clips, two of which were pre-installed. The extra fan mounting clips I would just save for a loss emergency or something like that, I installed a second fan and all this achieved was a large build-up of warm air in the top back of my case. CPU was running fine but no cooler just made the case warmer to the touch in the top rear.
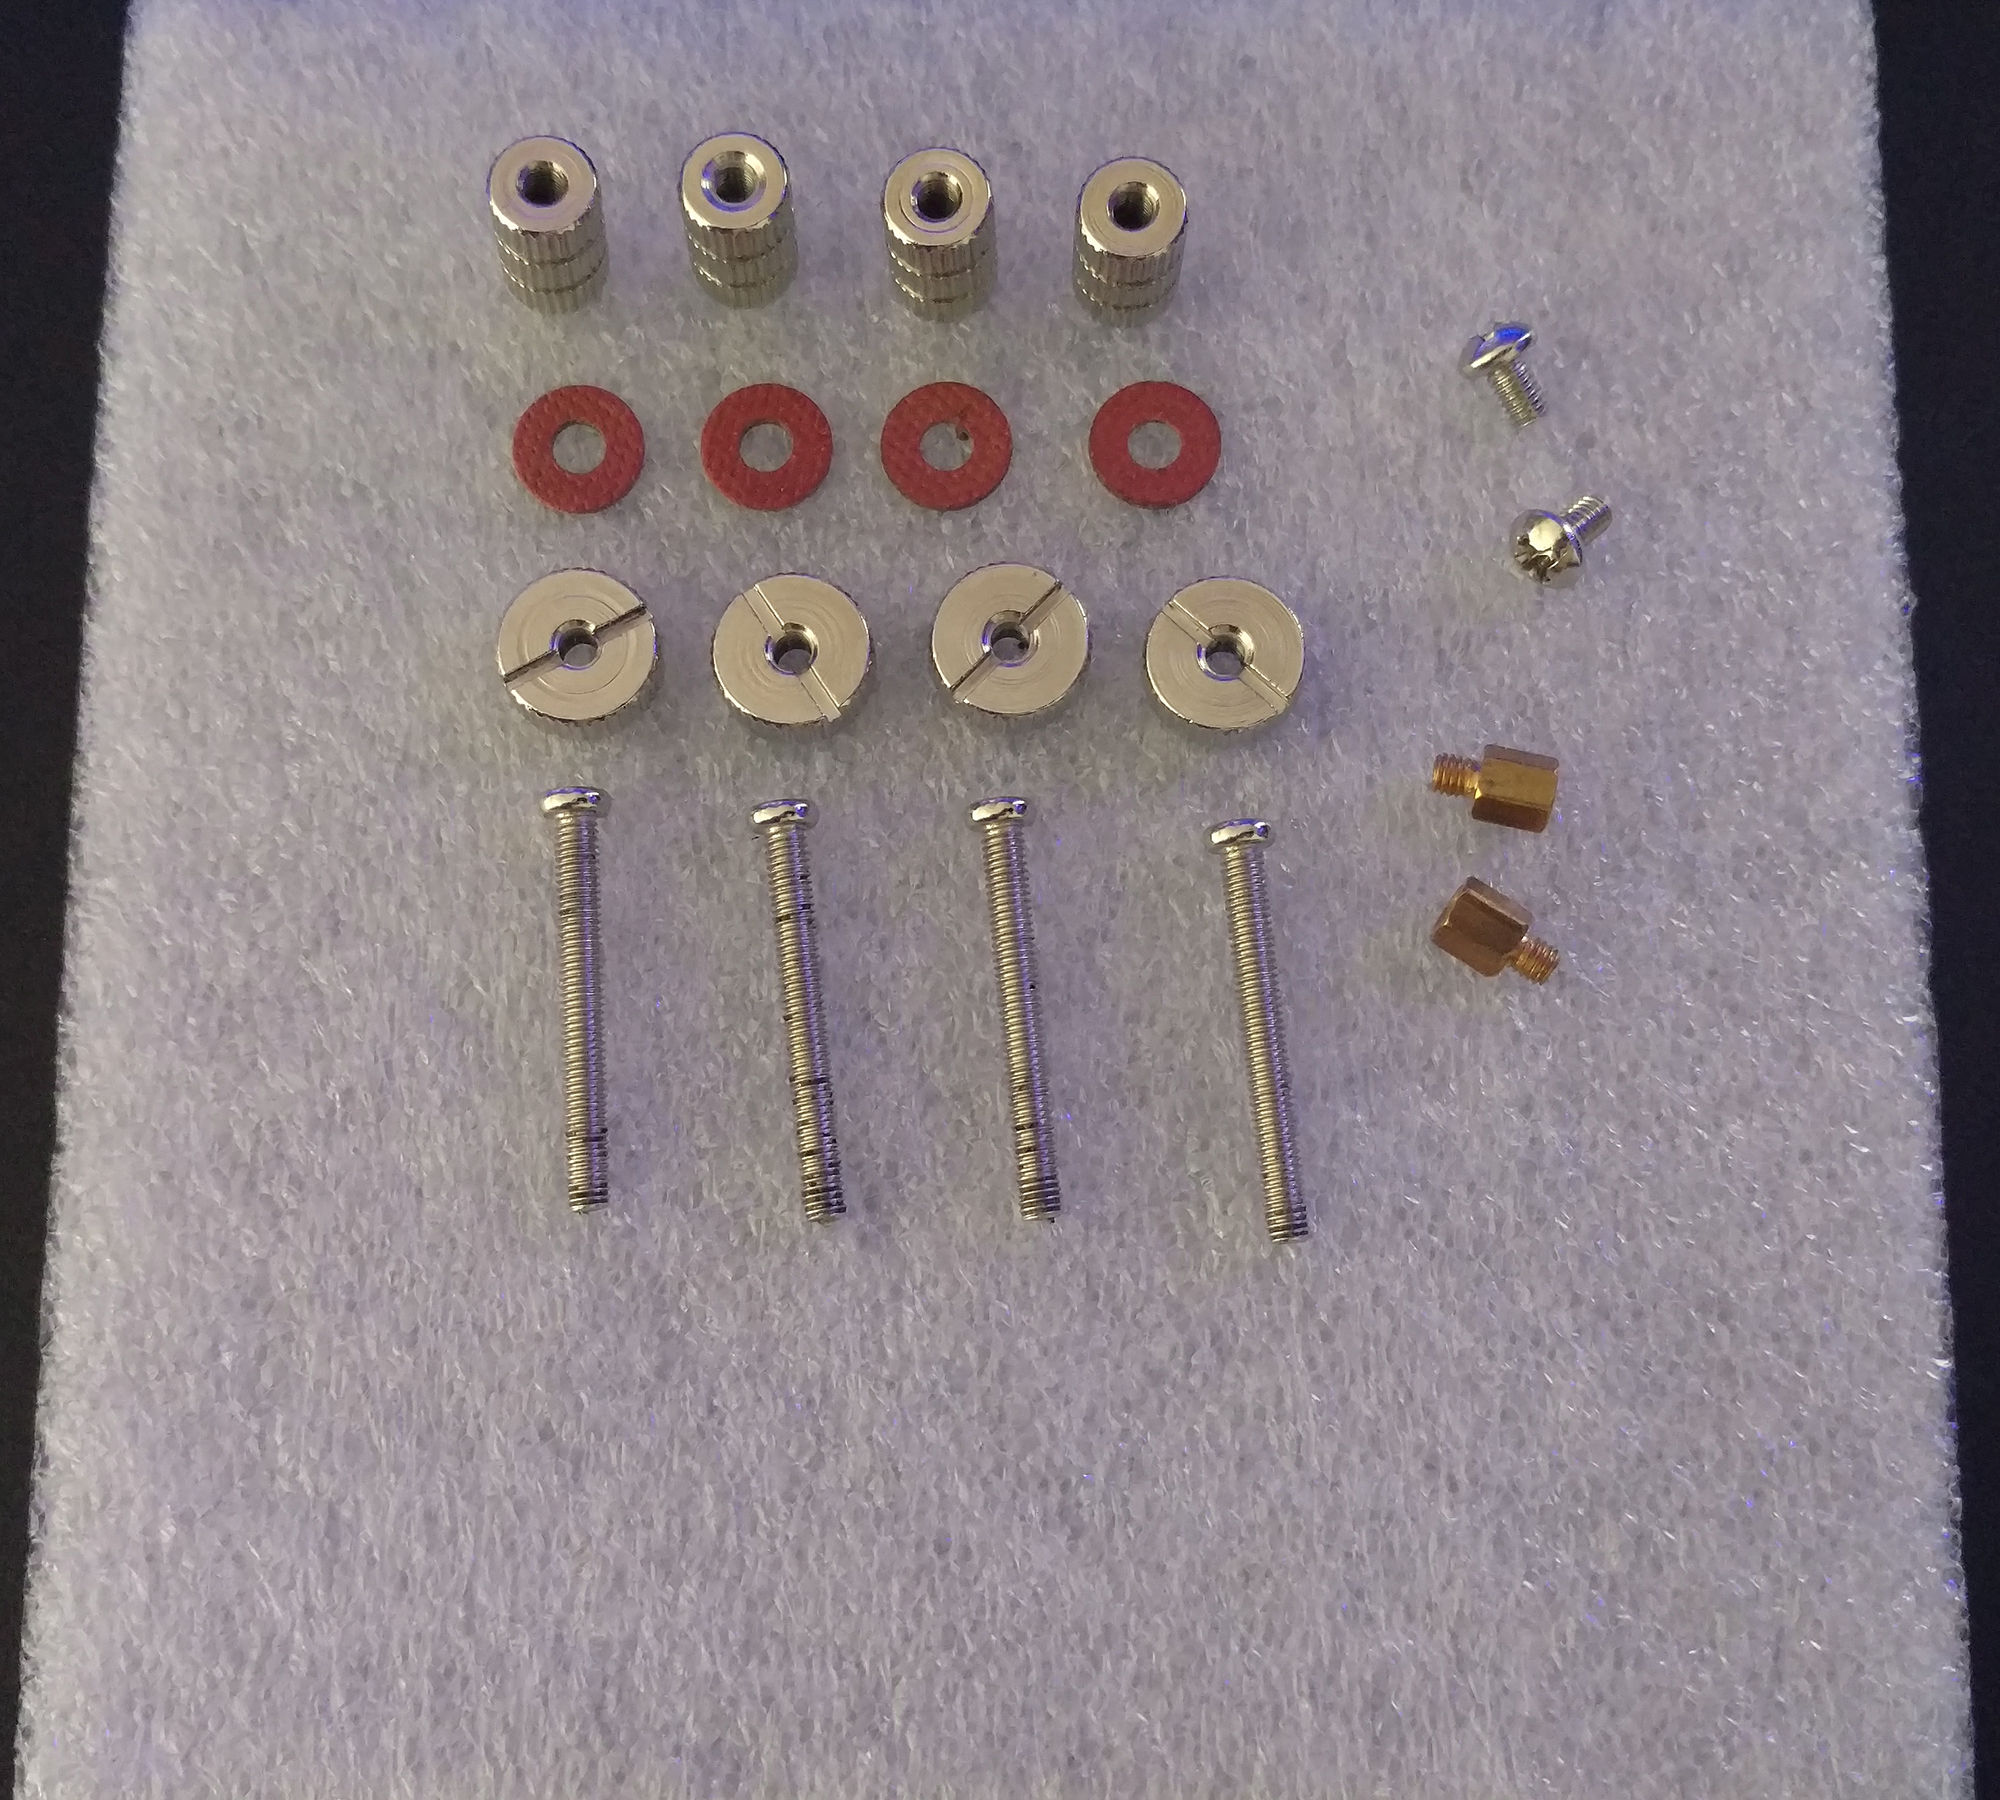
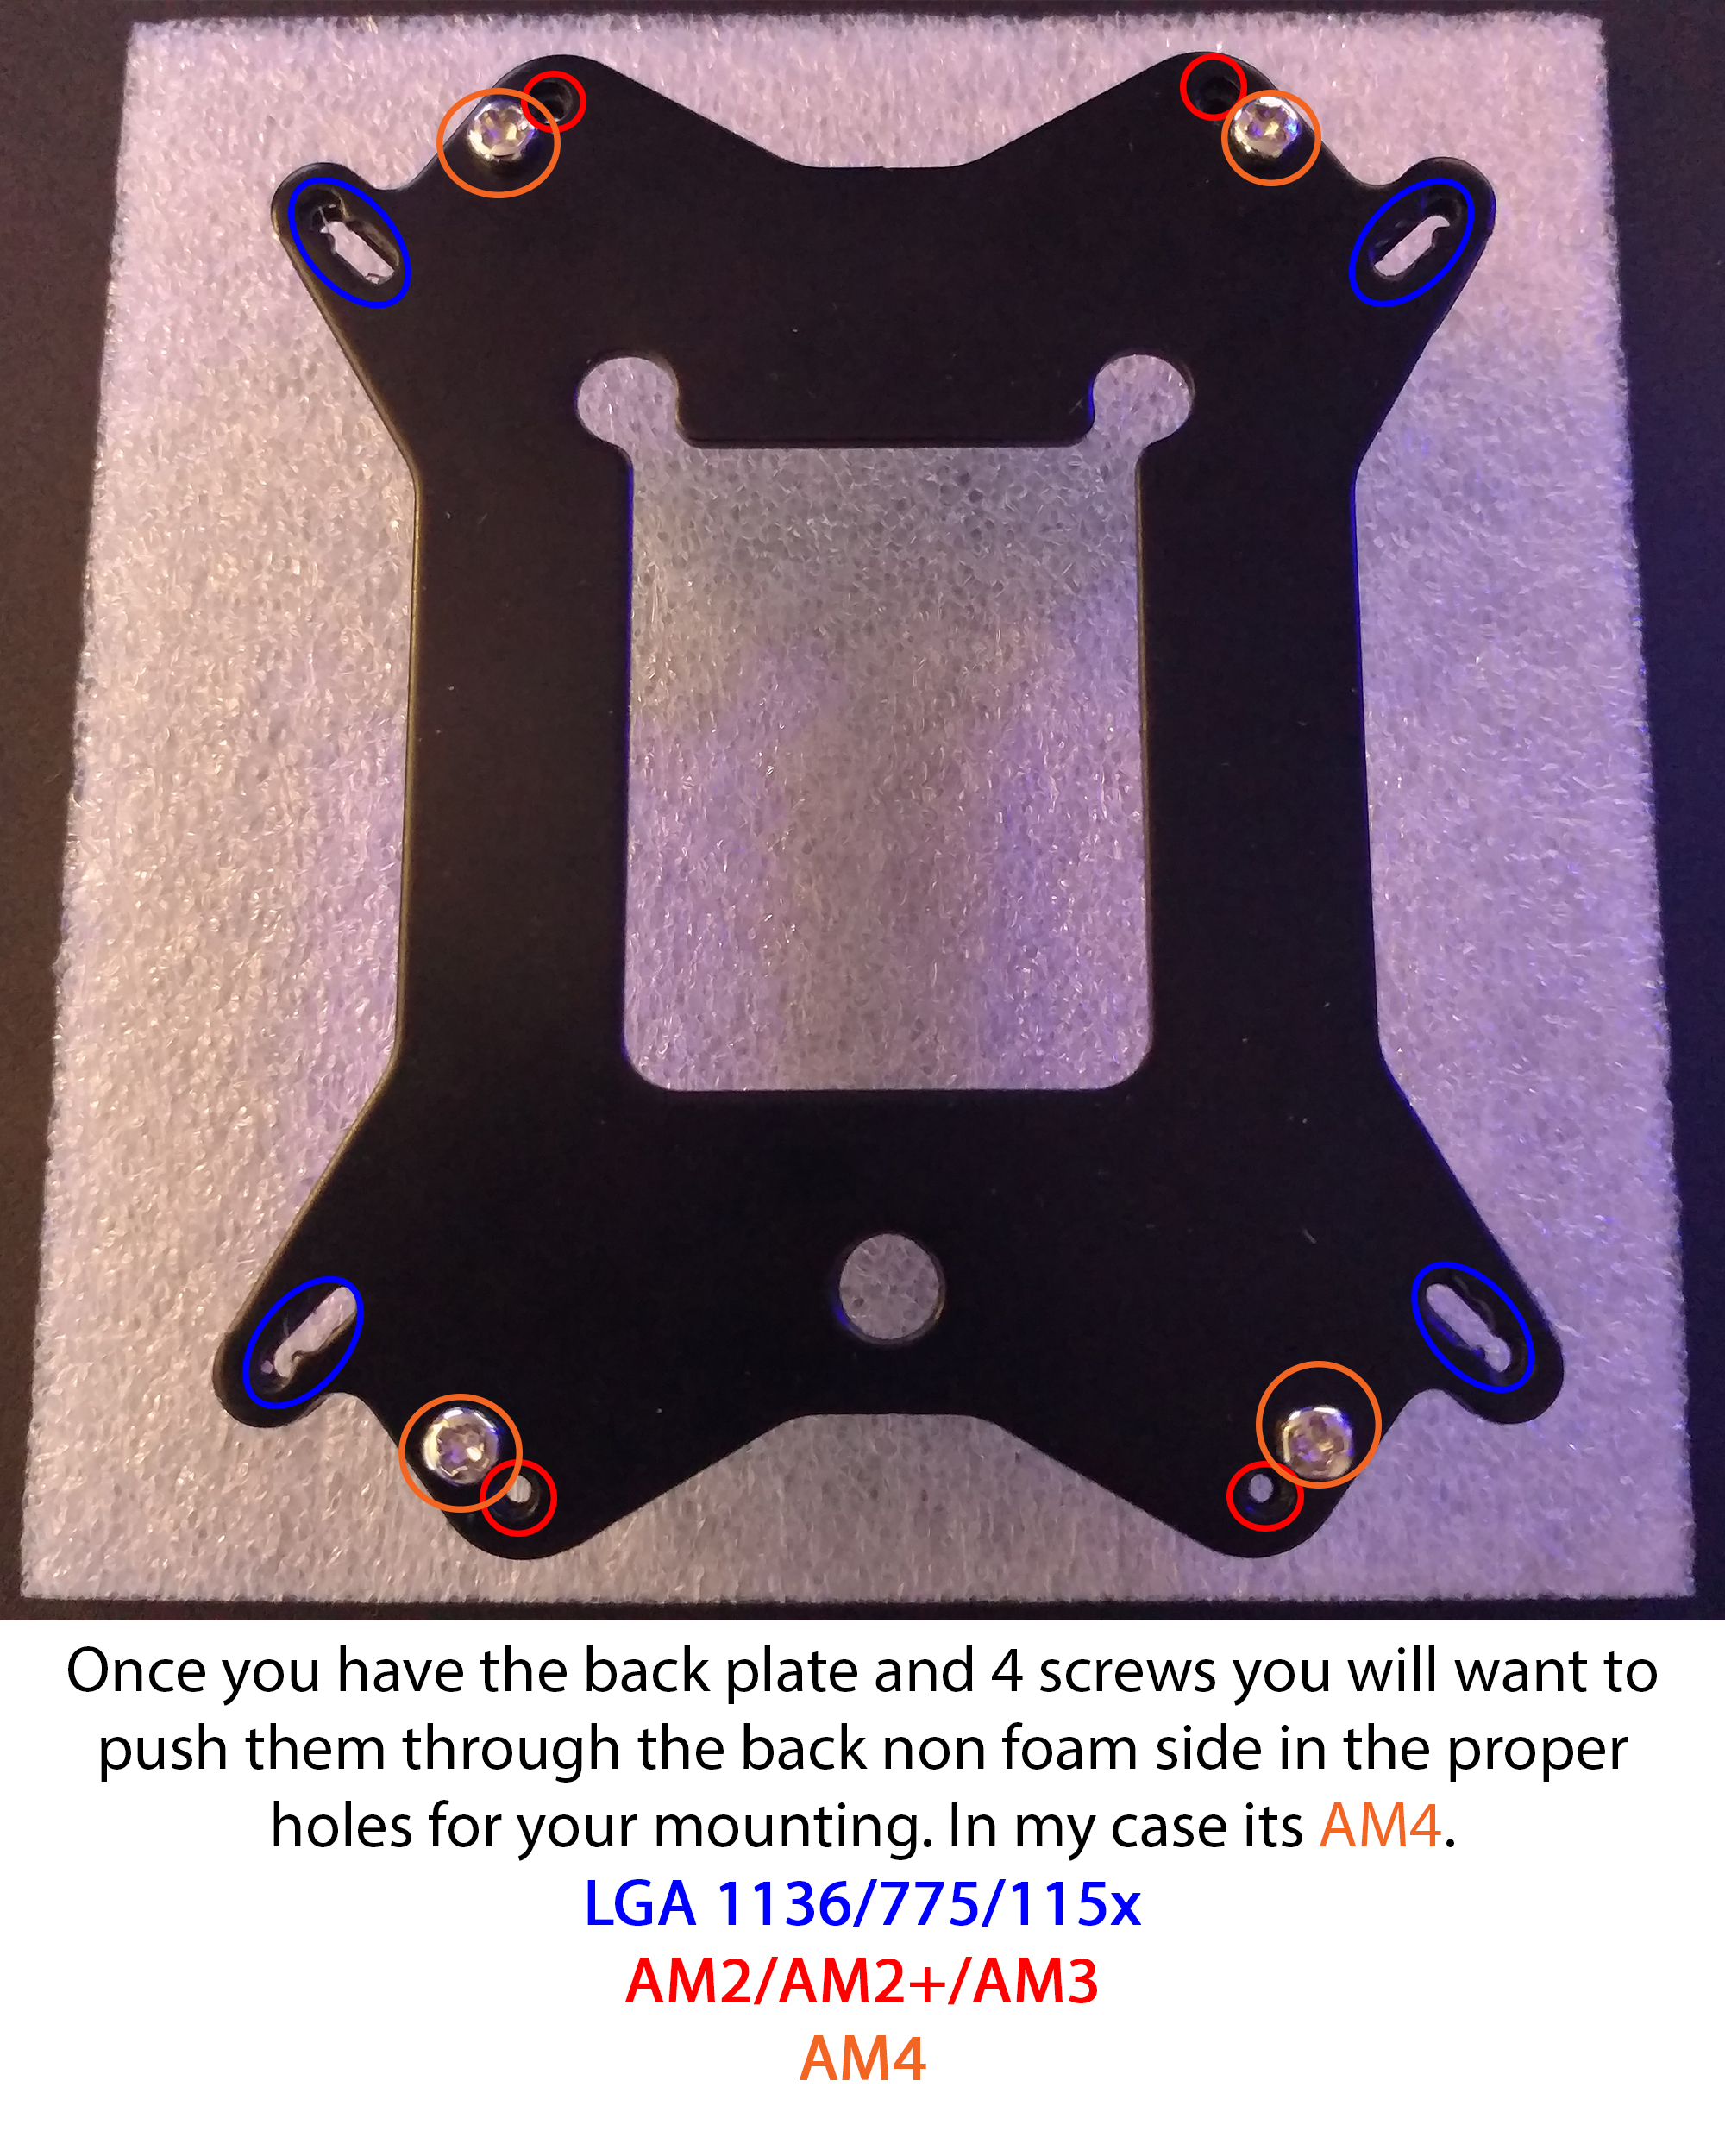
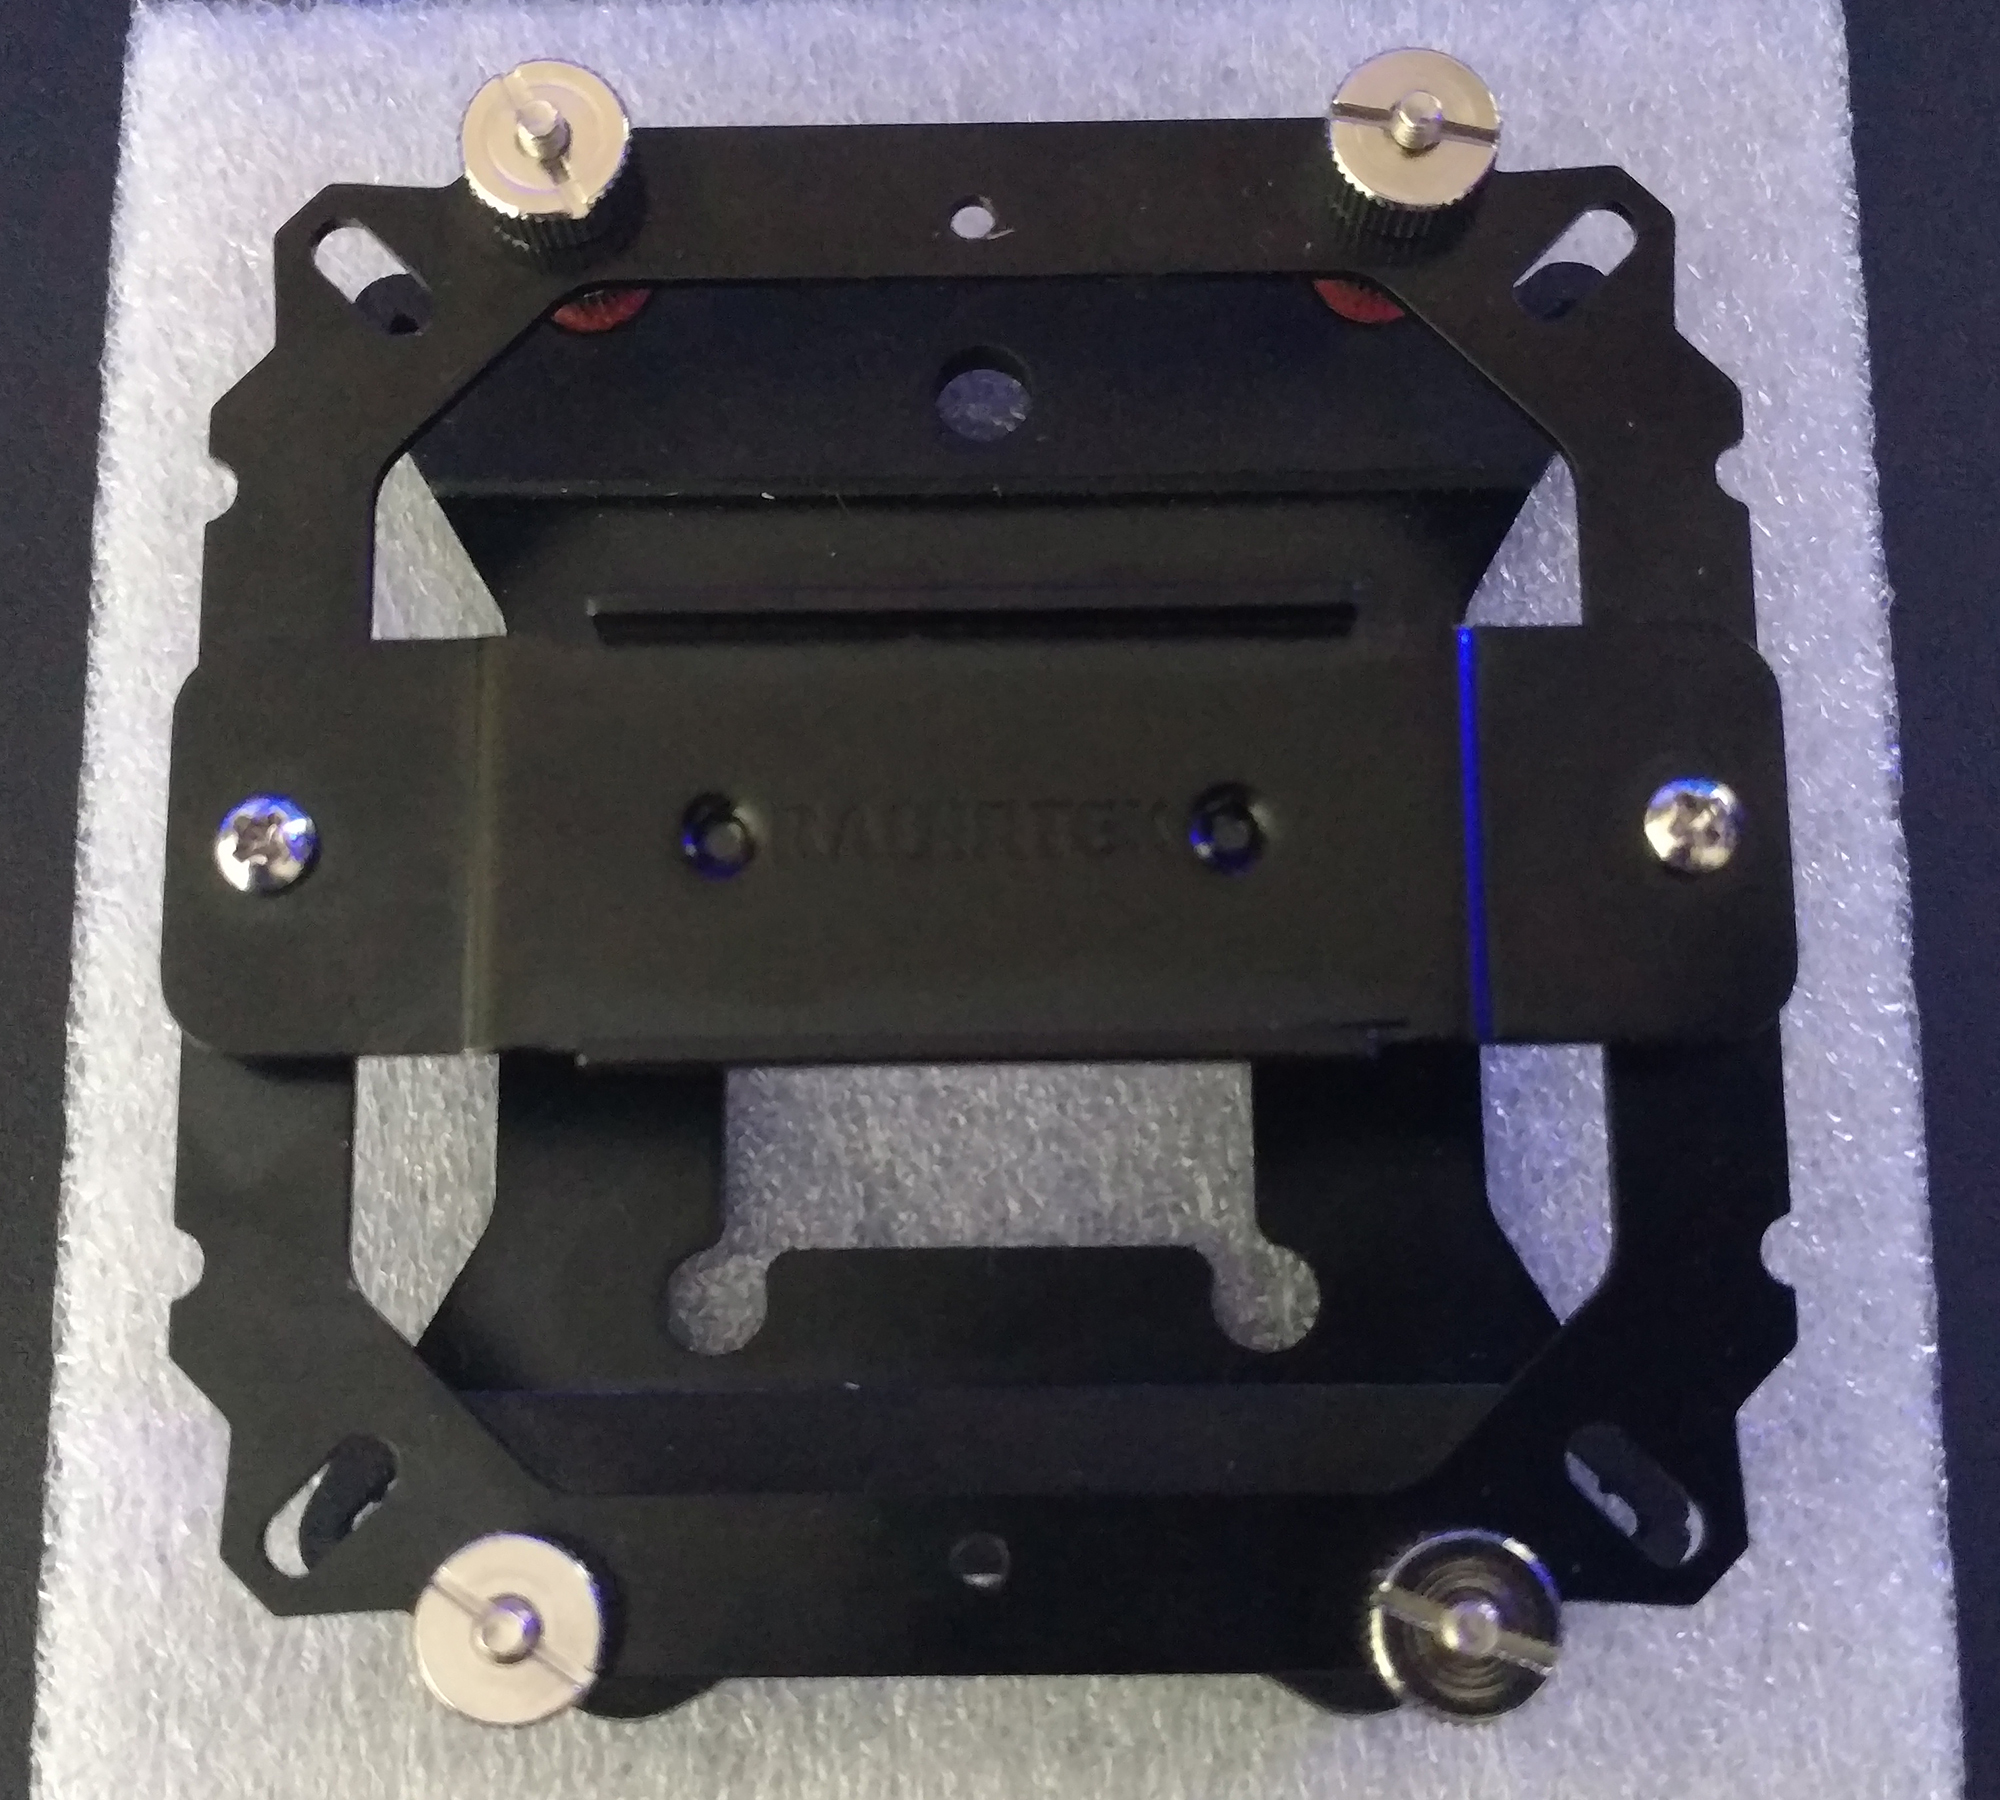
All of the little parts needed to install the MYA RBW on a AM2/AM2+/AM3/AM4 socket (note different sockets will use different holes on the backplate dependant on socket type).
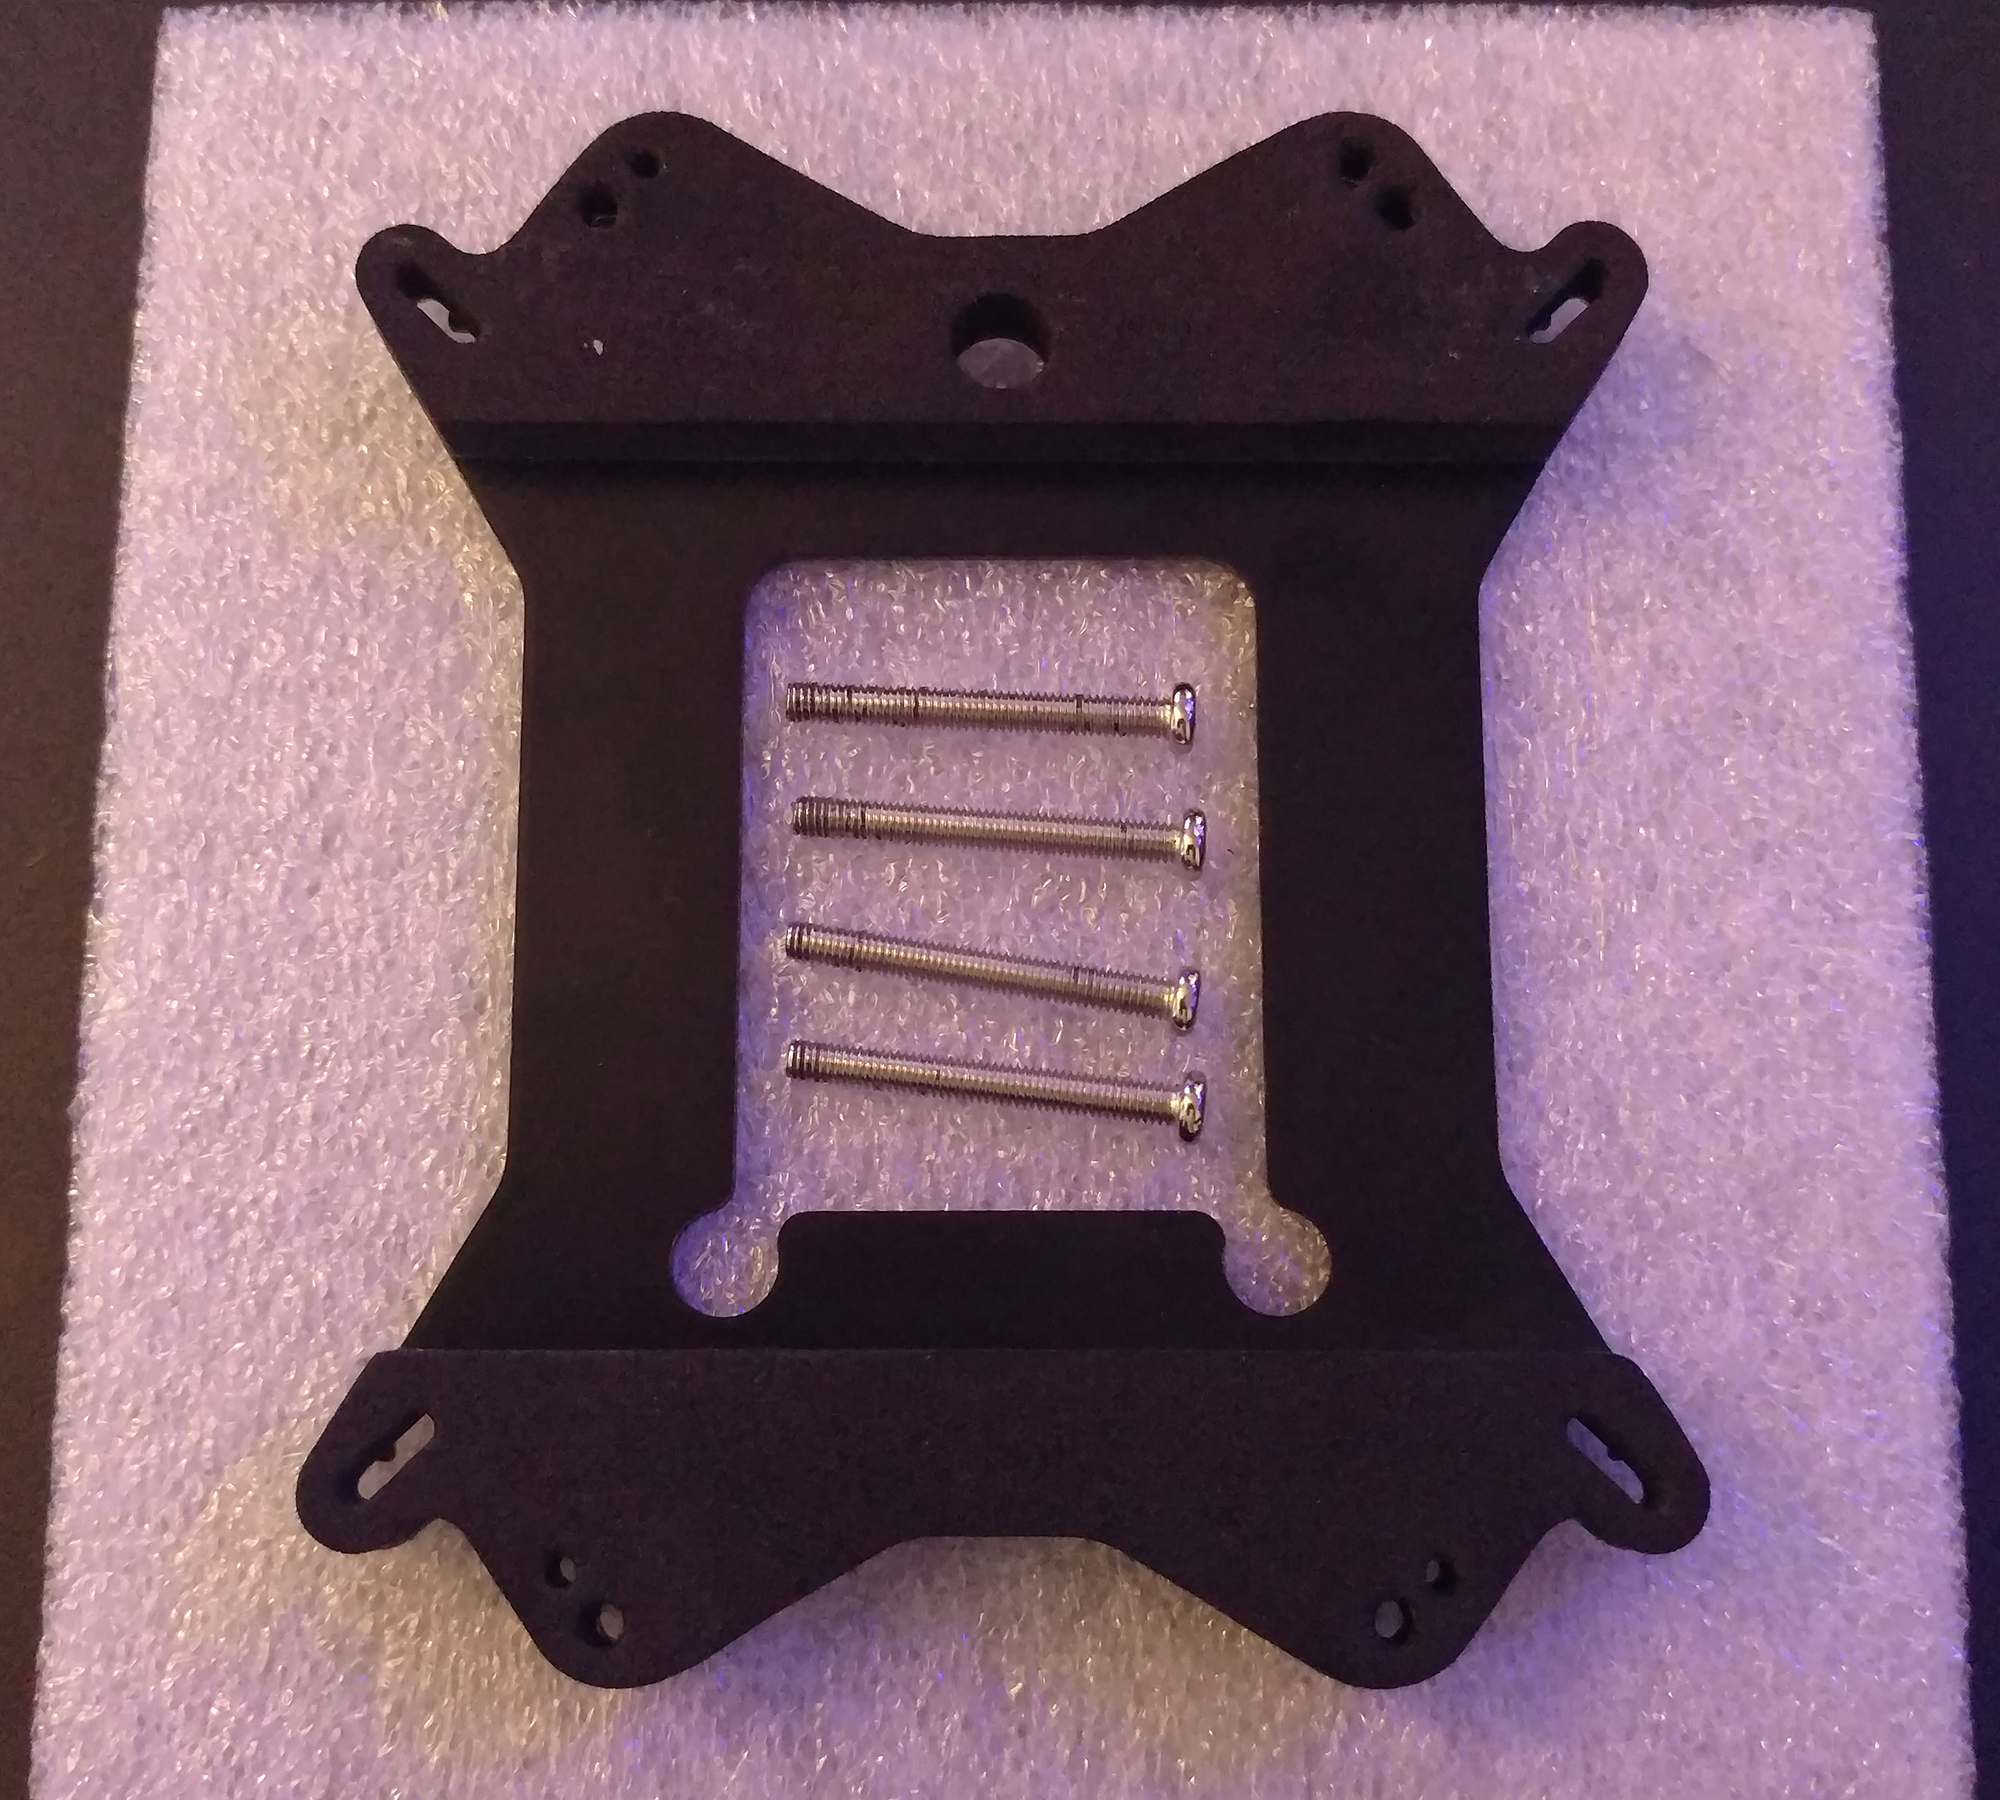
First, you will need to find the Backplate and the 4 longer Knurled threaded screws.
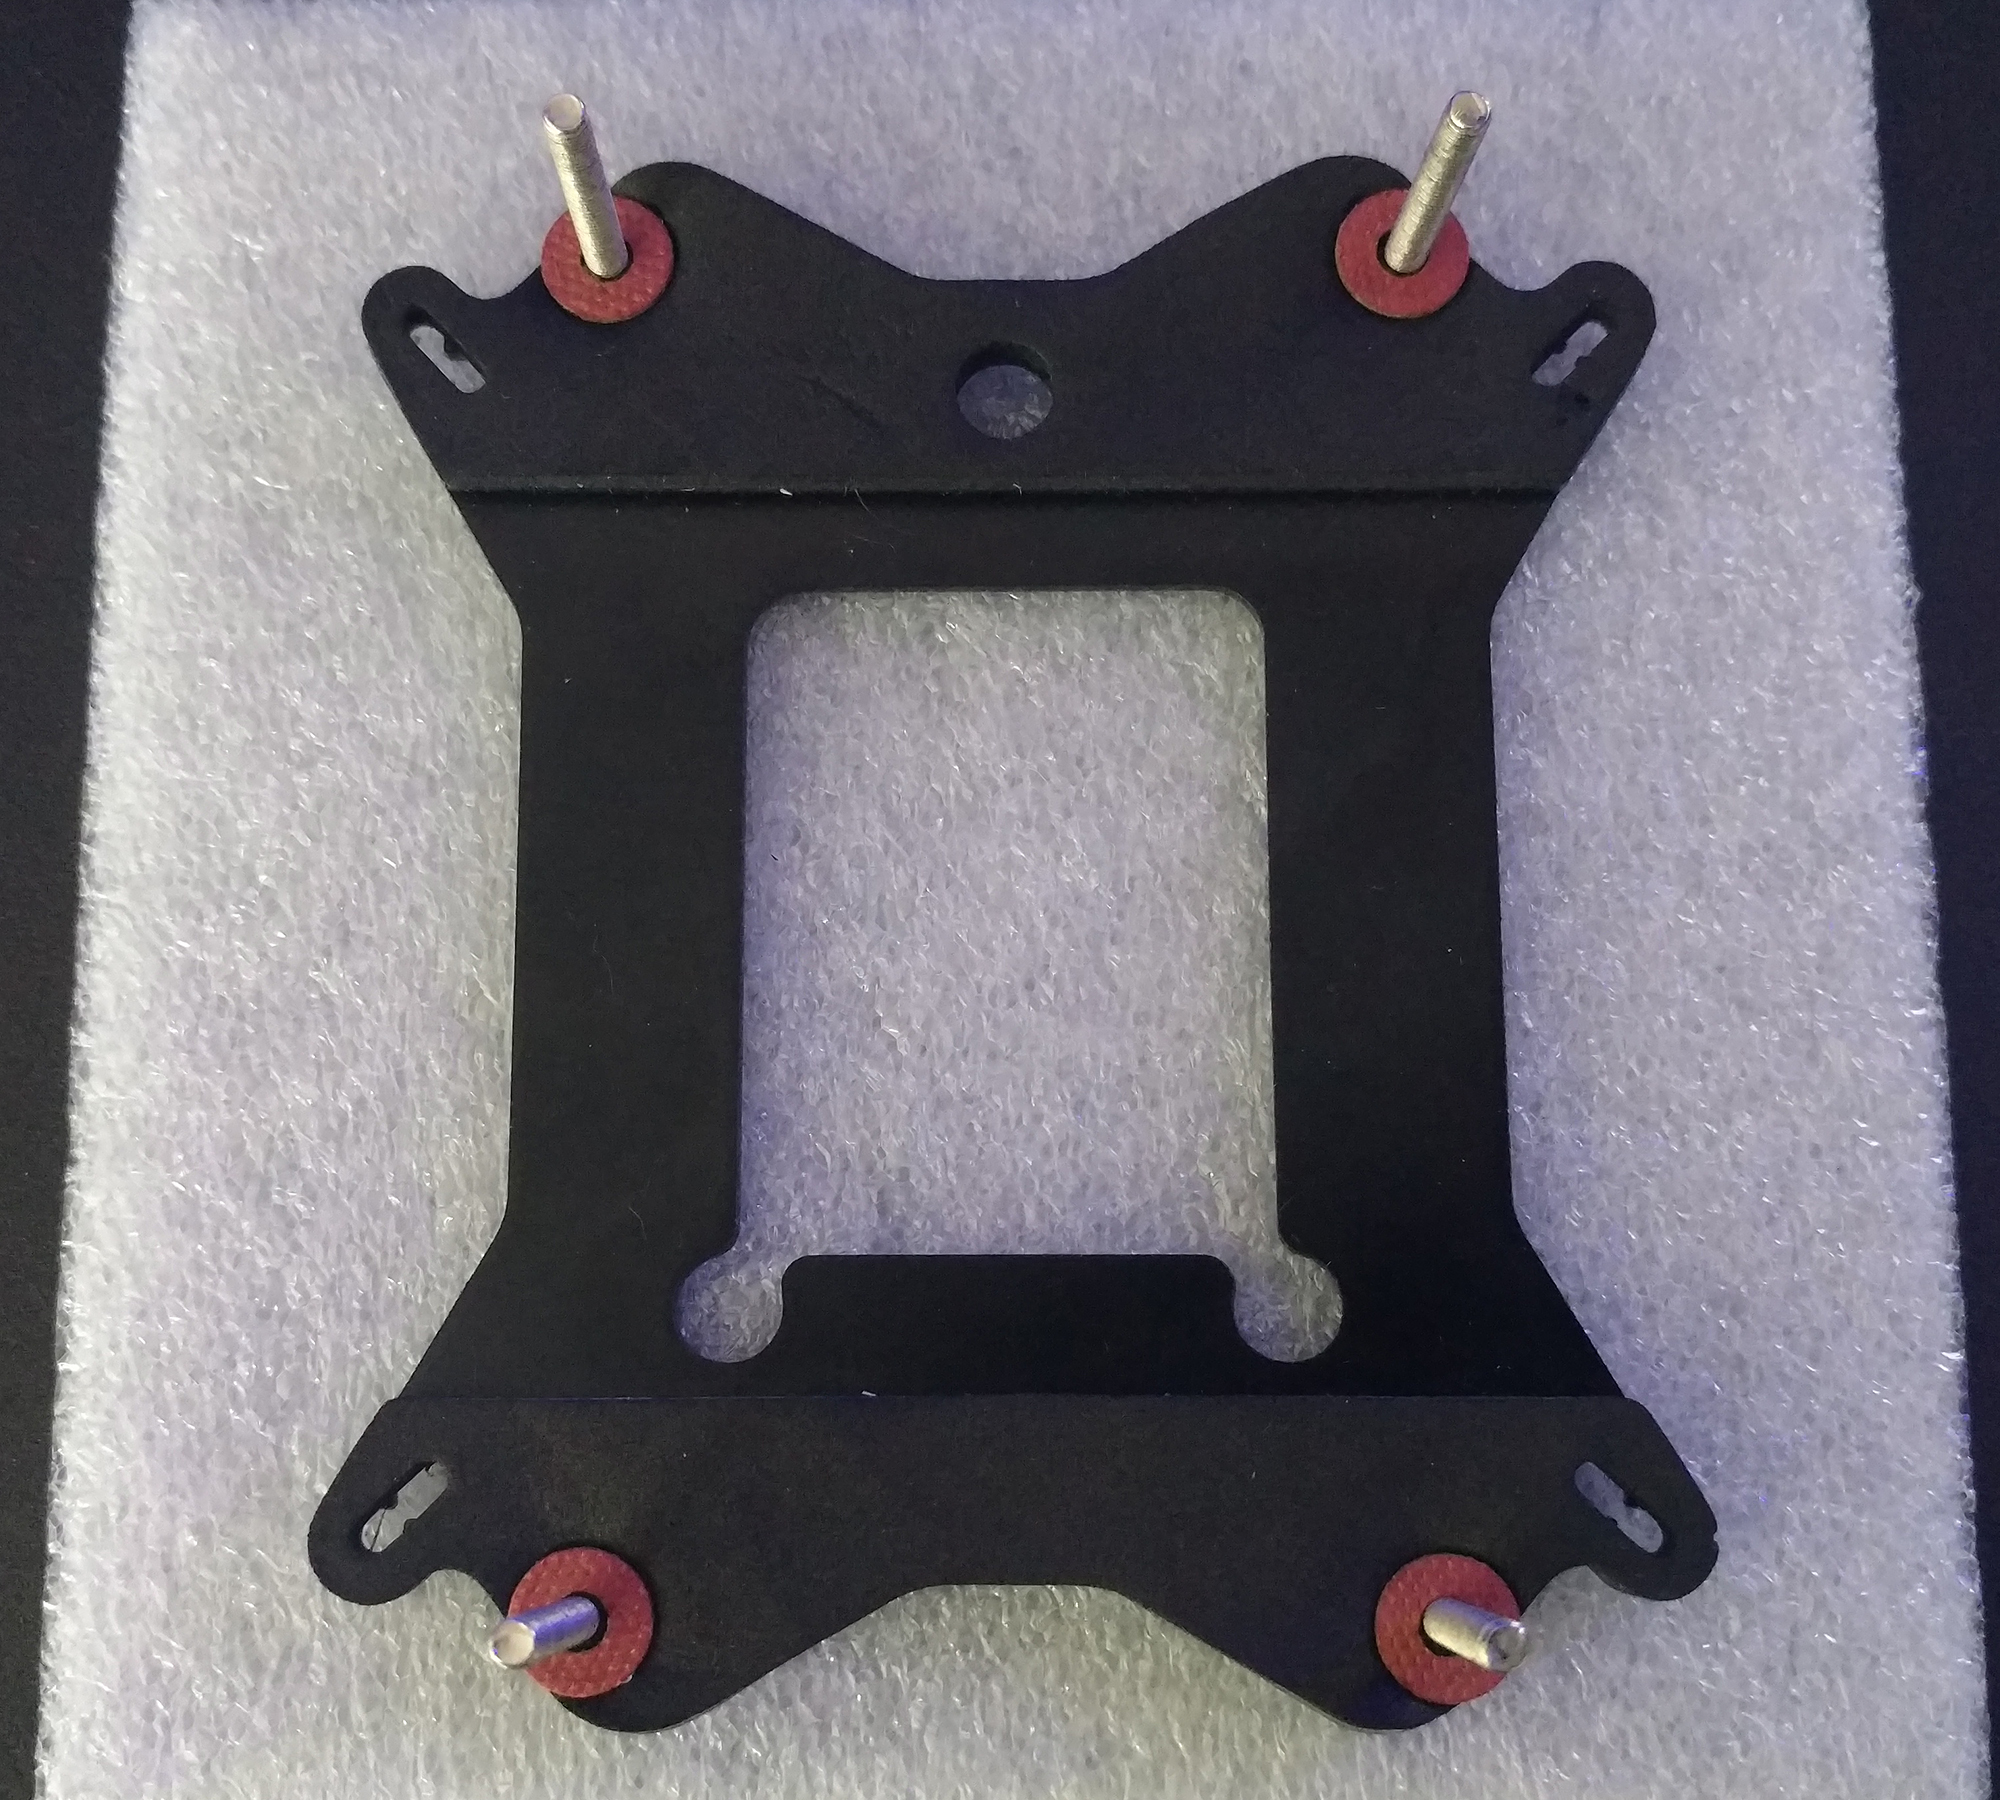
With the backplate in place on the back/bottom of the motherboard, you will want to find the red Washers and put one on each screw sticking out the front/top side of your motherboard.
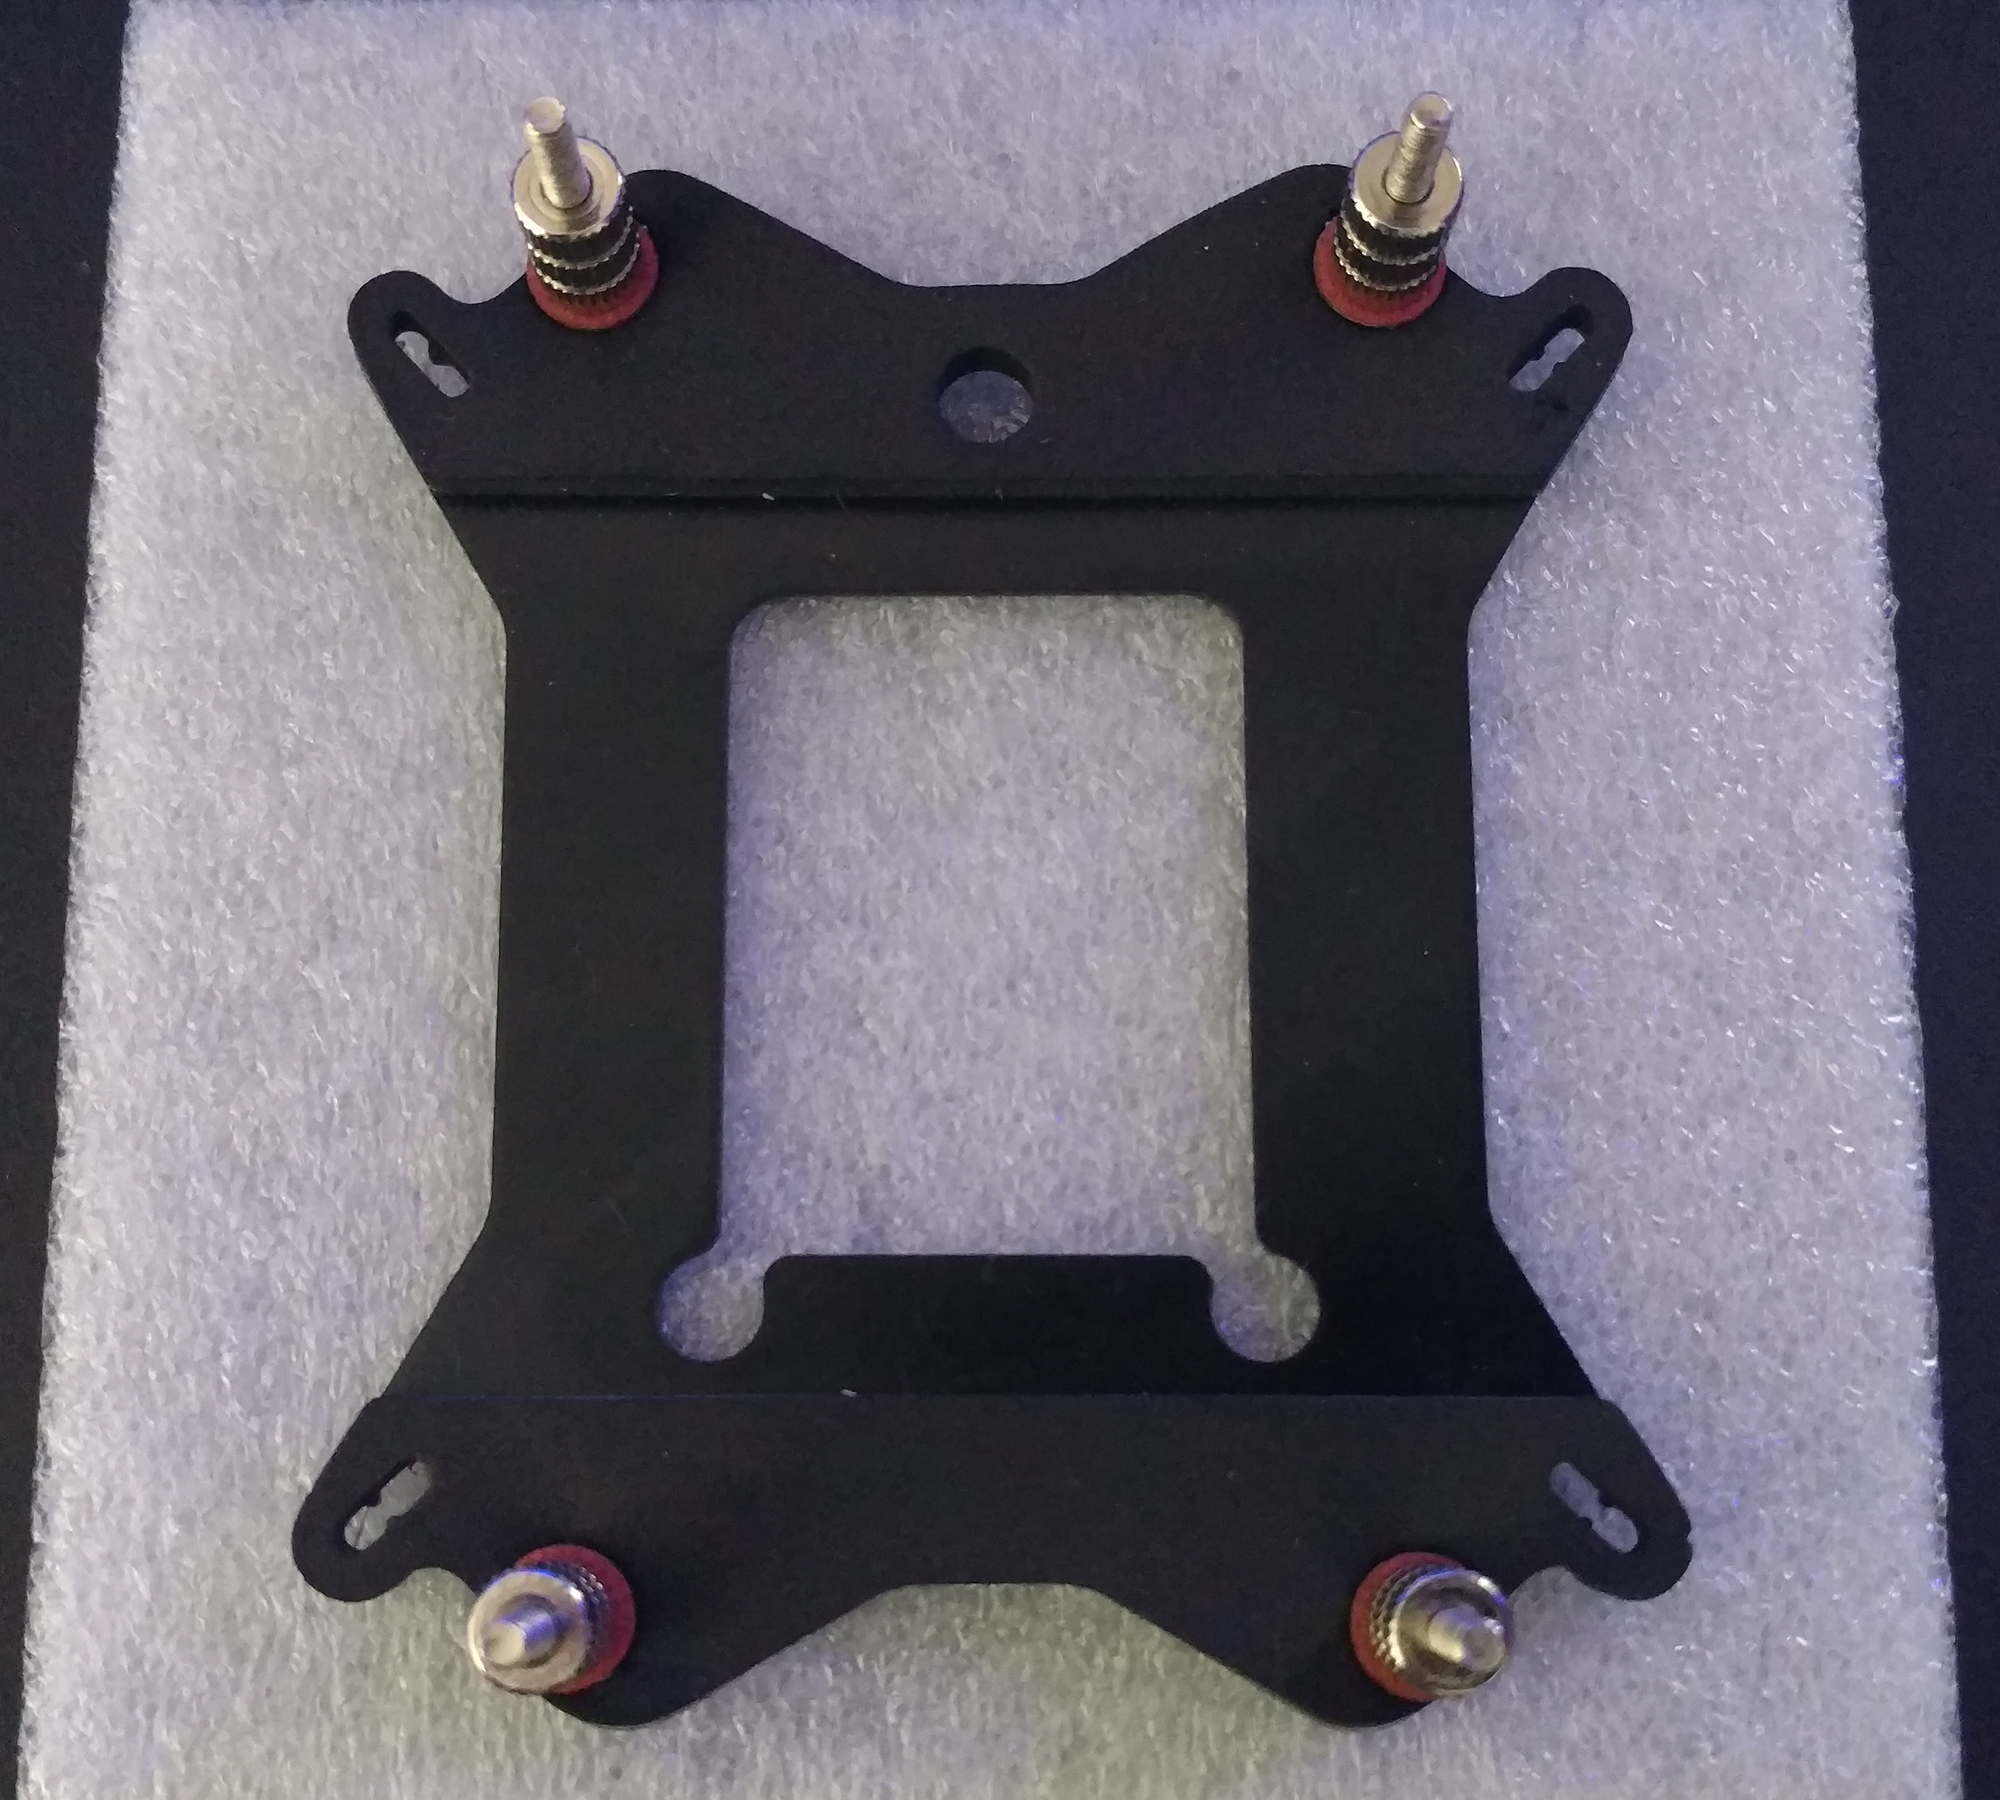
With the backplate under your motherboard and the red washers installed on the top side, your next step is going to be the 4 longer Metal-nuts. Tighten each one down nice and firm, to the point the foam pads on the back squish down a little. You might have to thread each Metal-nut first and then lift the motherboard using a screwdriver from behind to hold the screw while you tighten the Metal-nut.
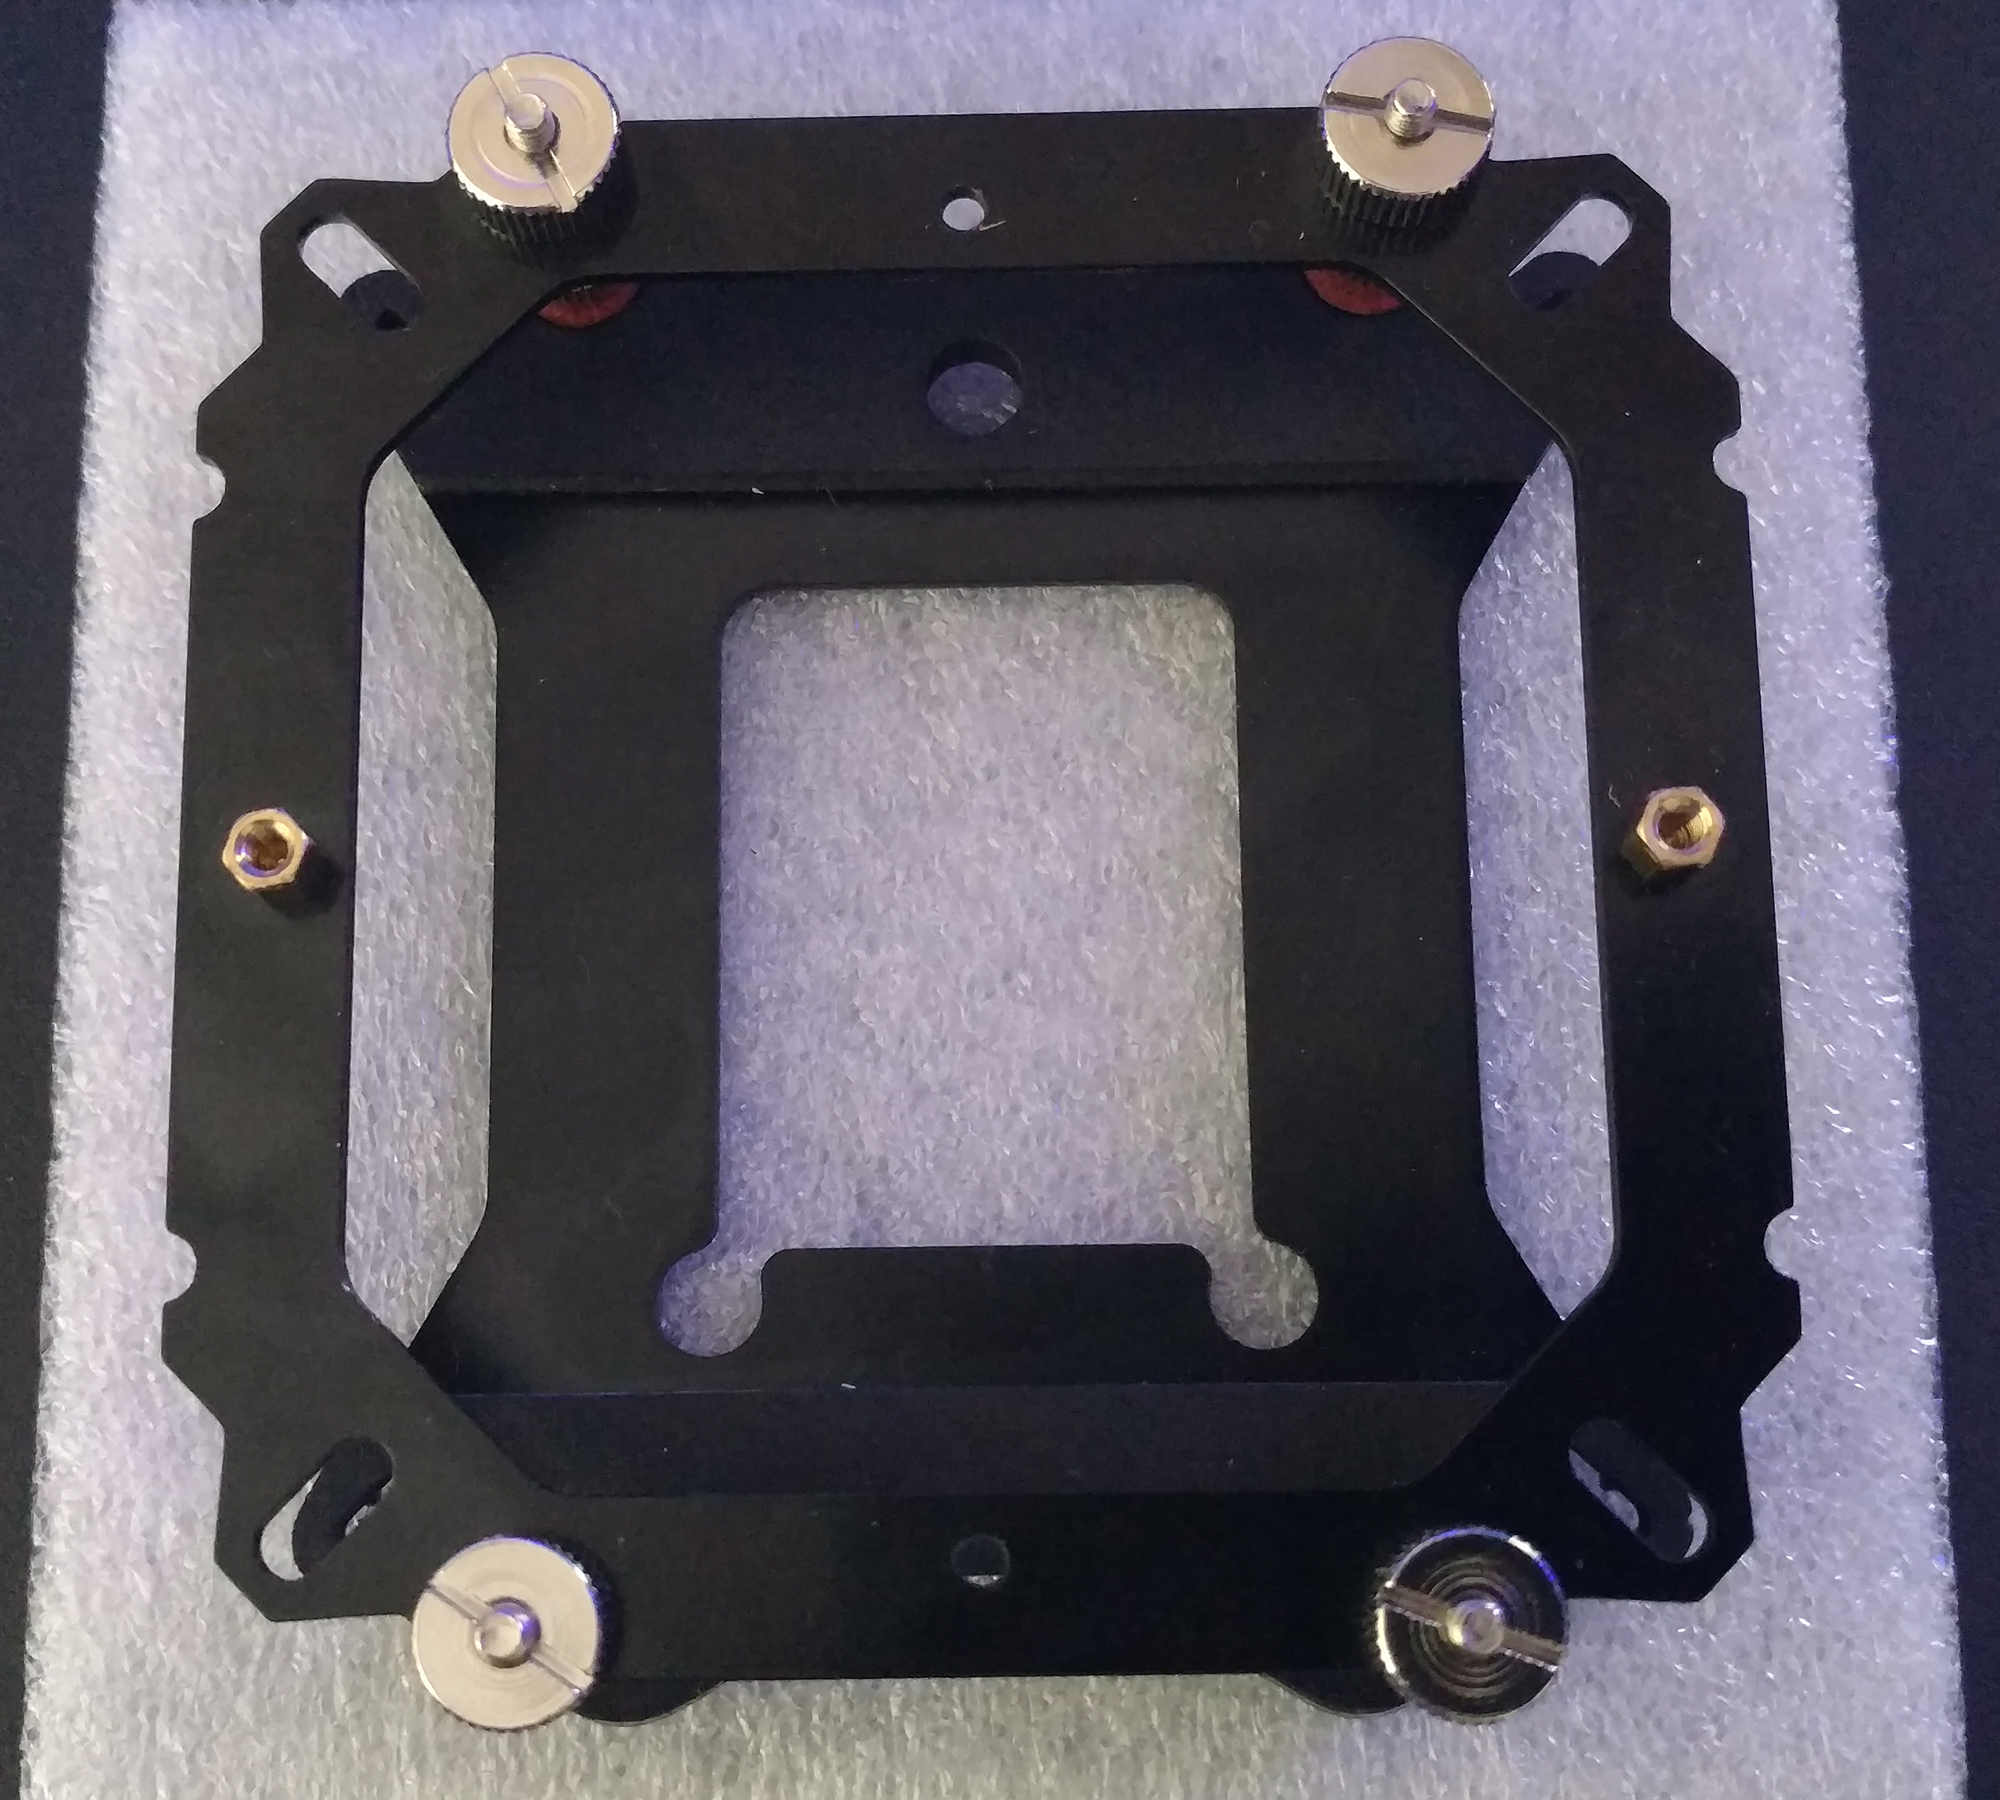
Now that you have the 4 longer Metal-nuts installed to hold the backplate in place, it is time to install the Mounting-Clip. Note the way this is set up with the two gold Stand-Offs will point the cooler airflow from front to back.
Now that the Mounting-Clip is in place you will need to secure that with the 4 shorter Metal-nuts. Tighten each one down checking to see that everything is going on even as things tighten down. You basically want the same amount of screw sticking out the top of the shorter Metal-nuts to ensure even mounting pressure.
Last part to mount the MYA RBW is the Crossbar. This part is tricky and will require a rather long screwdriver for one of the screws since the only way to access it is through a hole in the top of the cooler itself.
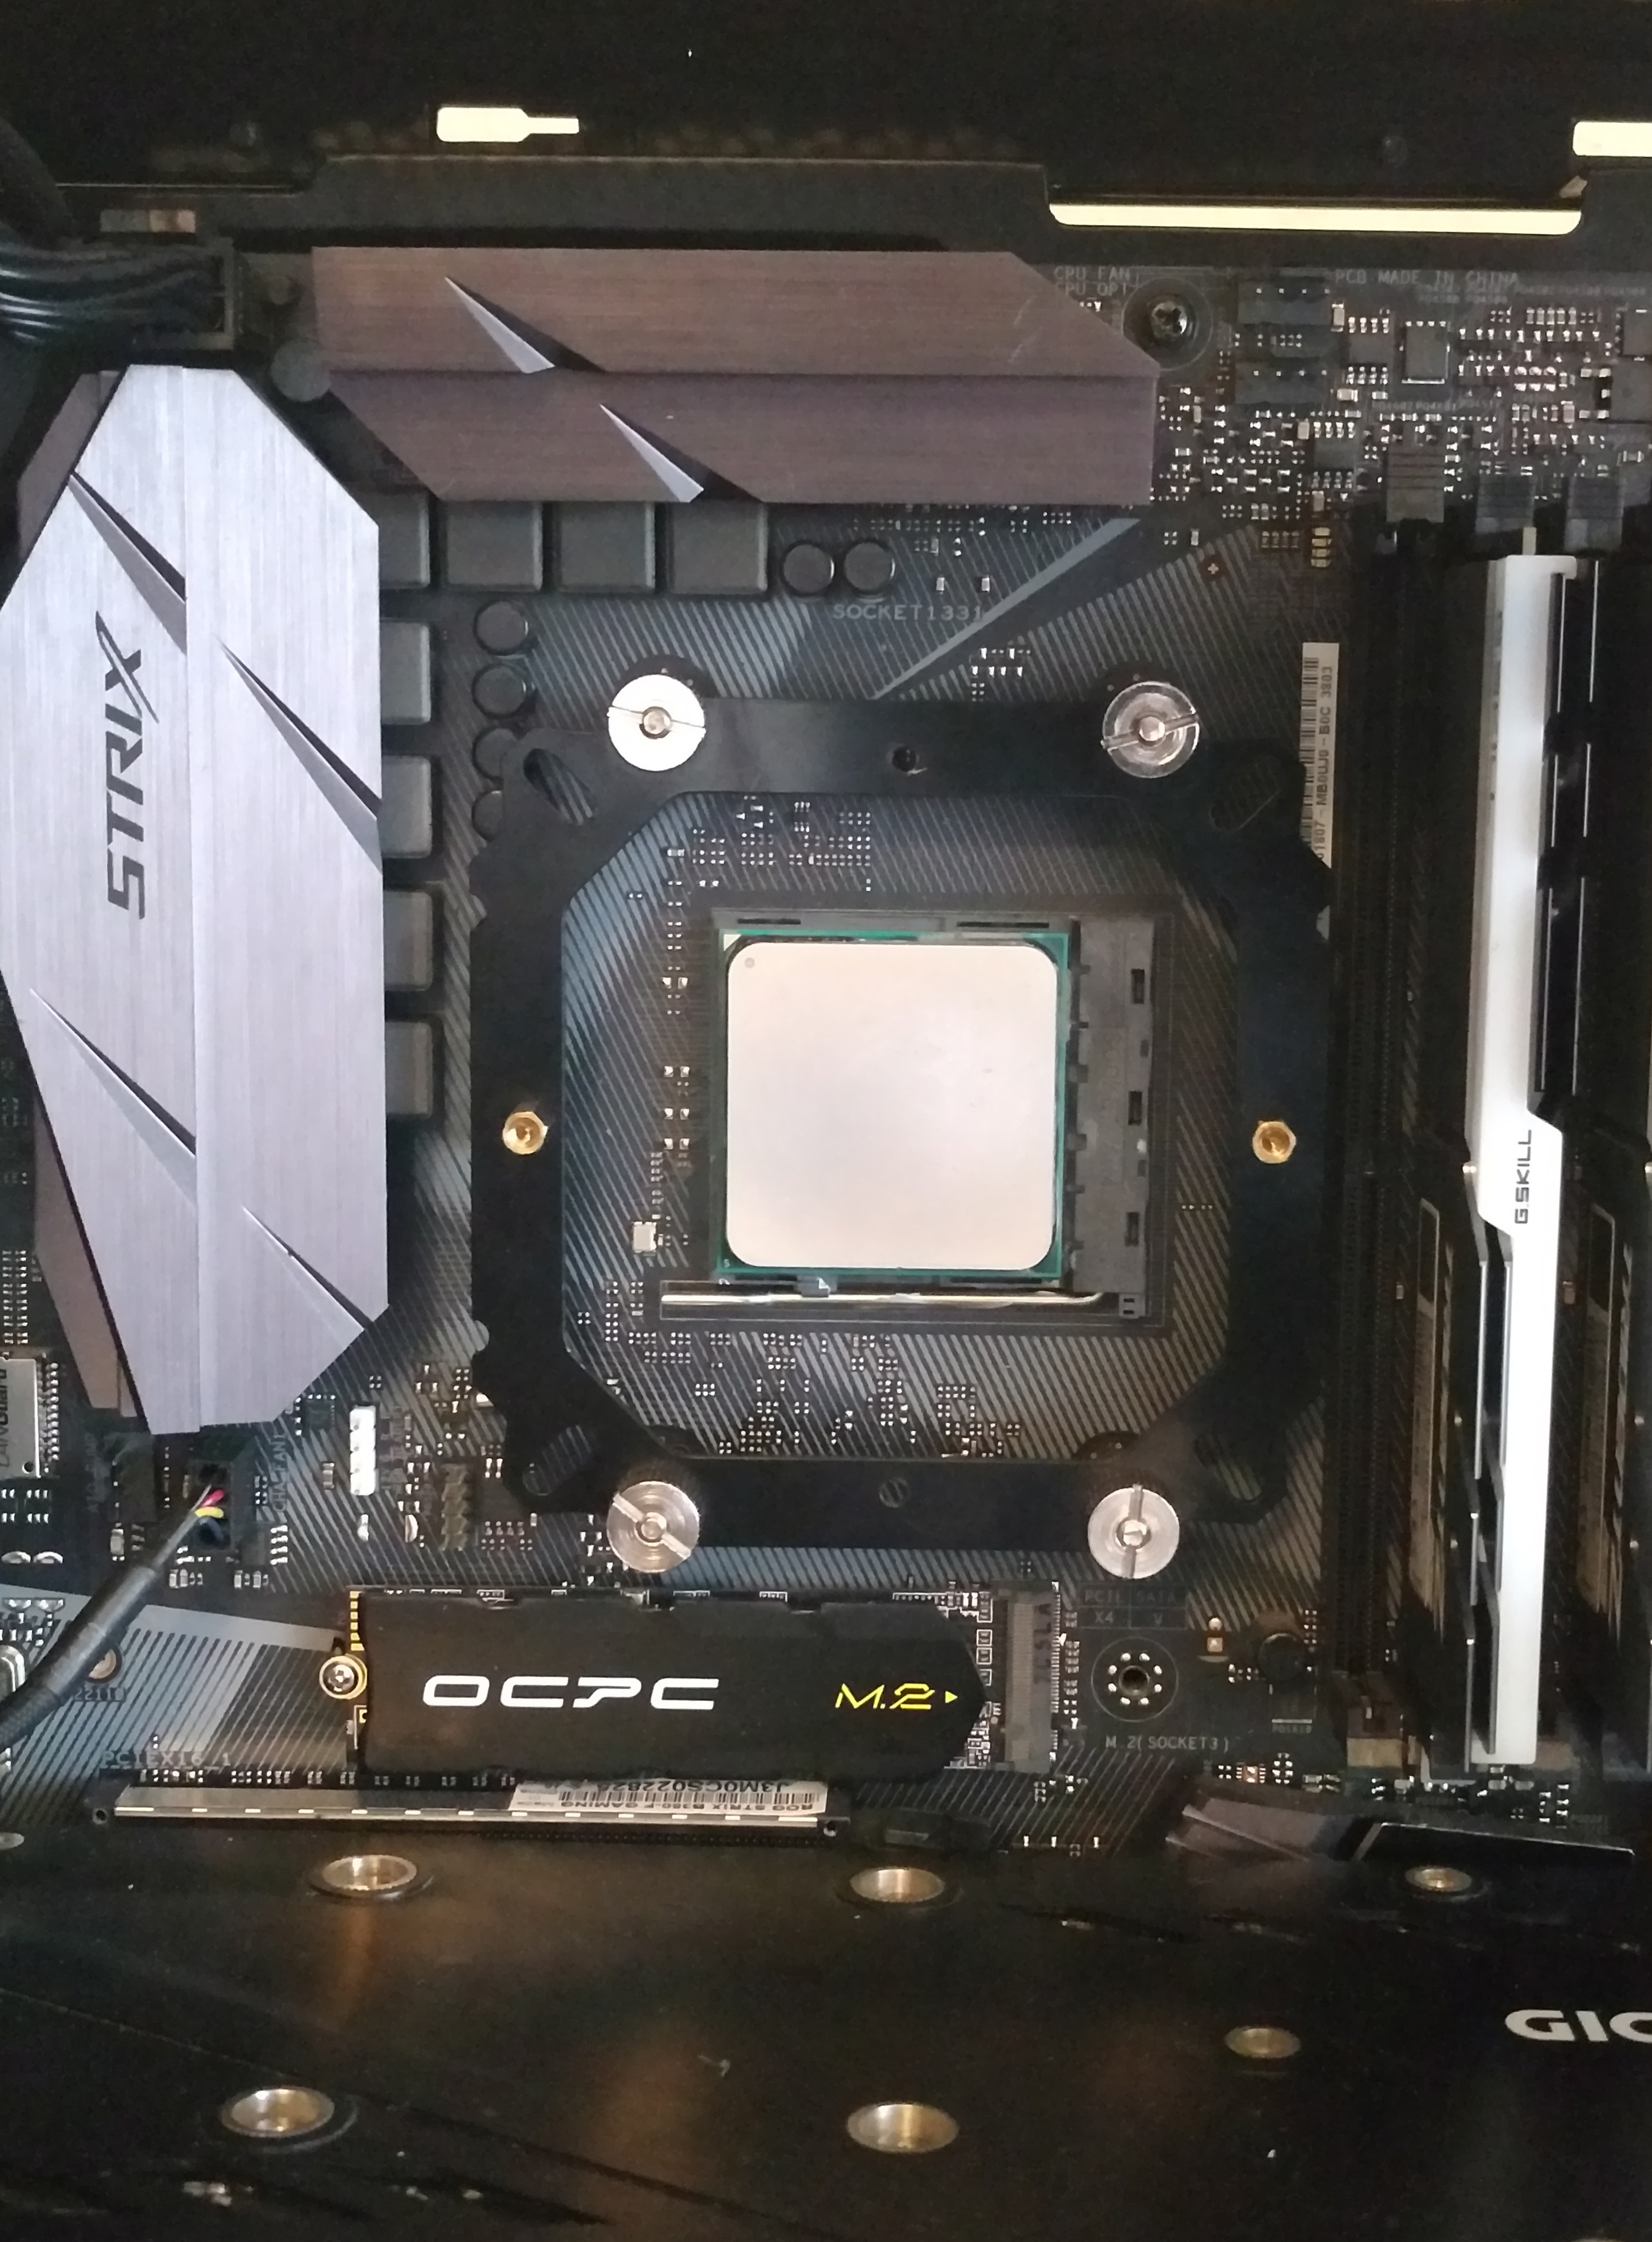
A view of the Mounting-Clip and Bracket in place from the top side of the motherboard before the MYA RBW is installed.
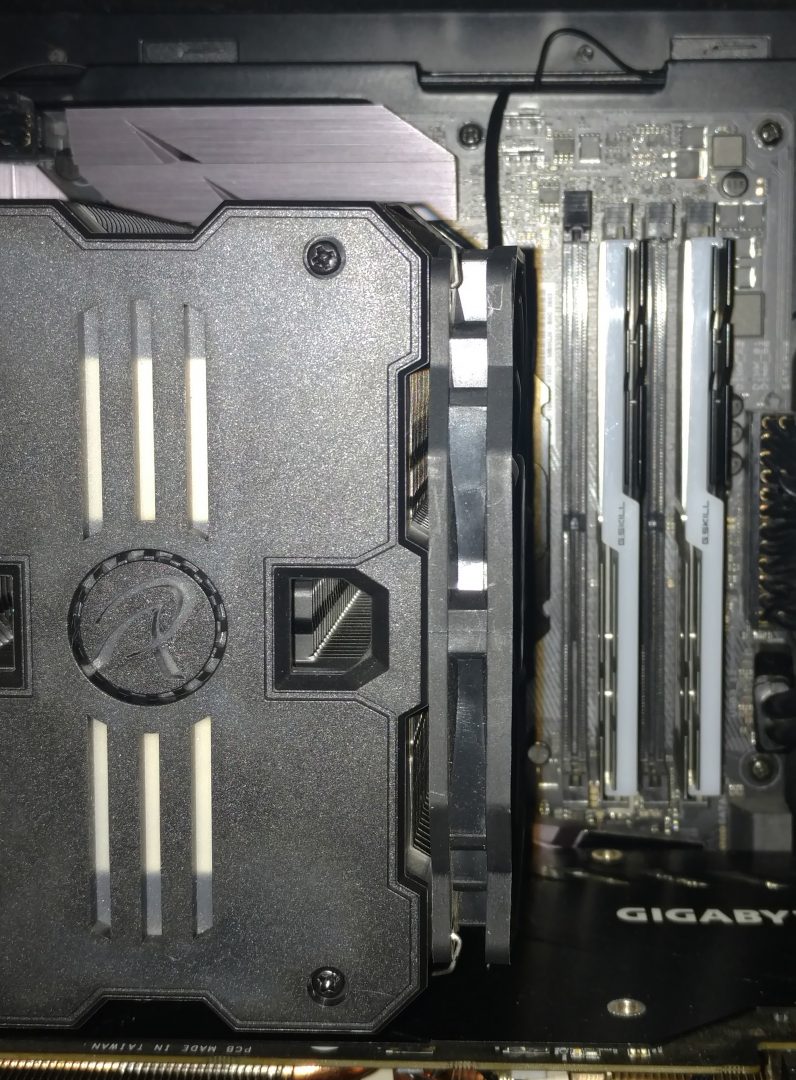
And finally, here is a view of the MYA RBW installed showing the ram clearance.
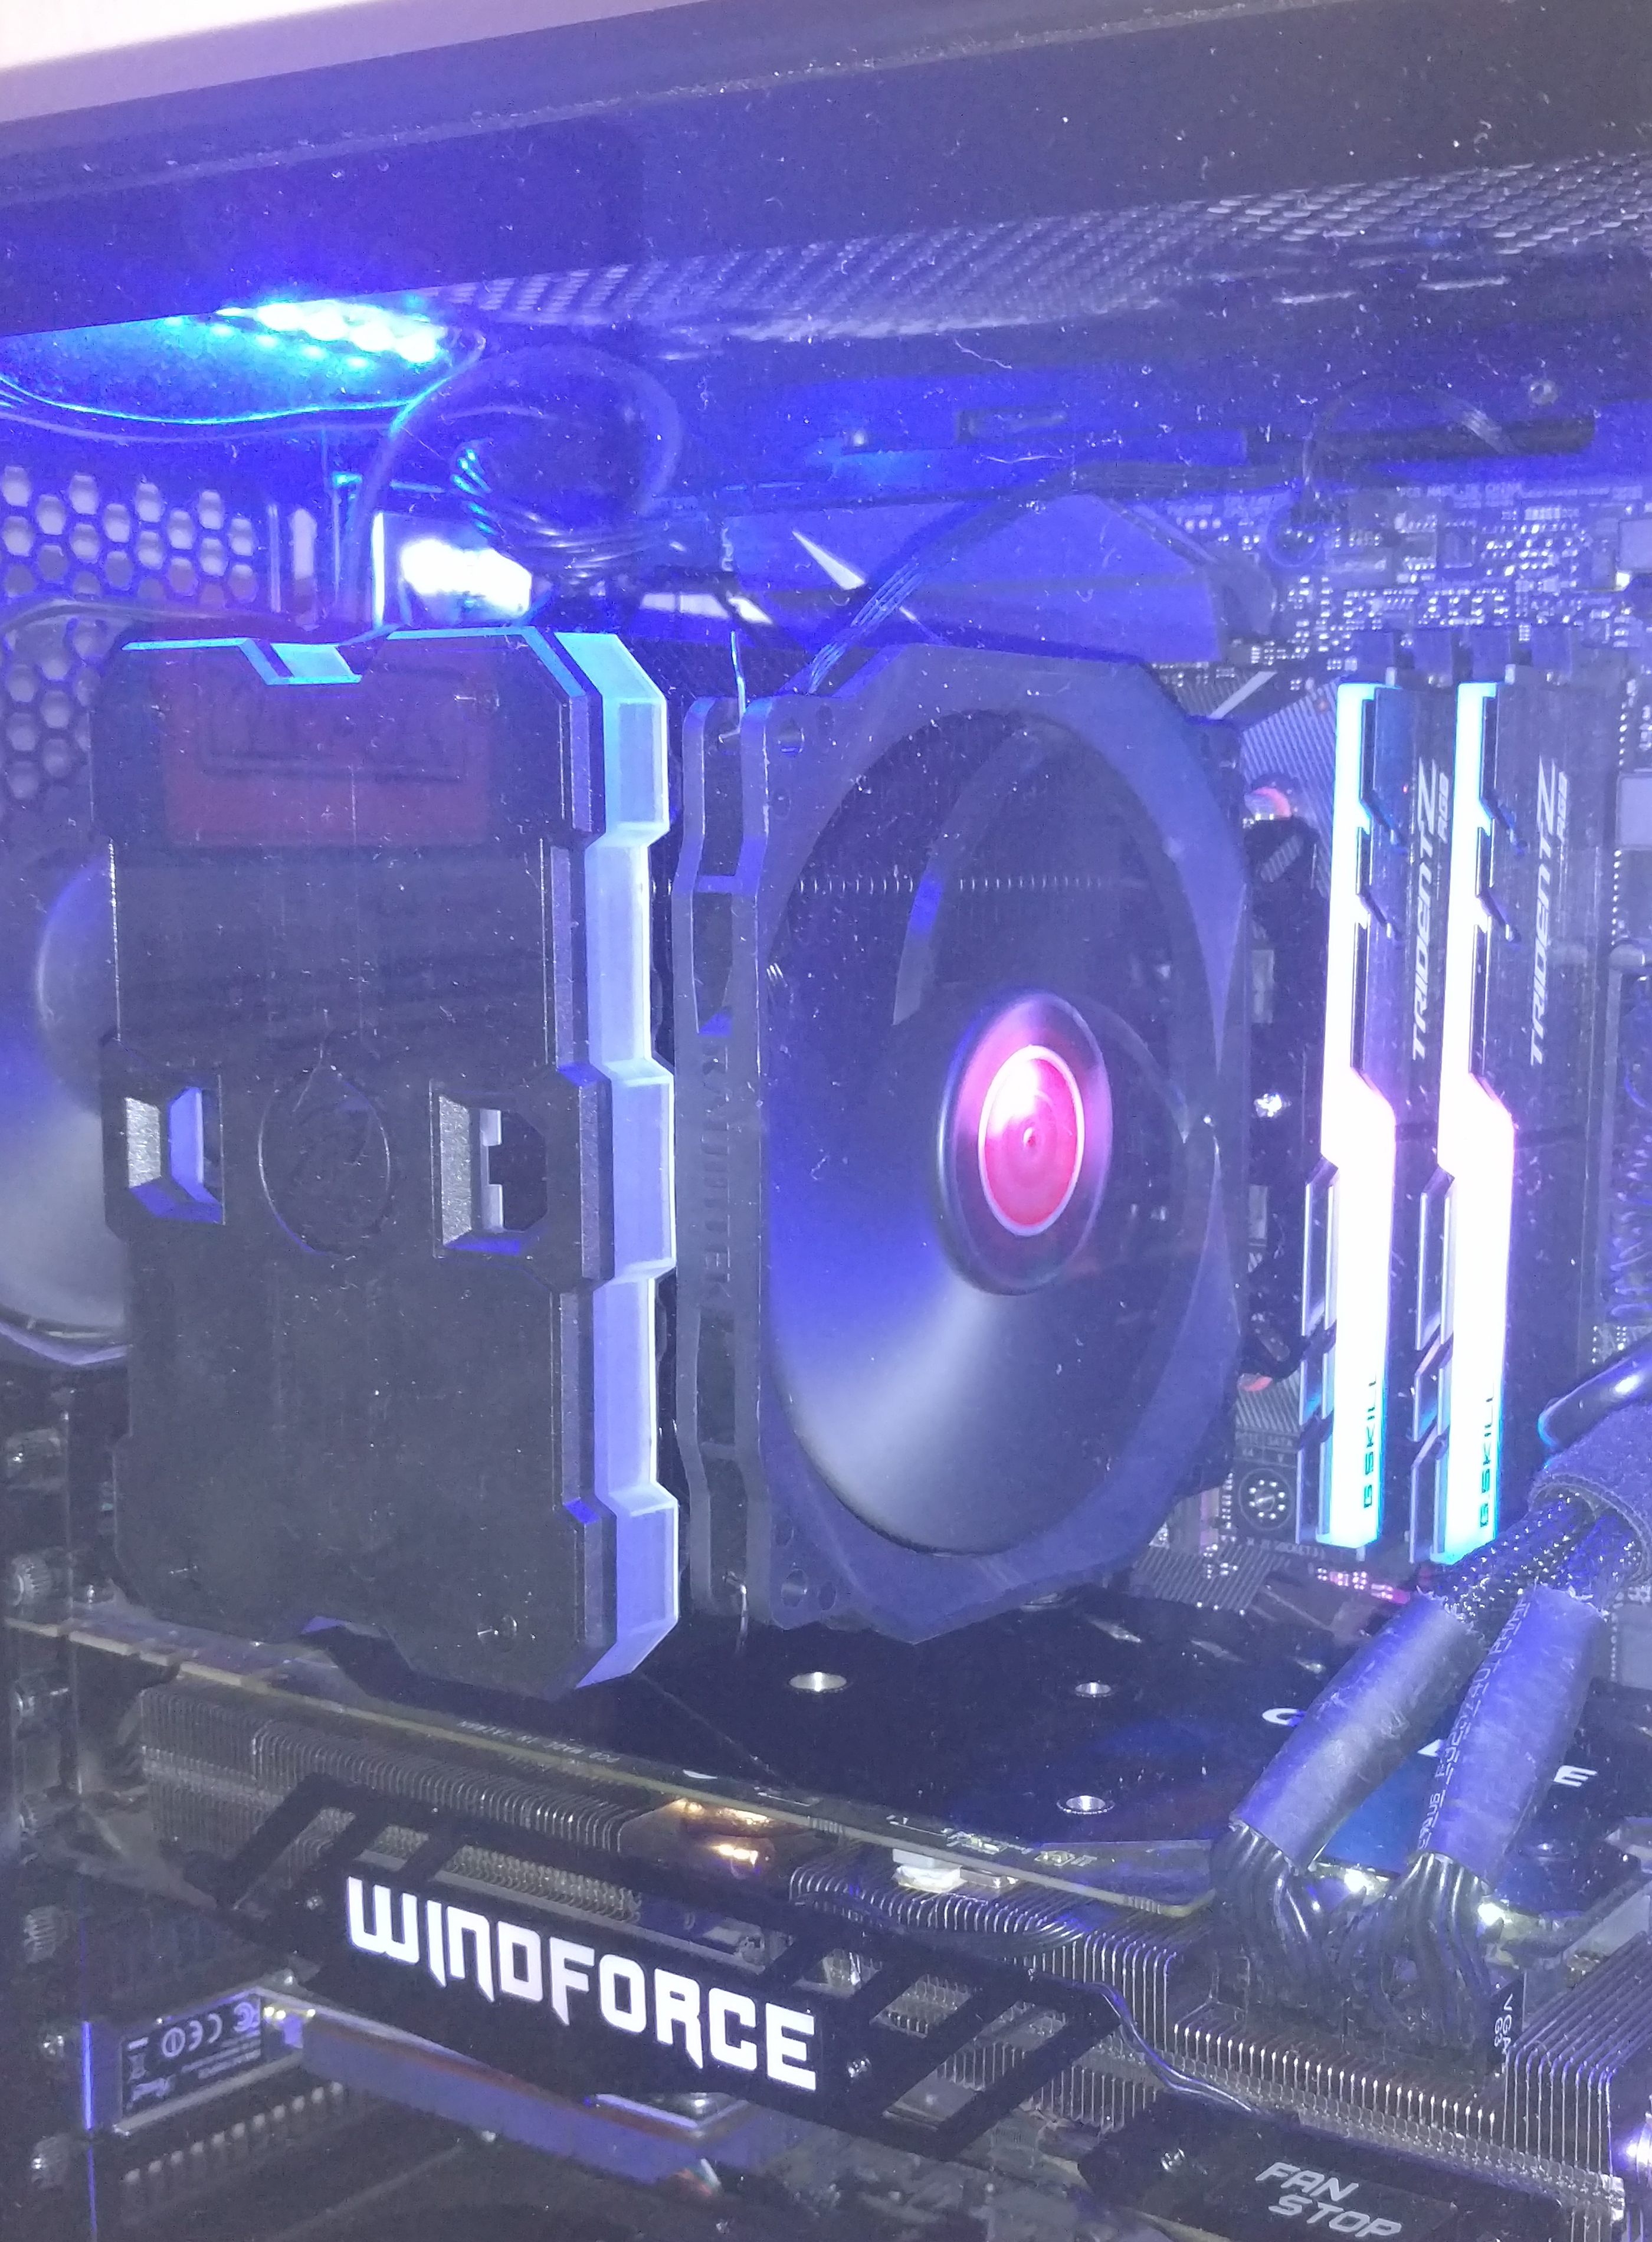
The one dusty shot I managed to get that was good before I busted the two blades off of the fan.
Test System and Methodology
Test System
- OS: Windows 10 Up To Date
- CPU: Ryzen R7 1700 @ 3.8Ghz 1.25v
- Mobo: ASUS ROG Strix B350-F Gaming
- RAM: G.Skill Trident Z RGB 2x8GB DDR4 CL16 3000MHz
- PSU: EVGA G3 850
- Case: Phanteks P400TG
Methodology
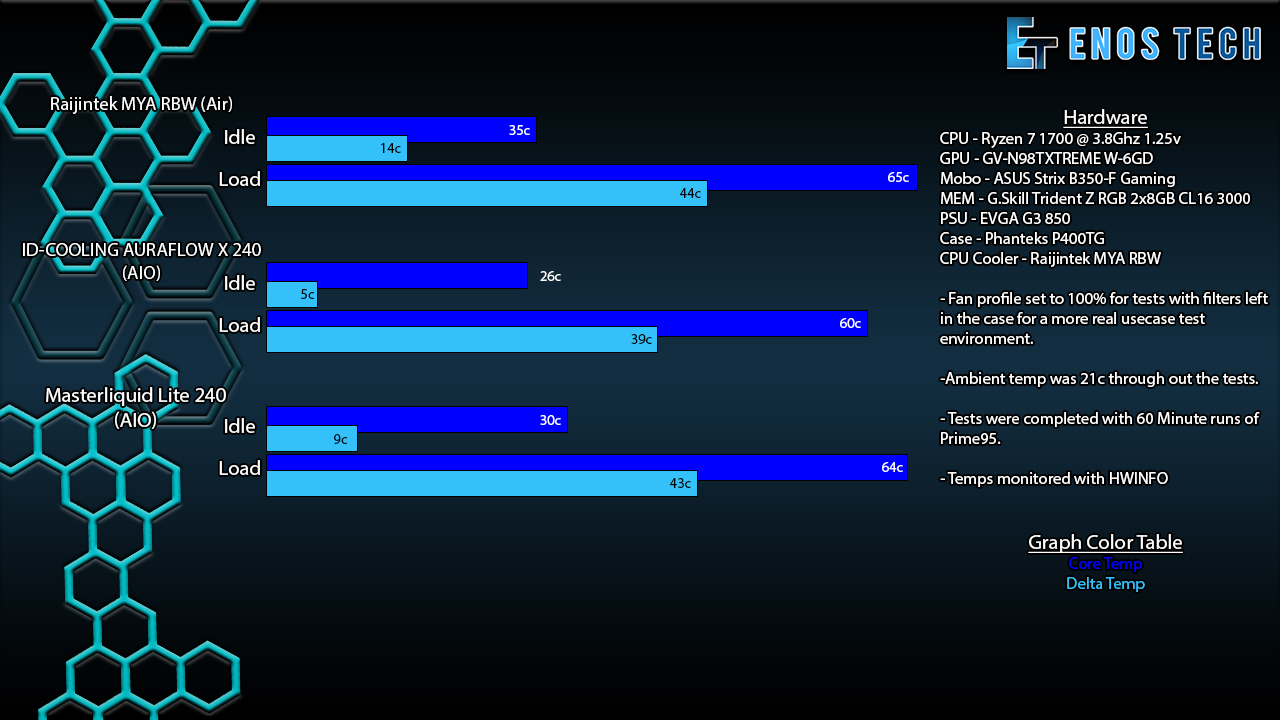
For our testing, we used Prime95 stress test program to max all of our CPU cores out at 100% for 60min. We then monitor and take note of the max core temperature. We then subtract this number from the ambient temperature to get the temperature delta. Also letting the computer sit idle for 15 minutes before each run to stabilize the min results.
Software
Final Thoughts
Performance
The Raijintek MYA RBW RGB cooler is able to hold its own. To date, I have not had an air cooler through my bench that could tame my R7 1700 at 3.8GHz. Once my R7 1700 hits 70c+ my 1.25v setting are no longer enough voltage with the R7 1700 requiring at least 1.3v to stay stable at those temps which also means more heat with the additional 0.05v. So I am happy to say that the MYA RBW is more than capable of performing under pressure! It did such a good job of cooling my CPU down that it was right there with the Masterliquid Lite 240mm AIO, let me say that again. “The MYA RBW basically matched a budget 240mm AIO in max thermals!” The results in the above chart speak for themselves.
Design
In all honesty, the Raijintek is a really nice and beefy black-out cooler that has very solid thermal performance. The one downfall that I mentioned above is the lack of any way to control or even turn on the RGB of the cooler outside a very small ecosystem of motherboards. It would be nice even if it tacked a few bucks onto the coolers price to have an included SATA RGB controller and or at the bare minimum a Molex one included in the package. This way the MYA RBW would not be secluded to such a small ecosystem of motherboards. Outside that one concern the design of the cooler is really nice, the RGB spreads out smooth and has the ability to get some crazy effects going through it clean. I like the blackout design of the cooler, long now has the big silver chunk of metal been needing replacement. All in all its a nice looking, well-performing if not a tad hard to install tower cooler.
Value
For the price of $70 you are getting quite a lot in the performance department and for an additional $10-30 depending on your solution of choice a very nice looking cooler as well. So if you need no controller or additional hardware to control the RGB then at $70 this is a steal. If you have to spend on a controller that story becomes a tad different, at the $90-100 range the tower coolers get really competitive with even the best AIO solutions on the market. Overall I think the Raijintek MYA RBW cooler is a rather good deal for anyone with a compatible motherboard and might even be so for those that are just looking for a decent performing cooler and want to spend on the RGB.


