
Introduction
- Manufacturer: Thermaltake
- Product Page: V200 Tempered Glass RGB Edition
- Purchase: £69.98 At the time of review with free 550W PSU while supplies last
Following on from our review on the Thermaltake Level 20VT, today we will be taking a look at one of their latest cases by way of the V200. Thermaltake have also been nice enough to send us the RGB Tempered glass edition of this case. Coming in at around £70 at the time of review, we will be reviewing this case on its own. However, if you act fast you can get a free PSU when ordering it through Scan.co.uk using the above link. RGB and TG aside, this case comes boasting 4x internal fans from the gate and a pretty sweet looking PSU shroud. Thermaltake is very good at hitting that trifecta sweet spot when it comes to Design, Performance and Value, which also happen to be three of the biggest areas we judge a case based upon. We have reviewed a number of Thermaltake products and can’t wait to break the V200 down for you all and show you what it has to offer. This is definitely a case you won’t want to miss!
Closer Look
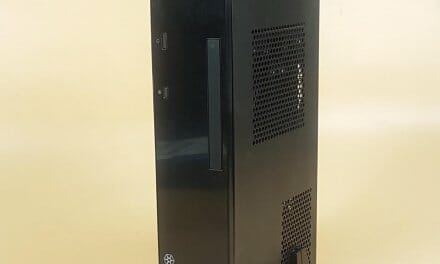
Jumping straight into it and we can get a glimpse of the three RGG fans through the front panel. While it doesn’t look like much here, where they are lit up they look amazing! The front panel also has a nice curve around to one side which really helps to set off its looks. The other side has a ventilated area to help allow for more intake airflow.

Ventilation is a majorly important factor when purchasing any new case. Thermaltake had added some vents to the side of the front panel to make sure the fans can pull in plenty of air to help keep your PC nice and cool.

The front IO is on top of the case towards the front and features power and reset buttons, and RGB control button as well as audio inputs, 2x USB 2.0 and 1x USB 3.0 port. The RGB fans, in this case, can also be controlled by compatible motherboards and to do so you simply hold the button down for 3 seconds until the fans blink red twice then let go and you should be good to go! This means you can easily sync them with your Motherboard, GPU, CPU Cooler and other RGB enable products with ease.

The top of the case also features a magnetic dust filter which can easily be removed and cleaned. Removing this will also grant you access to the fan mounts should you want to add a couple more fans to your build.

The side panel is made of tempered glass and really allows users to get a good look into the case. Once you’ve put a few more RGB products, in this case, to light things up you’ll really appreciate the TG panel. To remove the TG panel, there are 4x thumbscrews, 1x in each corner simply turn them counter-clockwise to remove then life the TG panel off. Be careful when removing the last thumbscrew as you don’t want the TG panel to fall off so make sure to keep a hand on it during this process.

Nothing too special going on around the back! We have the pre-installed exhaust fan, which is a real shame it’s not RGB but it still does the job. We have the motherboard and PSU cutouts as well as 7x PCI expansion bays.

The other side panel can be removed by undoing the two thumb screws and pulling the panel from the back of the case.

Looking at the bottom of the case and we can see where we need to pull to release the front panel. We also see the 4x feet that keep the V200 off of the floor and make sure it is getting sufficient airflow to the PSU. Speaking of the PSU, there is a nice dust filter that slots into place covering the ventilation for the PSU fan. Many thanks to Thermaltake for going with this type of dust filter as it is a bit more sturdy and less likely to fall off than those cheap ones some companies use.

Moving our way to the inside of the V200 and the fun continues. For a fairly budget-friendly case, there are loads of cutouts for various reasons on the inside of the case. There are loads of places to rout cables as well as plenty of places to tie cables out of the way. The PSU shroud will also allow users to show off their PSU itself as well as give a cheeky glimpse are their 3.5′ hard drives.

On the top of the PSU shroud, there are 3x cutouts located near the motherboard tray. These cutouts will allow users to connect a myriad of cables to the bottom side of their motherboard. Having them set like this will also heavily reduce the amount of cables/wires seen from the main side of the case which is always an added bonus. You will also notice a cutout that seems to be a bit out of place, this is for the GPU power cable and will give users a much better way to route their GPU power cable then having to use one of the other cutouts.

To the right of the motherboard tray, we have a few SSD mounts. There is also a massive cutout for easy CPU cooler installation and changing on the motherboard tray. A hole this size is optimal as it will allow the best chance of being able to change the cooler without having to remove your motherboard. While most users may not make use of such a feature, it is always nice to have and definitely comes in handy for people like myself who review a lot and may want to use this case as a test system.

Looking at the back and we can see the 4th pre-installed fan. It really is such a shame that this isn’t an RGB fan. For me, that would have really helped bring it all together. However, it is worth mentioning that you won’t find many cases that come with 4x fans period, let alone 3x of them being RGB so I can’t complain too much. It’s also worth mentioning that the PCI expansion covers are sort of spot welded onto the case and it would be in your best interested to remove these before the build. The reason for this is they do take a few times of bending back and forth and we wouldn’t to damage the motherboard if it was already installed.

From the backside of the motherboard tray, we can get a better look at the room under the PSU should. There is plenty of room here for most any PSU you should want to install. However, as always, if using a modular PSU you will likely want to make sure all your modular cables are inserted into the PSU before you install it into the case. We can also (kind of) see the RGC controller board that is powered by a SATA power port and also lets the RGB fans be controlled by compatible motherboards. There are also loads of places for users to connect zip ties to help route their cables to their liking, well done Thermaltake!

Final Build and RGB
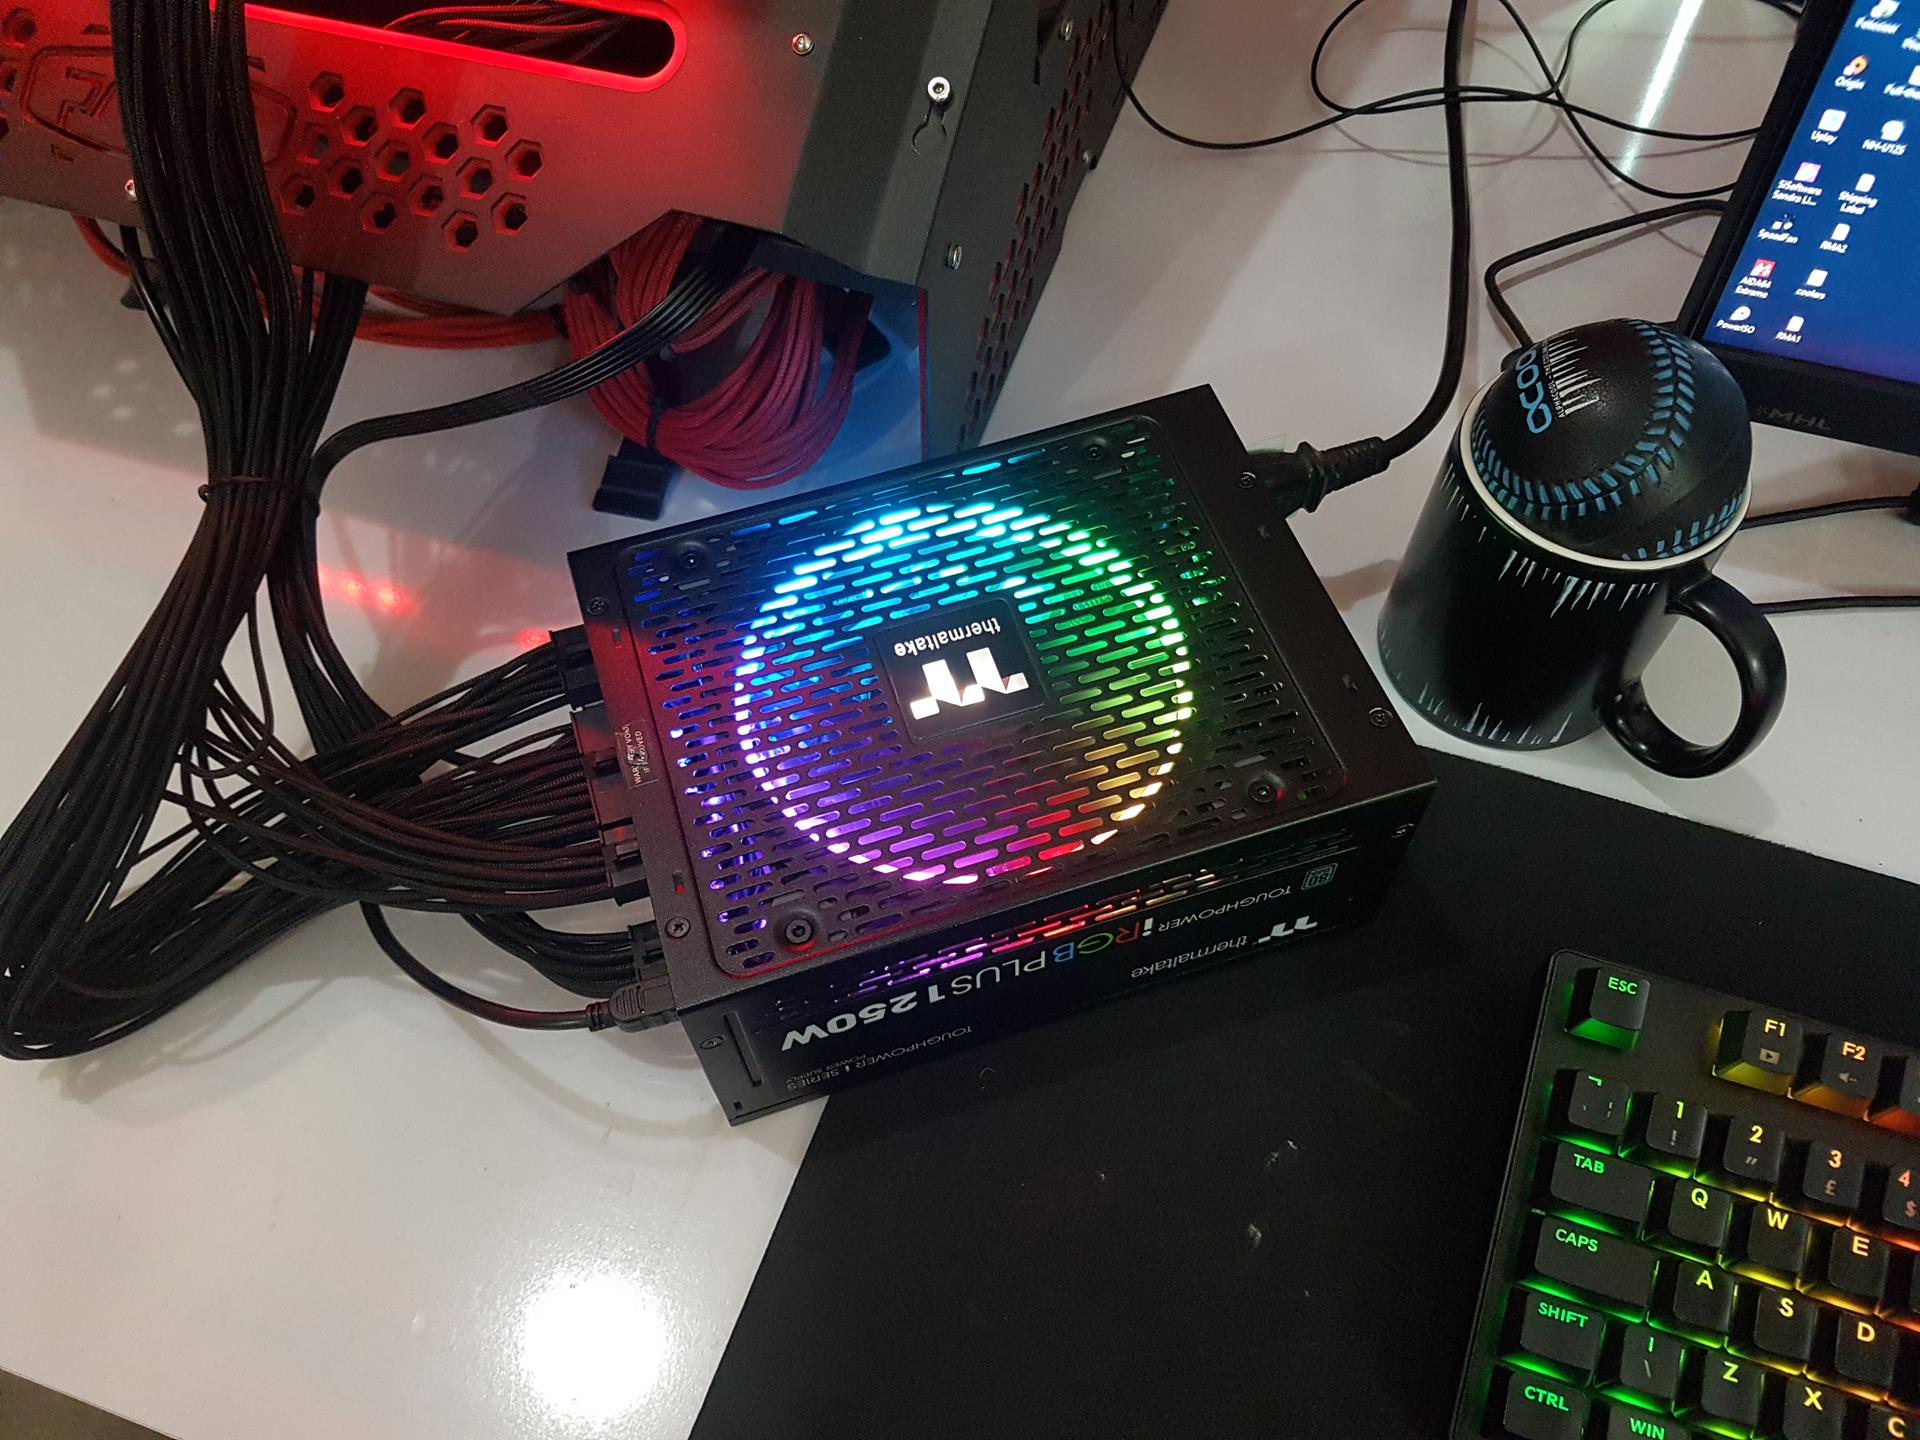
It was a pleasure to build inside the V200 from Thermaltake. There is more than ample room for most standard hardware and users into liquid cooling could likely find enough room to mount a pump, res and radiator or two. As always, Thermaltake has done a great job at trying to cover all their bases. While there is no denying that the RGB will be a big selling point for this case, it also has a lot of other features to offer. One of the things that really stuck out for me was the cable management system. Normally in a case around this budget, cable management isn’t always a priority but Thermaltake has made sure that there are plenty of pass-throughs and places to tie a zip tie. I also liked the fact that you could see the side of the PSU, especially in this case as I was using an RGB one from Thermaltake themselves. It’s a neat feature that hasn’t really been seen too much, normally most PSU shrouds completely cover the PSU. Same with the 3.5 mounts, there are mostly covered in the V200 but you can still get a glimpse of what drives would be installed in them which I think is quite nice. We spend a lot of time picking our components and making everything perfect for our budget so mind as well try to show off as much as possible.


Conclusion
Performance and Design
Overall, I was quite pleased with the performance and design on order. While the airflow is a bit restricted due to the design of the front panel, it was still more than sufficient to cool my internal components with ease. One thing I will say is the noise levels of this case are much lower than those with completely vented front panels, so you will need to choose which is more important for you. The top vent is more than enough to allow for the heat to move through and out of the case with the pre-installed fans. Design-wise, there is plenty of room for a dual GPU setup and/or liquid cooling. The V200 is easy to build in and has plenty of cable management options. As previously mentioned, I was also a fan of showing of the PSU and just feel that it is a neat feature to have in the PSU shroud. You can fit a number of SSDs and a couple of standard hard drives which should be enough for most normal storage needs.
Value
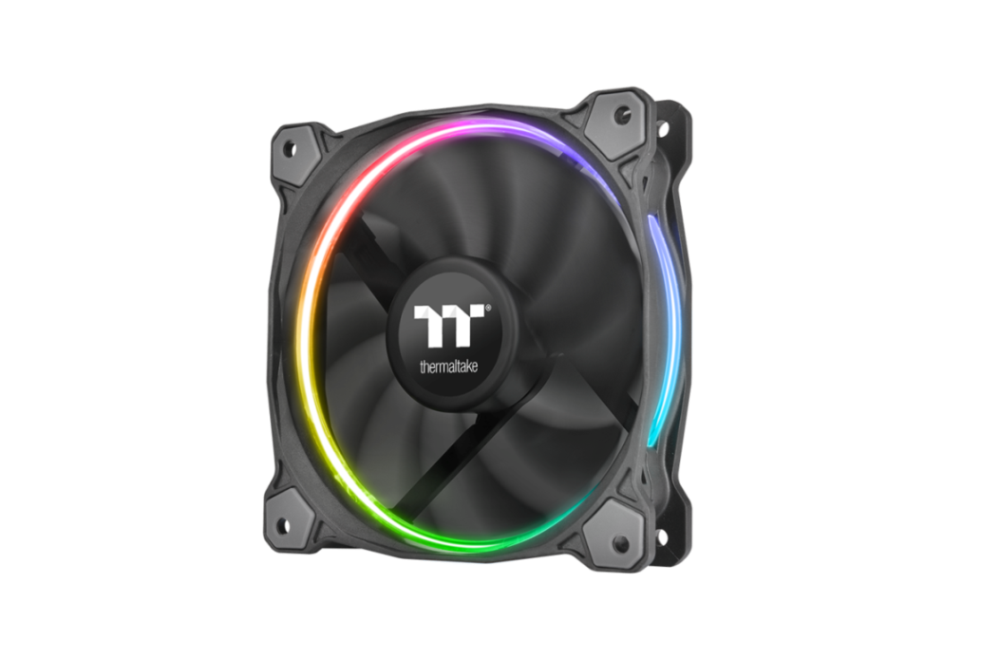
Coming in at around £70 at the time of review, the V200 is in what I would consider the mid-range price bracket. For this, there is a lot on offer and Thermaltake have really thought this case out well. a 3-pack of RGB fans in some instances can cost nearly £70 on their own. Also, if you head over to SCAN at the time of review, you may be able to snag yourself a free PSU to go with the case which is just amazing. Freebies aside, the V200 has a load of great features, looks amazing and has plenty of room so you really can’t go wrong with it. If you’re in the market for a case around this price point, even without the free PSU from SCAN, it’s still worth a look.

Many thanks to Thermaltake for sending in a sample of their V200 RGB Tempered Glass Case.


