


NZXT H710i Premium Mid-Tower Case Review
Introduction
Manufacturer: NZXT
Product Page: H710i
Purchase Price: $169.99 at the time of review at NZXT
Today I have the pleasure of taking a look at one of NZXT’s Premium Mid-Tower cases the H710i. The closest thing I have done a build in from NZXT is the H440 and there is a lot that reminds me of that case with the H710i. I loved the H440 and am sure the same feelings will be had about the H710i. Coming in at $169.99 at the time of review means that NZXT will have to pack some really nice features into this case to make it worthwhile. With that said if you are looking for a more premium case to house your build but don’t want to spend as much the H710 non (i) is $30 cheaper at $139.99. The H710i comes with 3 AER F120 and 1 AER F140 Case Fan and unlike the recently reviewed H500, this case does not rely on negative airflow. Rather, the NZXT H710i takes a more direct approach of brute-forcing air through the case and it does a decent job of doing so while staying quiet with the included fan set paired with the Smart Device 2.
Closer Look
Getting the NZXT H710i unboxed gives you an instant quality feeling from the packaging all the way down to the contents inside. Once again NZXT’s well-known lack of design flair can be seen here in the squared-off minimal front of the case.

Here on the rear access panel side of the H710i you can see the intake and exhaust perforations NZXT has added to the front and top of the case, something that should help it stand out and above the lower-tiered cases NZXT provides like the H500/510 in cooling capabilities.

Here is the front panel removed, just like with the H500 we recently took a look at there is a nice low profile black logo. Turning the panel around shows how it snaps into place. You will want to make sure to firmly grip the H710i/H710 with one hand to hold it in place while tugging these off. They are in there good and this should help reduce any potential vibrations since all of the parts are very snugly fitted.

Here is the top panel which you have to remove to work with the top fan/radiator bracket. Same as with the front panel you will want to firmly grip with one hand while lifting with the other. Use caution though, unlike with the front panel you do not need or want to pull really hard here. The panel is in very snug and can be bent if you just yank on it. Slowly lift and it will pop free.

Popping the front of the case off reveals an easily removable magnetic dust filter. The filter is a fine mesh that does not block airflow too much but any extra layer for the fans to move air through will reduce performance some. In this case, it is not terrible and leaving the air filter in gives good thermal results even with overclocked equipment throwing extra heat into the build. Once removed, this also allows access to the 3 pre-installed AER F120 fans. Removing these fans will allow the user the chance to install up to a 360mm radiator in a push/pull configuration according to the H710i product page on NZXT’s website.

The tempered glass is implemented pretty much the same way as the H500 we recently reviewed. It is a simple slot in at the bottom, press in at the top and secures with a single screw from the back. Here we can see just how spacious the H710i is. There is more room in both the top and front for radiators than the lower versions of this case series. You can put anywhere from a single 120/140/240/280/360mm radiator in both the front and top at the same time as well as fit a 120mm and or 140mm radiator in the rear. That is some serious room for radiators in a mid-tower case!

Here in the front is a closer look at the 3 NZXT AER 120F Case Edition fans included with the H710i. In my testing with the stack of fans I have to pop up front, these are more than enough to bring sufficient air into the chassis. Ignore the added NZXT RGB strip that was forgotten before the photo and is not included.

Here on the rear of the case is the included NZXT AER 140F Case Edition fan. While it may only be a ‘stock’ fan, this fan is more than enough to dissipate the hot air built up in the case out through the rear exhaust. Quiet is definitely key here and the AER airflow fans NZXT decided to include are very capable of keeping things cooled while remaining quiet.

NZXT has included 6x 2.5 sleds for storage or devices that fit such mounting like RGB controllers and fan hubs. In the pic below, we can see 3x of these in the main part of the case, all with SSDs installed.

The secondary side panel is easily removed by the simple press of a button located on the backside of the case. Once this panel is off, it will allow you access to the backside of the motherboard tray.

Getting the back panel off you can see several cable runs that make cable management really easy once you plan a path out. There is more than enough room for even a lazy cable management job and still, have room enough to close the panel. In the basement, you can see a 3.5″ drive bay that can be either taken all the way out and or adjusted a few inches to the front or back to allow room where needed. This was nice when I packed every drive bay full and ran cables with the NZXT E850 which comes with only 2 SATA power cables with 4 plugs each. This was a task but achievable with the modular drive sleds on the inside coupled with the one in the basement.

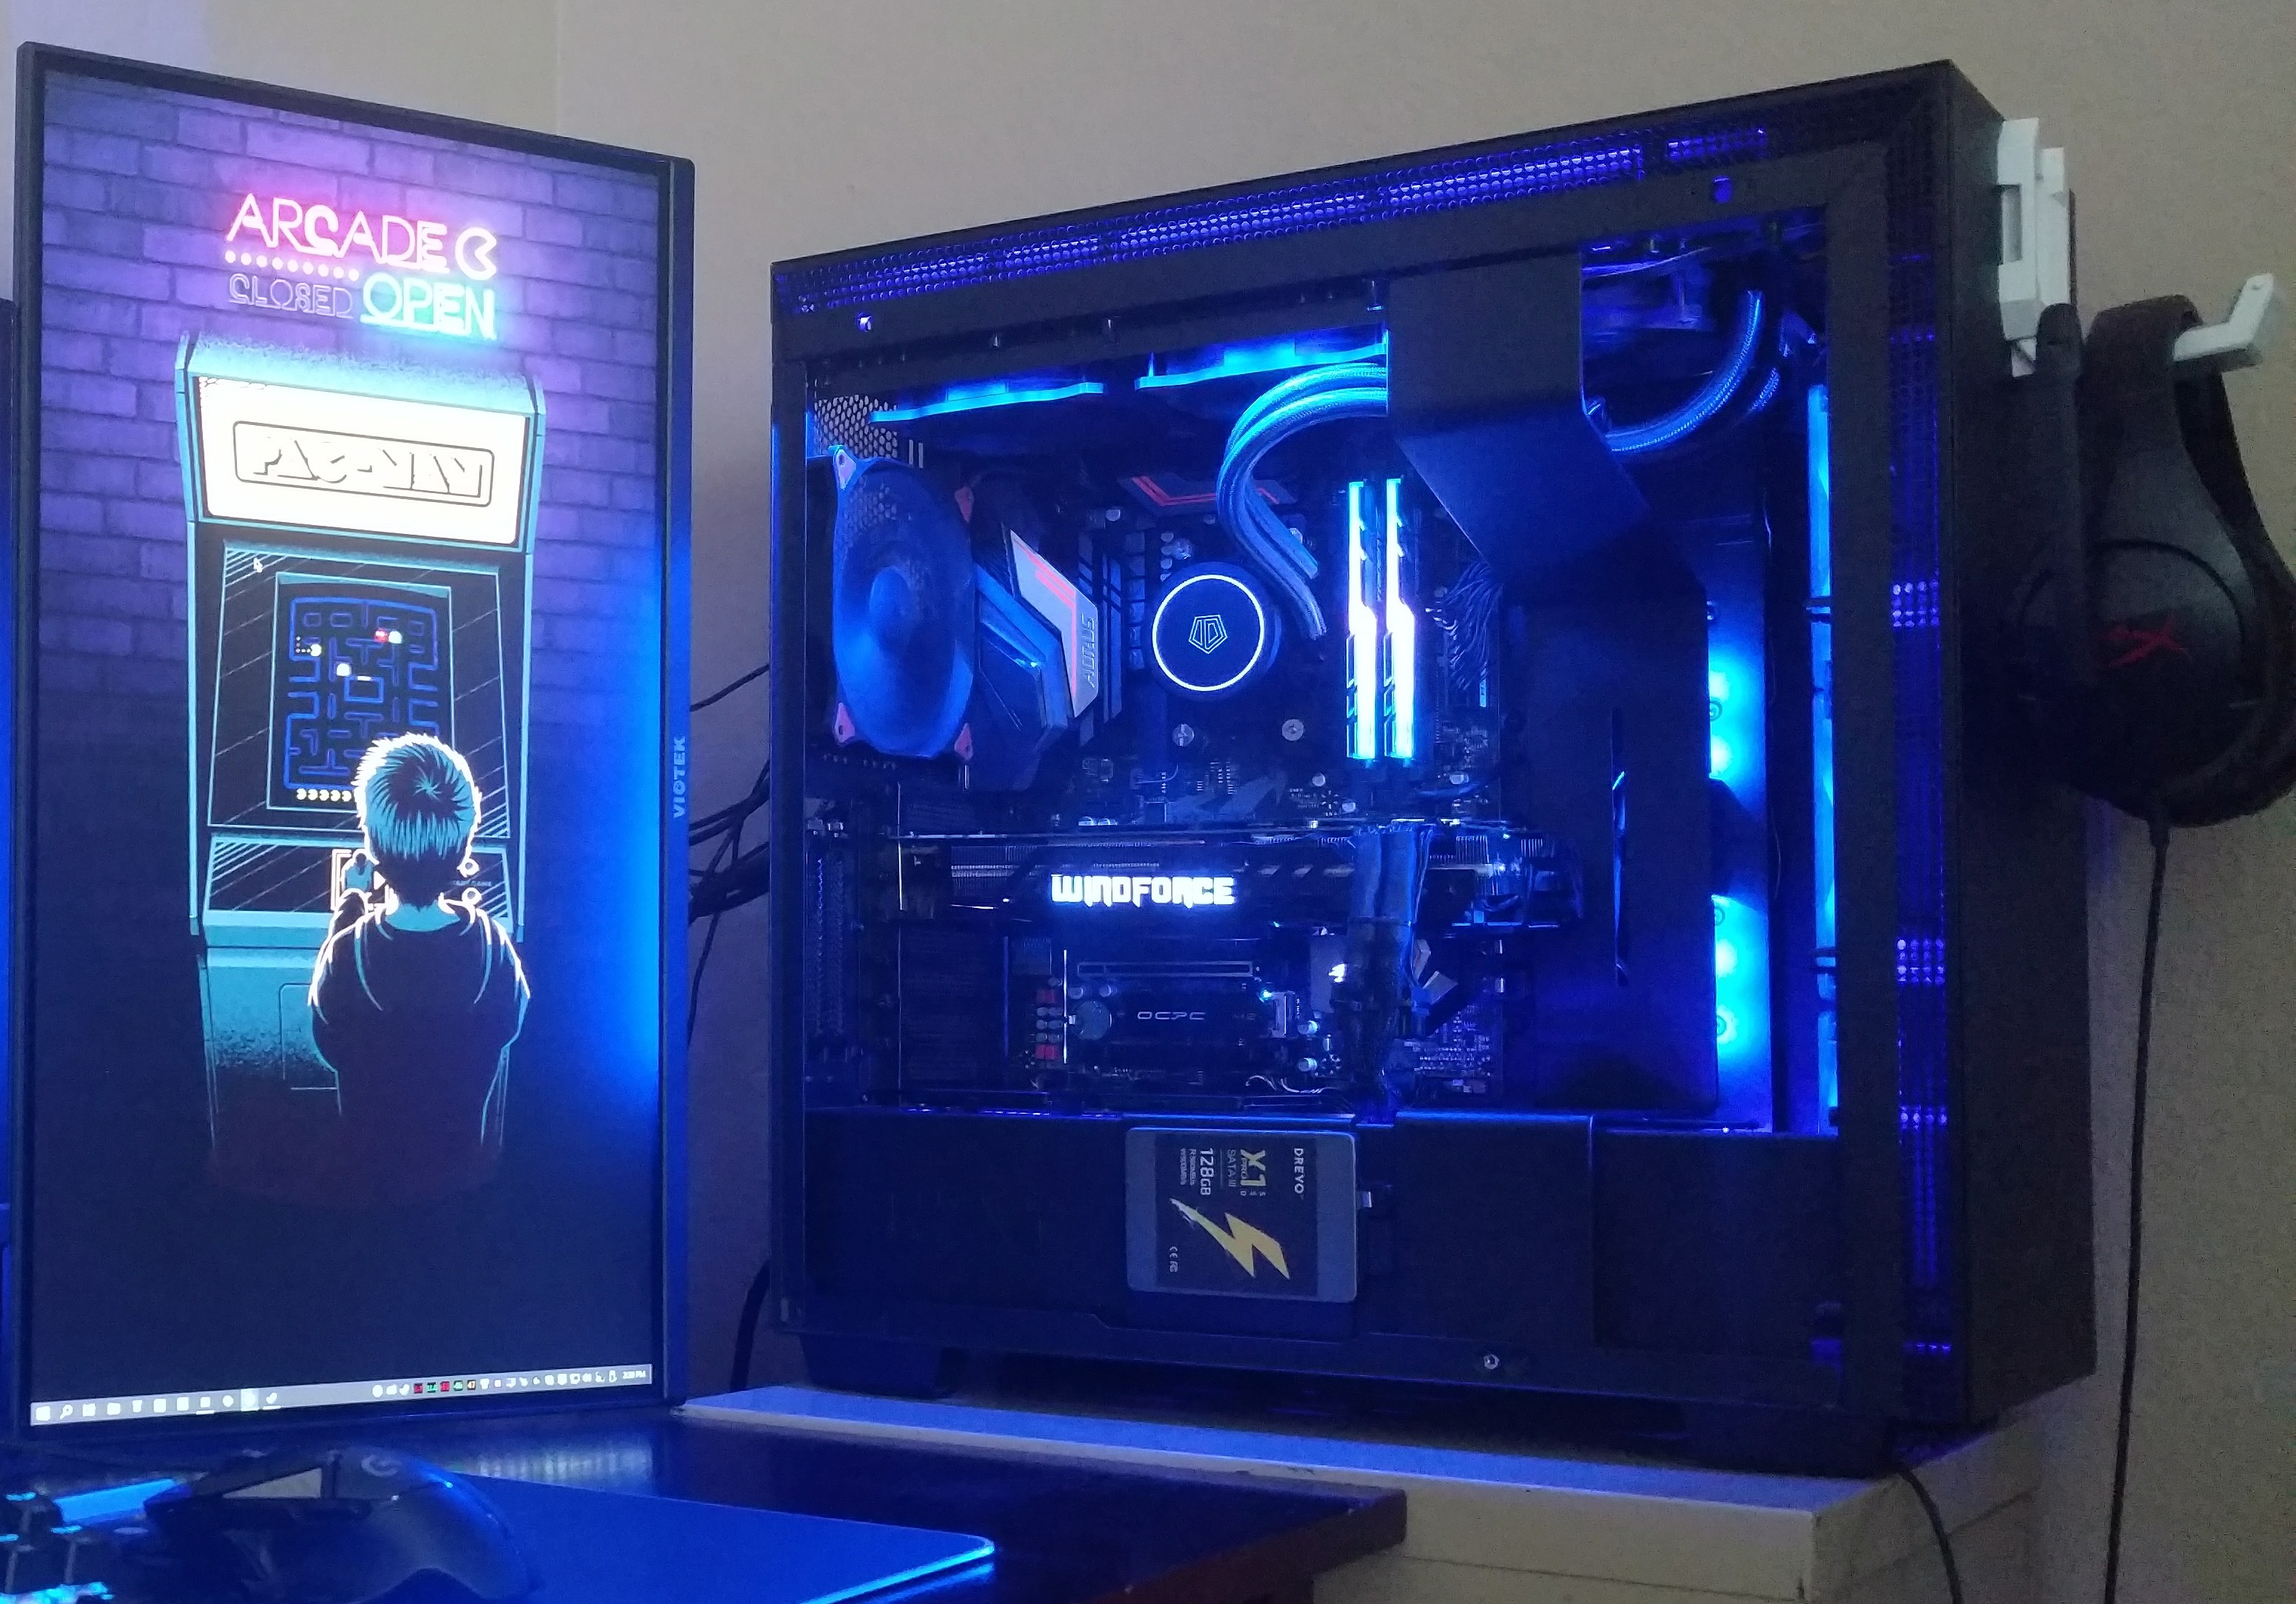
Here on the rear starting at the top, there is a vent that allows any air pushed out the top to escape. Below that is the installed AER 140F, there is some room here as well to adjust your fan up or down as needed. Moving down from there things are pretty much what you see these days, 7 expansion slots with a removable bracket for PSU attachment and install. But next to that is a new addition, a vertical GPU mounting location! This is a very nice addition but one only water-cooled GPUs would want to occupy, once my Gigabyte GTX 980 Ti XTREME Gaming Windforce went from normal mount to vertical I saw an additional 10-15c on my max temp while in some games! Airflow is not the friend of vertically mounted GPUs, the fans just sit too close to the glass and this is with my thinner 2 slot card compared to the 2.5-2.75 slot cards on the market today.

Accessories Included
Here are the accessories tucked away in the basement of the H710i. There is your manual, an extra 2.5″ mount that snaps into place upfront on the power supply shroud. And last a package full of screws and various connectors like the audio splitter needed to use headphones with a mic in the front panel connector.

The two included filters are tops as usual from NZXT, lots of free to breath fine mesh. Yes, these will hinder airflow some still but that is a small trade-off for a cleaner system. The larger one is the filter from the front intake and the smaller one can be found on the bottom filtering your Power Supply intake.

I tested a few coolers in the case during thermal testing to see how it performed with various cooling setups. Here also is a good view of the top bracket that pops out for easy Radiator installation for water cooling. I have a 240mm AIO with 3 120mm Cougar Vortex HDB fans installed on the bracket as well.

A top-down view of the fan/radiator mounting bracket with the 240mm AIO installed.

The top fan/radiator mounting bracket is simply installed or removed by 4 thumbscrews. By removing the bracket before you start your build will open up a lot of room to work with from the top which can help a lot with cable management and other small details like plugging in fans as you move through your build.

The included vertical GPU mount is a wonderful option to see included with this Premium Case. However, unless you are water cooling your GPU you should really stay away from using this, just in normal gaming I saw a 10-15c increase in core temp. This increase in thermals was more than enough to cause my normally comfortably overclocked GTX 980 Ti to downclock several steps which caused a very noticeable loss in performance/framerate. It looks great but runs hot because airflow is greatly restricted from the GPU’s fans.

Software and RGB
Here we are going to talk about NZXT’s Smart Device V2. I know plenty of reviewers out there have complained pretty heavy on this software suite. I honestly do not have a lot of complaints. I enjoy the fan control and do not aim to use the db meter stuff and rather just set my custom curves for the cooling I need.
Starting off here on the MY PC tab is the Monitoring tab where you can see a host of information about your system and its current status. I haven’t noticed any anomalies when checking this against my normal HWiNFO.

The next tab on the MY PC list is Specs here you will find a pretty detailed list of components in your system.

The last tab on the MY PC tab is the Games tab, here you can see what you play and how much time you spend doing so.

Next is the LIGHTING tab and here you will see all of your connected NZXT RGB devices that are compatible with CAM. Here you can see the included Smart Device 2 as well as the HUE 2 Ambient device I have lighting my desk space. The profiles are a bit janky at times and getting things to revert to stock is still a small pain but all in all this section has improved since I first reviewed the HUE 2 Ambient Kit.

The last one the TUNING tab. Under this I rather like the Cooling tab and its capabilities, the Case Noise reading and how the software and device manage it is not of concern to me. I am more along the lines of a custom fan curve that suites my cooling needs and letting it go from there. You can easily do so and even save several profiles for different stuff. Because I am using a fairly complete NZXT ecosystem I have control over all 7 case fans plus the power supply cooling, as well as 3 RGB channels all from this software suite. On the cooling, you can set each channel up to your taste. In my case, I ended up settling on a 25-50% curve for 40-50c with the PSU controlling its curve for itself. The front 3 120mm AER fans and rear 140mm fan are set to a more aggressive curve that is controlled by the GPU thermals. Lastly, the 3 120mm fans on the AIO at the top of the case are on their own curve controlled by the CPU thermals.
In doing this not all of my fans are needed to ramp up at once. If I am playing a CPU light game but GPU heavy the CPU fans will stay at a low rpm and vice versa. If I am rendering a video only the CPU fans ramp up helping to keep my build quiet. The options are rather broad and mostly enjoyable to tinker with.

You can also overclock your GPU from CAM, just like Afterburner and or Precision you have the same basic selections open for change. Minus a voltage slider though that arguably doesn’t do much anyway.

The last tab on the TUNING section is the Power tab. Here if you own a compatible NZXT E Series power supply you can see your systems power statistics for your CPU, GPU, and Others (“Others” I believe include the 24pin motherboard power, SATA and Molex power cables). Under an intense load, it was interesting to see that my whole system when overclocked, playing a game while streaming was using between 60-80% of my total power supply.

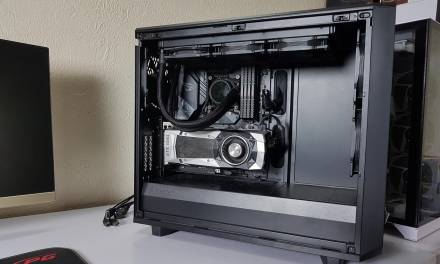
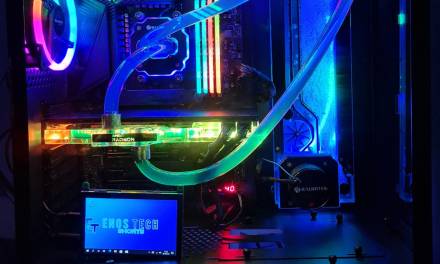
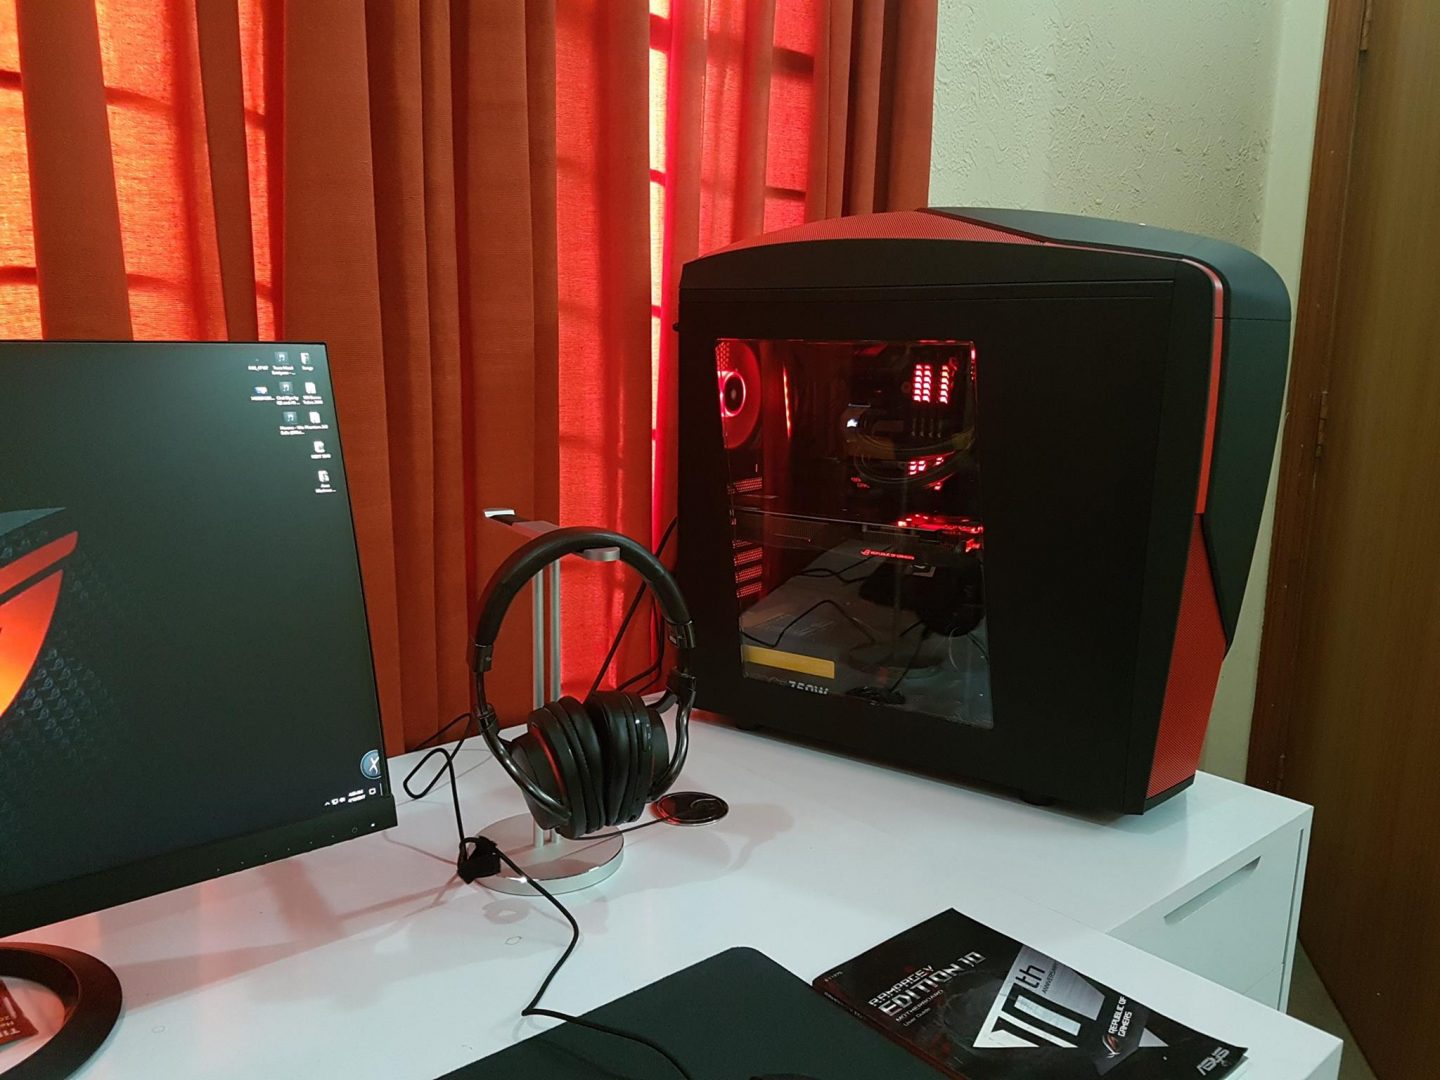
Final Build
Here are a few photos of the final build completely fleshed out with RGB throughout. Even to my All In One water cooling for aesthetics tastes, tower air coolers even look very good in the H710i.

The H710i is one nice Premium Mid-Tower with all the room you need to build comfortably and even leaves room for imagination, and once complete will top off any gaming or even professional desk. Just maybe with less RGB in a professional setting.

Conclusion
Performance and Design
The performance of the H710i was exactly what I expected from such a case. There is more airflow allowed through in this design over the H500/510 series, all of my components stayed nice and cool running their optimal clocks set by myself no problem. I chose to run the CPU AIO in the top position of the case for the thermal results. If I was to water cool the complete system I would put radiators in both the front and top position with a single 140mm fan in the rear this would be solid in my opinion. But with just the CPU being cooled by water I decided to allow more fresh air in for my GPU and other components.
The design of the H710i reminded me a lot of a build in the H440 I had a few builds back. I loved the H440 it was versatile and open for lots of options, and this has stayed true with the H710i. The options are through the roof for whatever you could imagine for your build. The SGCC Steel the case is made out of is thicker than many of the more mid-range of towers I am used to working in, add to that the top bracket and the perforated air vents around the edges and you get a solid design with more airflow. All of that and more really help make the H710i stand out in my eyes.
Performance-wise the H710i performs well enough, especially when compared to the more closed off front that most cases have these days. I tested the base AM4 Wraith Prism as well as two beefier tower coolers and one All In One liquid cooler at the top of the case exhausting heat out the top. All in all the H710i performed right about as expected with a build like the one tested. Under a full heavy load, the tested build can easily dump 500+ watts into the case. At times I was able to reach 70-80% of my NZXT E850 power supply usage, which is about 680 peak watts of energy to move out of the case! The only time this introduced “issues” is when I placed the All In One liquid cooler in the front of the case and this would, in turn, cause my GTX 980 Ti to step down some running about 10c hotter than normal. With all of the tests below 74c was the max thermal result on the GPU, while running a 1450mhz core and 7700mhz memory OC. With the AIO in the front, this went up to 85c at times and dropped the clocks randomly to compensate for thermals. This would introduce stuttering in games and is not ideal. The only benefit of running the AIO in the front was a reduction of about 4-5c on the CPU temp and an increase in VRM thermals.

Value
The value in the H710i is there for sure, solid build construction with loads of options for cable management, plenty of build room for everything all the way up to custom loops and more. I was able to manage a total of 6 extra RGB strips on top of the two included, and when these were coupled with the motherboard and other RGB components this really put on quite a display. Another bonus to point out that NZXT added is the vertical GPU mounting, now where this is a delightful addition it is one you will only really want to use when water cooling your system. The GPU fans do not get enough airflow when the card is turned towards the glass panel and thermals quickly get out of hand.
The arguable value cost with the H710i is solely focused around Smart Device 2. If you do not have a need for the device or do not like the software implementation then you should consider the H710, which is $30 cheaper and does not come with the Smart Device 2 or the two included RGB strips.
NZXT has managed to continue presenting a really strong presence in the case game with the H710i, using quality SGCC Steel and a beefy Tempered Glass panel with what is, in my opinion, the best installation/removal implementation on the market. The simple sit it in place pop the tabs in and single captive thumbscrew is such a pleasure to have. No need to hold the panel in place putting fingerprints everywhere, just pop the panel in place and tighten the screw.
I can recommend the H710i to anyone looking to build an over the top showcase build or custom loop. This is a Premium case and would never be considered for a budget build. Where a budget builder would be saving on things like a case to focus more on performance, the person looking to buy the H710i is looking to go the extra mile with their build. If you are wanting to go all out then this is a case to consider, even with the smart device (which I honestly like the addition of, simply for the software fan curve and RGB control).
 I want to thank NZXT for sending over the H710i sample for review.


