













Thermal Grizzly Mycro Pro AM5 RGB Water Block Review: An Excellent Performer
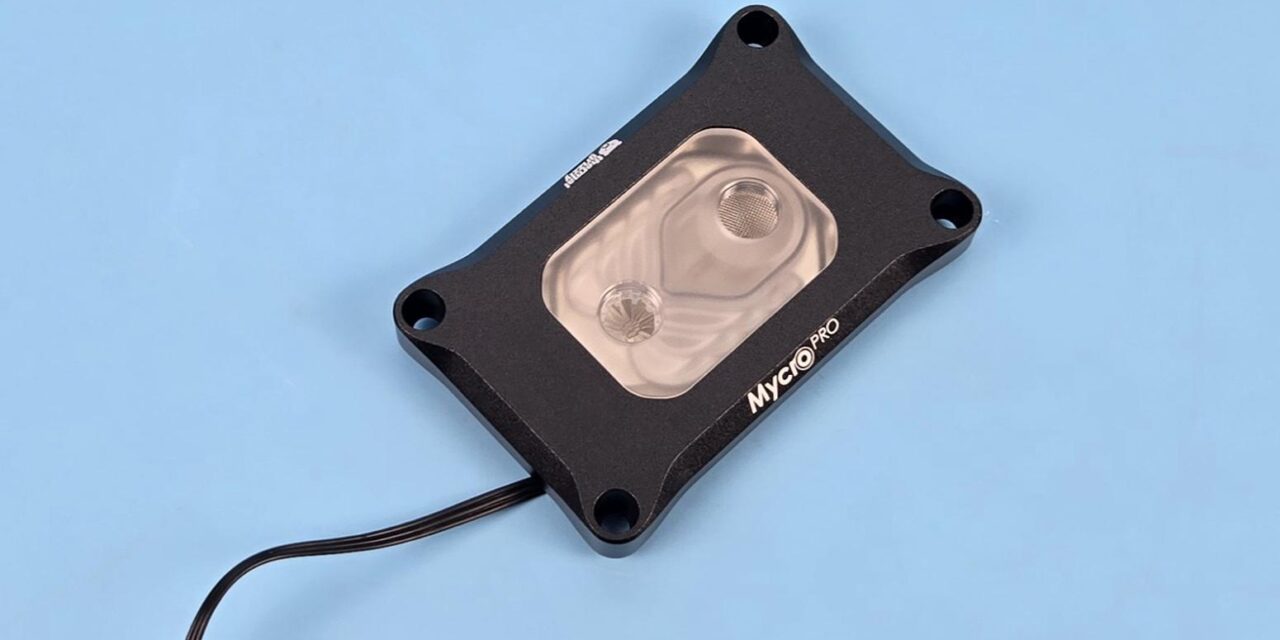
Thermal Grizzly has launched new CPU water blocks named Mycro Pro RGB. These are based on the Direct-Die version of Mycro water blocks but with a key difference: using standard mounting without needing to delid your CPU. These water blocks are available in two configurations: AM5 and LGA1851. The trend of releasing socket-specific water blocks is booming, as it allows manufacturers to tailor their solution specific to the hot spots on the die of CPUs from both camps, effectively taming the thermals accordingly.
I have got my hands on Mycro Pro RGB for AM5, which is also backward compatible with the AM4 socket. The salient features include:
- High-performance CPU water block for AMD AM5 socket
- Fine-Mesh Filter at the Inlet Port
- Nickel-plated copper cold plate with ultra-high-performance microfins (0.2 mm)
- Metal housing with RGB-illuminated viewing window and internal layout
- Inlet and outlet ports with standard G1/4″ threads
The key highlight is the slot width and the fin width measuring the same at 0.2mm. The AM5 variant packs 68 micro-fins, whereas the Intel variant packs 70 micro-fins. The silicone-made jet plate uses a custom design to effectively spray the inlet coolant over the fins. The inner chamber made of tempered glass acrylic material sits between the anodized aluminum main housing and the jet plate/Cold plate.
This block has a relatively low profile compared to other blocks; as a result, it has more length than the width. To make it even more effective, Thermal Grizzly has installed a fine filter at the inlet port to stop contaminants from plaguing the cold plate that could reduce the thermal dissipation due to clogging.
Last but not least, the block features an A-RGB backlighting which is visible through the acrylic housing around the ports.
This block has an MSRP of USD $163.68. It can currently be found on Amazon for $149.99.
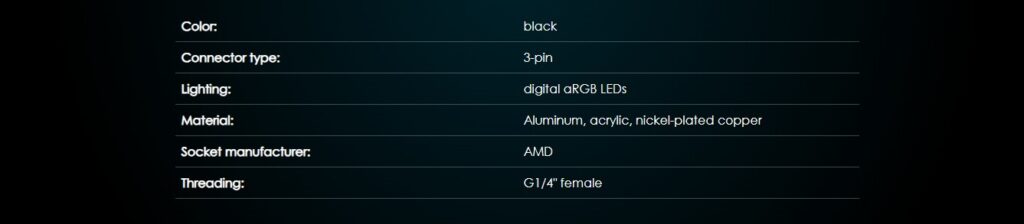
Specifications
Packaging and Unboxing
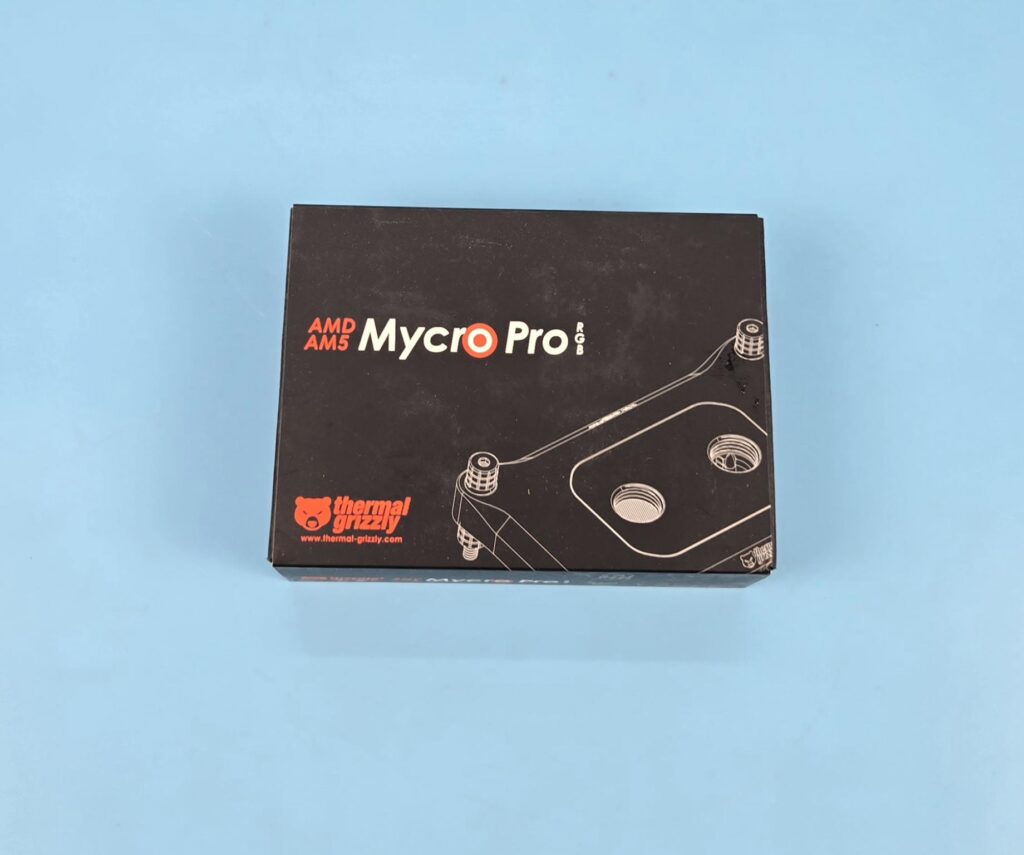
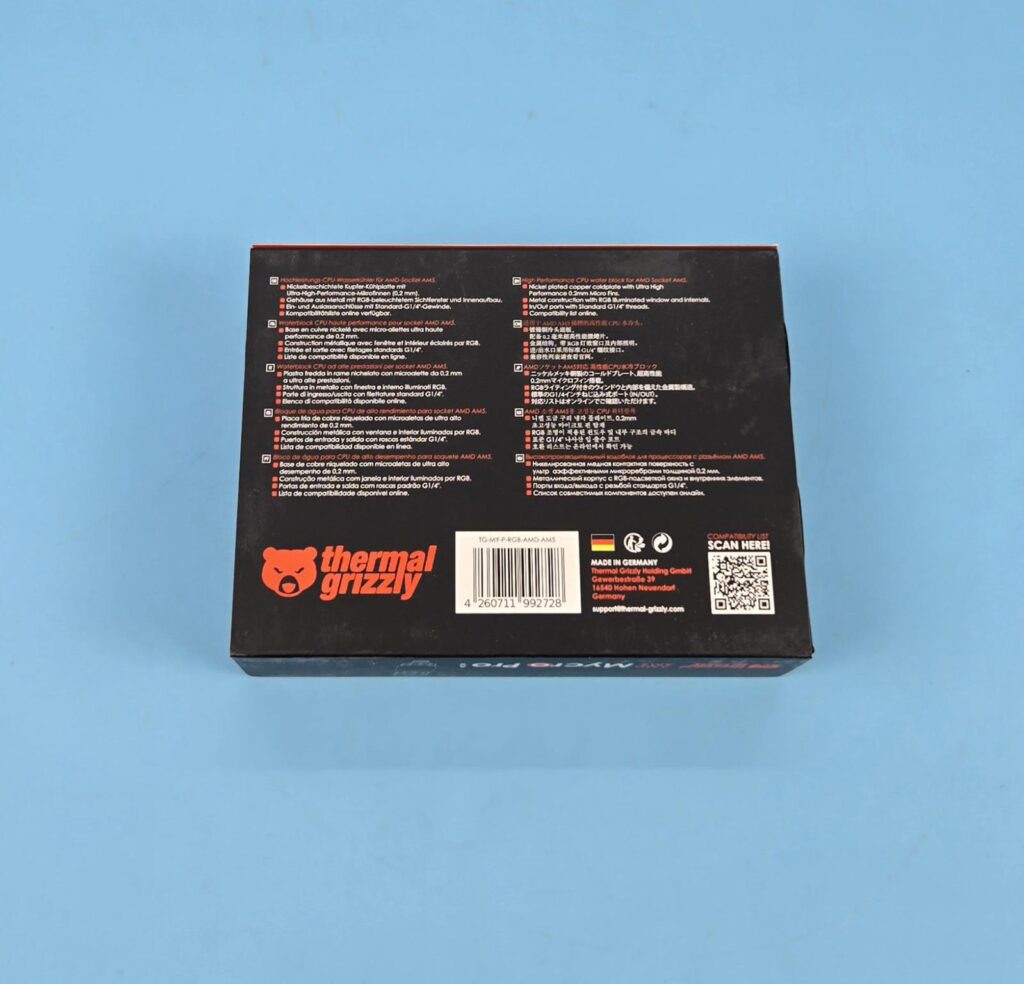
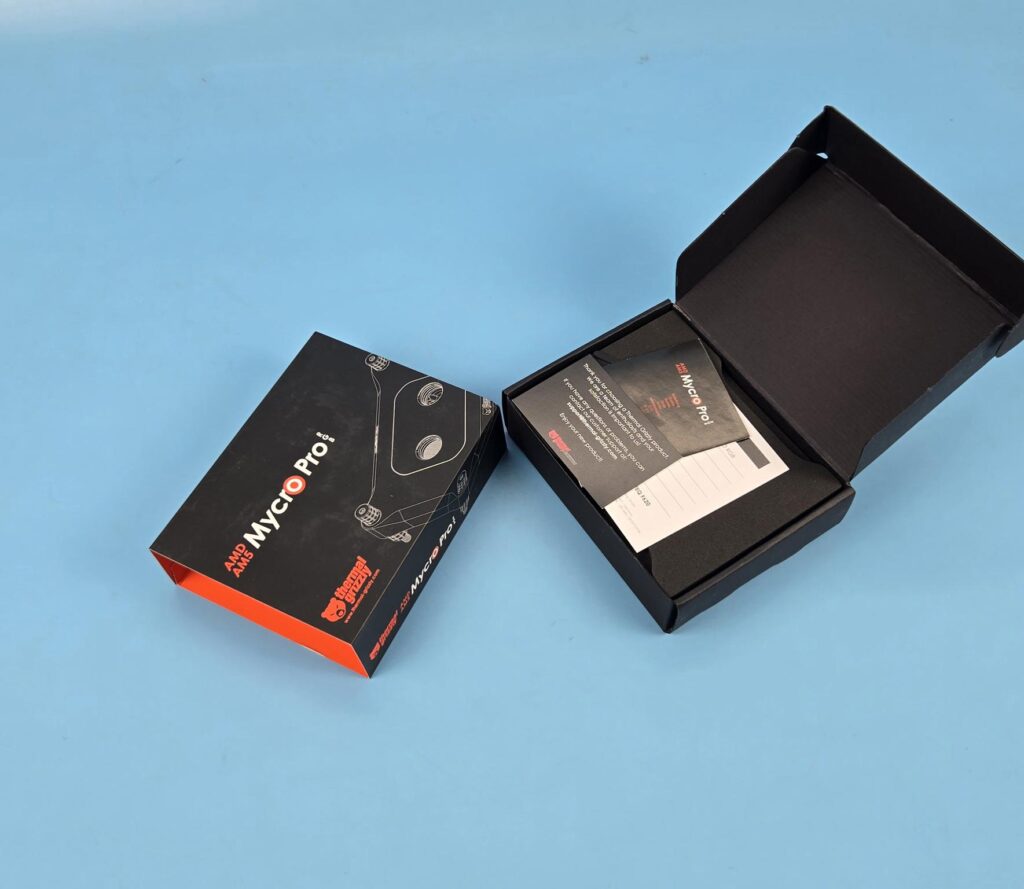
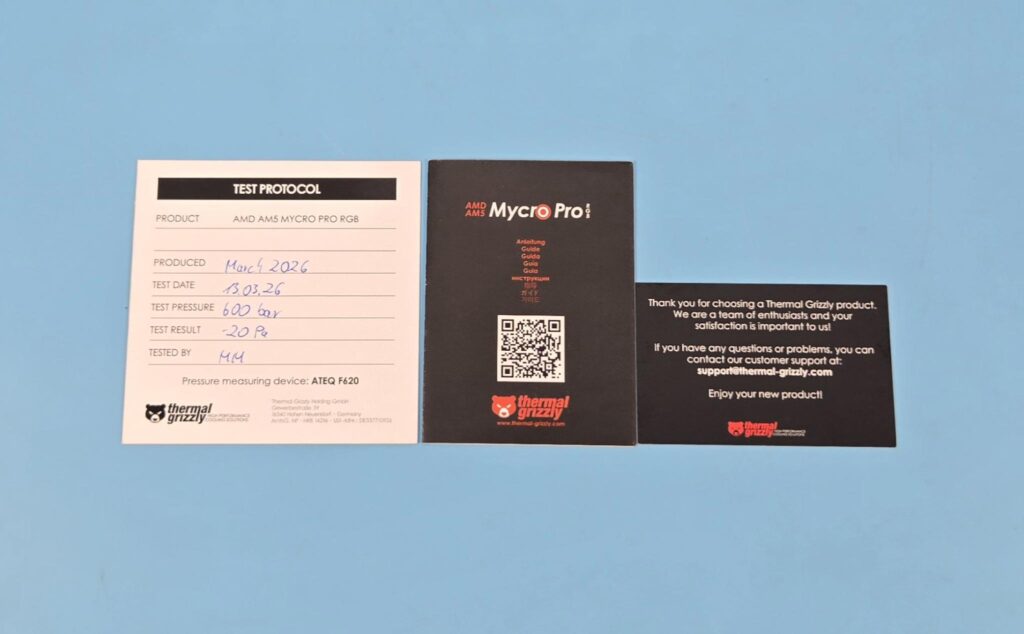
The shipping box is made of cardboard material. The overlapping cover is made of paperboard. Thermal Grizzly has kept it minimalistic and basic, which I appreciate. Opening the box, you will be greeted by documentation and a hand-filled paper showing you the results of the internal test by the Thermal Grizzly team. The result is a pressure test for 600 mbar.
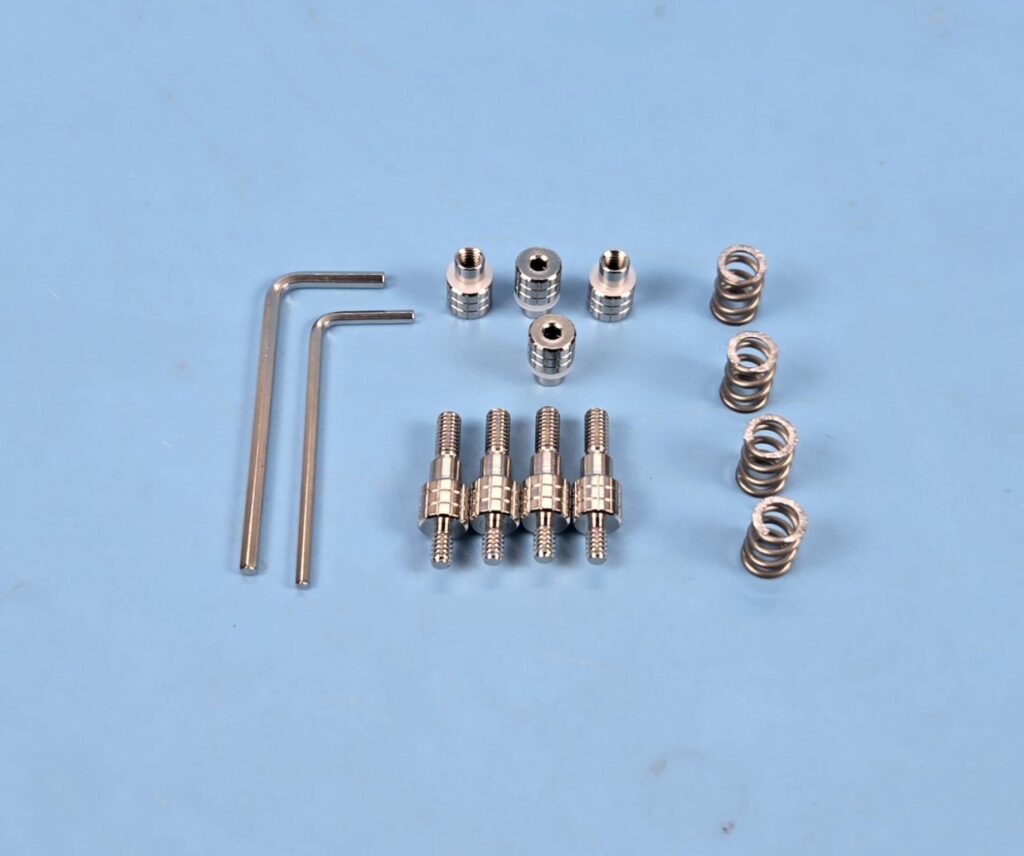
The mounting kit comprises:
- 1x Allen Key 2 mm
- 1x Allen Key 2.5 mm
- 4x Thumb Nuts
- 4x Standoff #6-32 Screws
- 4x Steel Springs
- 4x Polyamide M4 Washers
Closer Look
Let’s start taking a look at the block.
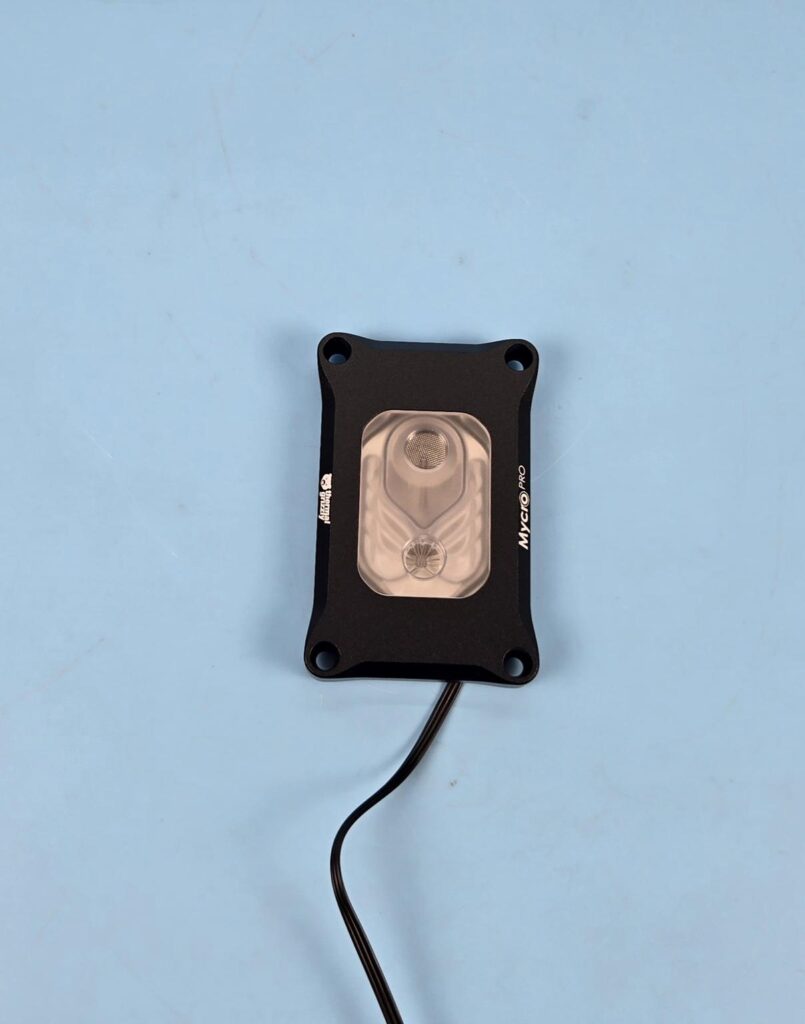
The Mycro Pro AM5 RGB block has a dimension of 102x66x15mm (WxLxH). Comparing it with the Alphacool Apex 1 block, which stands at 100x86x32.30mm, you can see the low-profile design of the Mycro Pro RGB. The overall height after its installation is 29.5mm. Its weight is 201gm compare to over 500 g for the Apex 1 block.
The main housing is made of anodized aluminum material, and it has a black painted finish. It is a matte finish with a smooth surface. The mounting holes are integrated into the main housing, which is what you would also get on the Direct Die versions of Mycro/Mycro Pro blocks.
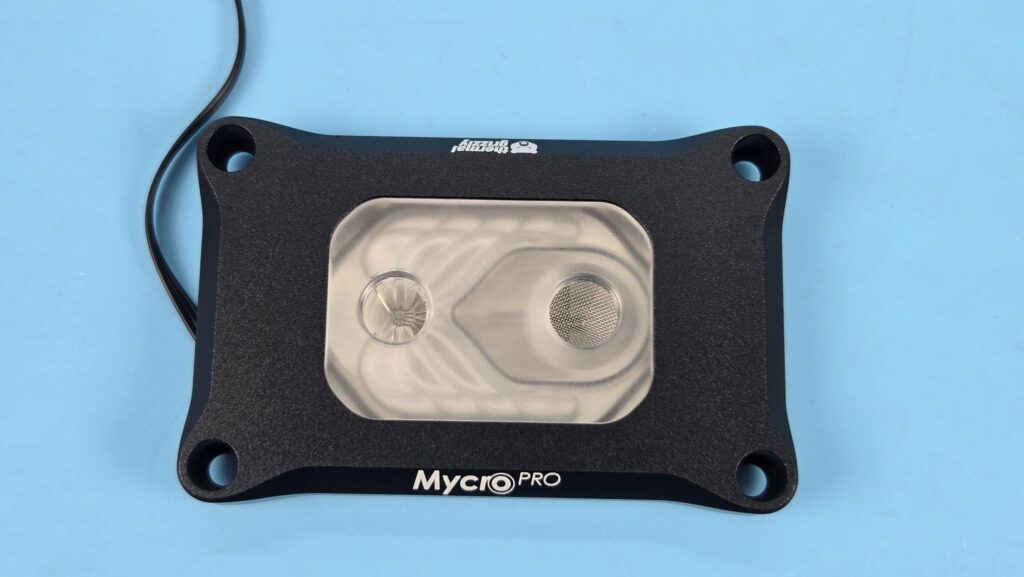
Looking at the top or main view of the block, you can see a large section made of tempered glass acrylic material, which is translucent. Thermal Grizzly has mentioned that the acrylic glass undergoes an annealing process. This is done after the milling process. This annealing process relieves the internal build-up pressure, which is a well-known fact for tempered glass. This reduces the risk of stress cracks over long periods of use. A common complaint about using the regular acrylic-made blocks is their crack-prone nature, which may come from over-tightening the fittings over the ports. Thermal Grizzly has effectively resolved this issue while providing the visible window for the ARGB backlighting.
You can see two standard female G1/4” threaded ports. The one on the left is the dedicated outlet port and the one on the right is a dedicated inlet port. When facing front, the outlet port will be on the top, whereas the inlet port will be at the base or lower side. These ports have a 6 mm maximum depth.
You can also see a fine mesh filter under the inlet port. Thermal Grizzly has placed it there to prevent the particles from flowing into the cold plate of the engine. These particles could come from the radiator or pump/reservoir and can clog the cold plate fins, disturbing the thermal performance of the cooler by obstructing the flow of coolant.
You can see Thermal Grizzly branding on one side of the block and the Mycro Pro branding on the opposite end. When installing this block, make sure that the Thermal Grizzly side faces the DIMM slots.
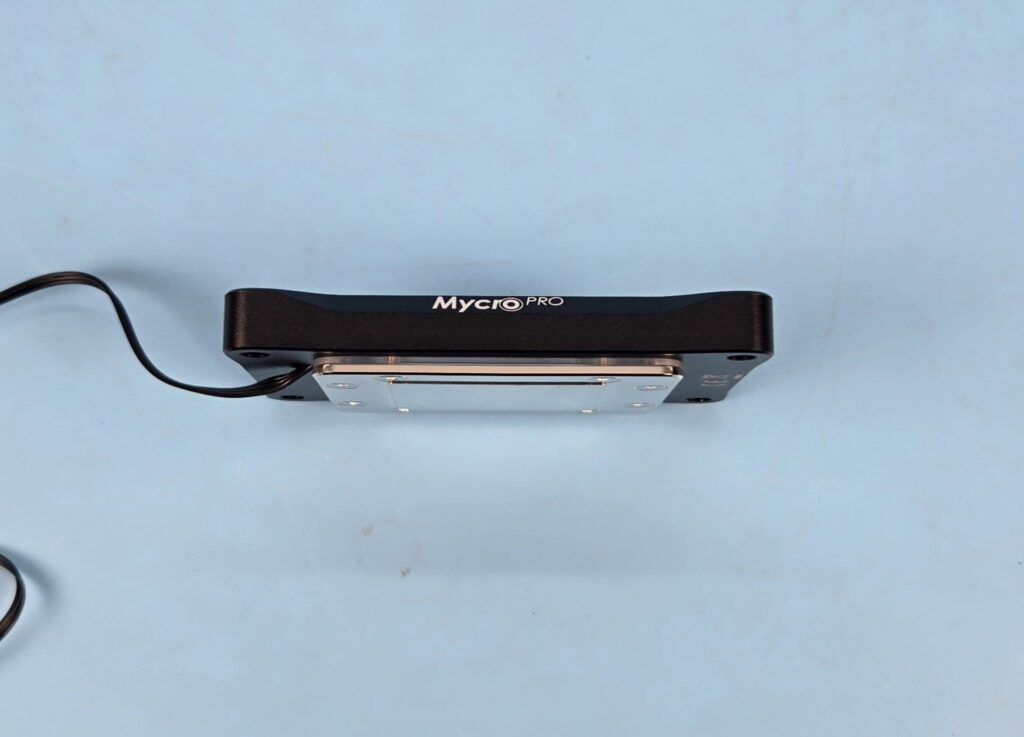
The side view of the block presents a slim profile, which is a hallmark of this design. We don’t have a bulky product. You can see that the housing encapsulates the inner chamber, jet plate, and top of the cold plate. The base or exposed portion of the cold plate is secured to the main housing using 8x screws.
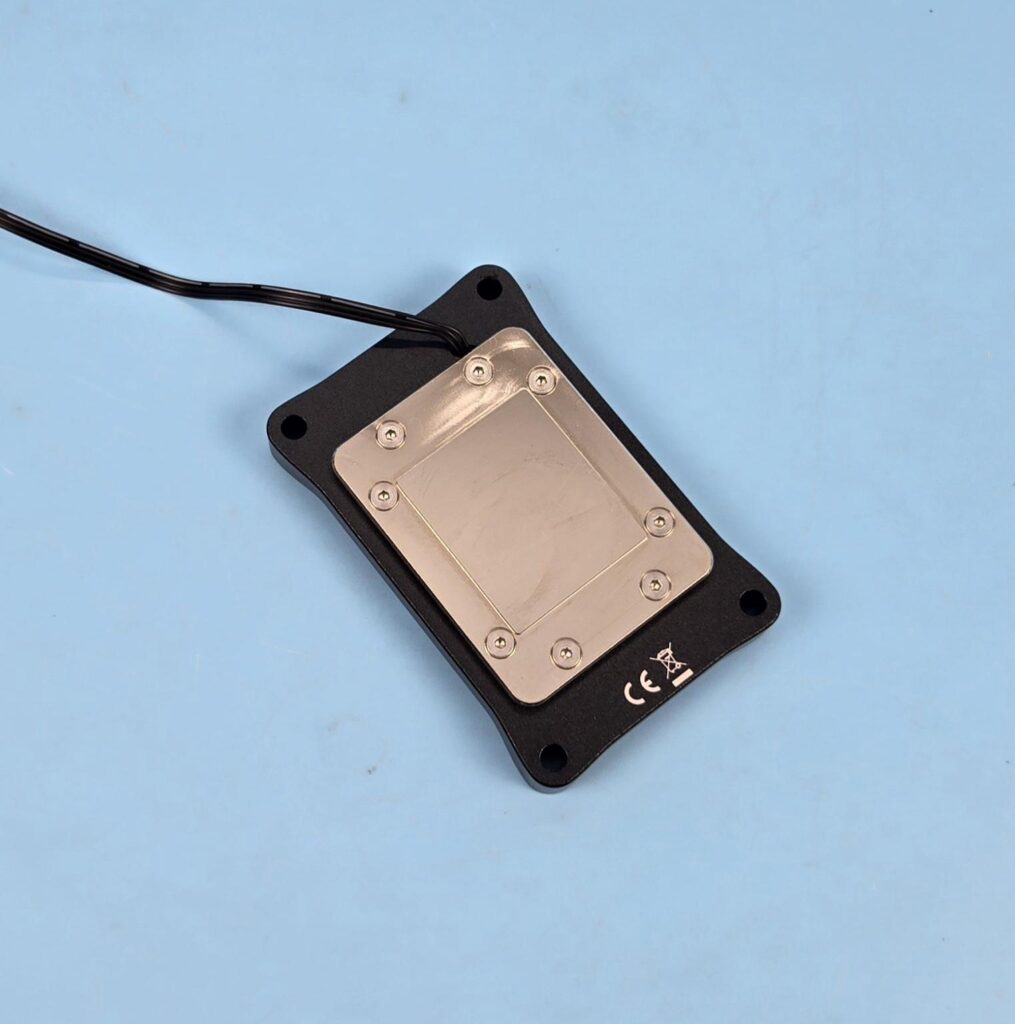
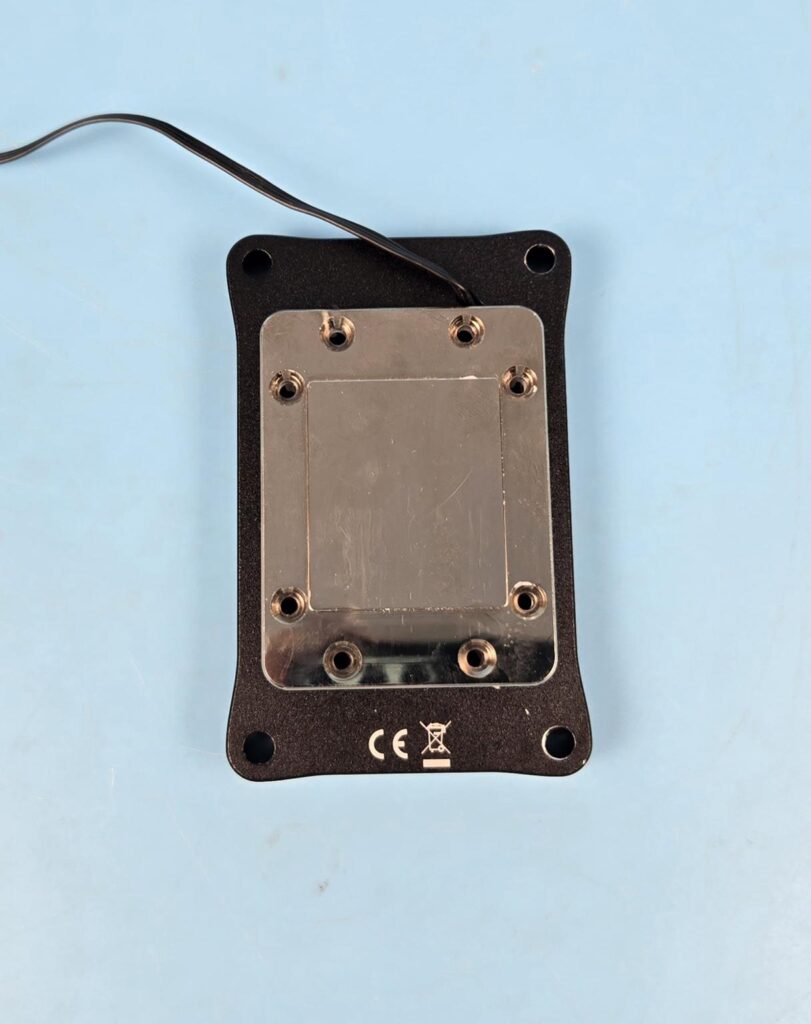
I am showing the base of the block. You can see that the actual nickel-plated copper base has an offset layout compared to the total area of the block. This base and its internal layout favor the AM5 CPUs by covering the hot spot areas under the die. The base does not come with any protective cover over it.
You can also see a flat cable coming out from the top side of the base. This is an ARGB cable that has a standard connector.
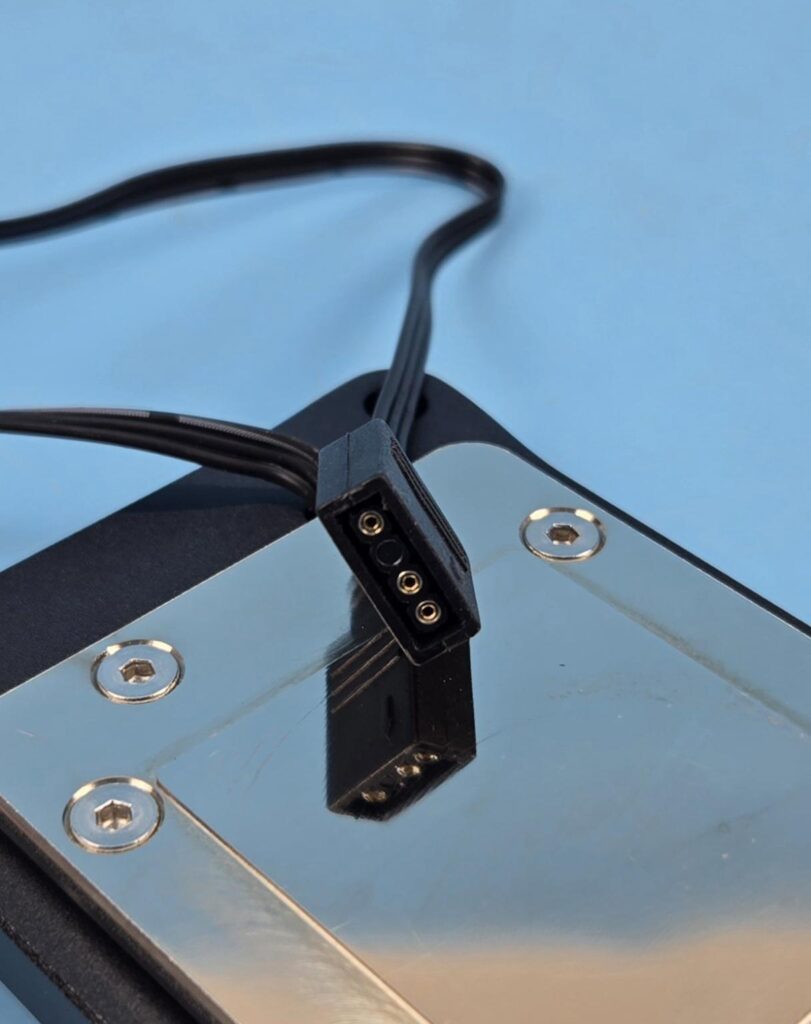
Thermal Grizzly has provided a standard 3-pin ARGB connector to power/regulate the LED backlighting on this block. You can see that the base has a chrome mirror finish.
Inside View
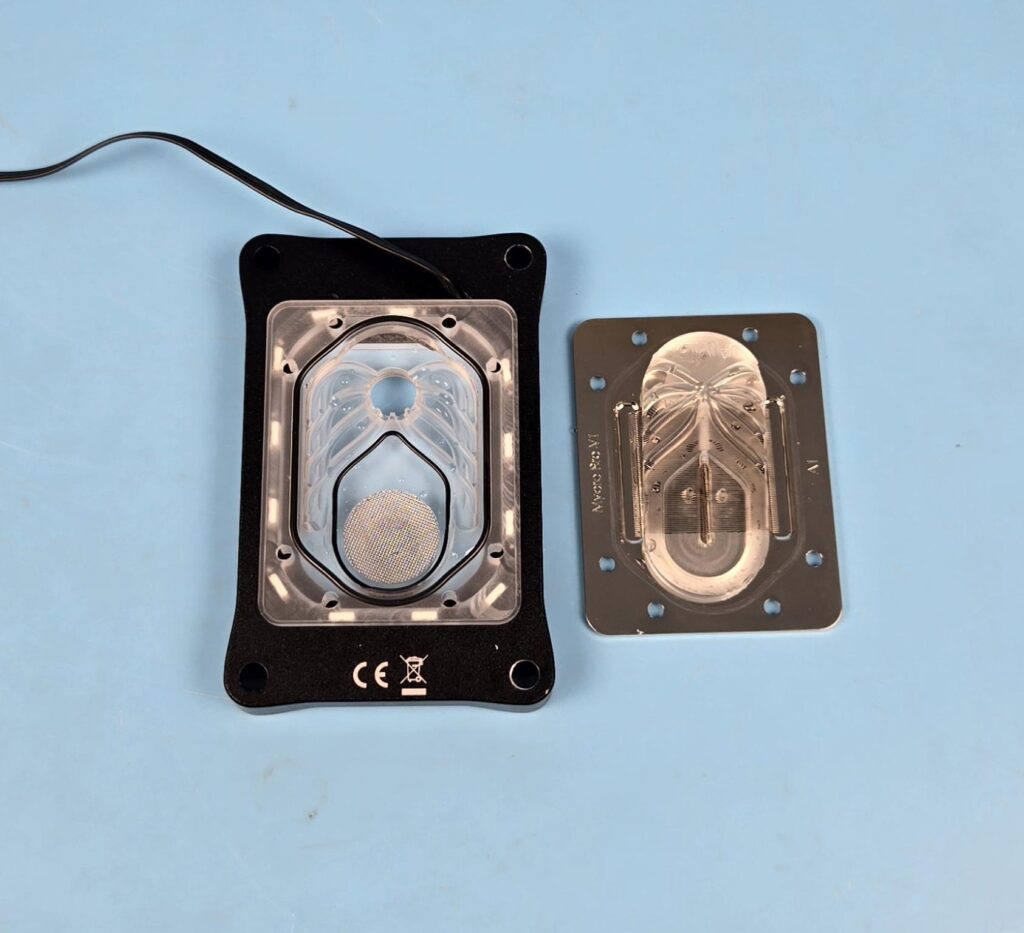
I open the water blocks after doing the thermal testing to ensure that the block is tested on factory settings. You need to undo the 8x screws on the nickel-plated copper plate. After that, simply pull the base, and it will come off along with the Jet Plate.
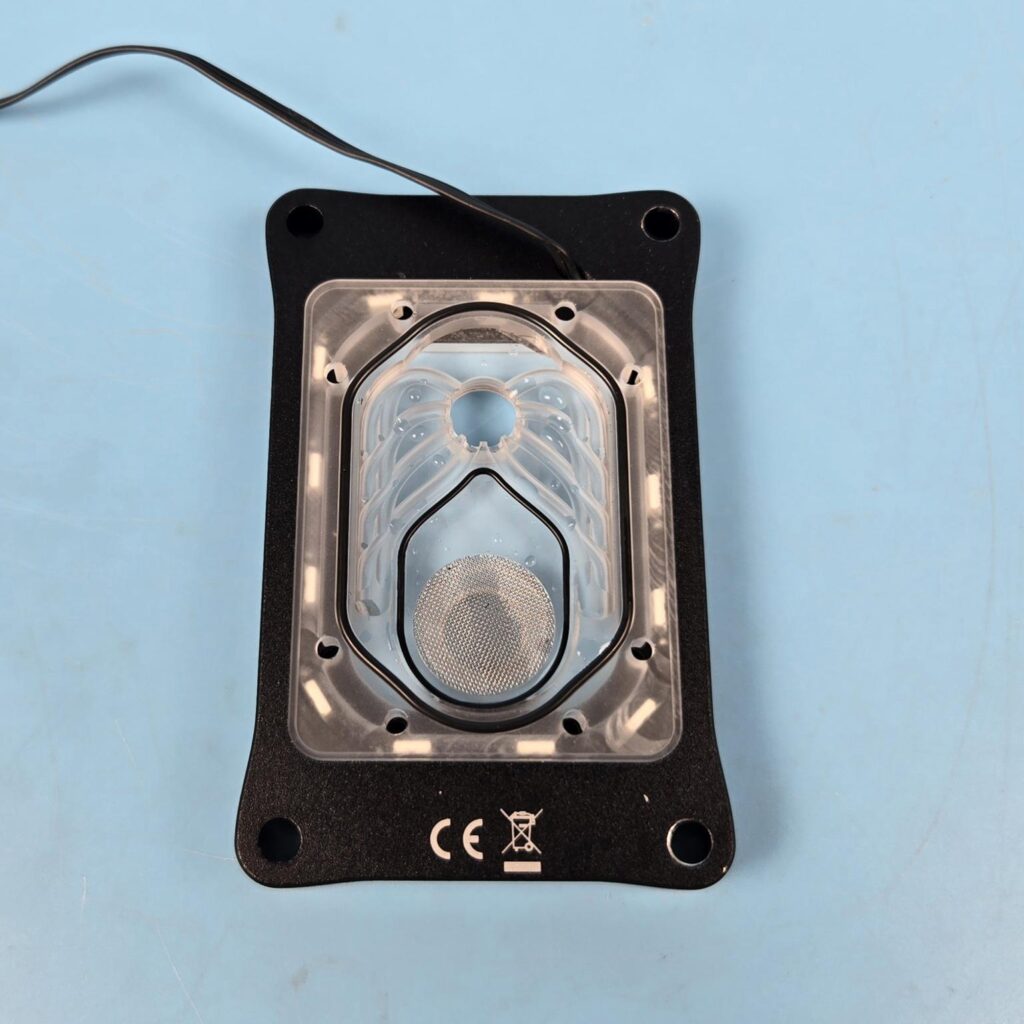
You can see an inner chamber or structure that is made of tempered glass acrylic material. You can also see two different thicknesses of O-rings. These are made of highly elastic EPDM (ethylene propylene diene rubber), which is resistant to ozone and UV radiation. The main O-Ring sits between the inner chamber and the nickel plate base, whereas the small O-Ring sits between the Inlet port and the jet plate so that hot and cold coolants don’t mix up.
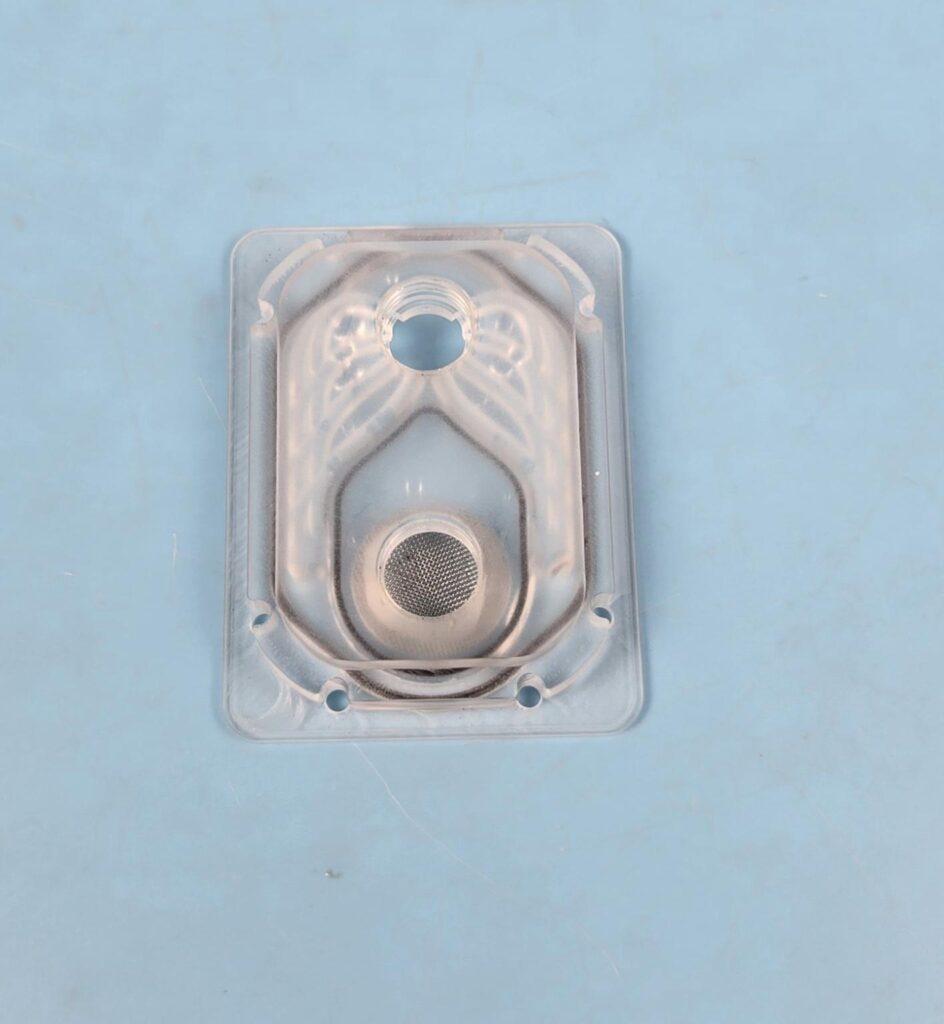
I am showing the backside of the inner chamber. This is the side that faces the cold plate.
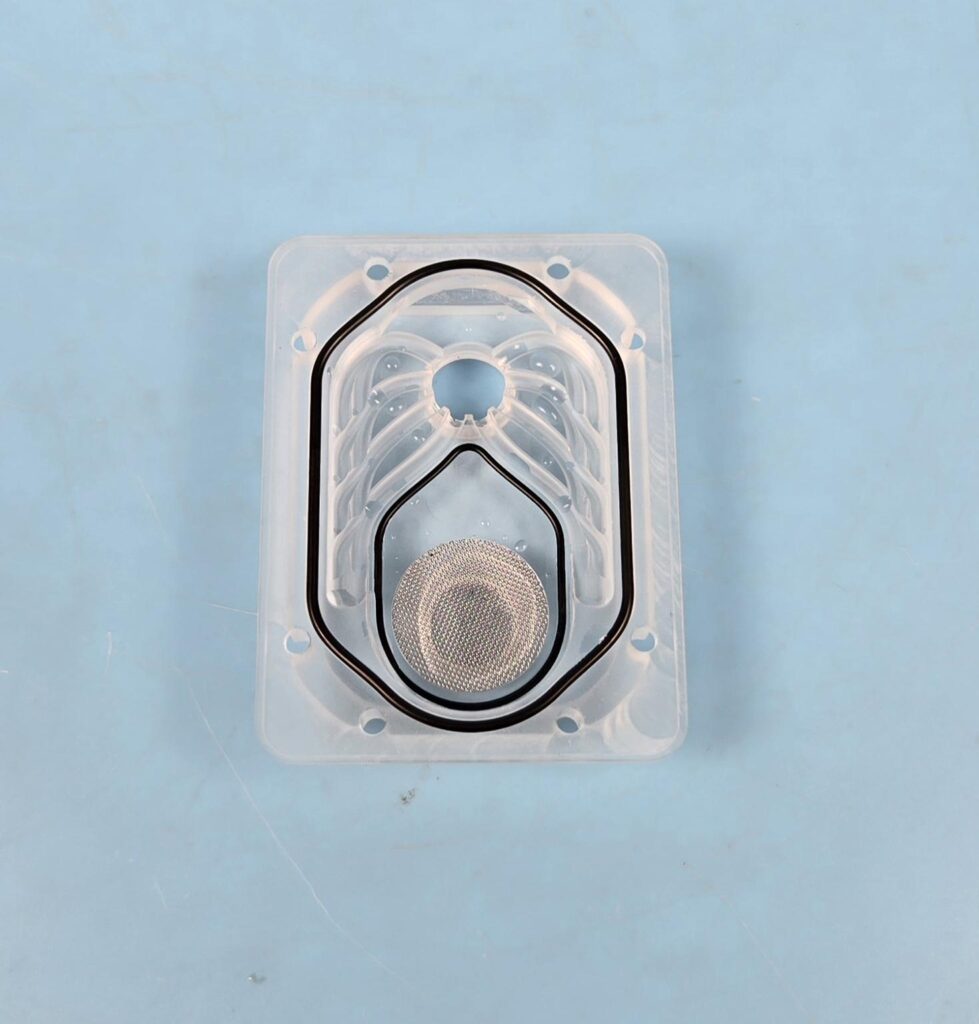
This side of the inner chamber faces the top of the block. I mentioned earlier that the inner O-Ring barriers between the cold and hot coolant.
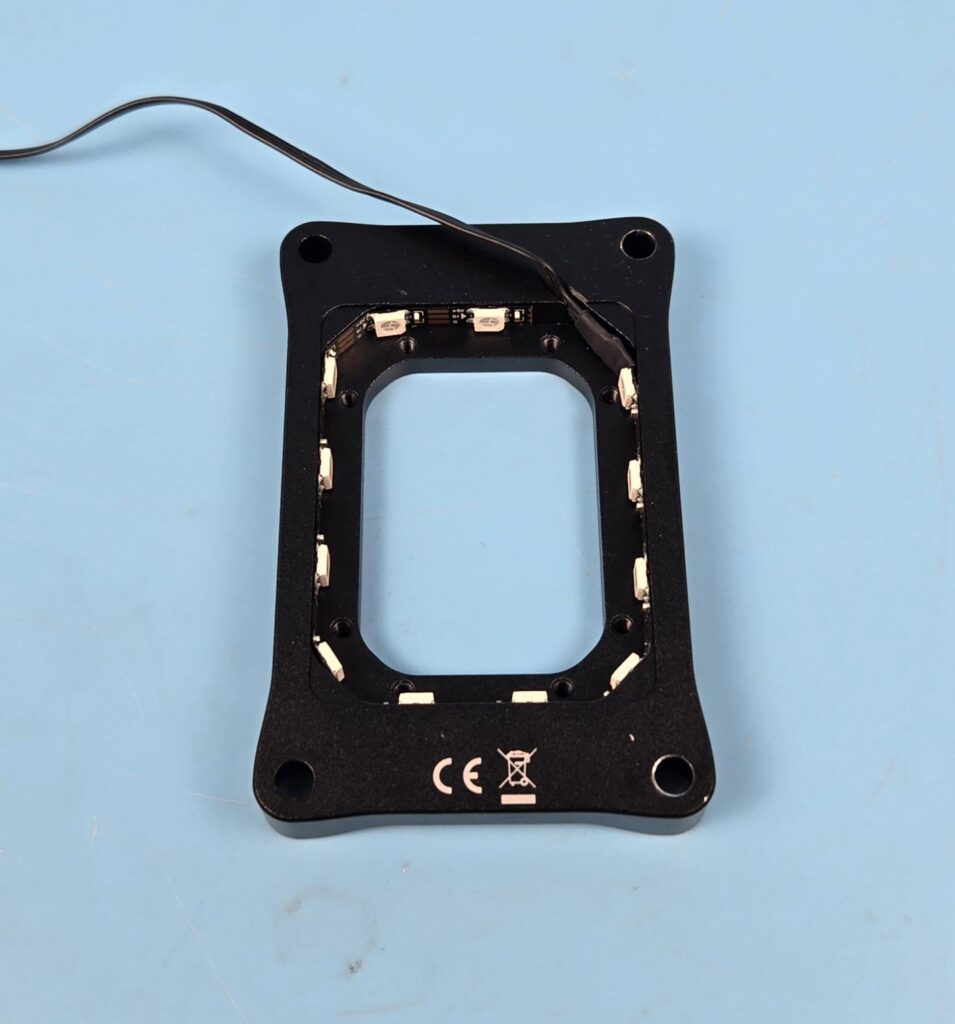
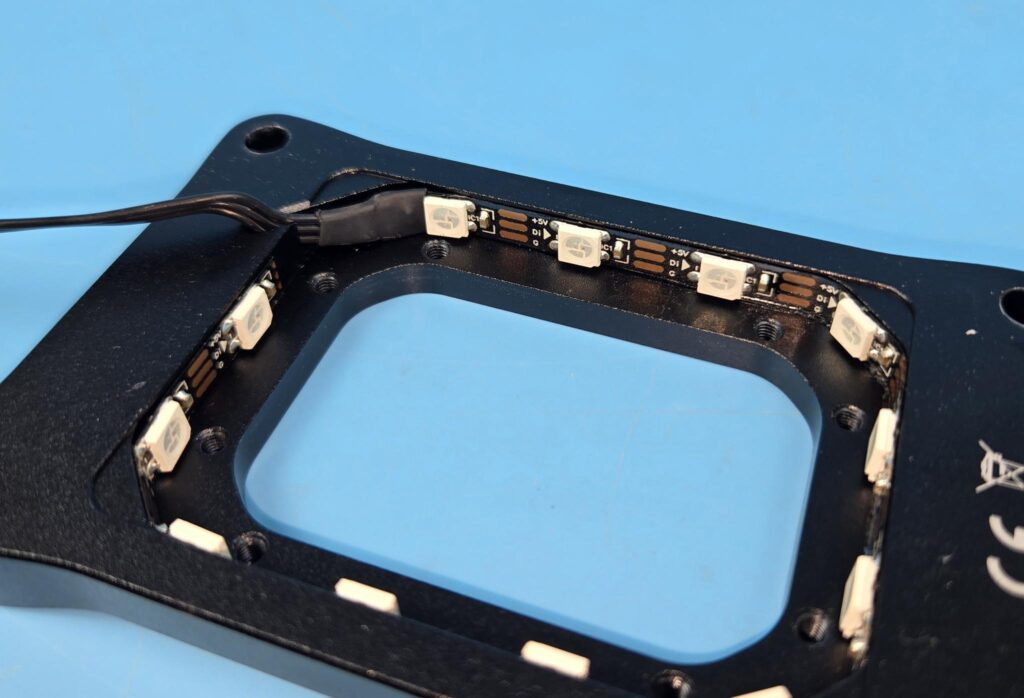
Removing the inner chamber will showcase the complete housing that is made of anodized aluminum. You can see an ARGB LED strip comprising 12 ARGB LEDs installed on the inner frame. The screw holes are on the main frame. The long screws pass through the base to the inner chamber at these holes for a secure fit of the complete unit.
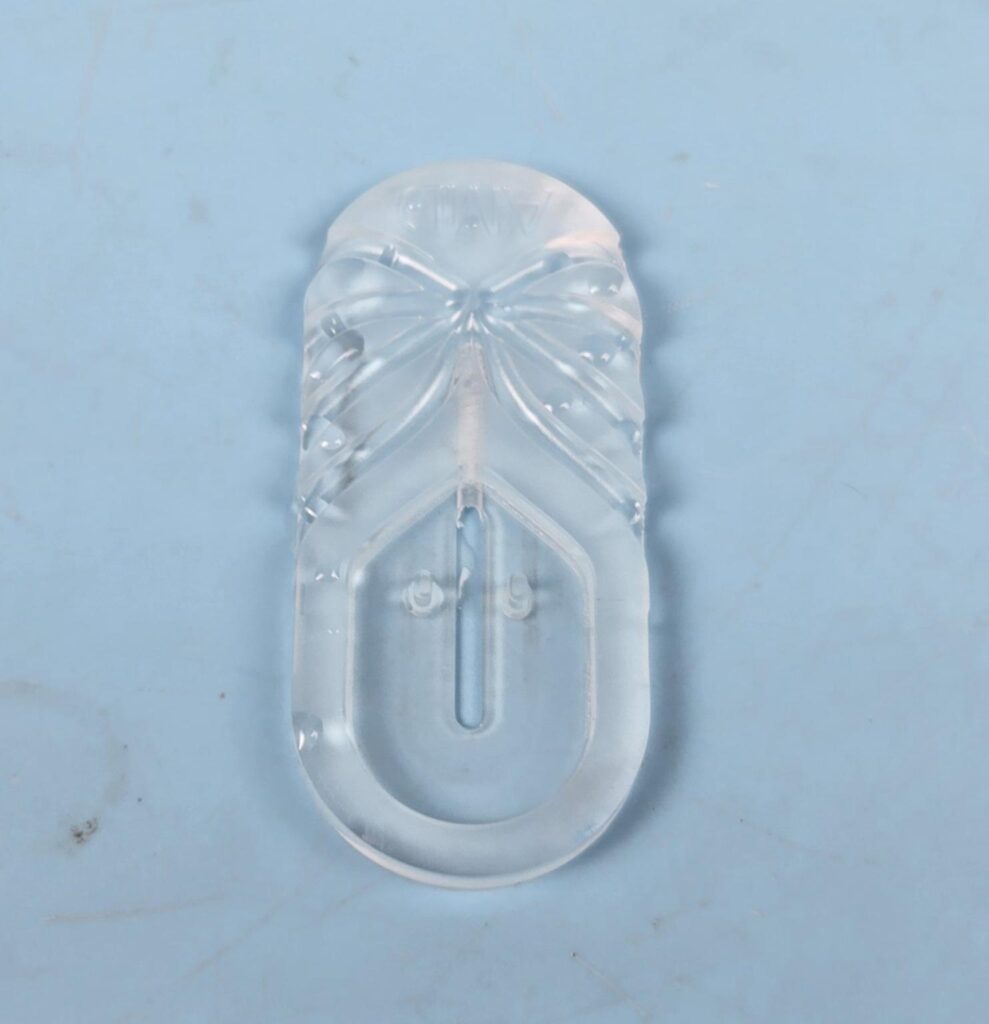
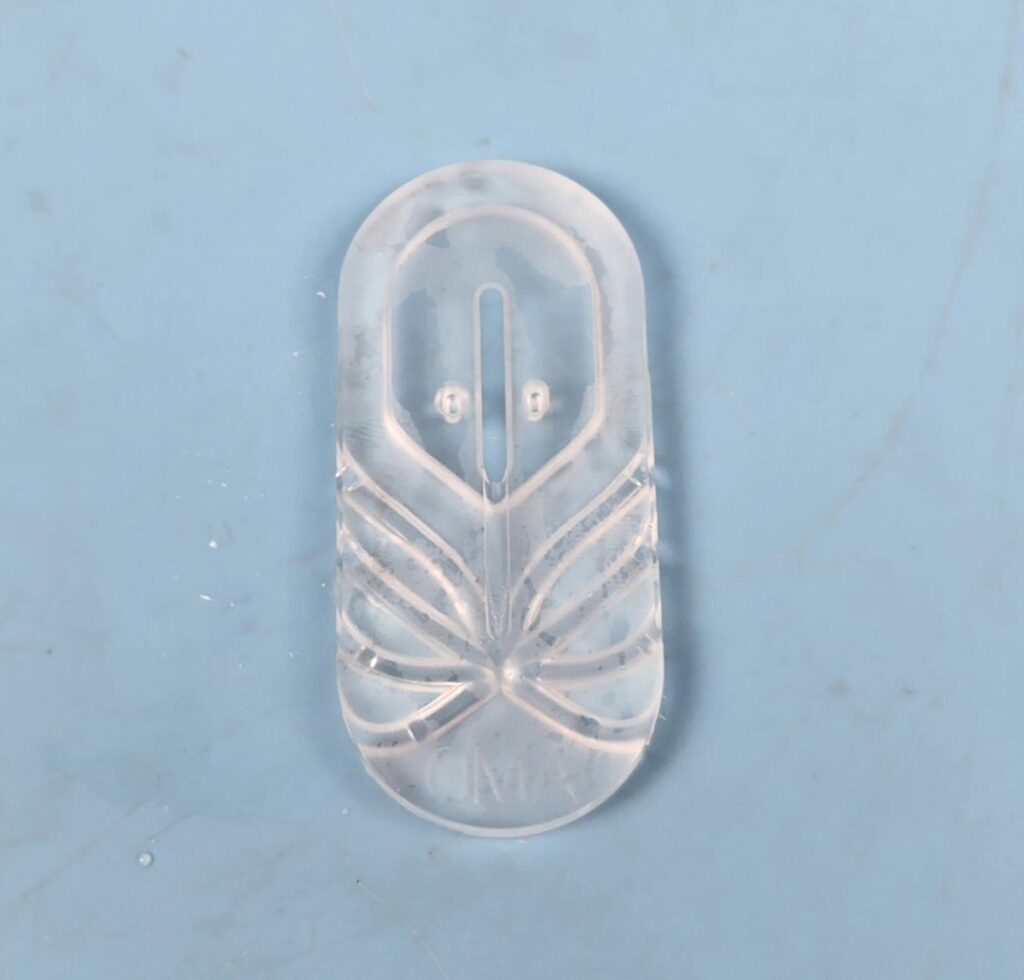
I am showing the Jet Plate from both sides. This jet plate resembles the design of the inner chamber. The cutout or slit on this jet plate sits right on top of the slit between the micro-fins on the cold plate. This is where the cold or normal coolant enters the block and is evenly spread over the fin area. Notice the cutouts on the upper portion of the jet plate providing a flow for the coolant as well.
The overall design creates high water pressure using a same width slit on the bottom of the jet plate that sprays water over the cold plate. Intake is high on the inlet of the jet plate, and pressured outlet is provided towards the cold plate.
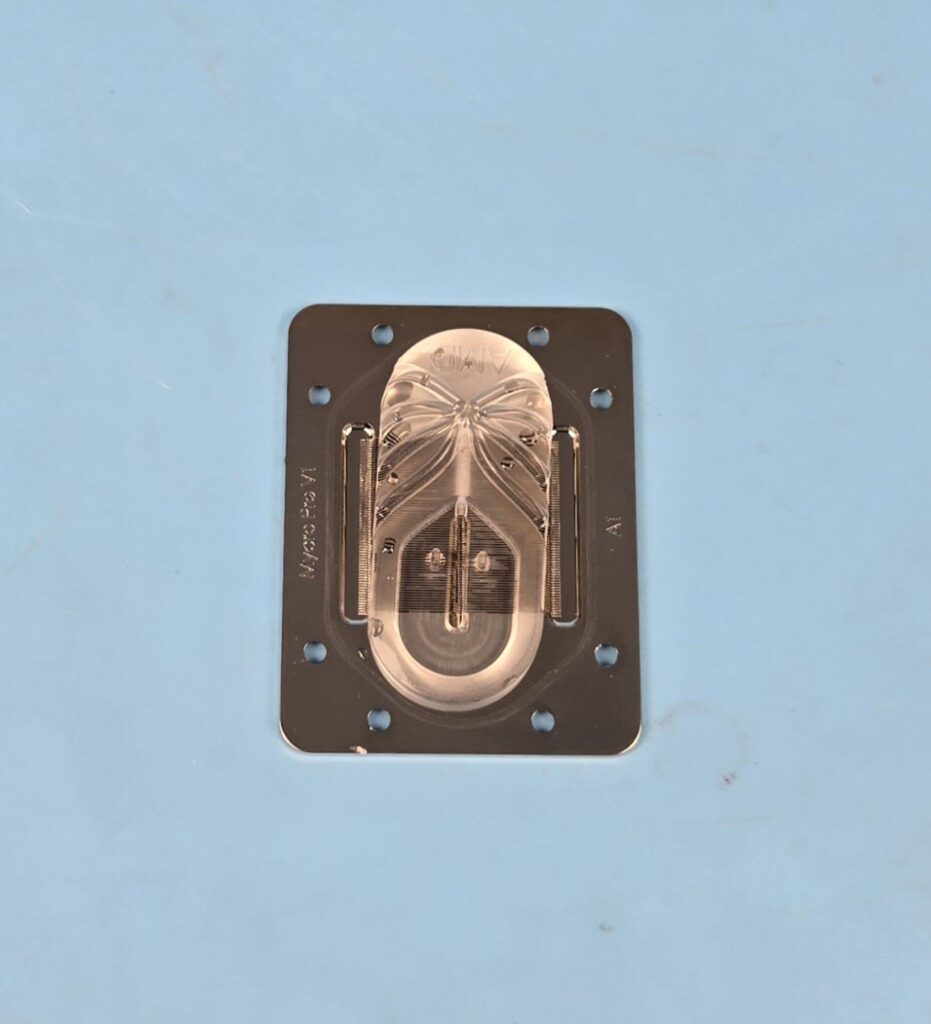
The above picture shows a nickel-plated copper cold plate with the jet plate placed over it. This comes right after opening the block. You can see water drops all around because the block was opened after the testing.
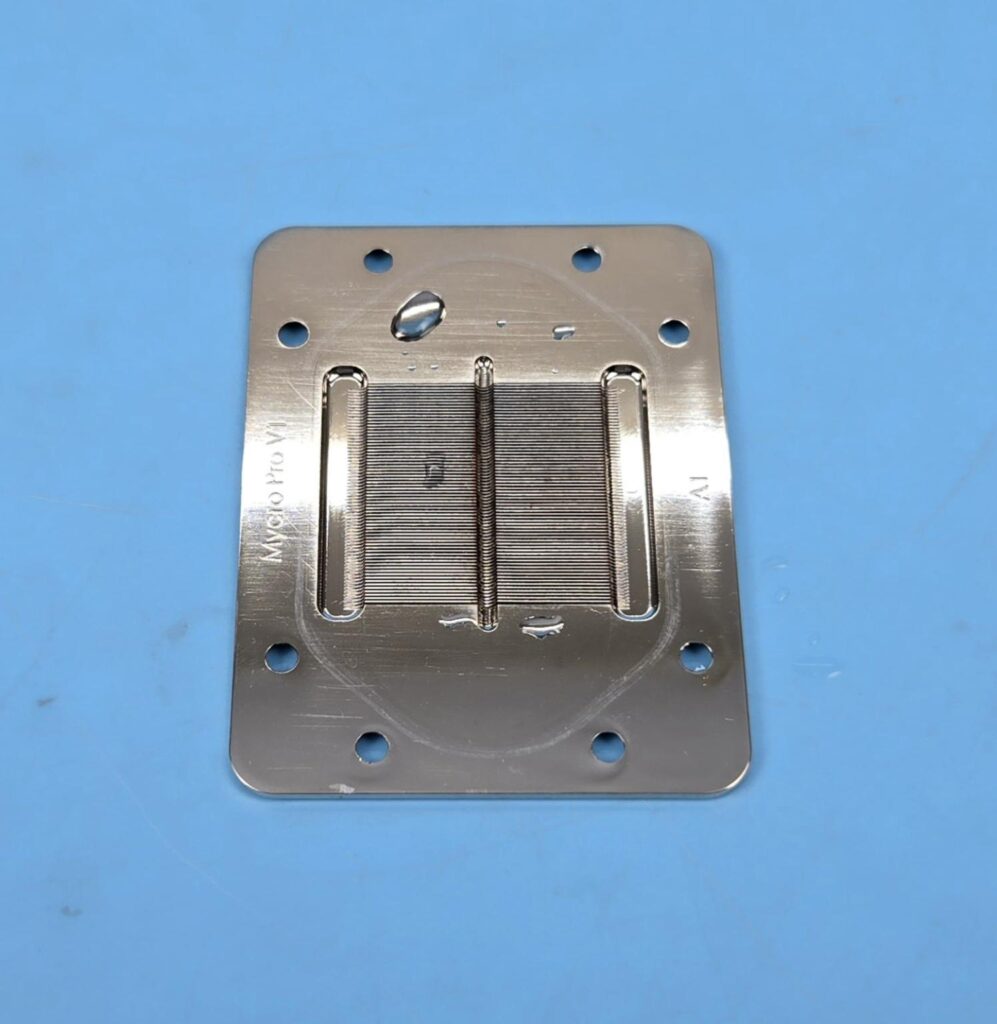
You can see a cold plate integrated into the base. The overall thickness seems to be 4mm or less. This block packs 68 fins in two columns with a slit in between these columns. The sides of the fin stack have insets. The fins are extended towards the edges. Each fin has a thickness of 0.2mm and gap between the fins is also 02.mm. The overall design of the block favors high coolant flow while reducing the resistance to flow, which will come in handy for effective thermal dissipation.
The hot water/coolant comes out from the sides of the cold plate in this block and is moved out from the top hole.
Installation
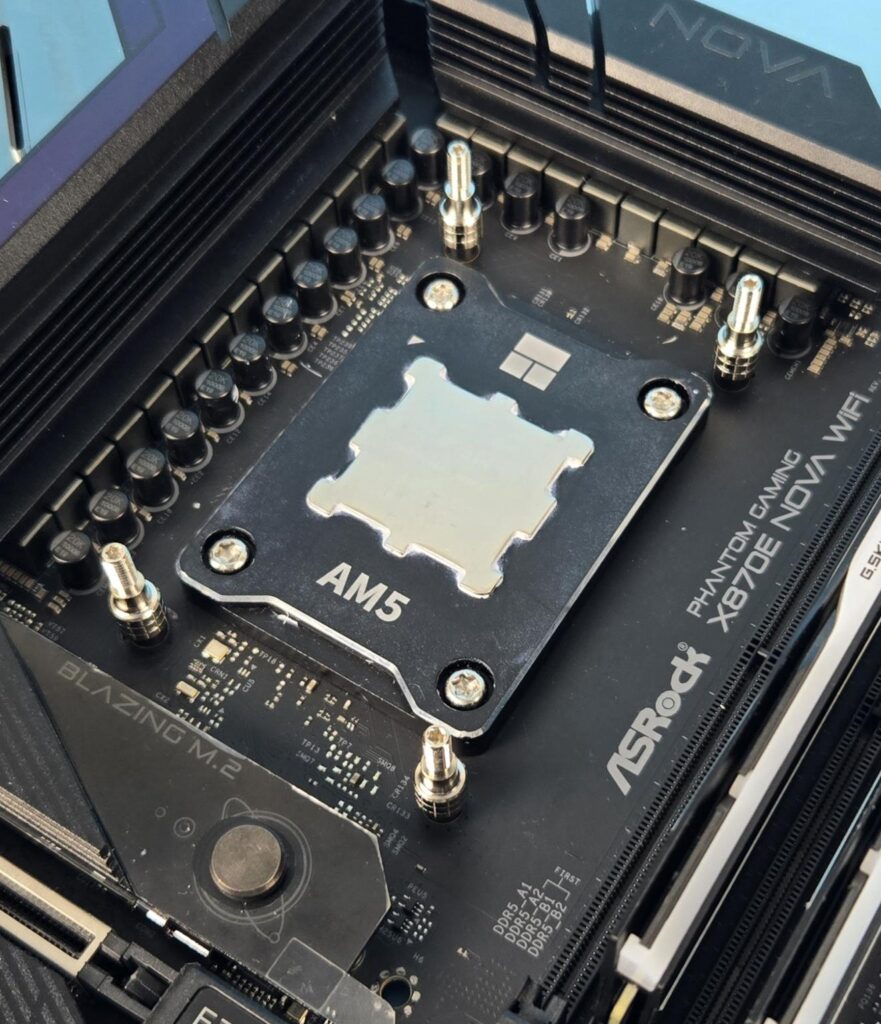
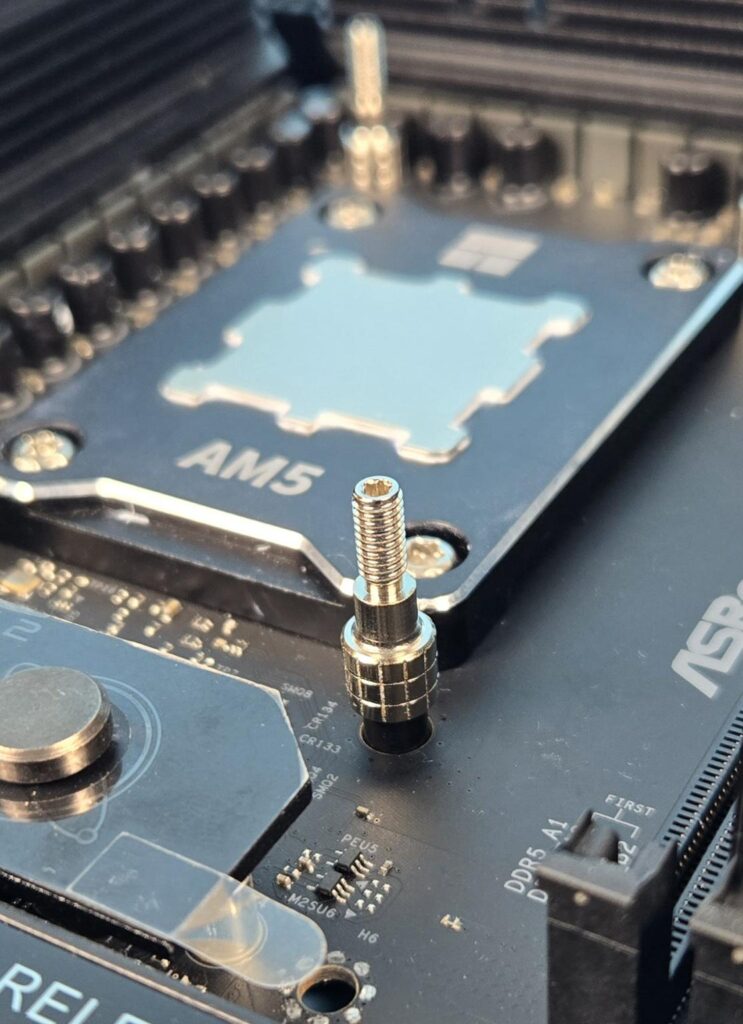
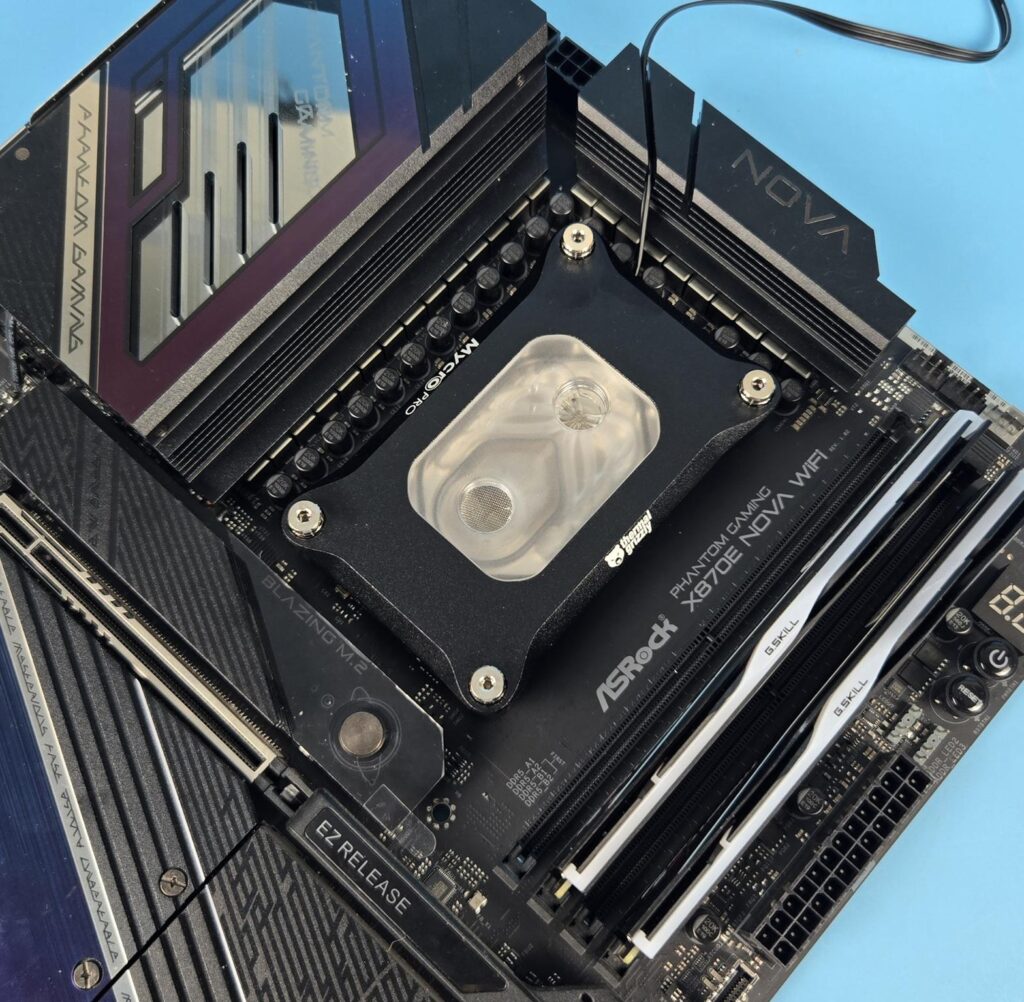
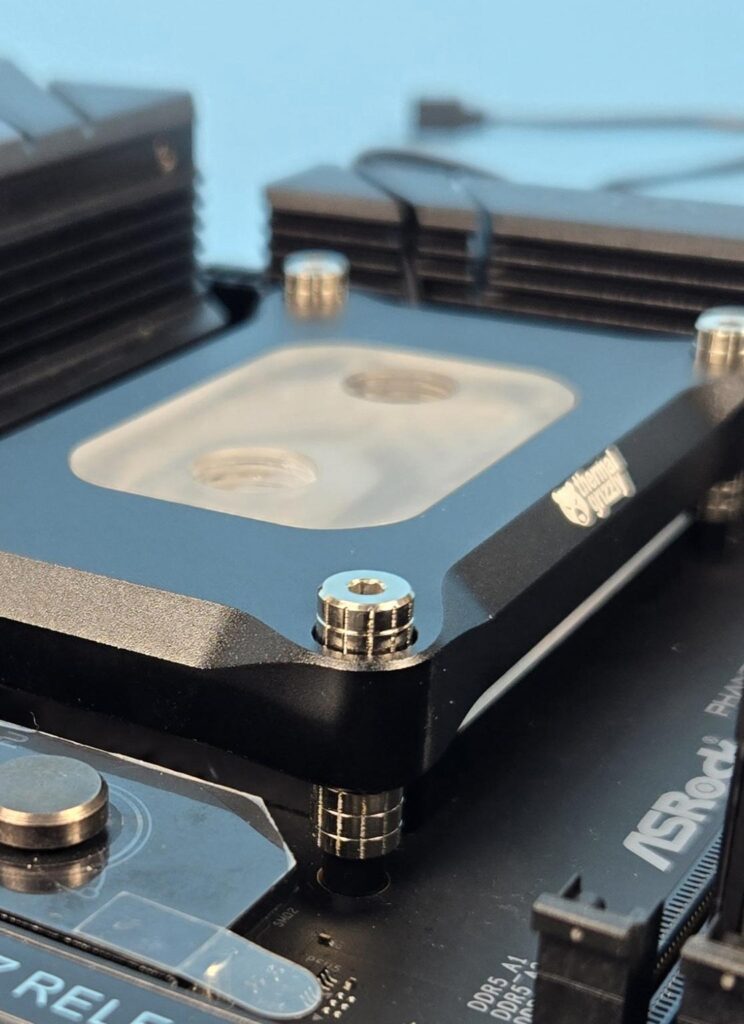
The overall installation of the block is simplified and convenient. You need to install the 4x Standoff #6-32 screws or bolts. Then place the block over the socket by passing the threaded portion of the screws through holes in the housing. Then place the 4x steel springs on the threaded portion of the screws and use 4x thumb nuts to secure the block using the 2.5mm Allen key. Don’t forget to place the 4x Polyamide M4 washers between the springs and nuts.
Test Loop Setup
The following components are used to set up a custom loop for thermal performance measurement:
- ALPHACOOL NexXxos HPE-45 Full Copper 360 Radiator
- ALPHACOOL CORE 100 AURORA RESERVOIR ACETAL/ACRYL WITH APEX VPP PUMP
- ALPHACOOL tubing AlphaTube HF 16/10 (3/8″ID) – clear 3m (9,8ft) Retailbox
- ALPHACOOL Eiszapfen 16/10mm compression fitting 90° rotatable G1/4 – 4pcs Set Chrome
- ALPHACOOL Eiszapfen 16/10mm compression fitting G1/4 – chrome six pack
- ALPHACOOL 16/10 compression fitting 45° revolvable G1/4 – chrome
- Noctua NT-H2 Thermal Paste
- Noctua NF-A12x25 G2 PWM 120mm Fans
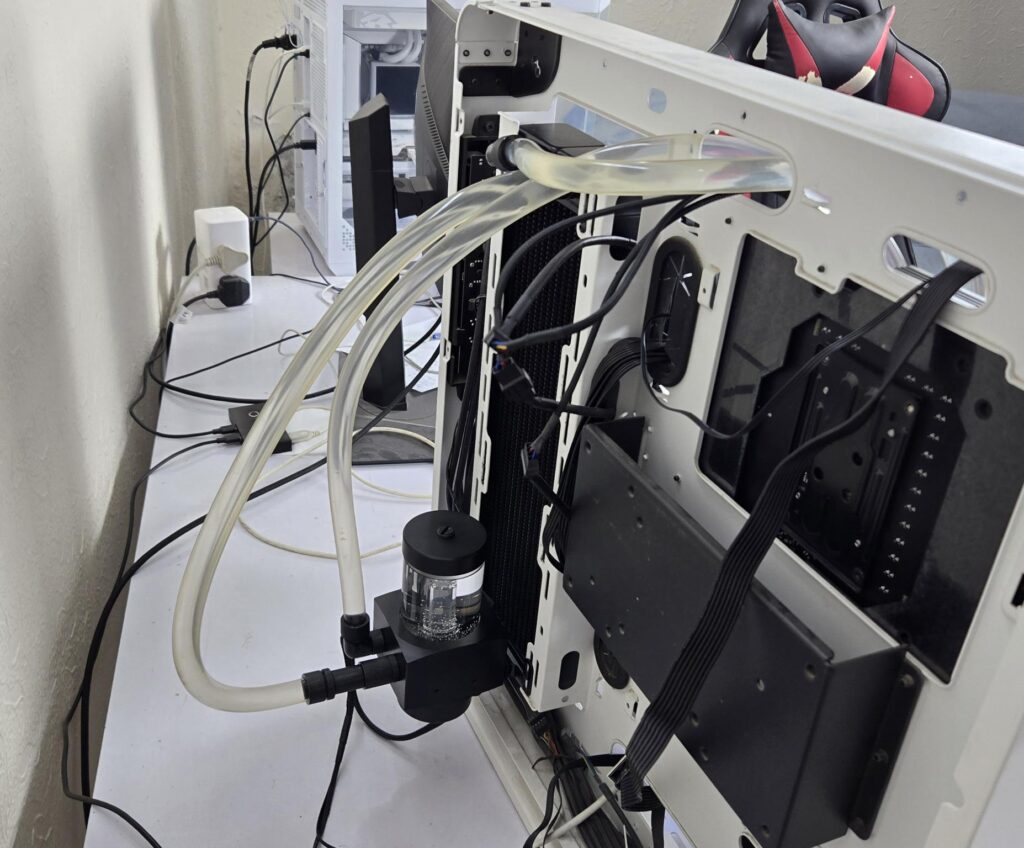
The following CPU water blocks are included in the testing:
- Alphacool Apex 1 AM5 Water Block
- EK-Quantum Velocity³ Plexi CPU Water Block
- ALPHACOOL Core 1 AURORA Silver
- Corsair iCUE Link XC7 RGB Elite
- Raijintek Forkis Scylla Elite
ARGB Lighting
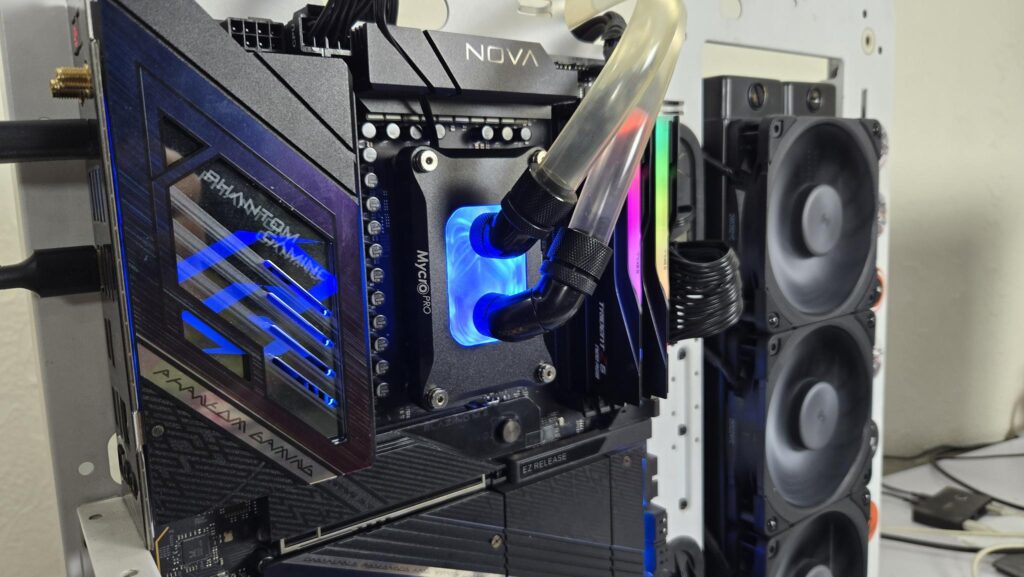
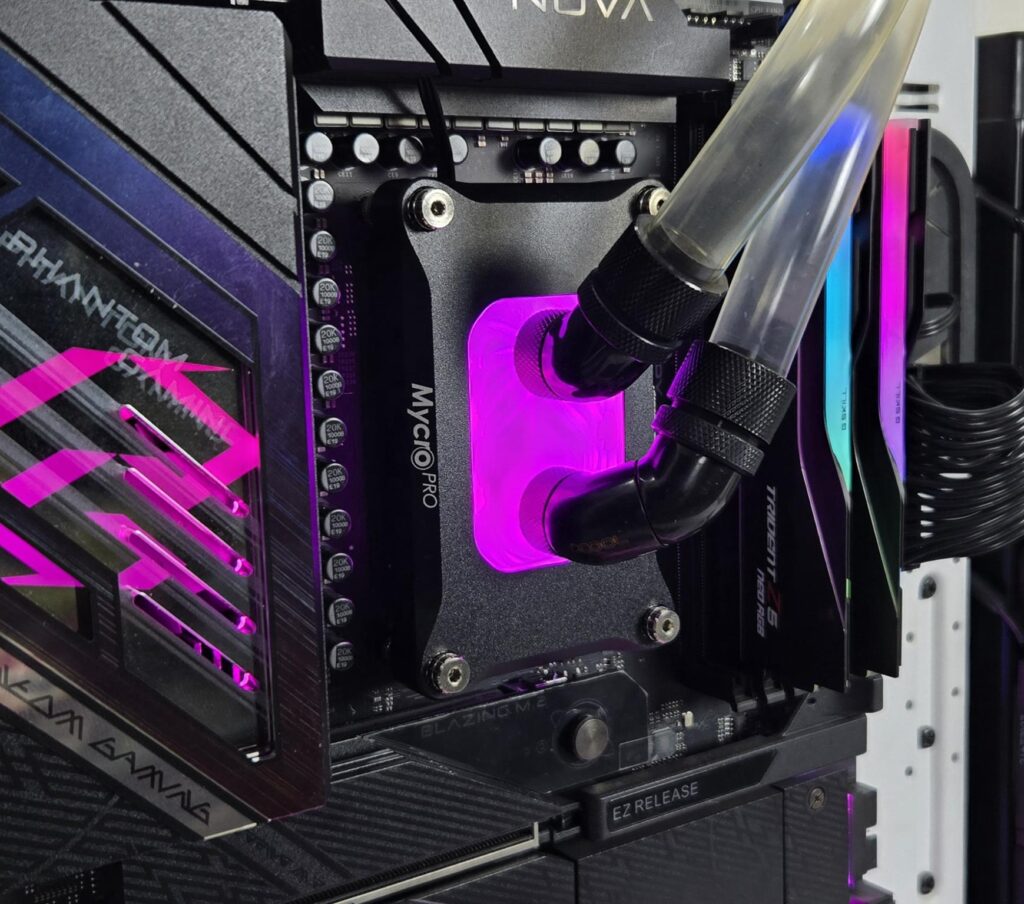
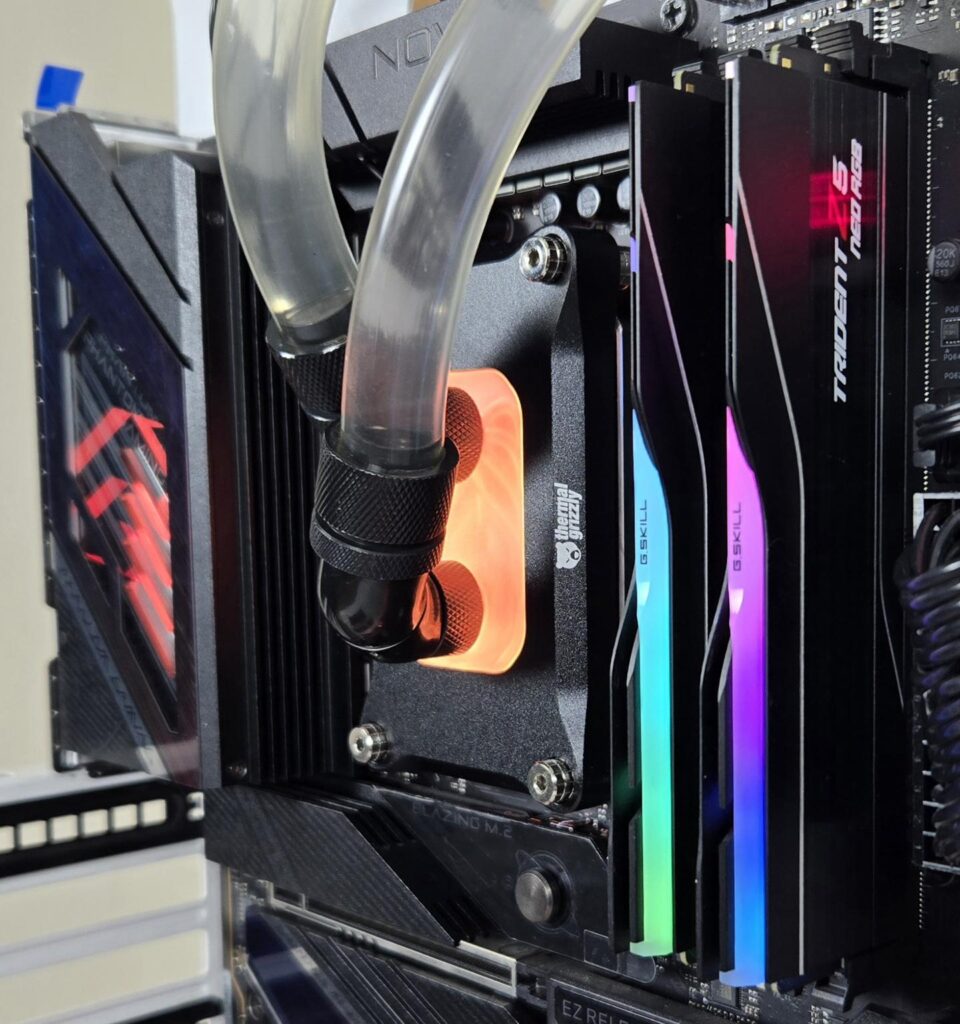
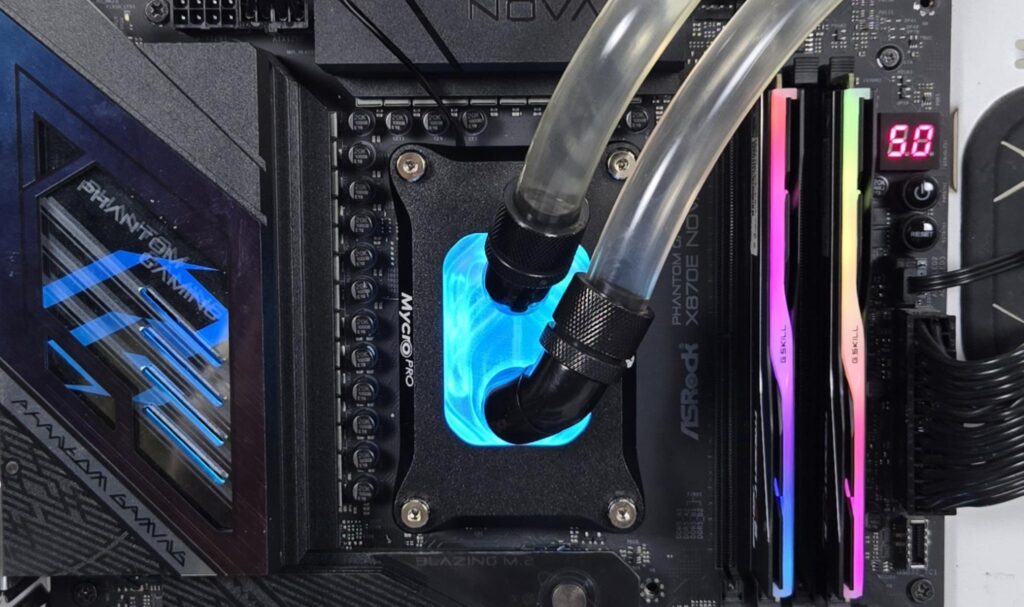
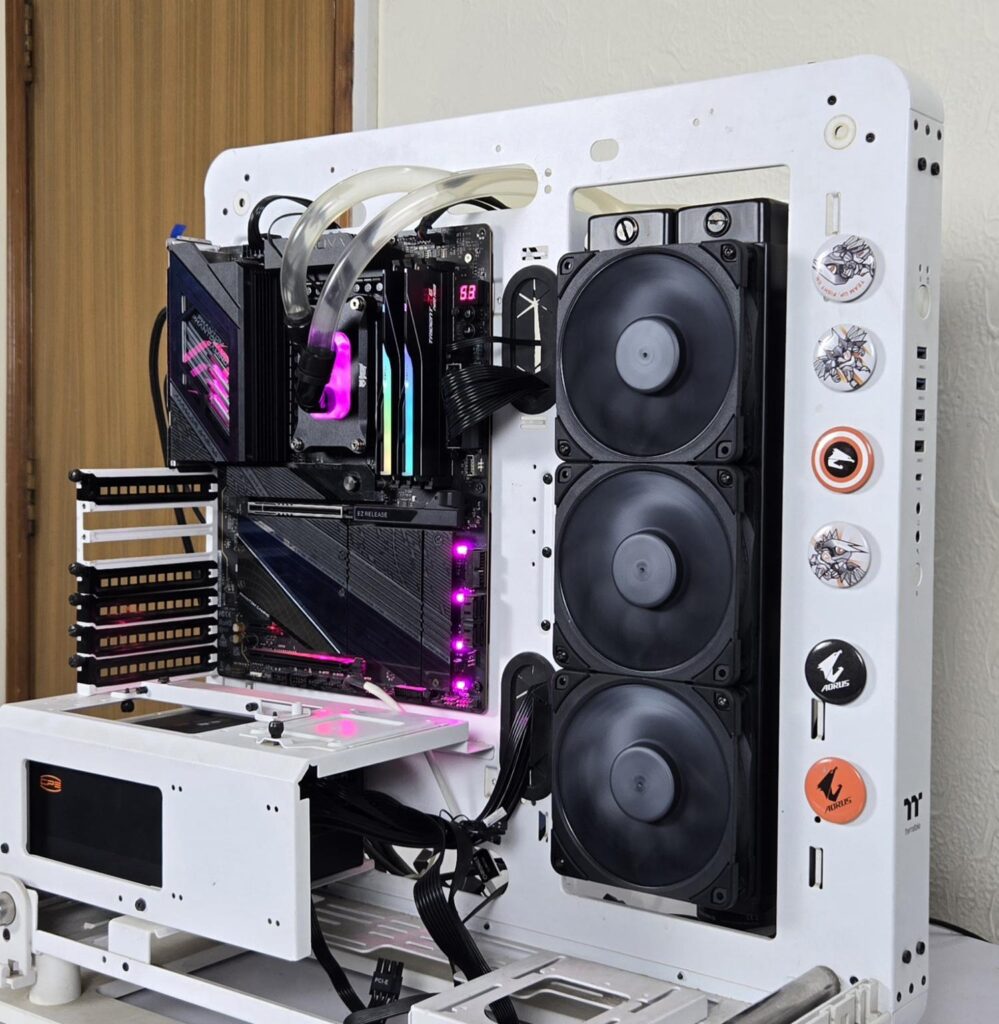
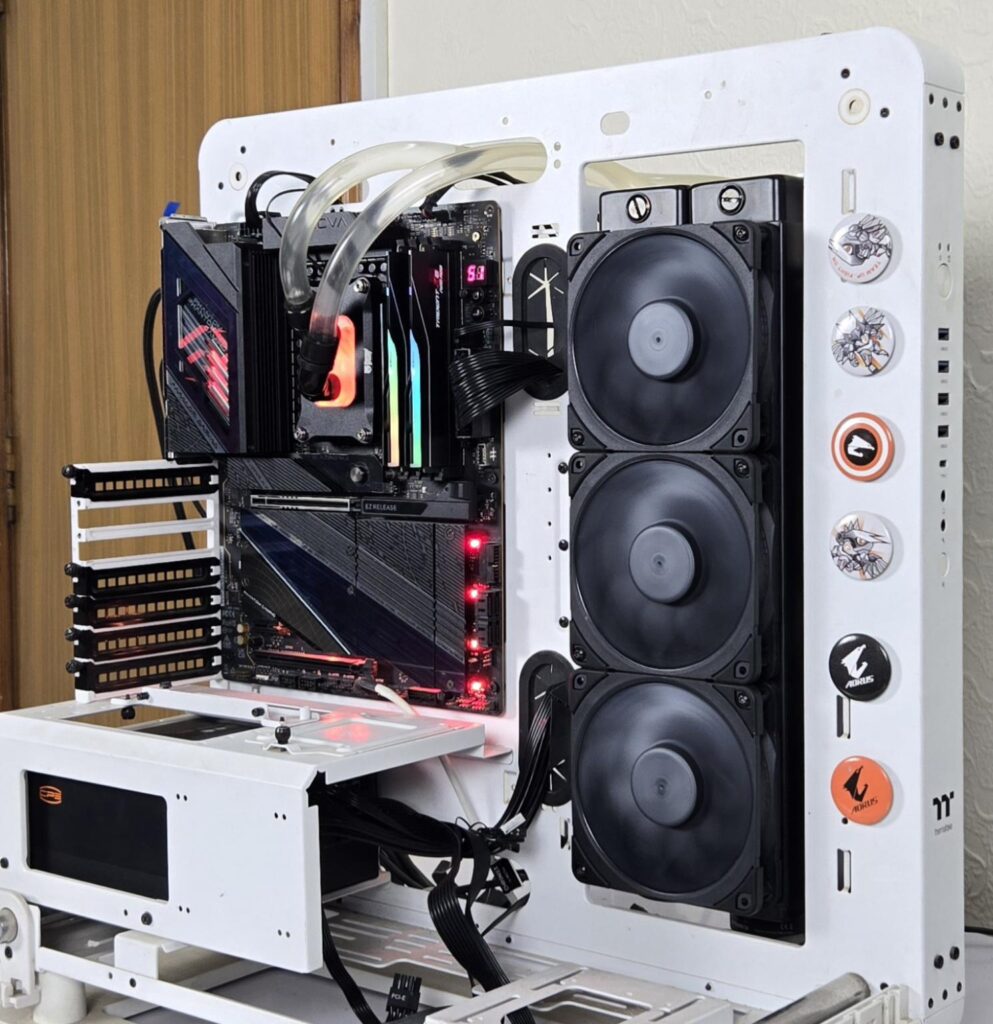
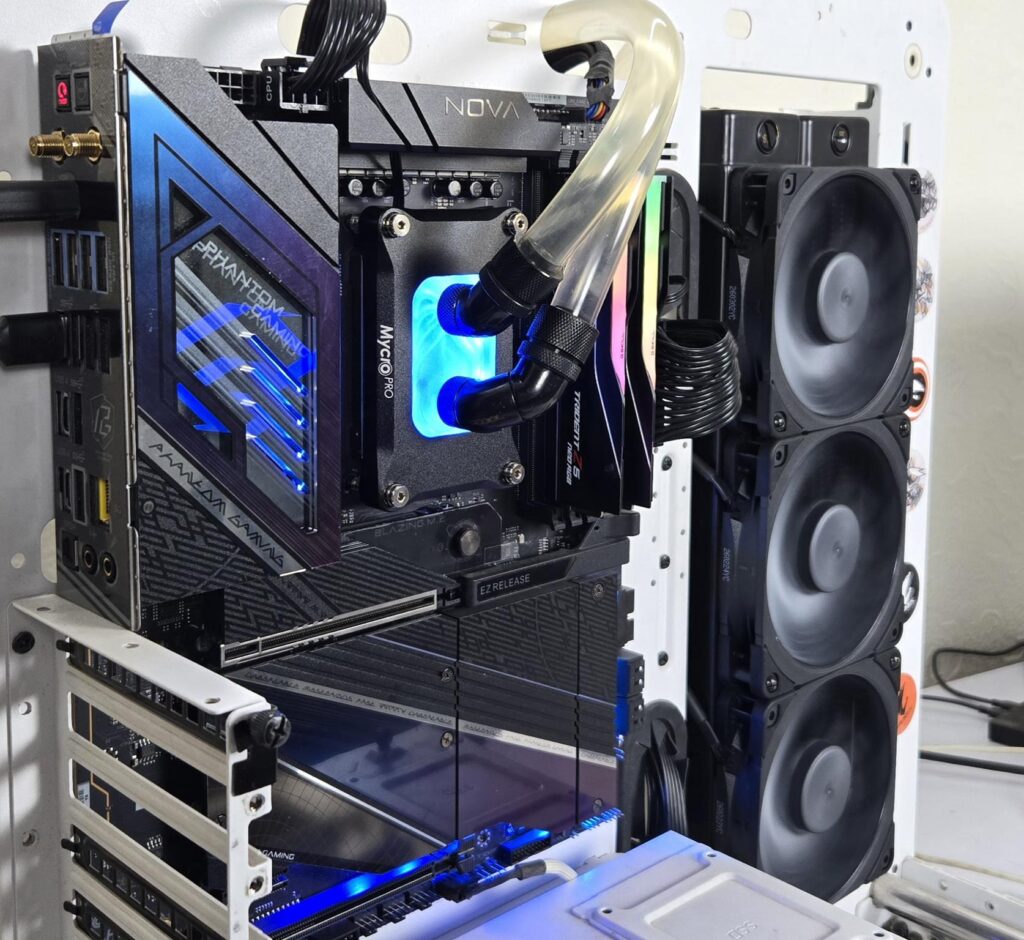
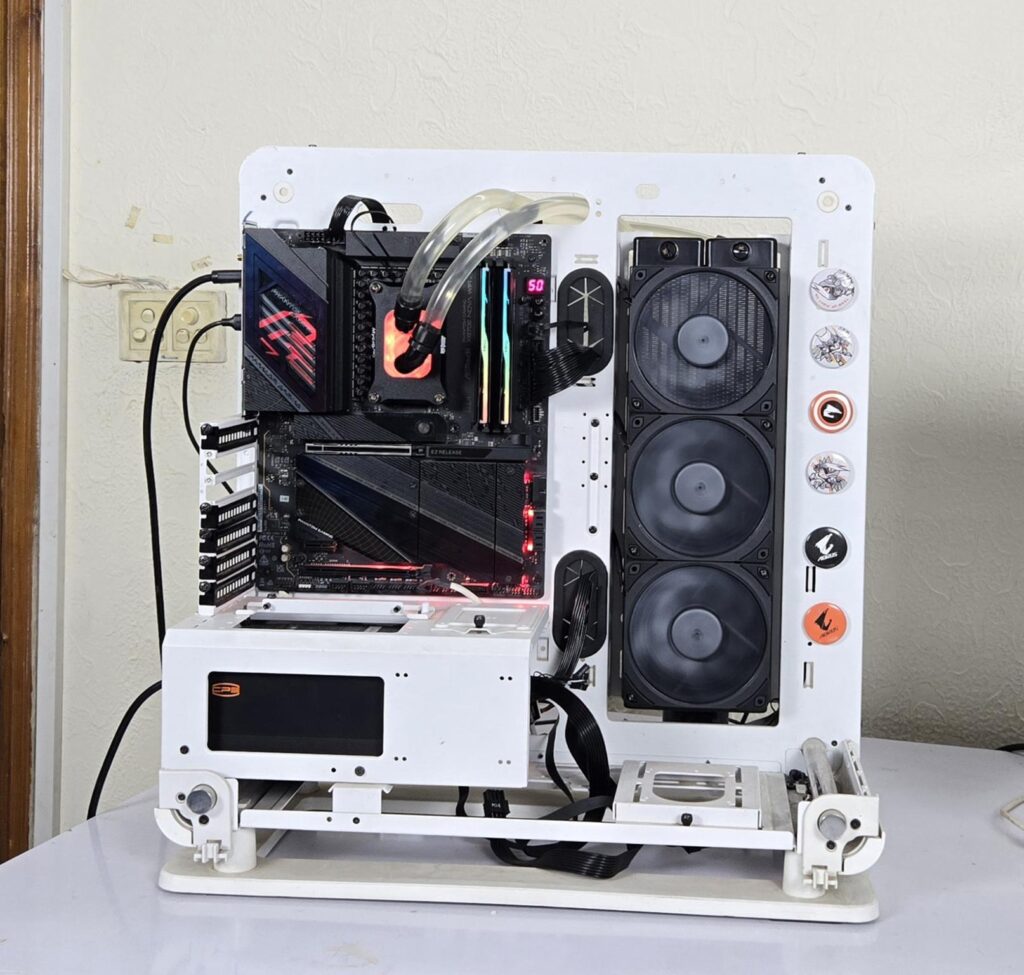
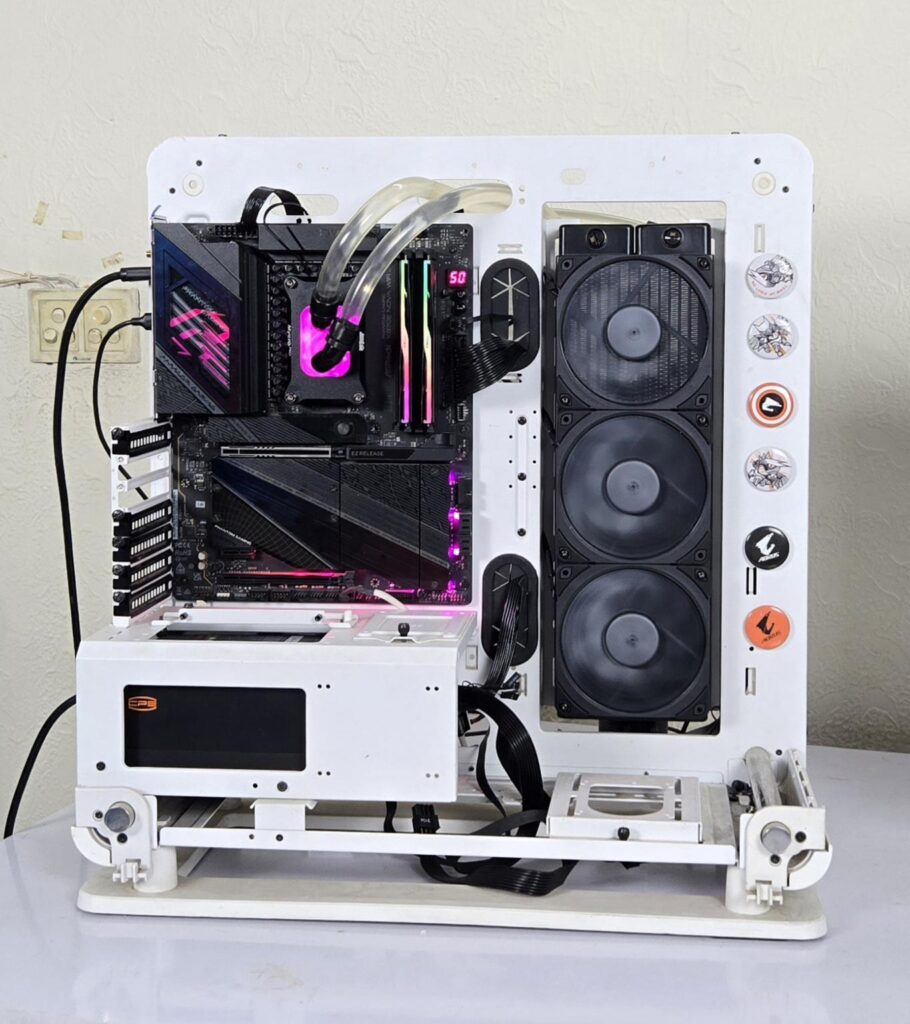
The ARGB lighting on this block is ok. It is subtle.
Thermal Testing
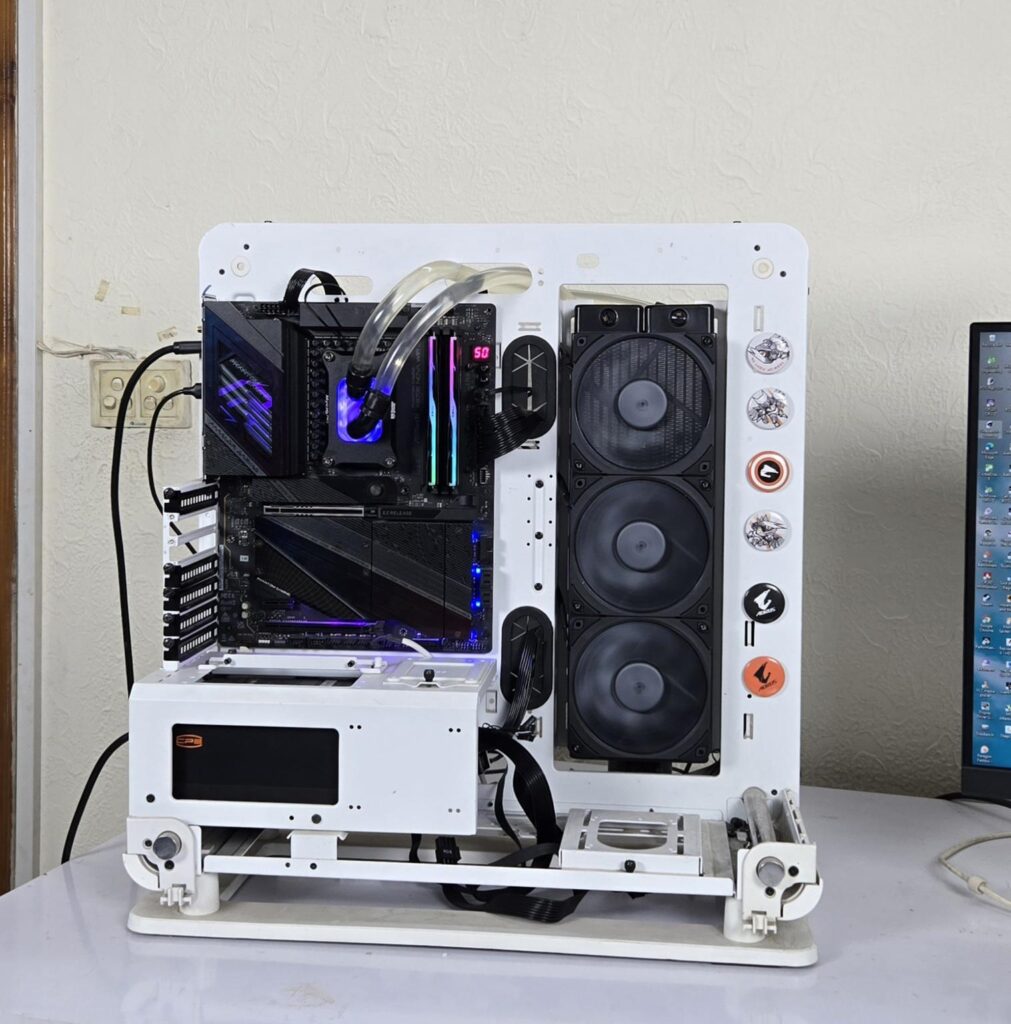
The following configuration is used for thermal testing:
- AMD Ryzen 9 9900X [243W fixed]
- ASRock X870E NOVA WiFi
- GSkill TridentZ NEO RGB 32GB 6400MHz CL30 DDR5 kit
- ASRock Radeon RX7600 Phantom Gaming 8G OC for Display
- Biwin X570 Pro 4TB Gen5 NVMe SSD
- Fractal Design ION+ 2P 860W Platinum PSU
- Thermaltake Core P6 TG Snow Edition in an open frame layout
Here is the settings table for testing:
| Settings | 243W |
| Thermal Paste | Noctua NT-H2 |
| Thermal Paste Application | Dots Method |
| Test Run Time | 30 minutes |
| Idling Time | 10 minutes |
| Fan Speed | 100% PWM |
| Pump Speed | 60% PWM |
| Stress Software | CINEBENCH R23.2 |
| Monitoring Software | HWINFO64 |
I am reporting absolute temperature in the graph because room temperature was at 24°C throughout the day. The testing is done on an open-air bench system. Once inside the chassis, the temperatures are expected to rise and would largely depend upon the optimal airflow inside the chassis.
Result
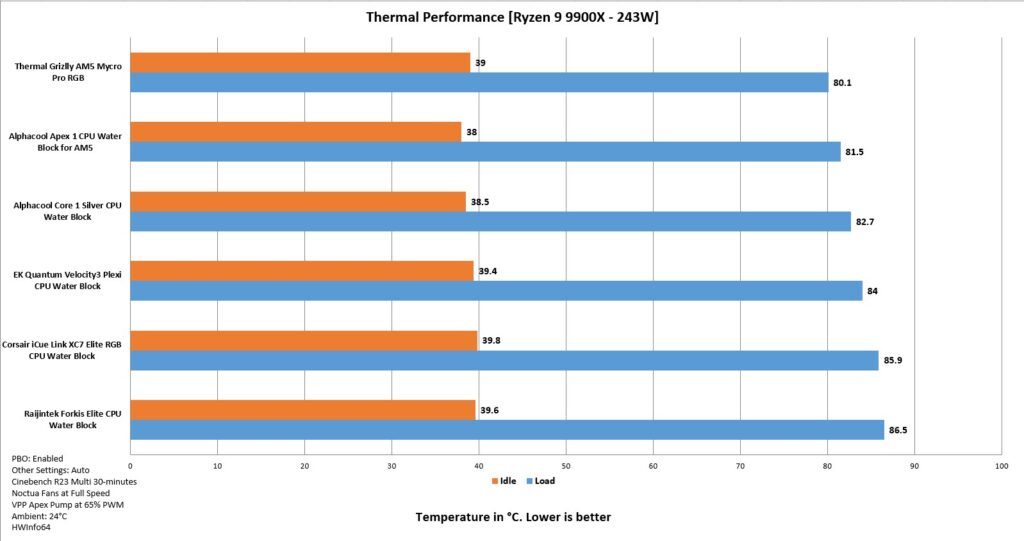
I don’t think I need to say anything about the result. Mycro Pro AM5 ARGB is killing it with superb performance.
Conclusion
Thermal Grizzly has released a new CPU water block named Mycro Pro RGB. You can take this as a standard version of the Direct-Die version but with modifications. In line with the requirement and trend of platform/socket specific cooler, these blocks are available for AM5/AM4 and LGA 1851 sockets separately. This is due to the different die design and hot spot coverage on those dies.
Unlike the Alphacool flagship Apex 1 block, which has roughly 995 g, this block weighs only around 201 g, which says a lot about the differences. The Mycro Pro AM5 RGB block has a dimension of 102x66x15mm (WxLxH). The height or thickness of 15mm on this block compared to 32.30mm on the Apex 1 indicates a slim profile.
The main housing is made of anodized aluminum material, and it is finished in black with a plain and smooth surface. The cooling engine sits inside this housing, leaving only the nickel-plated copper base on the outer side. The sides of the housing feature the brand’s branding.
The main chamber is made of tempered glass acrylic material, which goes through the annealing or tempering process, as the name indicates, to relieve the internal pressure. This reduces the risks of cracks that are common on standard acrylic designs.
Two standard female G1/4” ports are provided on the main area. The inlet port is on the base, and it features a fine mesh filter to stop particles from going inside the cold plate and clogging the area. The top port is a dedicated outlet port.
The complete middle area features ARGB backlighting provided by integrated 12 ARGB LEDs that are regulated using a standard ARGB connector. The main or core area is the cold plate that features 0.2mm micro-fins and a slot width. This version of the water block packs 68 fins, whereas the Intel variant has 70 fins.
The center of the fins has a slit on which a jet plate is placed. This plate has a wider area on the inlet with a slit on the base providing high water pressure. The opposite area has insets providing further channels for the coolant flow. This jet plate sits between the inner chamber and the cold plate. Two EPDM material O-Rings provide a barrier between the hot and cold channels in addition to the main housing and the nickel plate base.
Installation of this block is also simplified, and all tools are provided with the mounting kit. You can’t use a Phillips screwdriver. Allen keys are provided for this purpose. I did not observe any issue during the installation process.
This water block has an MSRP of US $163.68, which is a tad below the price of the Apex 1 from Alphacool. However, the slim profile and excellent performance of the Mycro Pro RGB make it a better candidate for your bucks, although it is not as stylish as the Apex 1!
Pros:
- Excellent Thermal Performance
- Slim Profile
- Fine Mesh Filter on inlet
- Subtle A-RGB lighting
- Tempered Glass Acrylic Material
- Well-designed Inner Chamber and Jet Plate
- 0.2mm micro-fins
- 68 fins
- Excellent Coverage of AM5 Dies
- Simplified Installation
Cons:
- Price
- No Backup/Spare washer, screw, and spring