


Thermaltake H100 TG PC Case Review
Introduction
- Manufacturer: Thermaltake
- Product: H100 TG
- Purchase: £59.99 At the time of review
Today, we will be taking a look at the Thermaltake H100 TG PC Case. When it comes to choosing a new PC, there are a lot of things to consider. The H100 TG is a Mid Tower chassis that offers plenty of room and cooling options. Coming in at just £60 at the time of review means this is actually quite an affordable case which is nice to see. It has quite a nice list of features that we will certainly take a look at in a minute but when it comes to a new case, what is important to you? I fyou are looking for something sleek that won’t break the bank, this is definitely worth checking out.
Closer Look
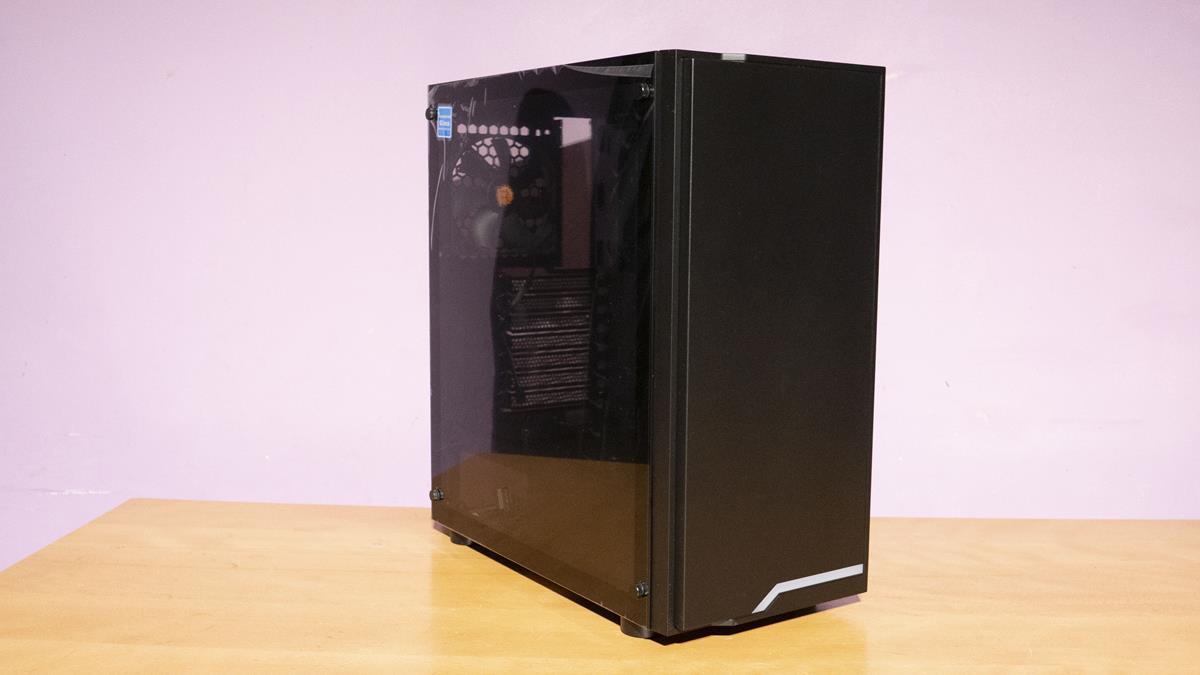
The front of the case has a very sleek look to it. It is all black except for a small RGB zone at the bottom of the case. Even before installing any hardware, this case does look quite nice.

The side tempered glass panel allows viewing of everything inside the case. Users will even be able to see their PSU thanks to a PSU cutout in the shroud. We can also see a pair of SSD mounts on top of the PSU shroud.

The same old story around the back of the case. Here we can see the motherboard and PSU cutouts and 7x PCI expansion bays.

While one side has a nice TG panel, the other does not. This side features a standard black side panel with nothing going on. However, looking towards the front of the case and we can see the extra ventilation to allow for better air intake should we install some fans in the front of the case.

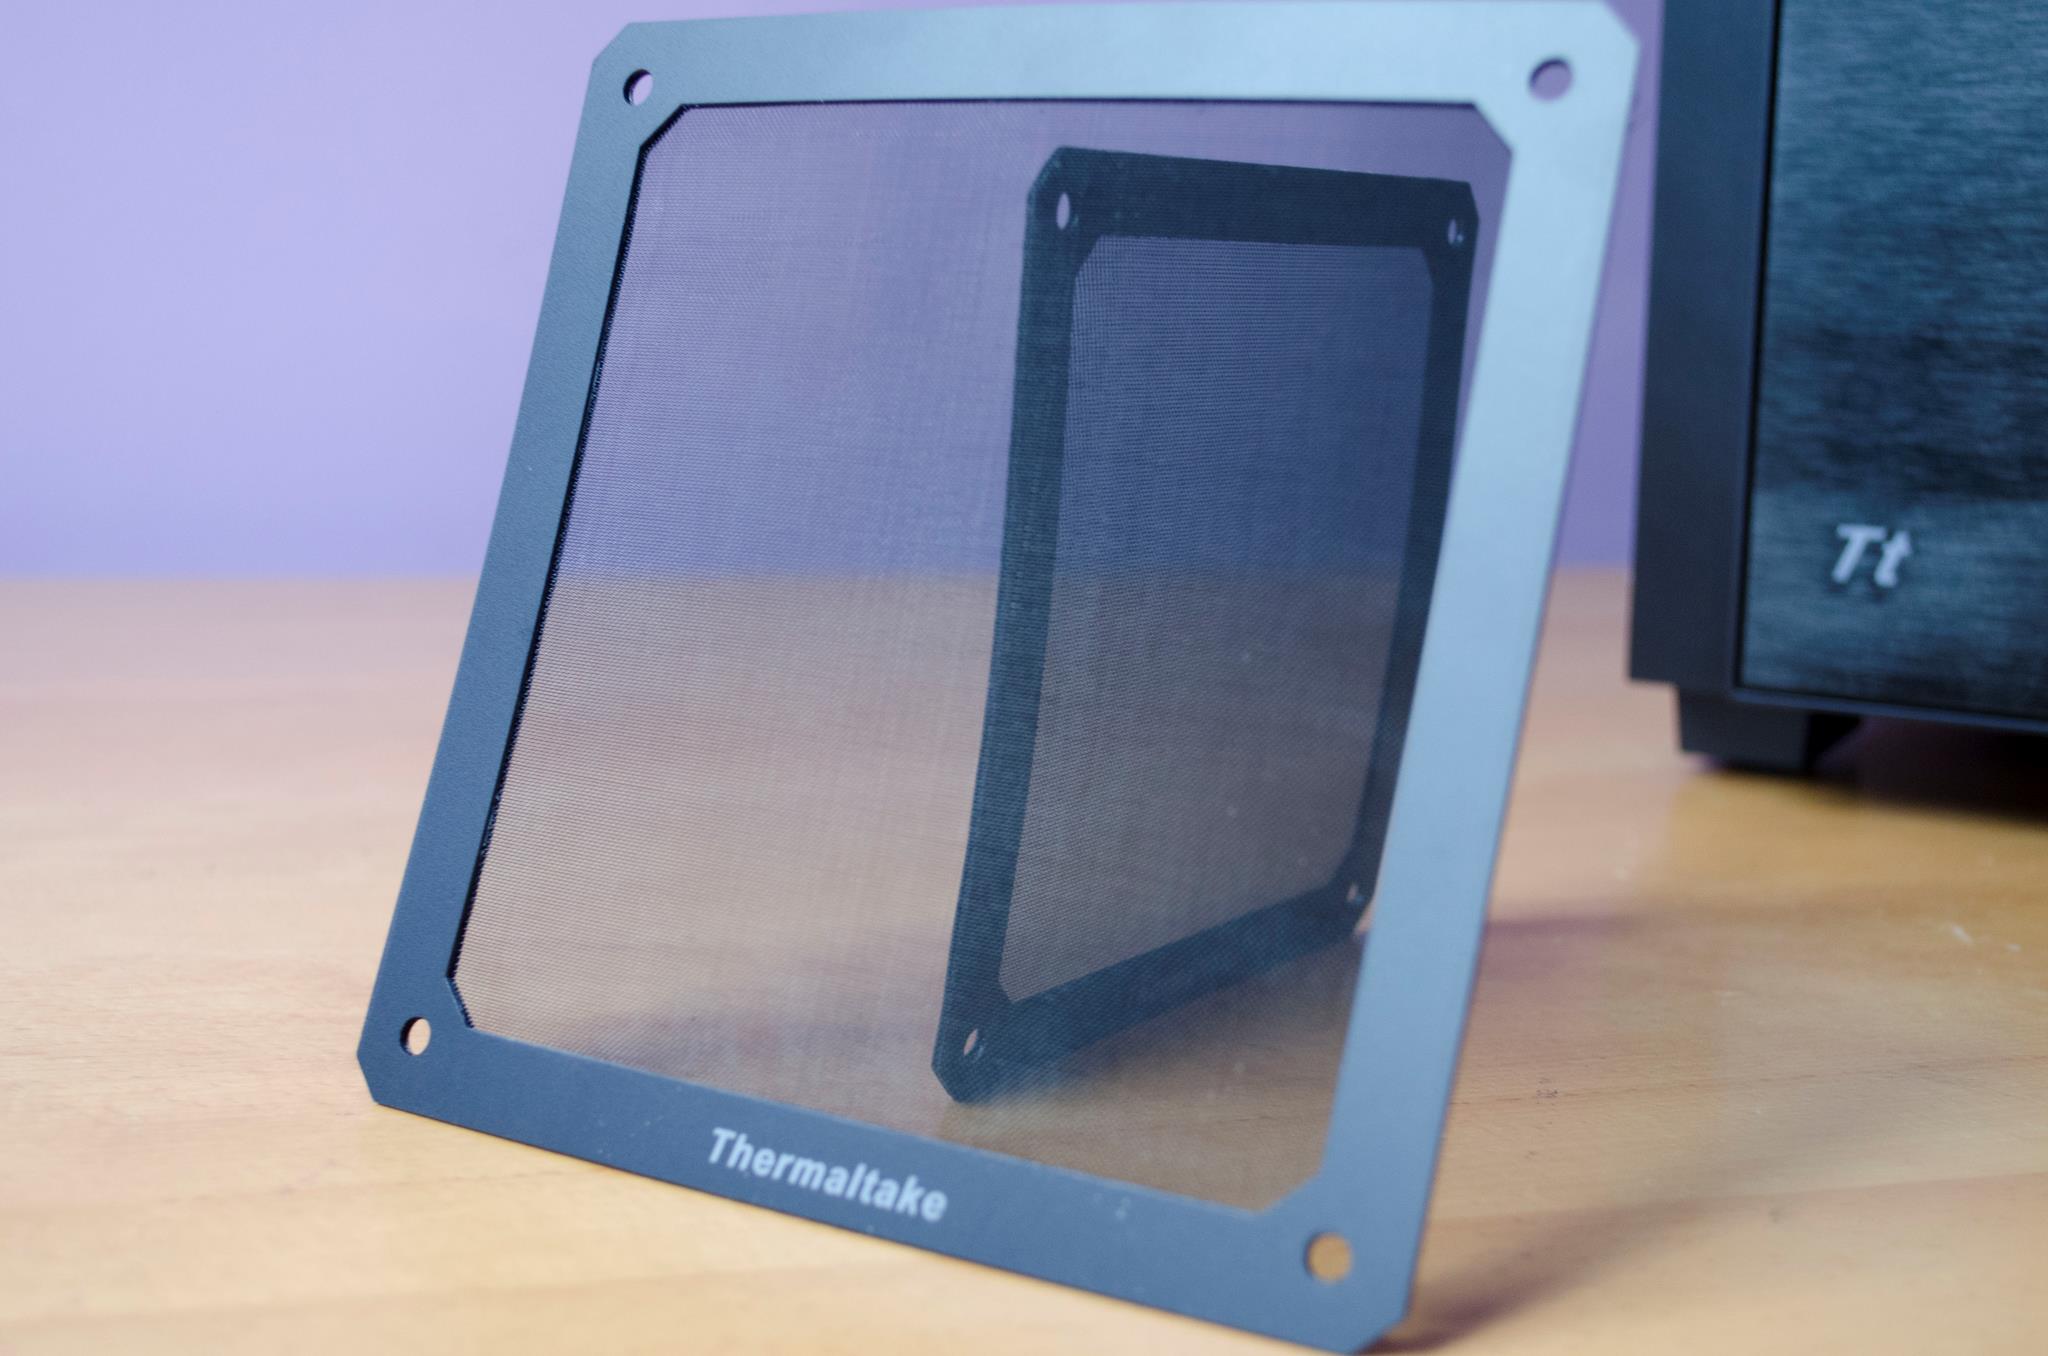
The top of the case has an easily removable magnetic dust filter. These come in handy as they can be easily taken off and cleaned, or even washed should you want to. We also get a glimpse of the front IO.

The front IO consists of a power button, 2x USB 3.0 ports and our audio input (headphones/mic). There is also a small Thermaltake logo we can see on the top of the front panel.

On the bottom of the case, we have four feet to help keep it up off the ground and to allow better airflow. We also have another removable dust filter here. While this one is not magnetic, it is still very easy to remove and clean and as you can see, it spans across the whole bottom of the case.

Working our way to the inside of the case and there is quite a bit going on here. We have cutouts in the motherboard tray for CPU cooler installation and in the PSU shroud to help show off whichever PSU may be used in the build. On top of the PSU shroud is a pair of SSD mounting bays that are easily removed by using the thumbscrews. Towards the front, we notice another cutout in the top of the PSU shroud to allow us to install a radiator/AIO for our cooling needs. Looking around and we can also see that there are plenty of places to pass cables through so we are left with a clean looking build that is properly cable managed.

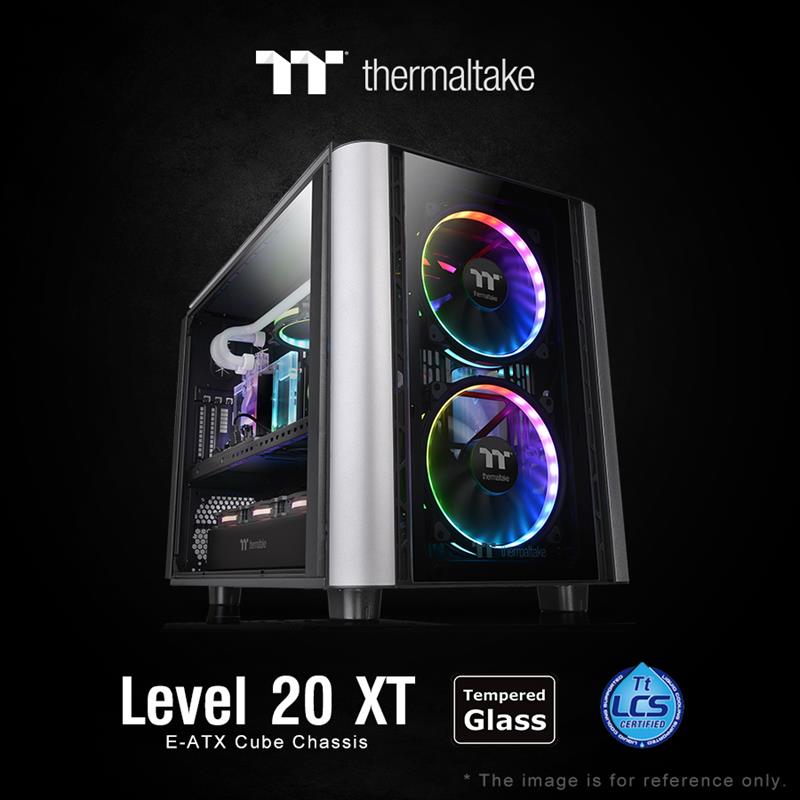
Taking the front panel off, we can get a better look at the fan/radiator installation. According to the Thermaltake website, you can fit 3x120mm fans or a 240/280mm radiator in the front of the H100 TG.

There is only one case fan in the H100 TG and this comes in the back as an exhaust. As mentioned, the H100 Tg is designed to accommodate radiators and AIO’s hence why there is likely no intake fans installed in the front of the case.

As mentioned the SSD mounts are quite easily removed and have some cutouts behind them to allow for a straightforward approach to plugging their cables in.

On the backside of the motherboard tray, there is a dedicated cable management area towards the front of the case. Where possible, you will want to route most of your cables here to keep them out of the way and looking nice. However, there are some other places we could attach some cable ties around the motherboard tray so we can make sure and route the cables how we want. We can also see plenty of room under the PSU shroud to keep our cables well and truly hidden.

Final Build
As you will see in the images below, there is plenty of room in the H100 TG for a good range of hardware and cooling. Being able to house a 240/280mm radiator in the front and a 240mm radiator in the top means you can go with a full custom CPU and GPU water cooling loop or you can take the easier route and use an AIO. Those looking to stick with air cooling will be happy to know this case can easily house up to 6x 120mm fans – 3 in the front, 2 at the top and 1 at the back of the case. Whichever option you choose, it’s nice to know that cooling shouldn’t be much of an issue as there are plenty of options available. Cooling aside, the H100 TG will also make sure you end up with a very sleek build. With plenty of room for components, you can set up quite a nice build inside the H100 TG. Whether you choose to go all out on RGB or keep it simple, the H100 TG is an affordable option and will leave you with a clean looking PC build when you’re done. The Cable management options mean even a novice should be able to make the most of what the H100TG has to offer.


Conclusion
Performance and Design
With a simple and sleek look, the H100 TG will leave users feeling accomplished and joyed after building in it. Not only does it look great but there is also plenty of room for all your components which also means that it is quite easy to build in as well. The cable routing options will give even the novice builder the chance to have a clean looking and well-managed build once done. Thermaltake has also done a great job at making sure it will be easy to show off all of your hardware inside. From the TG panel to the PSU cutout in the PSU shroud, to the SSD bays mounted on top of the PSU shroud, you should be able to show off most of your internal components with ease. My only real issue with the case is the lack of some sort of intake fan. Yes, I know the H100 Tg is designed for a radiator/AIO in the front but that doesn’t mean that Thermaltake couldn’t have included at least one intake fan to get us started. A lot of times people order parts at different times so I feel it would be greatly beneficial for the H100 TG to have a front intake fan so you can get up and running in it while waiting for everything else to arrive.
Value
Coming in at just £60 at the time of review, the H100 TG is a well-worthy and budget-friendly offering. The H100 TG is comprised of quality materials and components and will offer great value whether you are looking to house a £1,000 system or a £200 system. While the market is currently oversaturated with cases at this price range, Thermaltake has not compromised on the quality as we see in a lot of other offerings. If you are looking in this price range, the H100 TG is a top offering you won’t be disappointed in spending your hard-earned cash on. I have no issues recommending this as a great value for money case as it has plenty of cooling options, loads of room and an overall sleek look to it. Well done Thermaltake!

I would like to thank Thermaltake for sending in a sample of their H100 TG for this review.


