


PCCOOLER GI-D66A CPU Air Cooler Review
Introduction
PCCOOLER is a relatively new brand focused on PC Coolers, Case Fans, PSU, and PC Chassis manufacturing. PCCOOLER is a brand of Shenzhen Fluence Technology PLC, which was founded in 2005. PCCOOLER is a leading brand in China domestic market and now their products are available in other countries including America, Brazil, Chile, Russia, Uzbekistan, Kazakhstan, Indonesia, Malaysia, Korea, Germany, Japan, and so on.
PCCOOLER has sent us their GI-D66A air cooler for review. The design element of this cooler has me wow! We have a single housing frame encapsulating the heat sink and two 120mm ARGB fans in quite a style and form. What is more impressive is the pricing of the cooler and the warranty from the manufacturer. The GI-D66A ARGB is compatible with – Intel Sockets LGA: 775, 1366, 1150, 1151, 1155, 1156, 1200, 2011, 2011-3, 2066 and AMD Socket: AM4, AM3, AM2+, AM2, FM2+, FM2, FM1. The rated TDP is 230W for this cooler.
Item: GI-D66A
Manufacturer: PCCOOLER
Price: $50 MSRP
Specifications

Packaging and Unboxing
The cooler is shipped inside a cardboard packing box. I love the packaging presentation of this cooler.

The cooler features dual DEFINABLE RGB LED VORTEX PRO PWM fans. The cooler has a closed duct enclosure design with vents on the sides. The ARGB show is written on the face of the cooler and I love the colors and lighting elements on the cooler.

Salient features are highlighted including multi-socket compatibility, HALO RGB fans, high airflow fan, 6x 6mm thick copper heat pipes.

The sockets compatibility is mentioned here which Intel LGA 115x, 20xx, and AMD AM3/AM4.

The specifications are printed in 6 languages. The features are printed on the top in bullet format. A serial no sticker is pasted on the bottom. There is enough information available on the packing box for the on-the-go buyer. The cooler is using the PCCOOLER Universal Metal EASY SET PRO bracket for the mounting.

The opening over has a serial number and probably part number stickers. The cooler is manufactured by Shenzhen Fluence Technology PLC in China.

Now, this is what we call a professional and effective presentation. The cooler and the mounting hardware are nicely packed inside a thick black color Styrofoam pad container. In case one is wondering what GI means in the model naming convention of PCCOOLER? It means GameIce branding.
Contents
Let’s take a look at what PCCOOLER has provided in the accessory box.

There is a mounting hardware container box in black color with both sides opened.

There is a user guide for the installation of the cooler and an ARGB setup guide. There is a warranty card bundled as well.

We have:
- 1x Metallic Backplate for Intel and AMD
- 2x Intel Mounting Brackets
- 2x AMD Mounting Brackets
These brackets are different than the ones we saw on their GI-R66U.

We have:
- 4x Springs loaded Nuts/caps
- 4x Metallic Spacers
- 4x Intel/AMD sockets standoffs
- 4x Intel LGA20xx Standoffs
- 8x black color washers
- 4x Metallic washers
- 1x Wrench

PCCOOLER has provided 4x screws to install the brackets on the heat sink.

PCCOOLER has provided a protective space for the AMD mounting on the backplate. They have also provided a syringe of thermal paste.

PCCOOLER has provided a 2-Way PWM splitter cable which allows the user to connect two fans to a single 4-pin PWM fan header on the motherboard.

PCCOOLER has provided a 3-way ARGB Splitter cabled with one end having a standard 3-pin ARGB interface and the other end having 3x proprietary connector cables. This allows the user to combine up to 4 ARGB devices into a single 5V header on the motherboard. Why 3? Because we have a total of 3 ARGB devices or areas on the GI-D66A. Two ARGB HALO fans and the top cover of the cooler are backlit.

PCCOOLER has provided a Molex-powered ARGB controller in the box. While I love the idea that they have provided a dedicated controller, I wish they had used a SATA connector.

The controller has a smart and sleek design. One end has a standard 3-pin ARGB male connector. The other end is using the Molex connector to power the controller. There are three buttons on the controller:
- Mode button cycles through the pre-defined lighting modes
- The speed button controls the speed of the dynamic lighting modes
- Light button cycles through the static colors under the selected mode
We have 10 lighting modes, 6 static colors, and 7-speed control steps.
Closer Look
It is time to take a closer look at the components. The PCCOOLER GI-D66A is compatible with Intel LGA20xx/1366/1200/115x/1366/775 sockets and AMD AM4/AM3/AM2/AM2+/FM2+/FM2/FM1 sockets. PCCOOLER has mentioned this cooler to be able to handle thermal dissipation of up to 230W. The dimension of the cooler is 76x128x156.5mm where 156.5mm is the height of the cooler. The cooler weighs 910gm which is 100gm more than the GI-R66U.

As mentioned above, the GI-D66A features a full enclosure covering the heat sink and the fans. The housing is made of plastic material and finished in black color. I am digging the overall design as it looks that fantastic in person. PCCOOLER has done a good job when it comes to the form. Hoping they have done a similar job with the function as well!

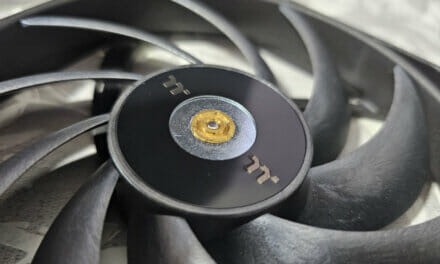
The front side of the cooler has a 120mm VortexPro PWM fan which is ARGB. The glimpses of the heat sink can be seen behind the fan. There is nothing else visible here since we have a totally covered design. The fan has 9x frosted blades with grooves on the impellers to maximize the airflow. We have a large hub which is understandable as it houses the ARGB LEDs. We have a GAMEICE branding on the hub. The fan is integrated into the chassis frame hence we can only spot the blades, not its actual frame.

The rear of the cooler has a similar layout with the same fan but with a key difference. Look at the blade implementation. The blades are now reversed. I admire the design team of the PCCOOLER for coming up with a simple yet brilliant execution in giving a neat and clean look all around. Otherwise, we would be seeing the backside of the fan which might not give that cool look. The fan is the same VortexPro PWM HALO RGB and it has the same 9 frosted blades.

This cooler is all about looks and looks. The top view of the cooler is sitting in perfect harmony with the overall layout of the design. We have a stylish and glossy cover that is backlit. There is a GAMEICE branding in the center which also lights up when powered. The cooler looks damn good when installed. We have an all-black theme with backlighting to create one heck of an AURA of a light show.

Looking closely at the top frame of the fan, we can spot that the fan’s frame is removable. Both fans can be removed and required to be removed before the installation. This is where we made an observation that the cable length of the fans and the top cover of the cooler are much shorter and should have been more. Why is that so? We will cover that soon. The above picture shows the frame of the fan coming off the main housing of the cooler. To remove the fan, press from the top of the fan and at the same time pull it out. It may need a bit of force.

Looking at the side of the cooler, one can spot the vented portion on the mainframe in the center. This is an effective design. The very design element is not choking the heat sink from the airflow and the lighting effect does come through these vented portions as well. Take a good look at the top side of the main section in the center. There is a line visible there. This is actually a divider between the two walls of the mainframe. We can open the frame.

The above picture shows the heat sink after removing the front fan. There is a marking A on the frame indicating that this the front or main side of the cooler. We have 50 aluminum fins stacked together. The heat sink by design is not dense. The middle section has insets on both sides. The fins are laid in a straight line manner and there is no v shape notch or any other peculiar design element in the heat sink. The front and rear sides are identical in layout. The ARGB cable of the top cover is wired on the inset of the heat sink showing a neat and clean job. Look at the bottom where the cable is coming out. We don’t have enough space there and I would strongly suggest the user not to take the fans’ cables fully out of the frame when installing the cooler as these cables are shorter and passing them through again after installing the heat sink would be cumbersome. The heat sink has an anti-oxidation protective layer.

The above picture shows the backside of the heat sink. The heat sink has a rounded design on the sides to fit in symmetry with the outer frame. Look at the cables of the fan. I took out one cable completely while the other is still inside the frame. Letter marking of B indicates the backside of the cooler.

A keen look on the top side and we can spot a thick diffuser running on the entire length of the top cover in that shape there. It has ARGB LEDs underneath.


The above picture shows both fans from the backside. There is a 4-arm assembly there connecting these fans to the frame. One of the arms has a wider channel with catchers. The wires are routed on this channel.

Each fan has two cables. One is the 4-pin PWM cable and the other is a 3-pin proprietary connector cable for the ARGB lighting. The cables are flat in design.
The specifications of the fan are:
| Dimension | 120x120x25mm |
| Type | 4-pin PWM Connector |
| Speed | 1000-2000 RPM ± 10% |
| Airflow | 72 CFM |
| Air Pressure | 2.36 mmH₂O |
| Noise | 8~29.1 dB(A) |
| Rated Voltage | 12VDC |
| Operating Voltage | 8~13.2VDC |
| Starting Voltage | 7.5VDC |
| Rated Current per fan | 0.22~0.39A (Fan Motor)
0.3A ARGB |
| Power Input per fan | 4.7W (Fan)
1.5W (ARGB) |
| Top Cover Current | 0.2A ARGB |
| Top Cover Power | 1.5W |
| Bearings | Hydraulic |

The PCCOOLER GI-D66A is using 6x heat pipes. They are copper heat pipes finished in a nickel plating and having a thickness of 6mm each. The displacement of the heat pipes in the fins stack is different than the GI-R66U. We have a single pipe on both closer sides of the base. Then we have two pipes in a line followed by 3 pipes in a line.

There is a protective cover on the base of the heat sink. It needs to be removed before installing the cooler. There are 2x black color screws on both sides of the mainframe. The frame can be opened by removing all 4x screws.

The base of the cooler measures roughly 55x35mm. We have a large size base with 6x copper heat pipes making direct contact with the CPU. This is called CDC (Continuous Direct Contact). Continuous in the sense that there is no gap between any two consecutive pipes.

The base of the cooler has two mounting holes on each side. The mounting brackets are installed on the base here.

The base portion is designed as such it also acts as a heat sink. We have 5 rows and 9 columns of aluminum making up a small size heat sink. Though passive the circulating air would throw the heat out.
So far the PCCOOLER has my praise when it comes to the design of the cooler except that the fans’ cables have a short length and they are routed on the left side of the cooler which should have been the opposite because the left side of the cooler faces the PCIe slots on the motherboard. It is time to look at the installation of the cooler.
Installation
We have recently upgraded our Intel testbed and are now on the Intel LGA1200 socket. Installation is as follow:

Prepare the backplate by passing the long standoffs through designated holes and secure them using the plastic washers. Make sure that the side with Intel text faces the motherboard PCB.

Place the backplate on the motherboard such as the threaded portion of the standoffs passed the mounting holes of the socket area.

Secure the backplate using the 4x plastic washers.

Install the metallic spacers.

Install the Intel brackets to the base of the cooler. Remove the fans. Make sure that their cables remain within the frame.

Remove the protective cover from the base of the cooler. Apply the thermal paste to the CPU. Place the block on the CPU by aligning the holes on the brackets with the threaded portions of the standoffs. Insert the metallic washers.

Secure the cooler using the 4x spring-loaded screws.
Now, put both fans back on the mainframe. You will hear a nice click when the fans’ housing make proper contact. Make sure they are properly installed. Connect the 4-pin PWM cables to the 4-pin PWM header using the splitter cable. Similarly, connect the ARGB cables to either the controller or to the 5V header of the motherboard. This would complete the installation. Sorry for the fuzzy pictures above. The lighting was not proper when they were taken and I have shaky hands.
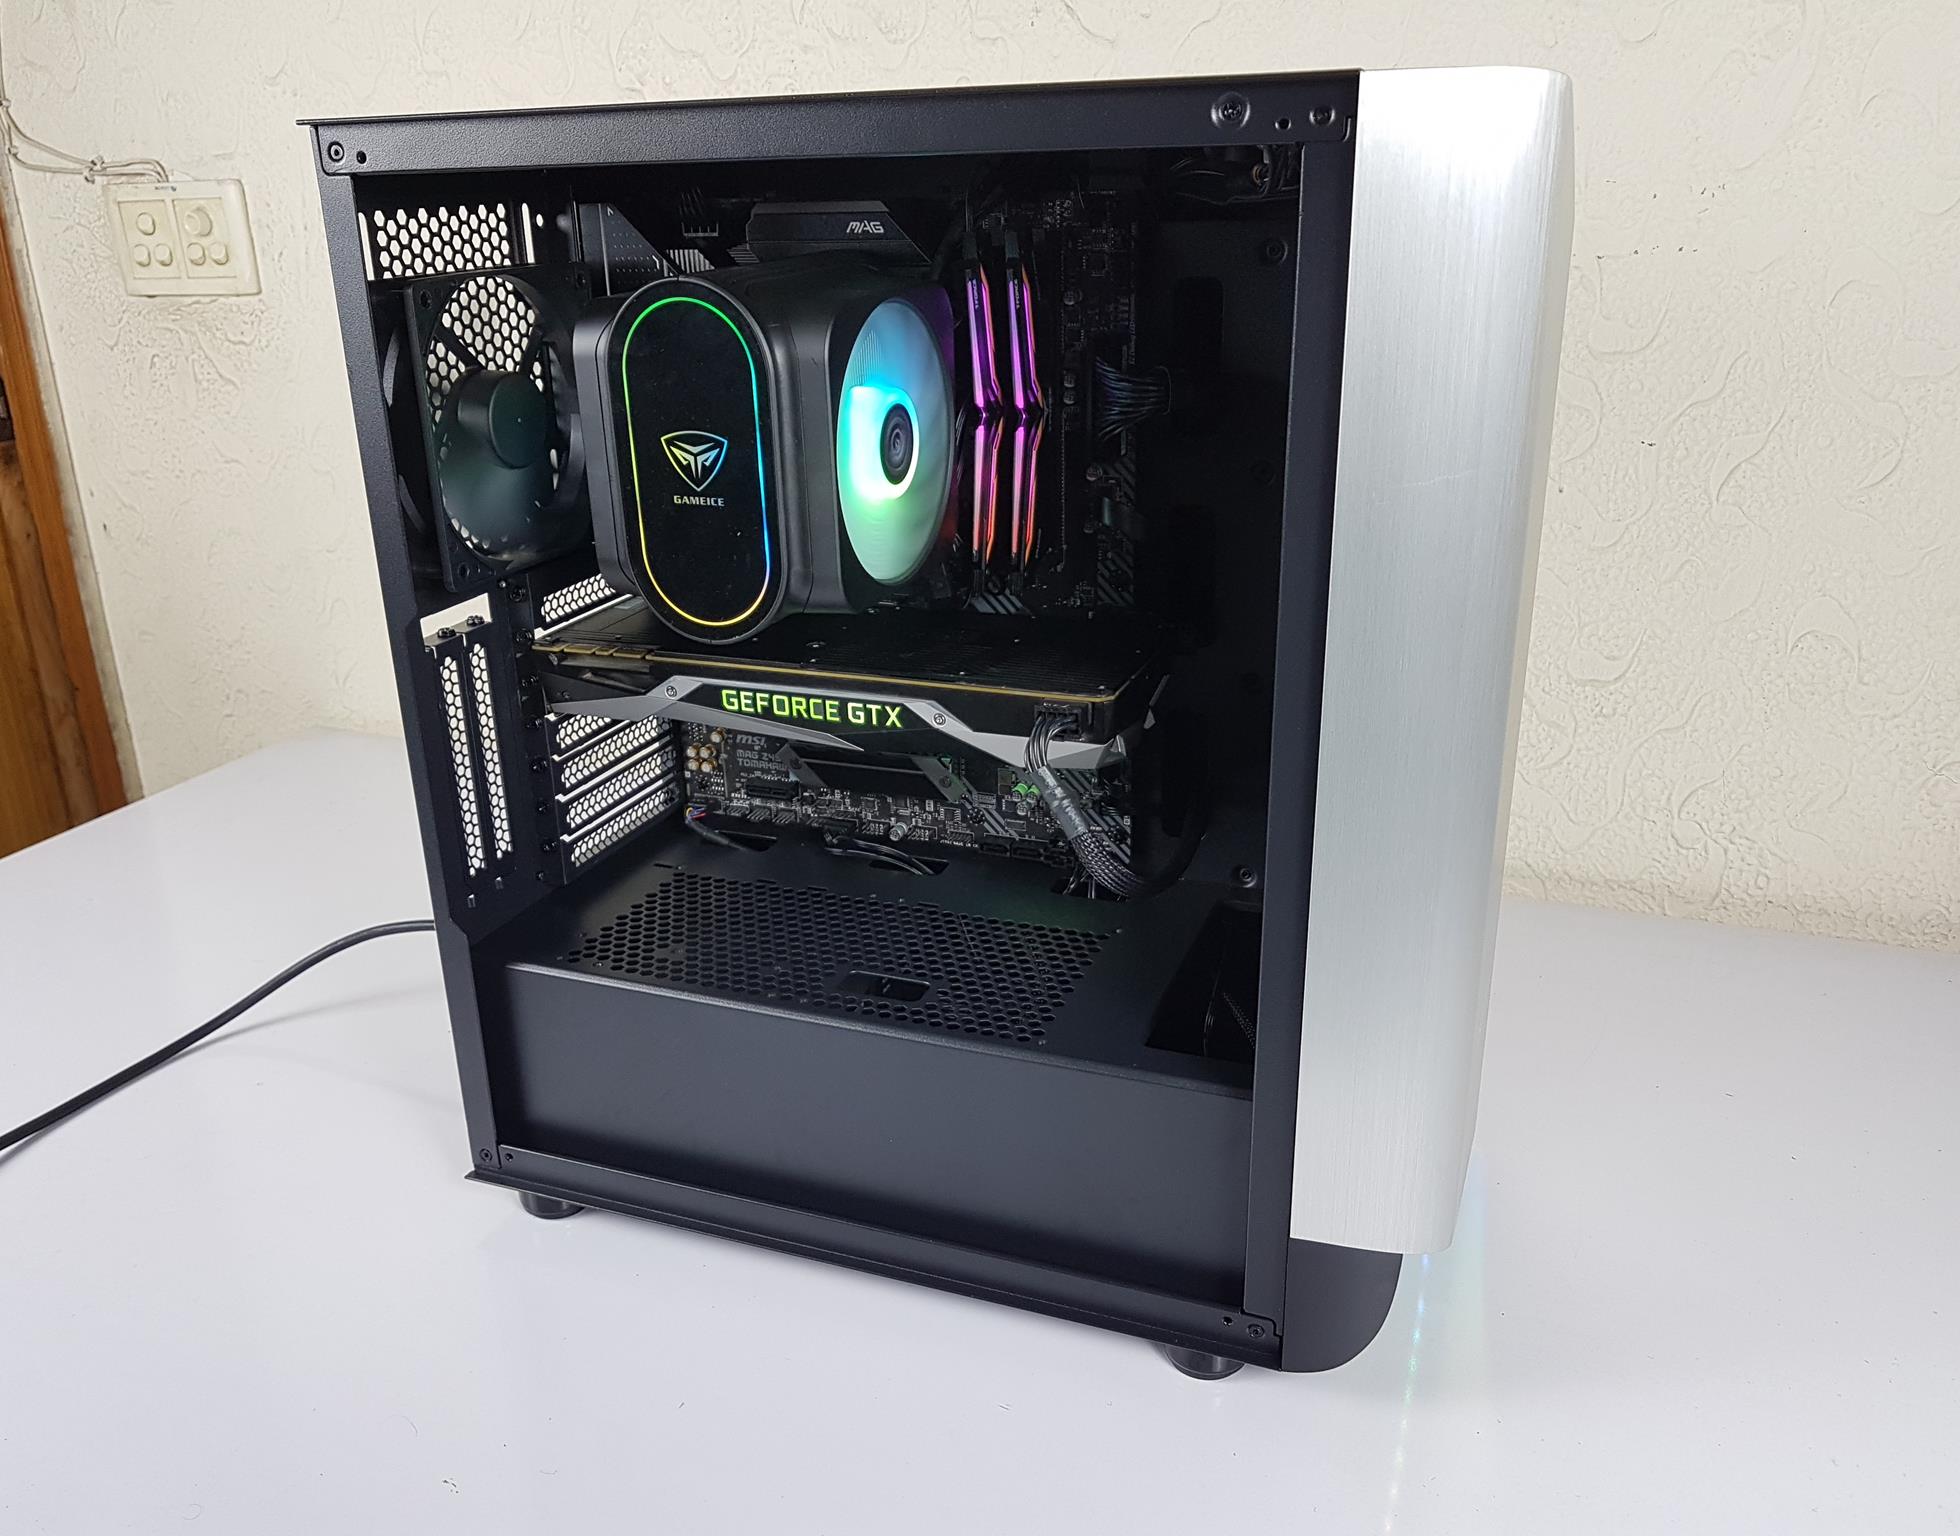
Clearance

As can be seen, both fans have their cables routed towards the left side of the housing. This should be on the opposite side of the housing. Also, I would like to see more lengths to these cables.

There is no clearance issue on the IO side of the motherboard.

There is no clearance issue with respect to the first PCIe X16 slot on MSI MAG Z490 TOMAHAWK.

The fan does not overhang the DIMM slots and did not pose any issue to the T-Force NightHawk DDR4 RGB kit.
ARGB Lighting
The light show is on the money from GI-D66A. We have subtle and vivid lighting coming from the fans and the top cover. We used the bundled controller to test the lighting. Here are a few pictures.


Testing
We have upgraded our Intel testbed recently. A few coolers have been tested on this setup. More will be added after the testing in the coming time.
Following test benches have been used: –
- Intel i7 10700k
- MSI MAG Z490 TOMAHAWK
- T-Force NightHawk RGB 16GB @ 3200MHz
- Nvidia GeForce GTX 1080 FE
- addlink S70 256GB NVMe SSD
- bequiet! Straight Power 11 850W Platinum PSU
- Open-air test bench
Here is the settings table for testing:
| Clock (MHz) | 3800 All Cores |
| Voltage (V) | 1.025 |
| Clock (MHz) | 4700 All Cores |
| Voltage (V) | 1.255 |
| Clock (MHz) | 5100 All Cores |
| Voltage (V) | 1.345 |
| Turbo Boost | Disabled |
| C-States | Disabled |
| Speed Step | Disabled |
| Thermal Paste | Noctua NT-H1 |
| Thermal Paste Application | Dot Method in the center. |
| Test Run Time | 30 minutes |
| Idling Time | 10 minutes |
| Fan Speed | 100% PWM Duty Cycle and Auto PWM |
| Header | CPU_Fan header for the fans |
| Software | AIDA64 6.3 Extreme [FPU] |
We are using Noctua NT-H1 thermal paste for coolers testing. Using the same thermal paste for all coolers would ensure standardization. Delta temperatures are reported on the graphs. The testing is done on an open-air bench system. Once inside the chassis, the temperatures are expected to rise and would largely depend upon the optimal airflow inside the chassis.
Not every run of the stress test may yield the same result. This could well be due to many factors like mounting pressure, thermal paste application, varying ambient temperature. Not to mention the silicon differences even among the same category of the chips. Hence, it is pertinent to mention the testing methodology along with the specifics.

The coolers are also tested using the Auto PWM function. MSI is using Smart Fan mode in the UEFI/BIOS which is not pure Auto PWM but it is what is available to us. The above picture shows the MSI default fan curve for the Smart Fan mode. Since all the coolers will be tested using the same configuration and settings, the same margin of error applies to all.
Let’s take a look at the results.
3.8GHz All Cores

The PCCOOLER GI-D66A was doing a delta temperature of 25.9°C.
4.7GHz All Cores

The PCCOOLER GI-D66A was doing a delta temperature of 50.1°C. The temperature on the cores was in 70s.
4.7GHz All Cores [Auto PWM]

The PCCOOLER GI-D66A was doing a delta temperature of 51.8°C which is 1.7°C above the outcome with the fan at full speed.
Fans’ Speed on Auto PWM

The above graph shows the maximum speed attained by the fans on the Auto PWM. For comparison, we have included the rated speed of the fans to have a reference in determining the Auto PWM range. The fans were running close to the 1600 RPM mark.
5.1GHz All Cores

Now coming to the ultimate challenge of handling the CPU with all cores set to run at 5.1GHz using 1.345V, The PCCOOLER GI-D66A was doing a delta temperature of 65.5°C. Two cores were in the 90s with the remaining 4 in the upper 80s.
Noise
The maximum recorded noise level on the PCCOOLER GI-CX360 was 55 dBA in an ambient noise level of 33 dBA.
Conclusion
PCCOOLER has sent us their GI-D66A air cooler for review. This is a single tower configuration with two VortexPro HALO ARGB fans in 120mm size. The GI-D66A is compatible with – Intel Sockets LGA: 775, 1366, 1150, 1151, 1155, 1156, 1200, 2011, 2011-3, 2066 and AMD Sockets: AM4, AM3, AM2+, AM2, FM2+, FM2, and FM1. The design element of this cooler is distinctive. We have a single housing frame encapsulating the heat sink and two 120mm ARGB fans in quite a style and form. I am digging into this design as it looks that good in person.
The cooler features a black color housing made of plastic material with a matte finish. The sides have vents in a symmetrical design with the overall layout. The front fan and rear fans are encapsulated in a similarly design black frame. Only their blades/impellers are visible. PCCOOLER has done a neat job with the housing of the cooler. The top cover of the cooler has GAMEICE branding. The top cover is backlit to give some stunning looks when installed in the chassis. The top cover has a glossy finish so take care as it is a fingerprint magnet.
The heat sink comprises 50 aluminum fins combined with 6x 6mm thick nickel-plated copper heat pipes. The heat sink has a rounded shape on the sides to sit in symmetry with the outer frame. The dimension of the cooler is 76x76x128x156.5mm where 156.5mm is the height of the cooler. The cooler weighs 910gm. Each fin has a 0.4mm thickness. The placement of fins is such as the stack is not that dense.
The base of the cooler measures 55x35mm and it is following the Continuous Direct Contact method with 6x copper heat pipes with their copper side exposed make direct contact with the CPU. The base has 9×5 fins acting as a passive cooler to aid in the overall cooling performance of the cooler. PCCOOLER has provided two VortexPro HALO ARGB 120mm fans with 9 frosted blades using Hydraulic bearings. The fans are rated for up to 2000 RPM ±10% speed with a maximum airflow rating of 72 CFM at an air pressure rating of 2.36 mmH₂O. It is good to see that a dedicated controller is bundled with the cooler. The ARGB devices are using proprietary connectors which could have been a standard interface. The controller is Molex-powered. I wish to see a SATA connector instead.
The installation of the cooler involves 31 items required for the cooler’s installation without a fan and roughly 10 steps needed for the cooler’s installation itself. They may consider revisiting the drawing board to make the installation bit more convenient. One observation is that the fans and top cover cables have a short length and they are routed towards the left side of the cooler. They need to increase the length of the cables and route them towards the right side of the cooler (this would be the top side of the cooler after installation in the chassis).
The PCCOOLER GI-D66A is listed at $50 at the time of the review. PCCOOLER is offering 3 years warranty. This cooler offers killer looks with stunning ARGB lighting all around with a better thermal performance. The cooler can handle a mediocre overclocking. The GI-D66A comes recommended by us.

We are thankful to the PCCOOLER for the provision of the GI-D66A cooler for review.


