











Antec Flux Pro Noctua Edition: A Must Have
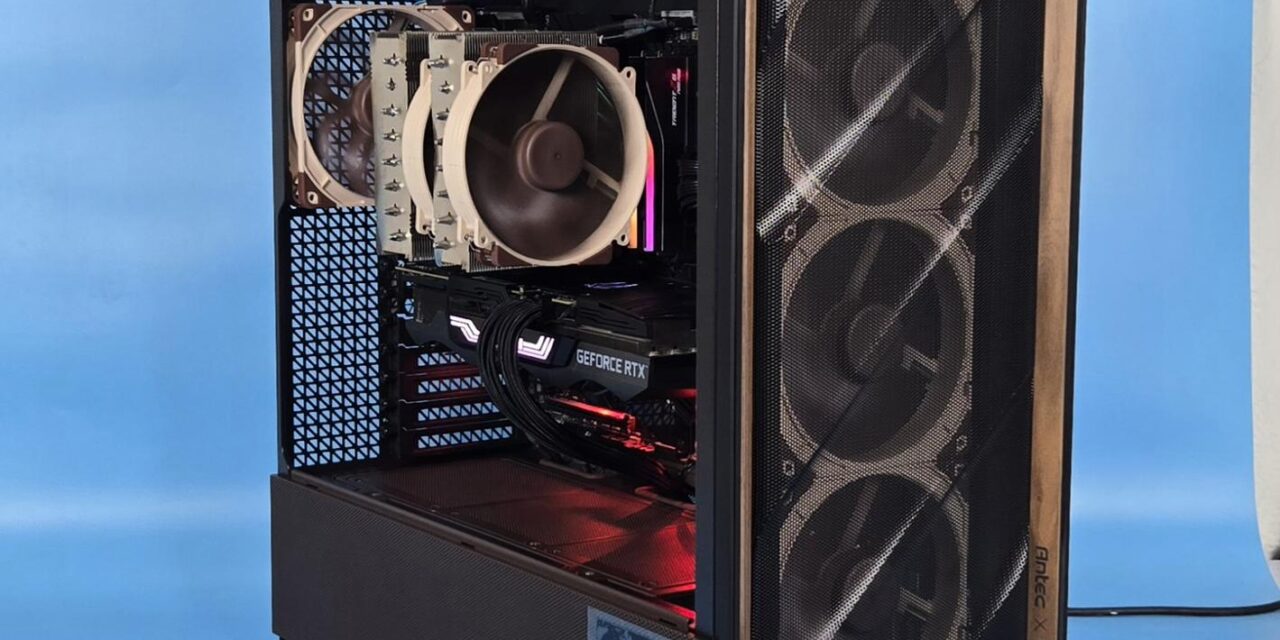
It has been a while since I tested or used a full tower PC Case from any brand. Noctua seems to be changing this, as I have got a legendary Antec Flux Pro with Noctua customization and branding. This is truly a case that supports up to 2x-thick 420mm radiators despite not being a super tower. This is one case that fits perfectly into the analogy of “it has more to it than meets the eye”.
Antec x Noctua gives you something special. The Flux Pro carries all its bells and whistles, while Noctua has perfected the game by improving the performance-to-noise ratio efficiency and lowered the overall decibels by 8dB (coming from their internal testing). In my testing, this case with 6x case fans and 2x cooler fans was found to be giving 44.2 dB(A), including the 3x fans on the graphics card under load. Mind you, this is with all case and air cooler fans running at 100% PWM speed. I am blown away by this level of noise to performance efficiency.
This case comes in Noctua’s tan and brown colors, and Noctua has included its high-performance flagship fans, NF-A12x25 PWM G2 and NF-A14x25 PWM G2 fans, taking the game to the next level. The overall layout of the case and symmetry provide the best possible airflow in this case, making it a perfect candidate for the reviewers/testers in case they want to use a case for cooler testing. I usually test coolers in an open test bench where there is little to no airflow.
This case is versatile not only in the cooling department and storage department but also in the PSU placement, which I recently saw in the Lian Li LANCOOL 217 INF. PSU can either be mounted in a standard position or rotated so that cables face the right side of the case, which Antec and Noctua termed as iShift. Similarly, the DeepCool CL6600 WH that we tested earlier also supported the 90° rotated PSU mount, which makes cable handling convenient and also makes it possible to change cables easily even after the build is done.

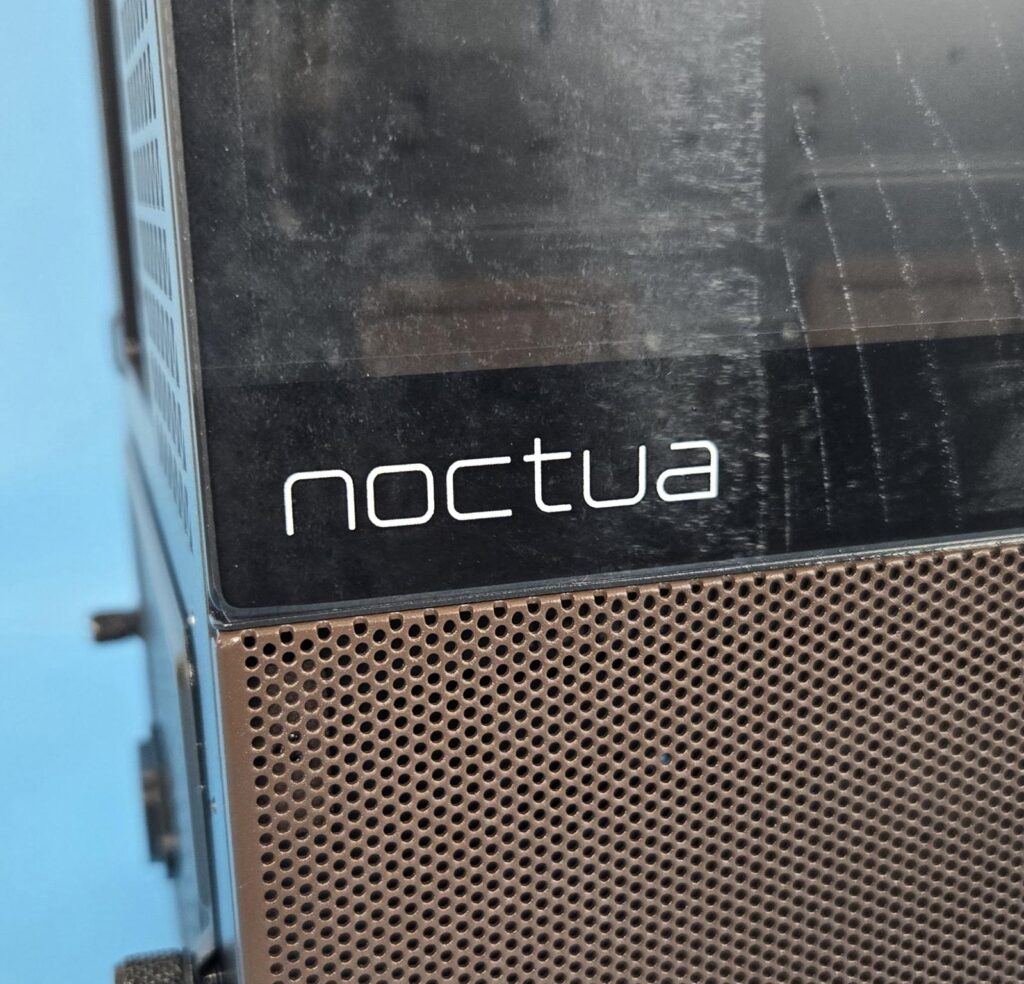
Noctua is taking pride in this design as Noctua branding is visible on three prominent places. This case supports a motherboard up to the E-ATX form factor with a maximum width of 285mm. Too bad, this case does not support the backplug motherboards, which are increasingly becoming a new standard. The storage provision is up to 4x 2.5”/3.5” and up to 2x 2.5” drives or a combination thereof. The brackets are removable.
This case has an MSRP of USD 399.90 /which is quite a premium price tag but can be justified since we know that the included 6x flagship fans, NA-EC1, NA-EC3, and NA-FH1 fan hub all contribute towards the price tag. Noctua offers a 6-year warranty on PC cases, Fans, and fan hubs. You can also purchase it on Amazon UK for £348 at the time of writing this review.
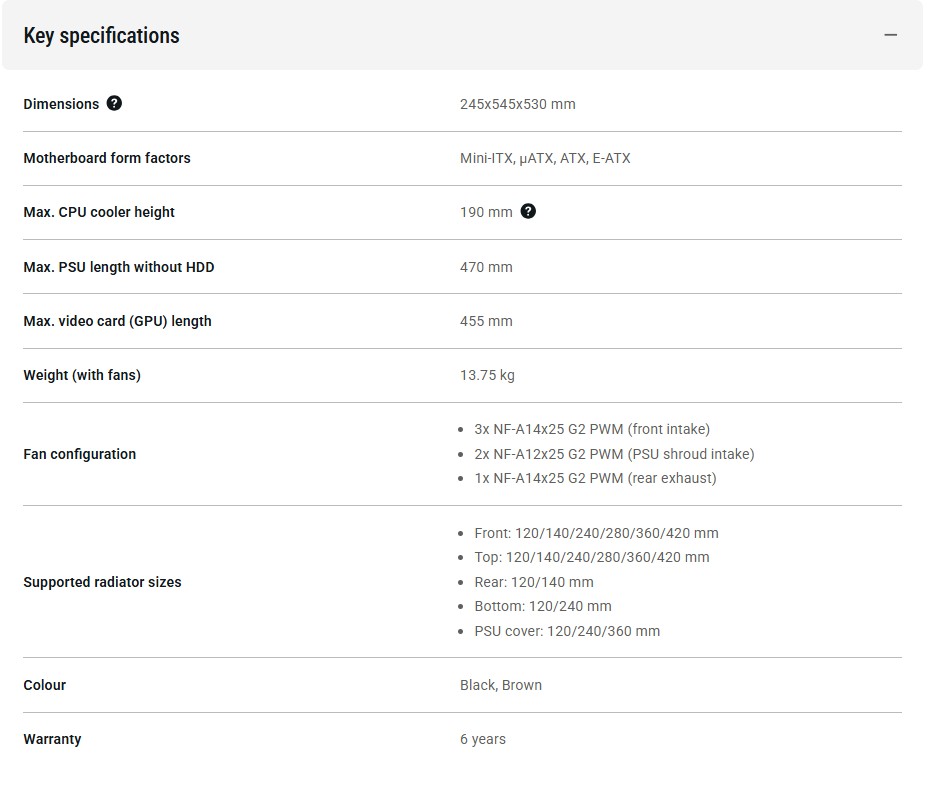
Specifications
Packaging and Unboxing
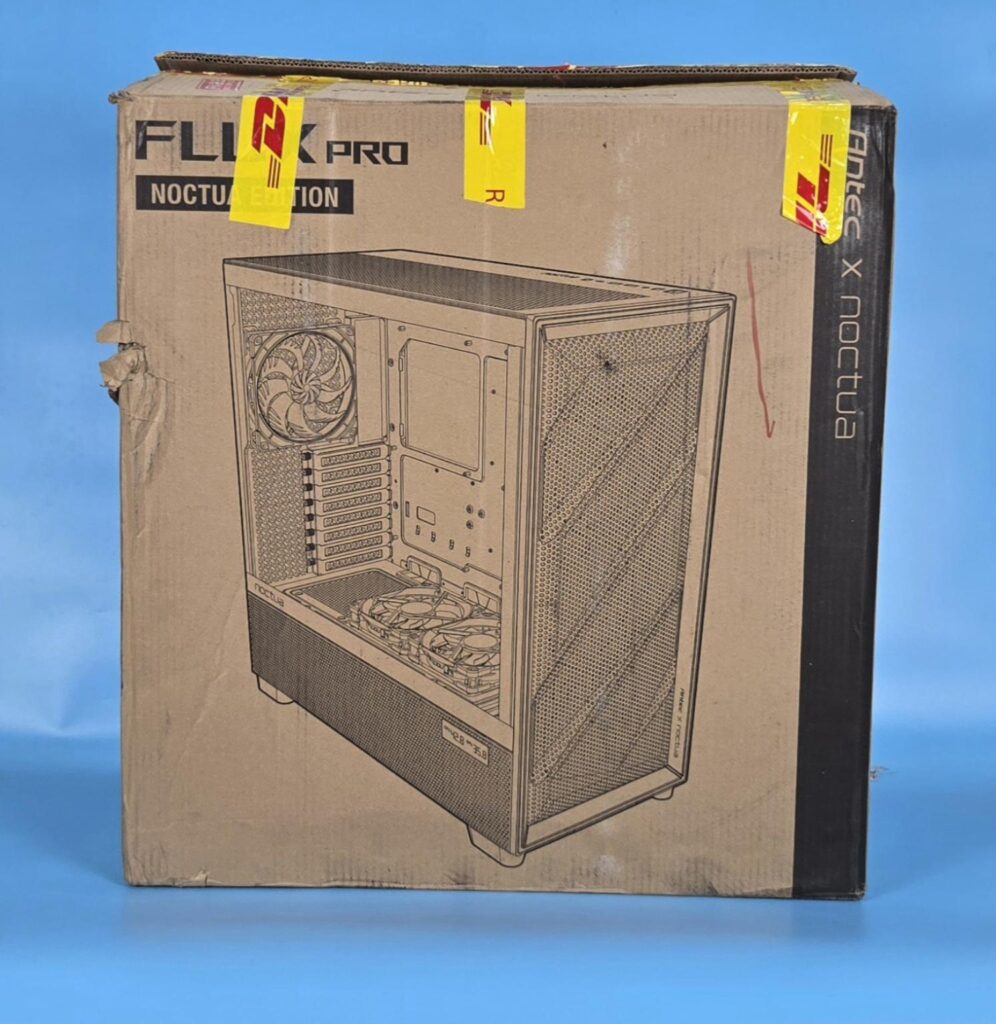
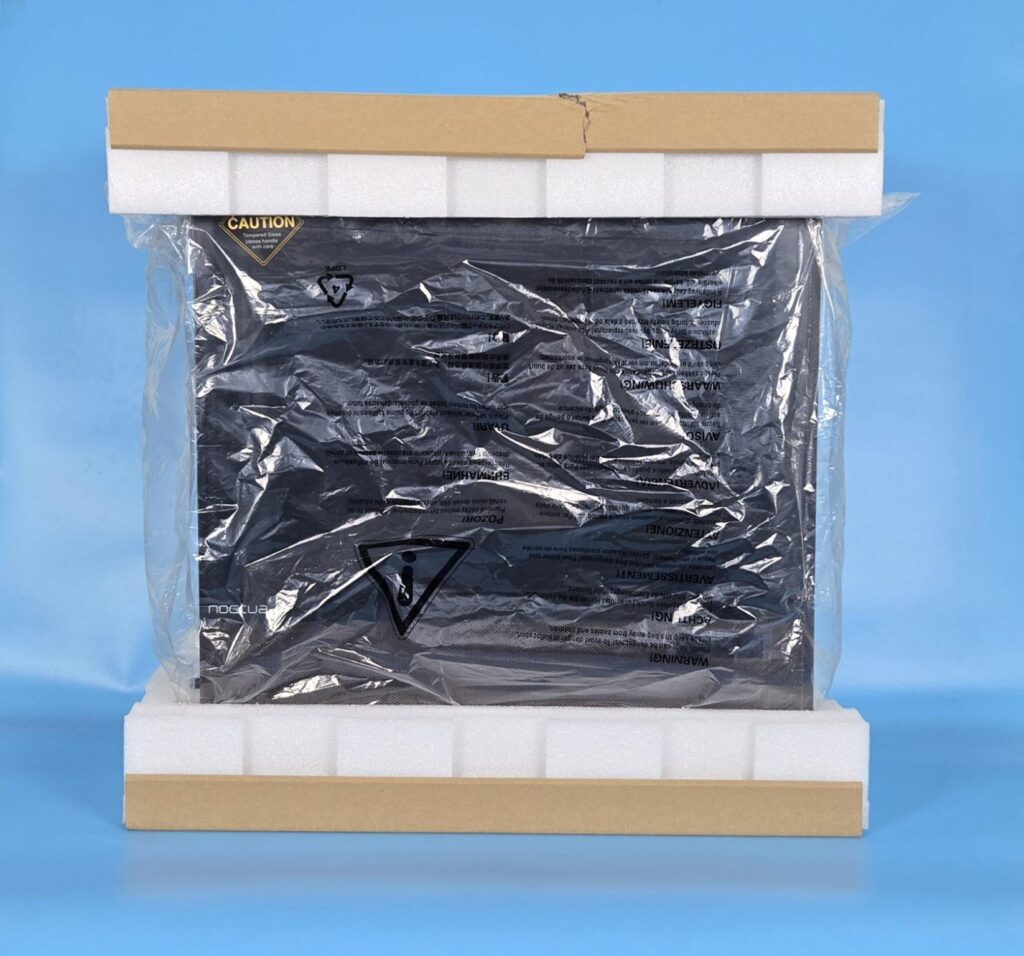
The case is shipped inside a standard cardboard box finished in brown. The features and specifications are also listed on the box. Two thick white styrofoam pads sandwiched the case for safe shipping. I like the idea of reinforced pads for added strength.
Accessories
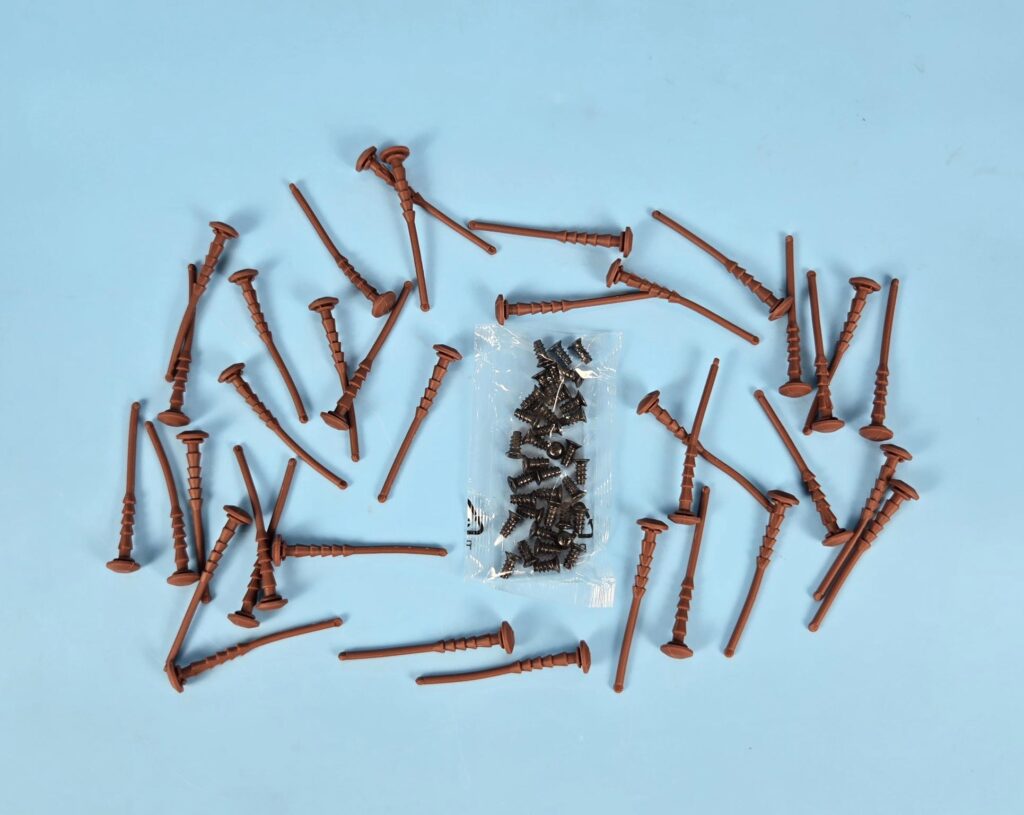
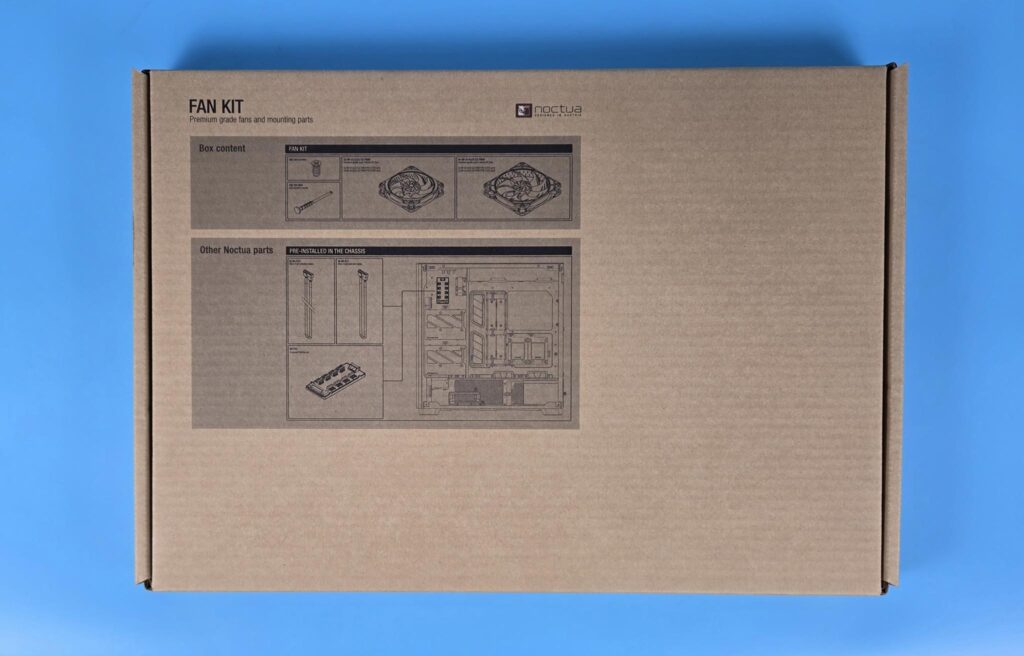
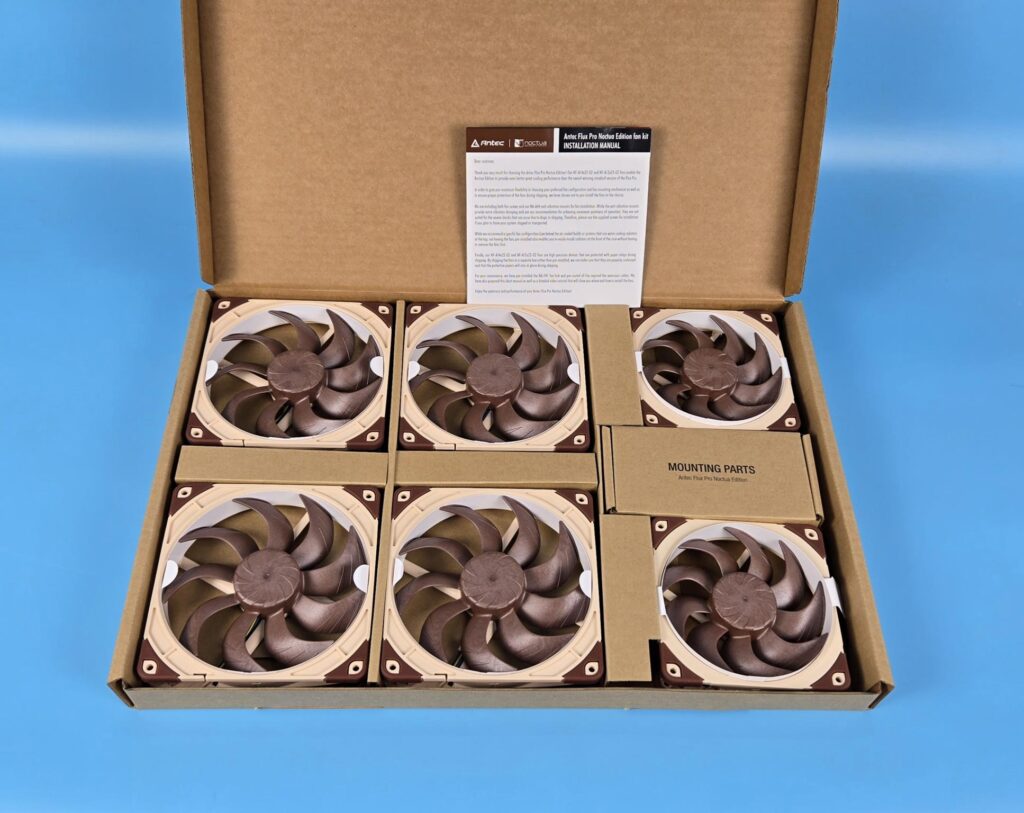
Noctua has provided two boxes in the main shipping box. One case has:
- 2x NF-A14x25 G2 PWM PPA
- 2x NF-A14x25 G2 PWM PPB
- 1x NF-A12x25 G2 PWM PPA
- 1x NF-A12x25 G2 PWM PPB
- 36x NA-AV4 anti-vibration mounts
- 36x NM-SFS1 fan screws
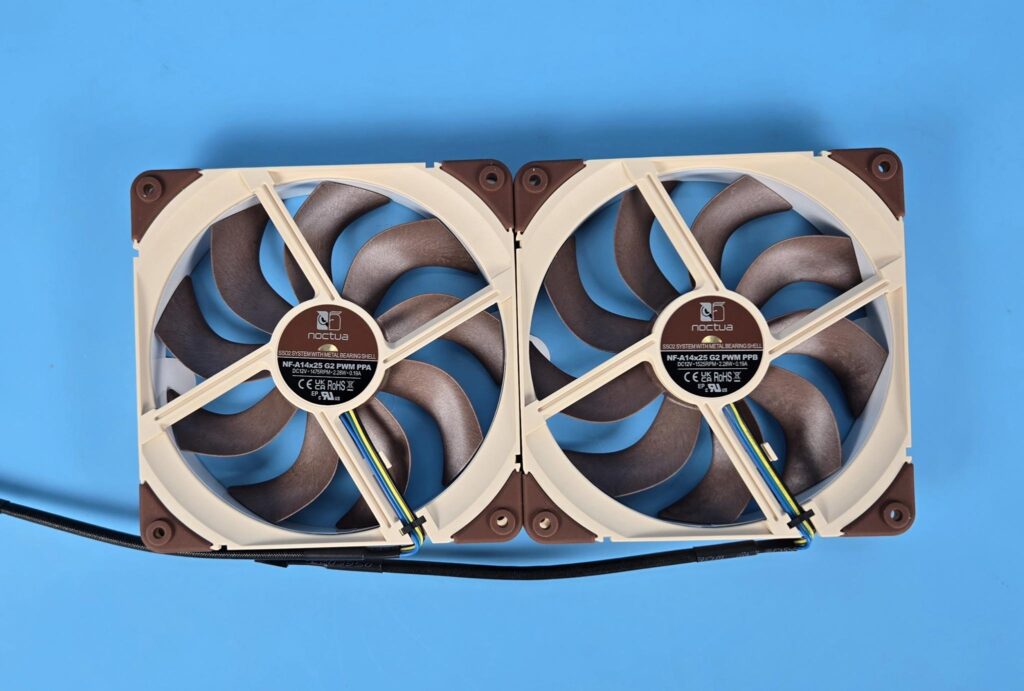
In case you are wondering about the PPA and PPB. These fans run at slightly different speeds, creating an offset for acoustic optimization. The slight speed offset between adjacent fans helps to avoid periodic humming or vibrations due to beat frequencies.
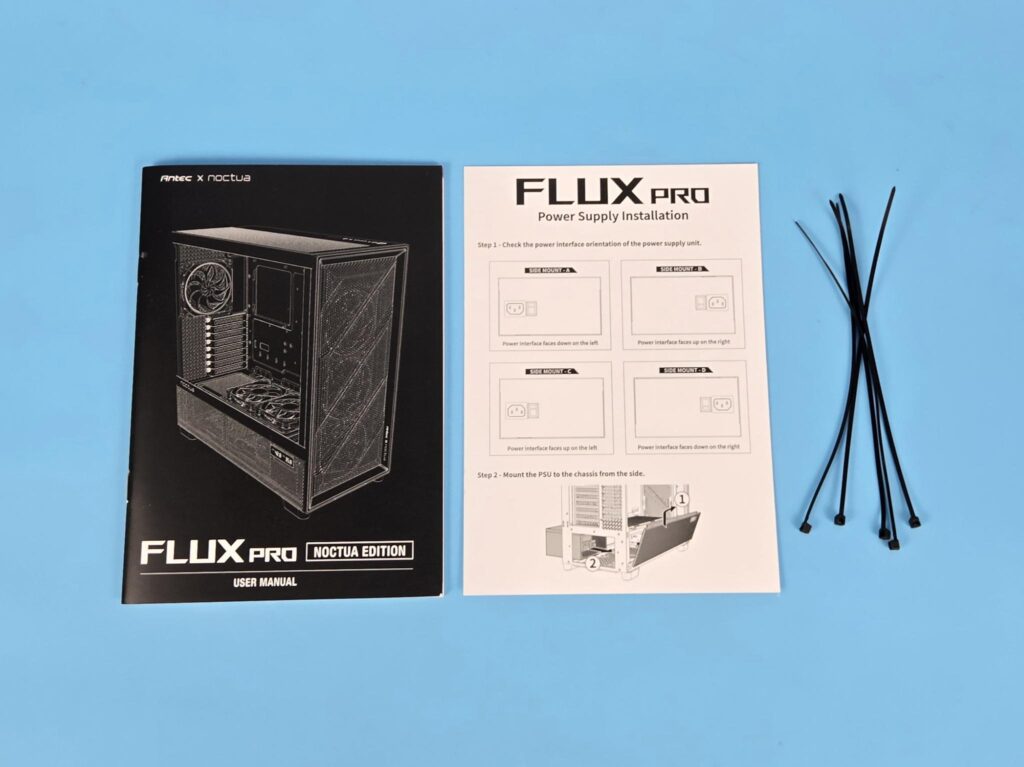
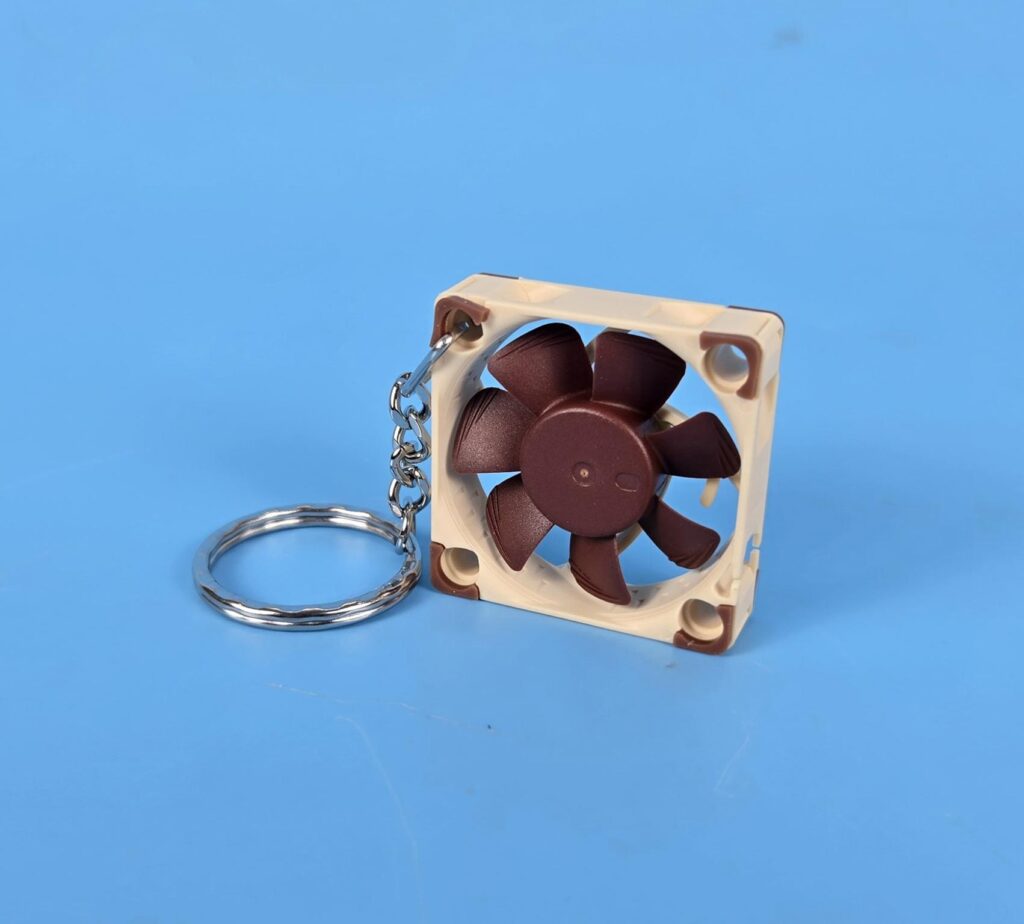
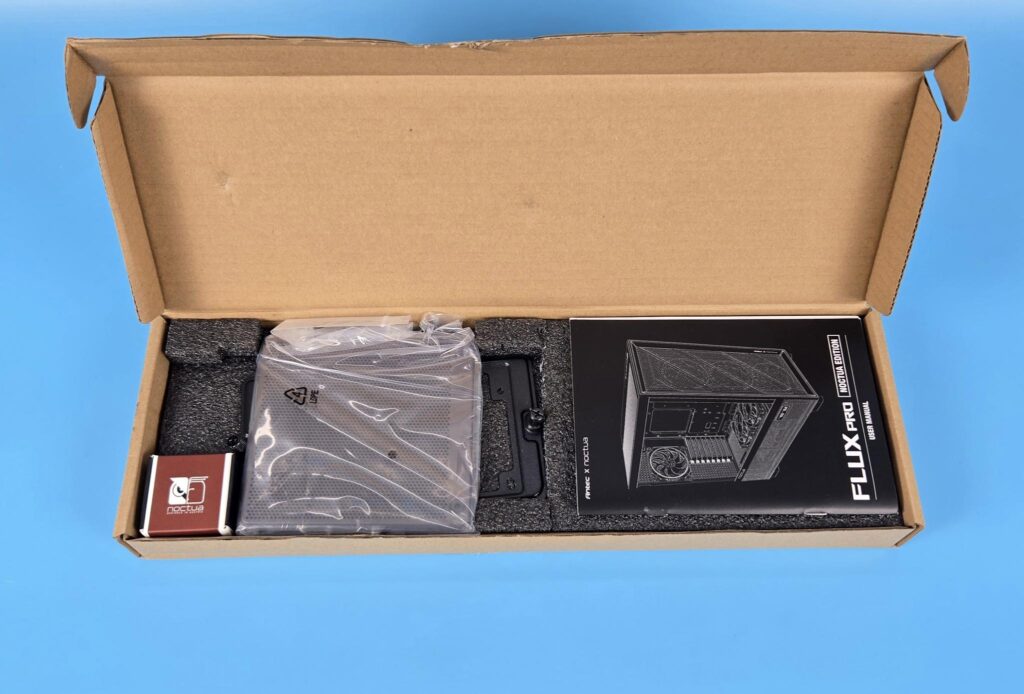
The other box has the following:
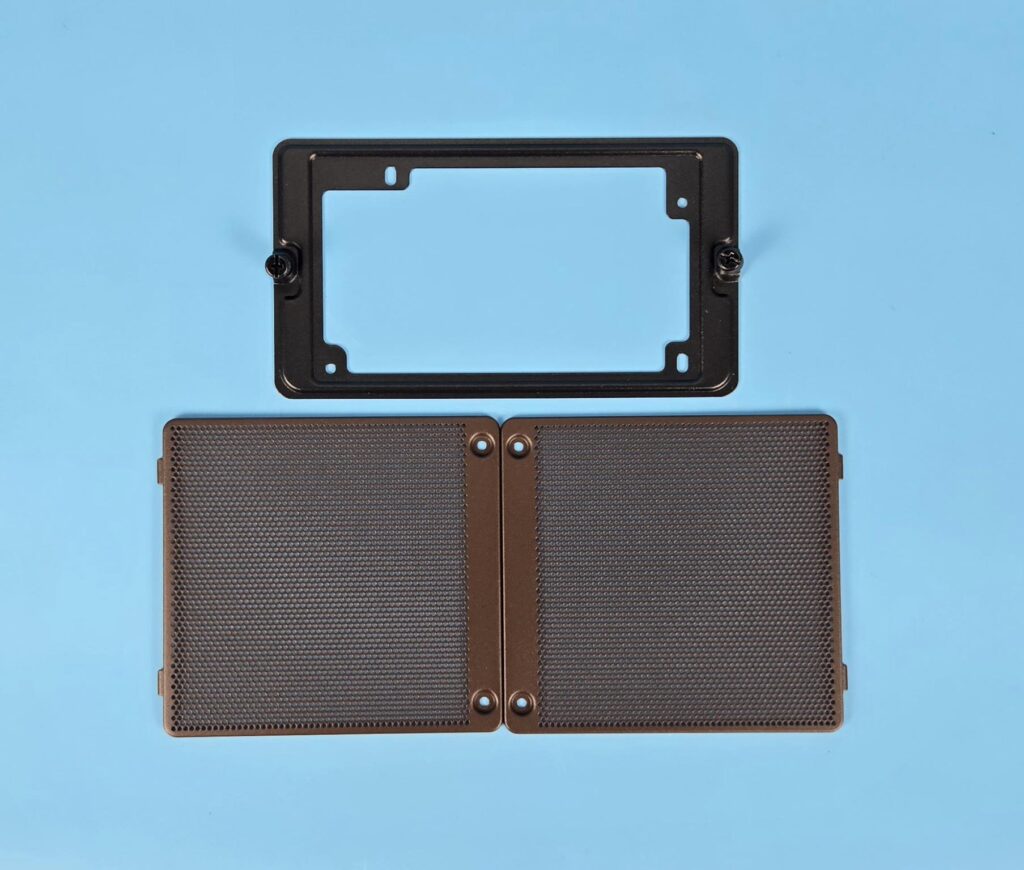
- 1x Standard PSU Bracket
- 2x PSU Shroud Covers
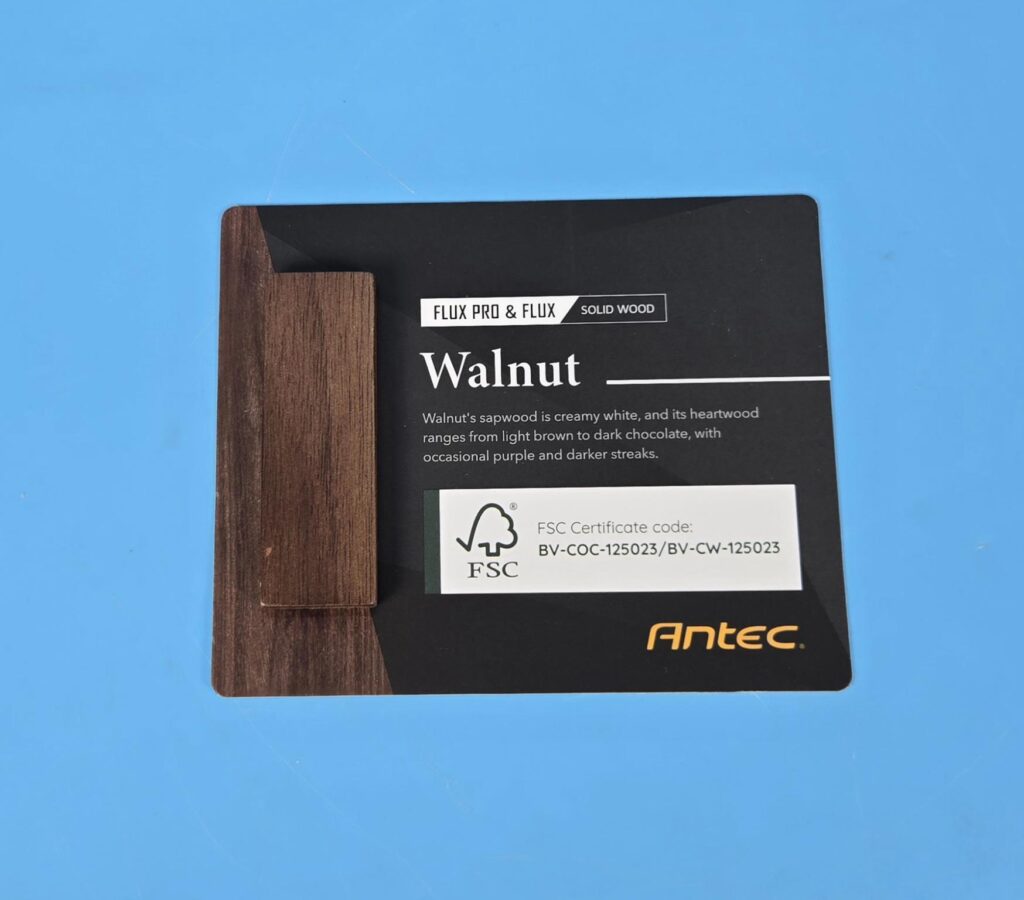
- 1x Authentication on the Walnut wood used on the front frame
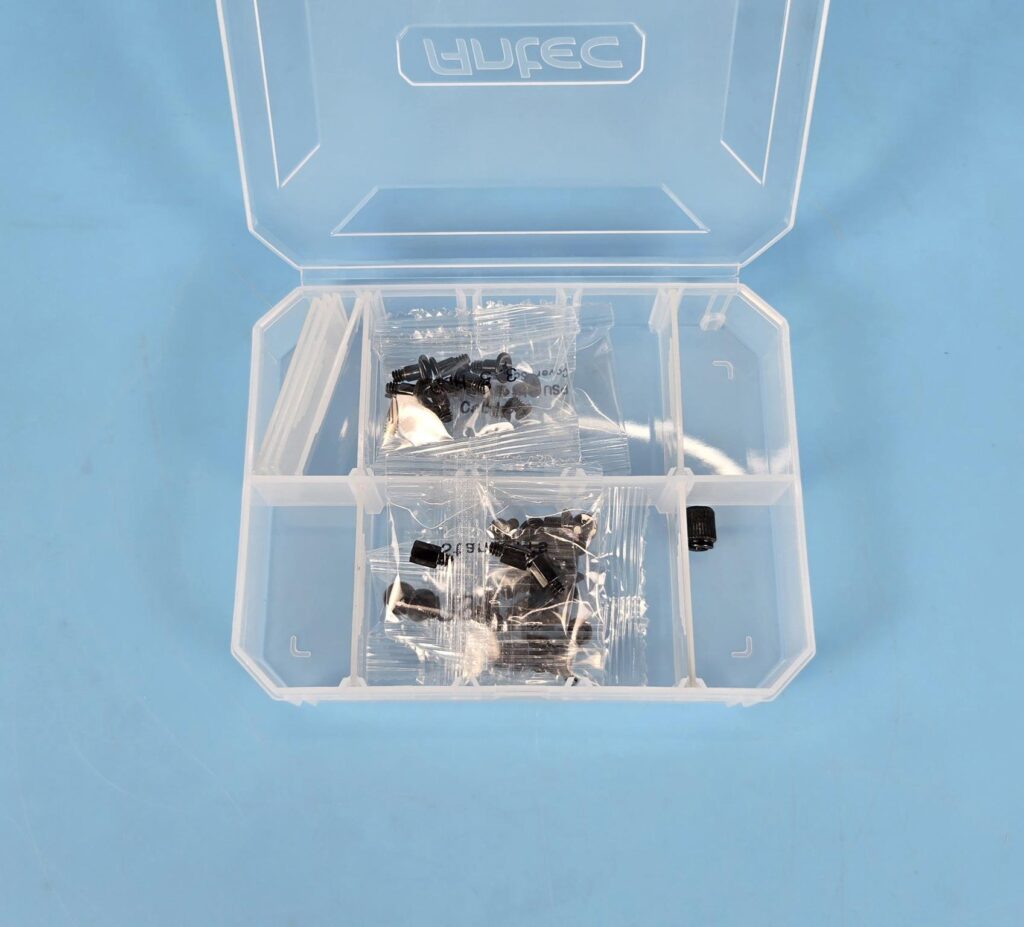
- Various Screws
- Standoffs
- Standoff Socket
- Zip Ties
- Detailed User Manual
- Power Supply Installation Brochure
- 1x NP-KC1 key chain
Closer Look
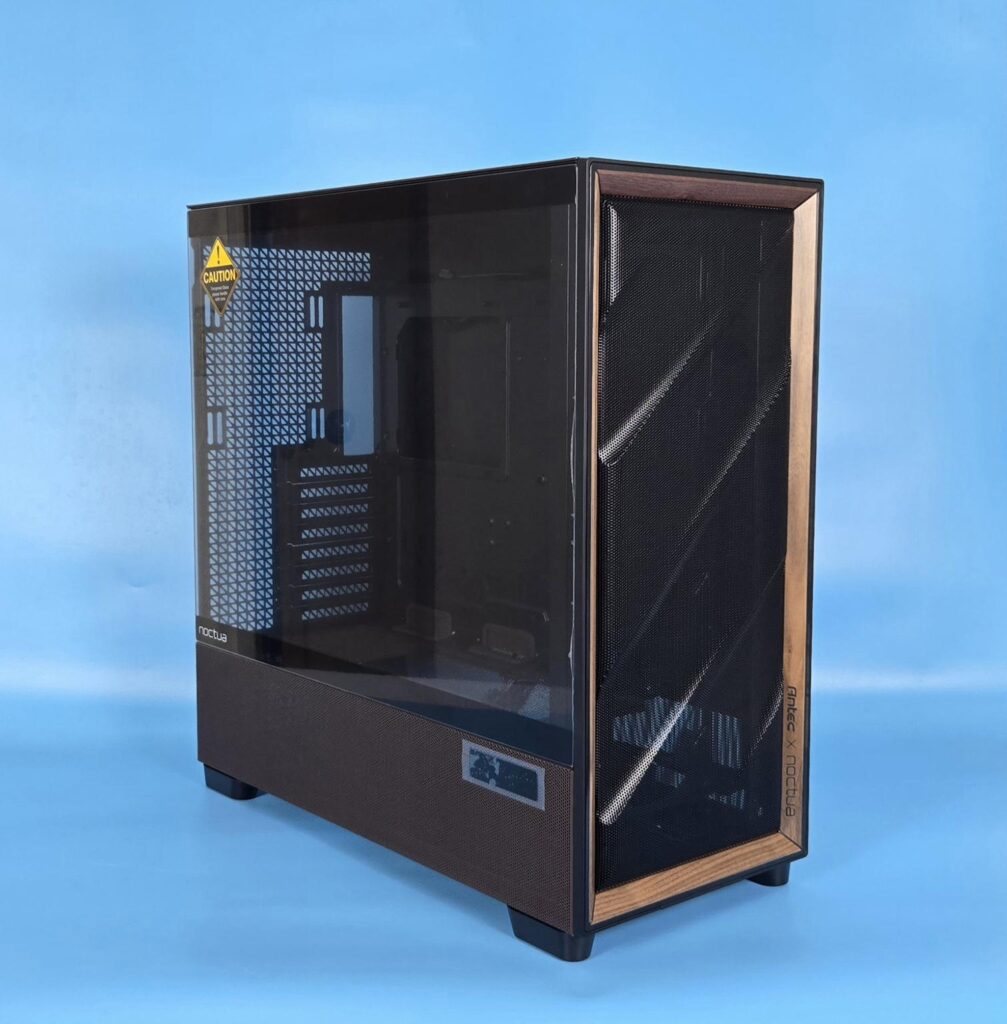
The Antec Flux Pro Noctua edition is a full tower with dimensions of 245x545x530mm (WxHxL). Its height without feet is 523mm. The 22mm lift from the feet is good enough to provide breathing space for the floor-mounted fans (optional) and to easily lift the case. Its weight with fans is 13.75Kg and 12.46Kg without fans. It is made of:
- 1mm Steel
- 4mm Tempered Glass
- 1mm Mesh
- FSC Certified Walnut Wood on Front Panel
- Steel Mesh
- Plastic
- Silicone for Grommets
I cover the case from an external aspect, followed by the internals. Let’s start.
Exterior View – Front of the case
Let’s start with an exterior view of the chassis, starting from the front.
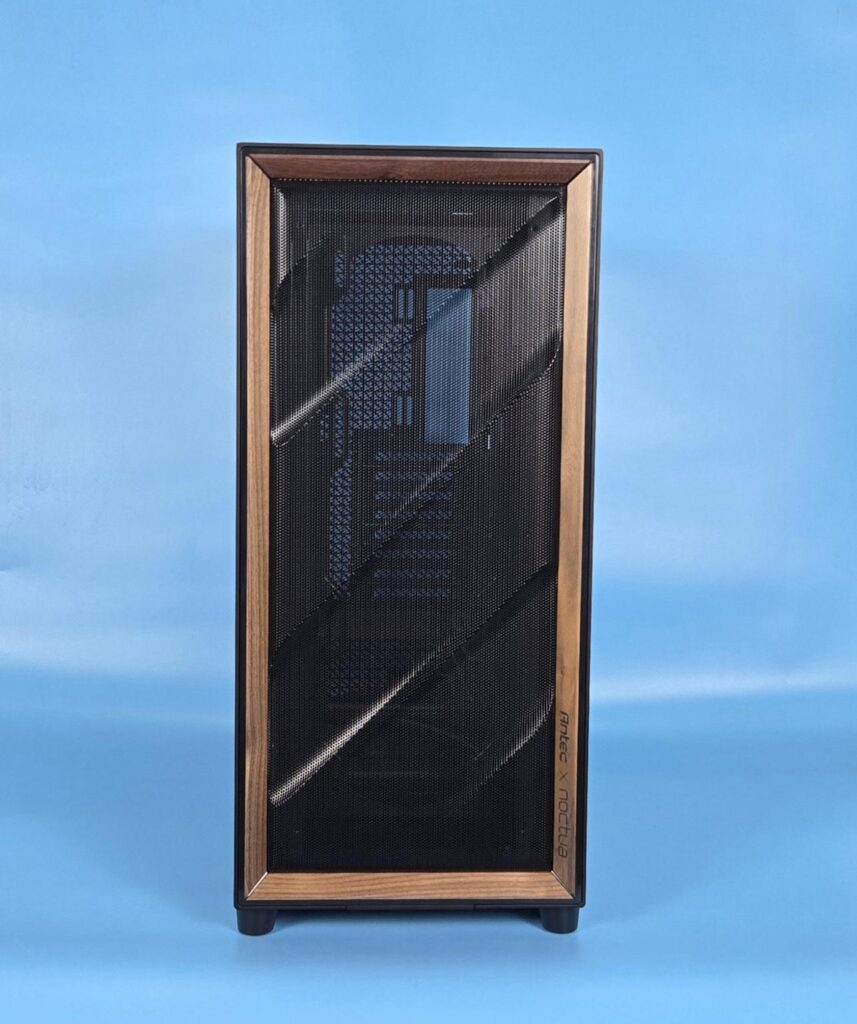
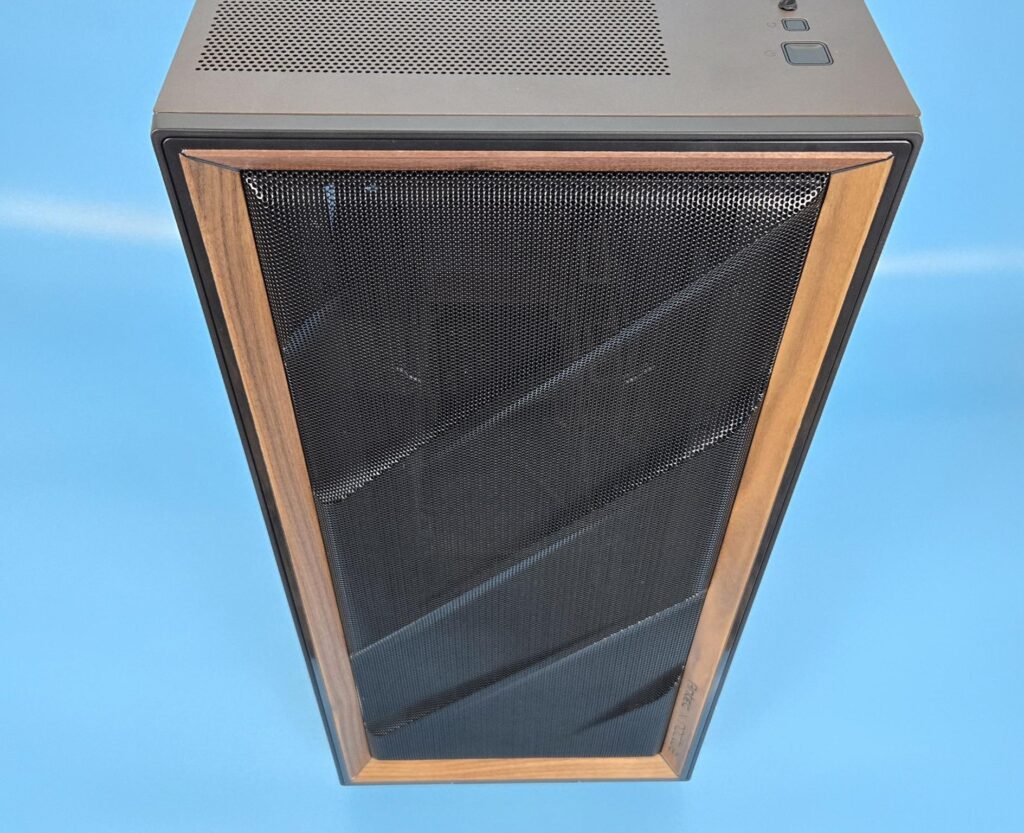
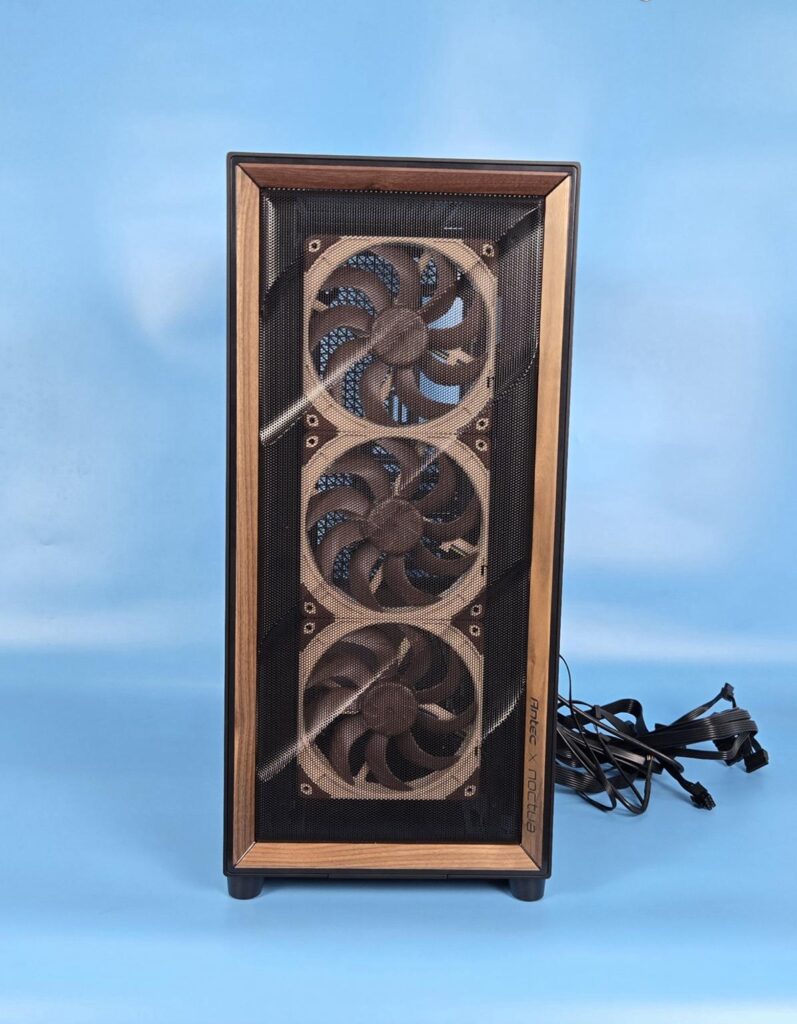
The front of the case has a stylish mesh on the front which depicts a wave pattern. The stylish Walnut wood paneling on the side frame is exquisite. The Antec x Noctua branding is visible on the right lower side of the wooden frame. The brown-colored wood blends well with the Noctua’s tan and brown color scheme.
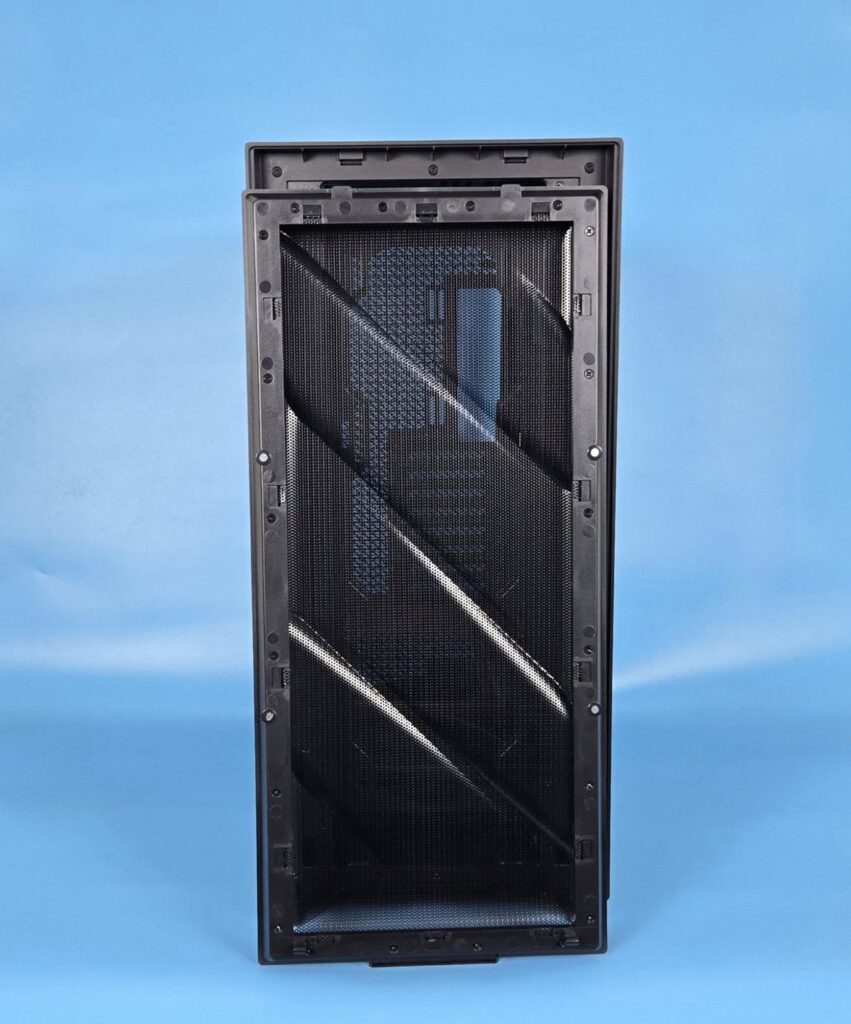
The mesh panel has a magnetic attachment, making its handling convenient. Removing it shows the pre-installed fan bracket. This bracket is secured using 6x Philips screws. In terms of cooling gear, the following is supported:
- Up to 3x 120mm Fans
- Up to 3x 140mm Fans
- Up to 1x 360mm or 420mm Radiator
The total space available for fan and radiator assembly on the front is 90mm, which is amazingly ginormous.
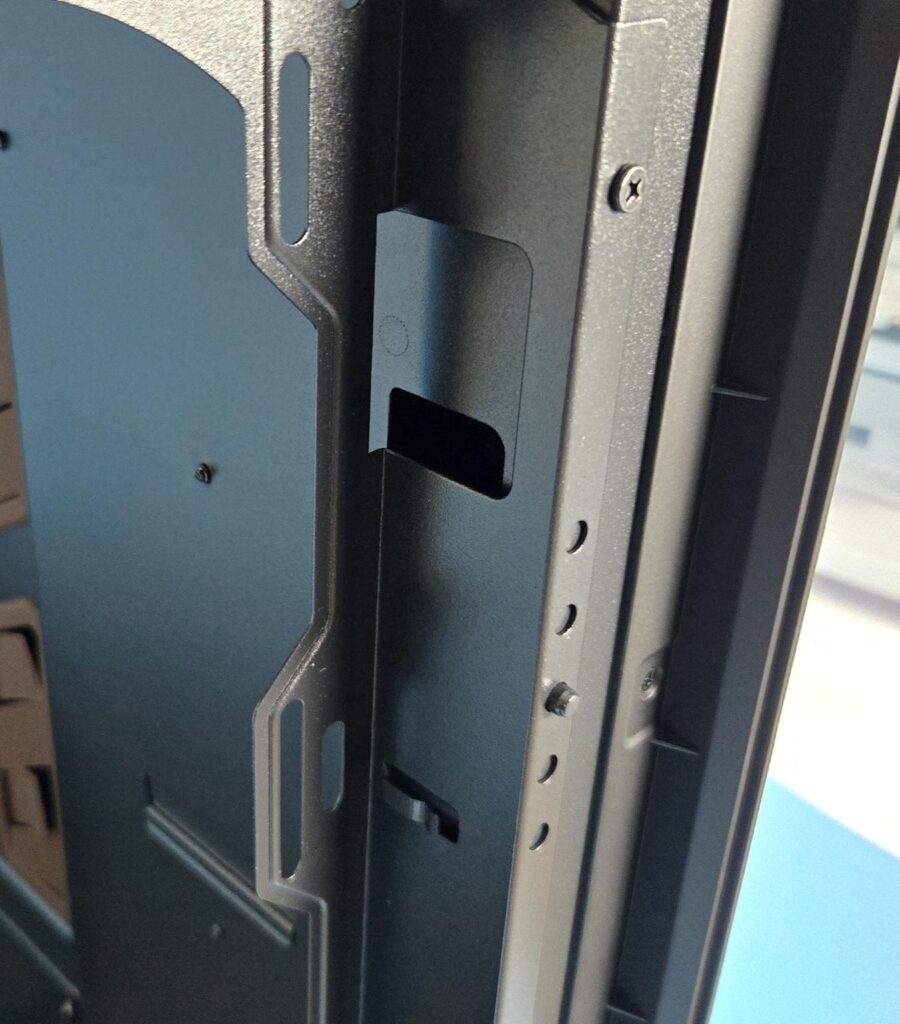
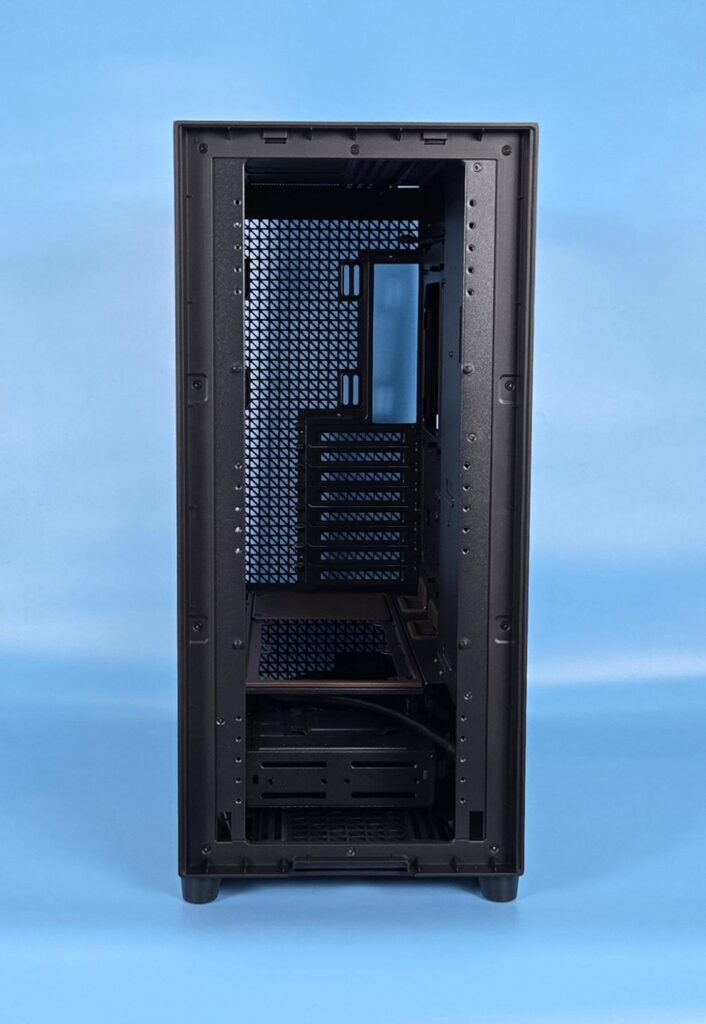
The right side of the main frame has cutouts to route the fans’ cables. It is a strategic design, making it a perfect fit to route the cables and, at the same time, hiding them. Noctua has specified that the fans are so that cables are on the right side.
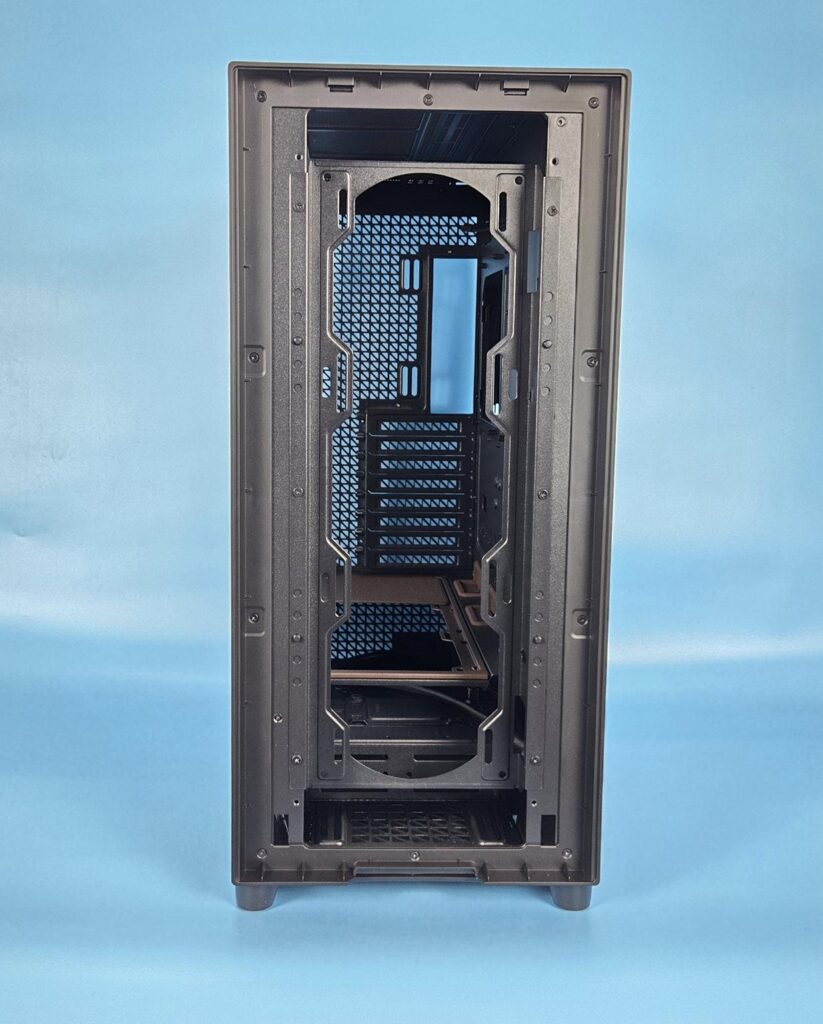
Removing the bracket shows the completely exposed front. This now becomes interesting.
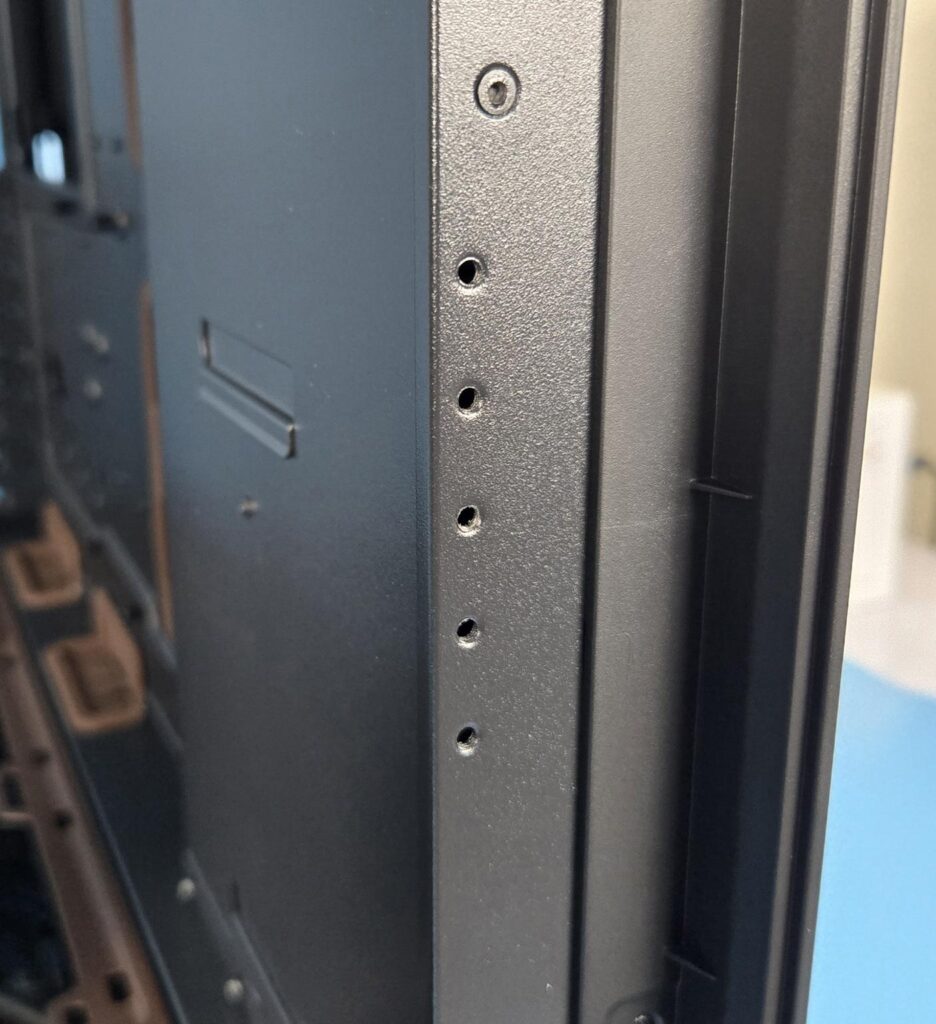
A careful observer would notice a set of 5 mounting holes. These are provided so that you can adjust the height of the bracket to make room for a top-mounted fan/radiator assembly, depending on the size and thickness. Here is a detail:
- Use position number 3 from top for standard size (27mm) 360mm radiator and 25mm fans on top.
- Use position number 4 from top for standard size (27mm) 420mm radiator and 25mm fans on top.
- Use position number 5 from top for 45mm thick 420mm radiator and 25mm fans on top.
- Use position number 5 from top for 45mm thick 420mm radiator and 30mm thick fans on top.
Let me iterate that the above clearance on the front is for the top-mounted fans/radiator size/thickness.
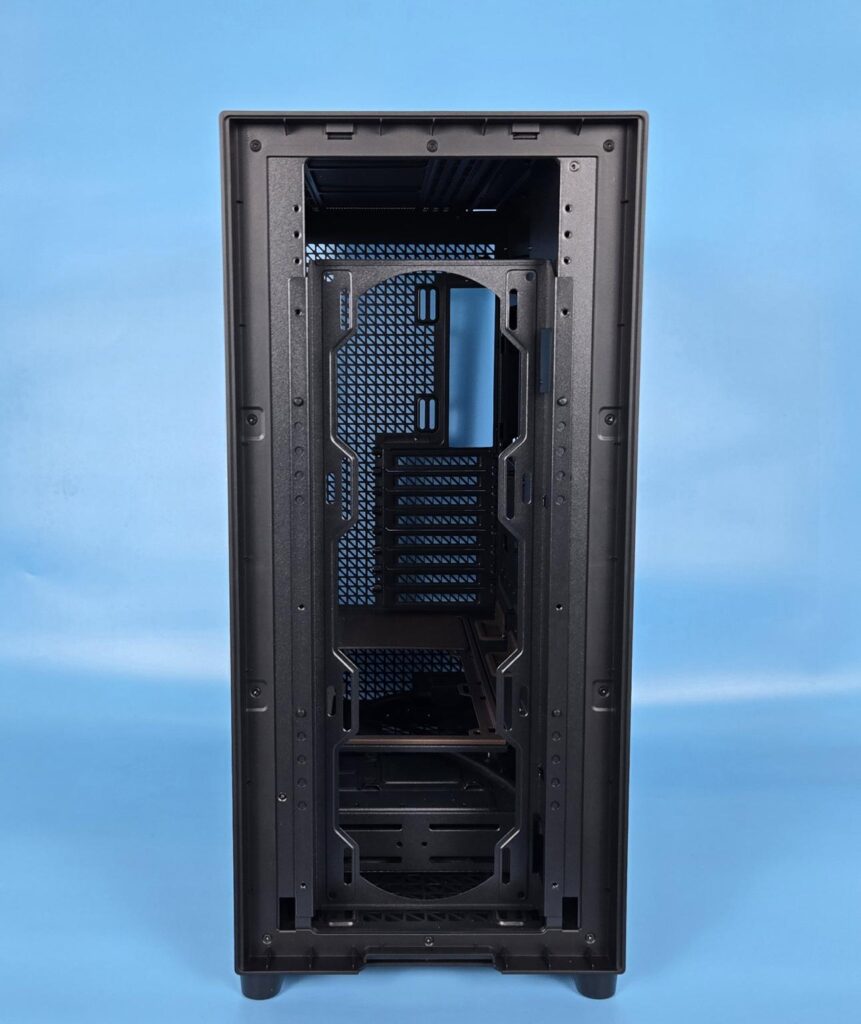
I have placed the bracket in position number 5, thus making the bracket almost sit on the floor, leaving a good enough room on top for the top-mounted 45mm thick radiator and 30mm fans.
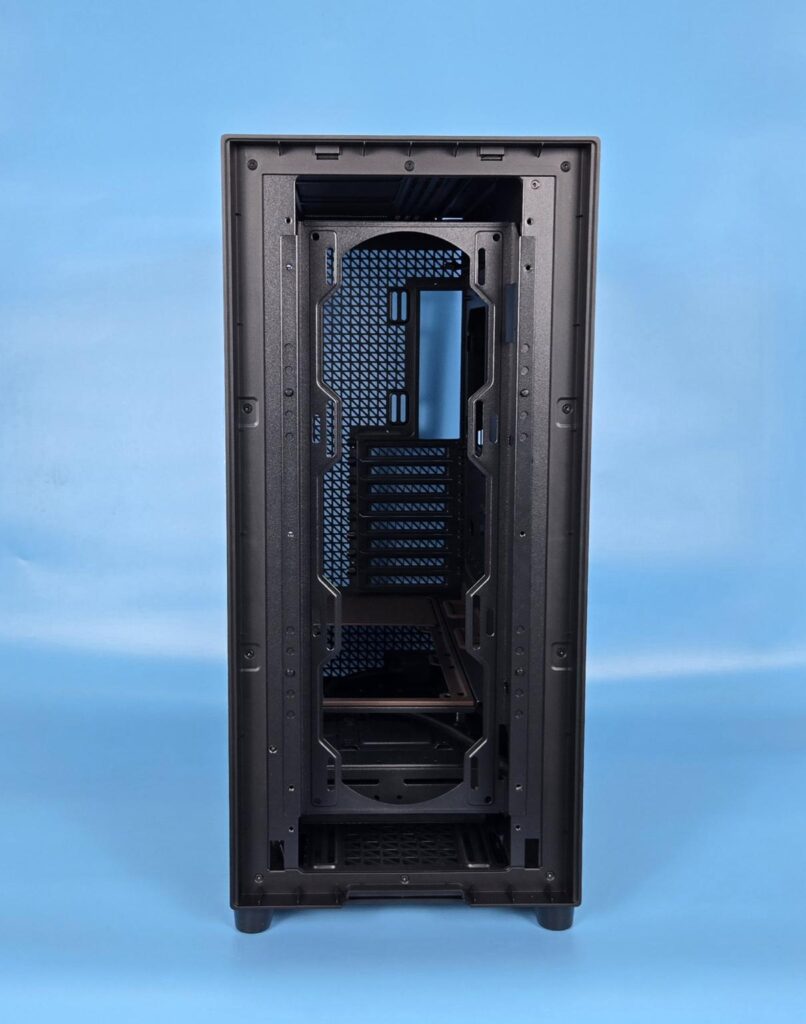
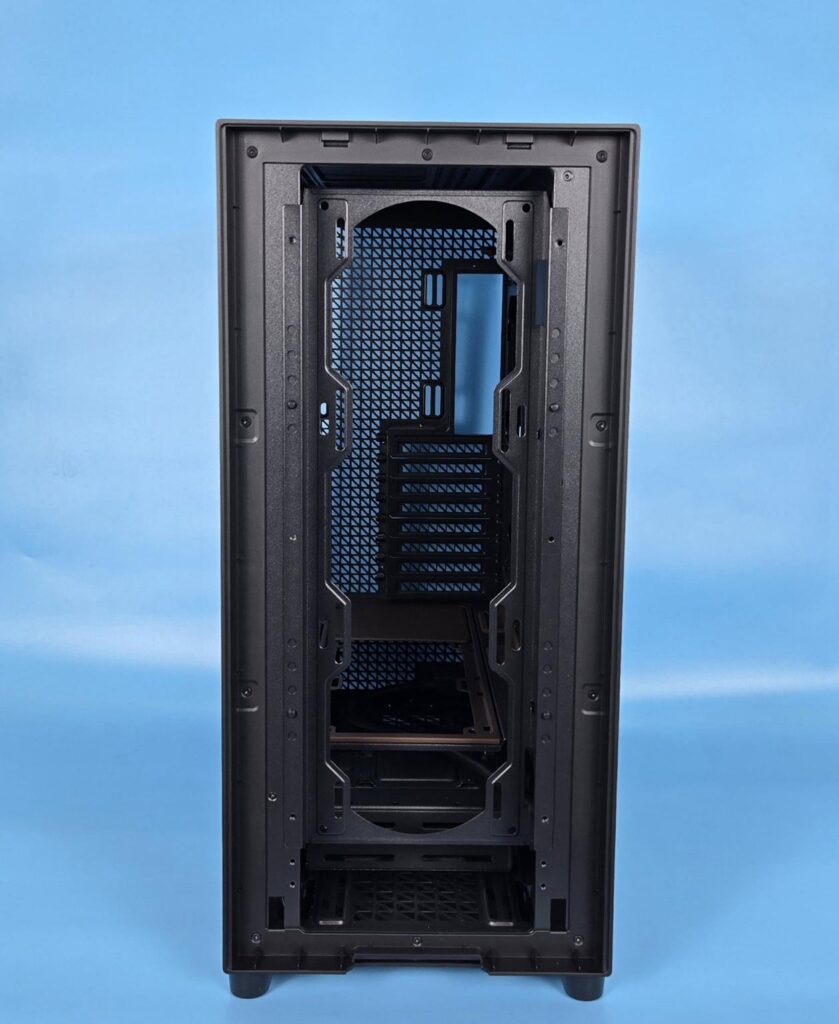
You can adjust the height of the bracket as per the requirement to make room for the cooling gear on the top.
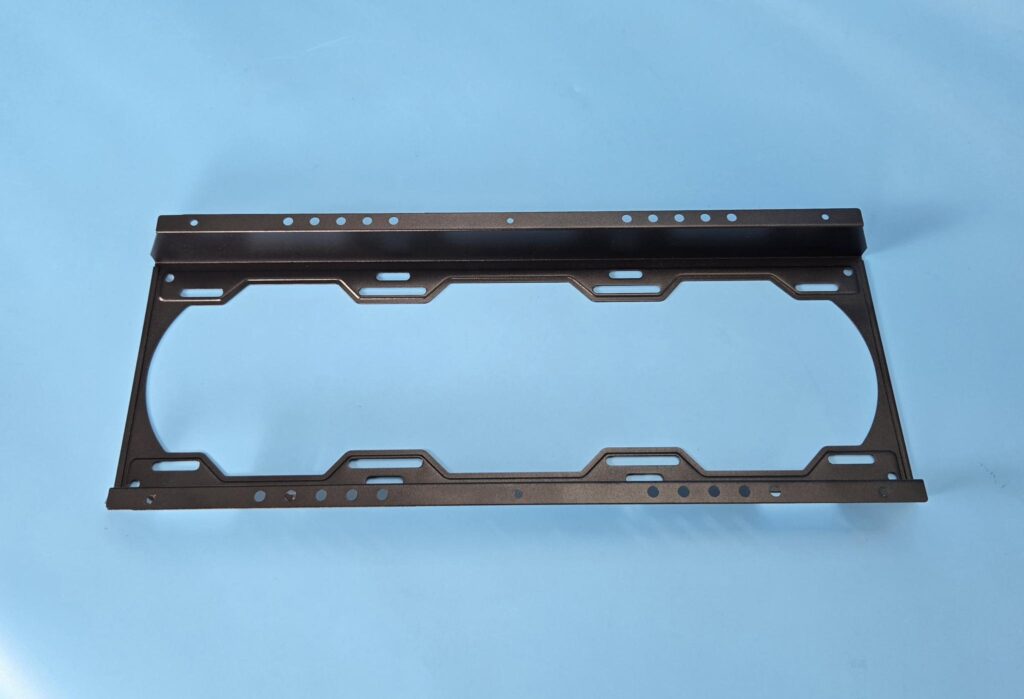
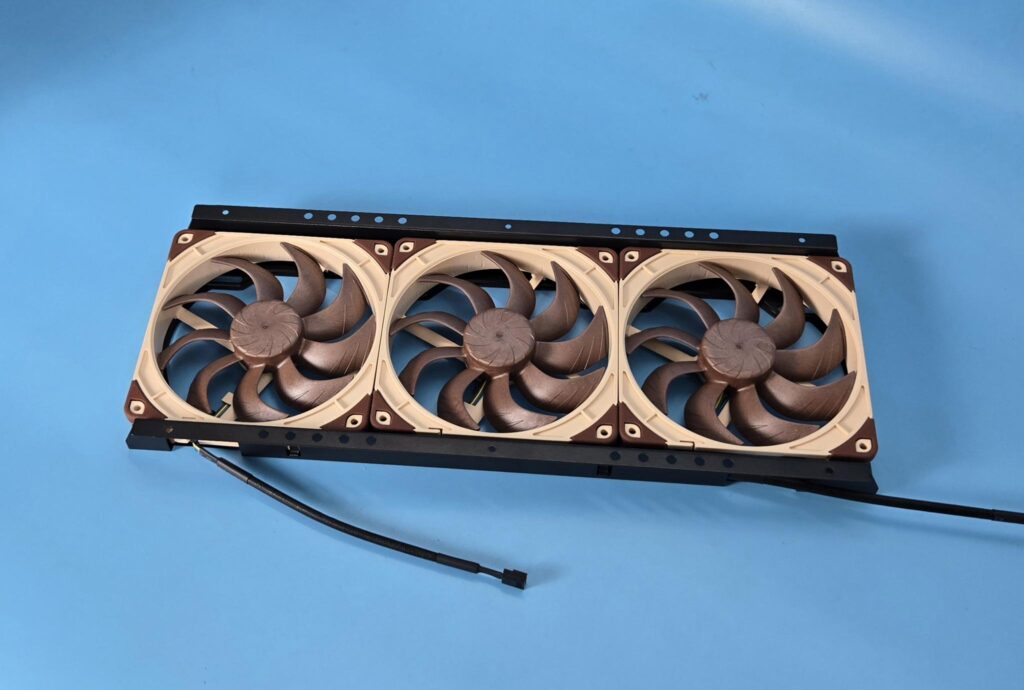
Since the bracket is removable, it makes the fans and radiator installation convenient.
Rear View of the Case
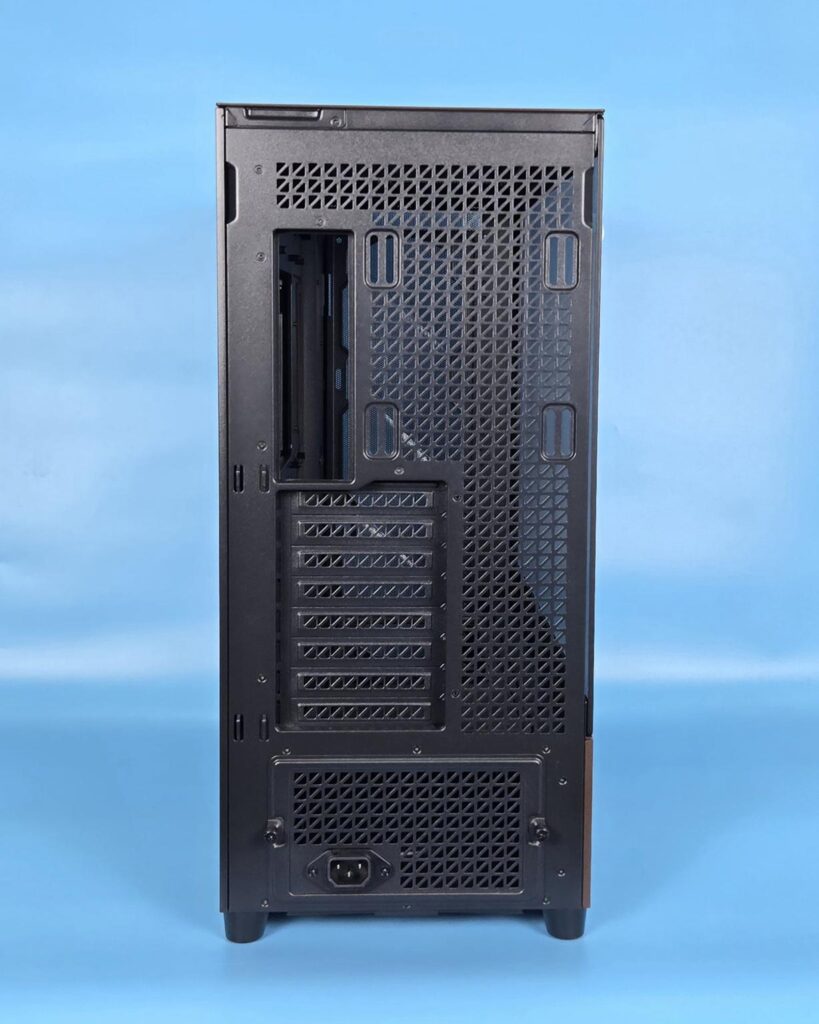
A total vented area is provided on the rear of the case. Looking closely, you can identify a pattern of opposing triangle design on the vents. The top area is vented. This area faces the top of the motherboard (from inside the case).
The main cutout provides room for the IO plate of the motherboard. Rail mounts are provided for the 120mm and 140mm fans. You can also install a 140mm radiator on the rear as per the requirement. I like the flexibility to adjust the height of the fans on the rear.
8x PCIe slots are placed inside the case, and these have vented/reusable covers. Both side panels use latching to close on the main frame; no thumb screws are needed. You can see two insets on the top of opposite ends behind the panels. This is where you place your hand to open the panels.
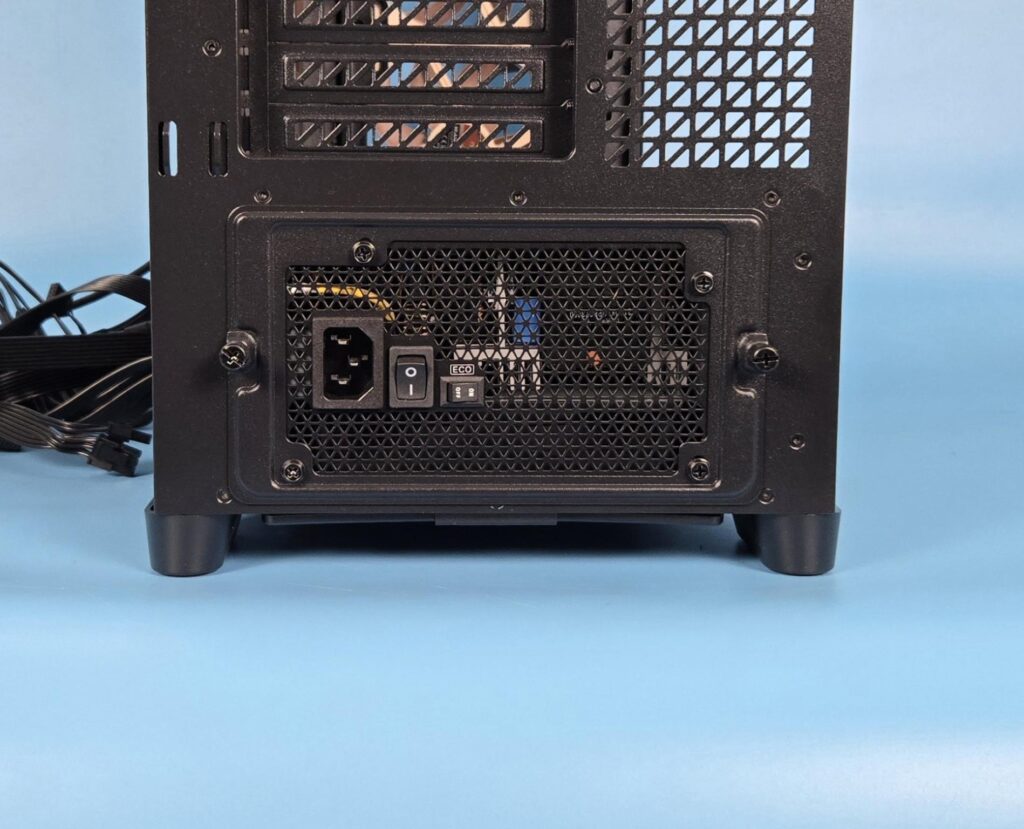
The bottom has a standard ATX PSU area. The bracket seems different as it has a 3-pin socket on the base.
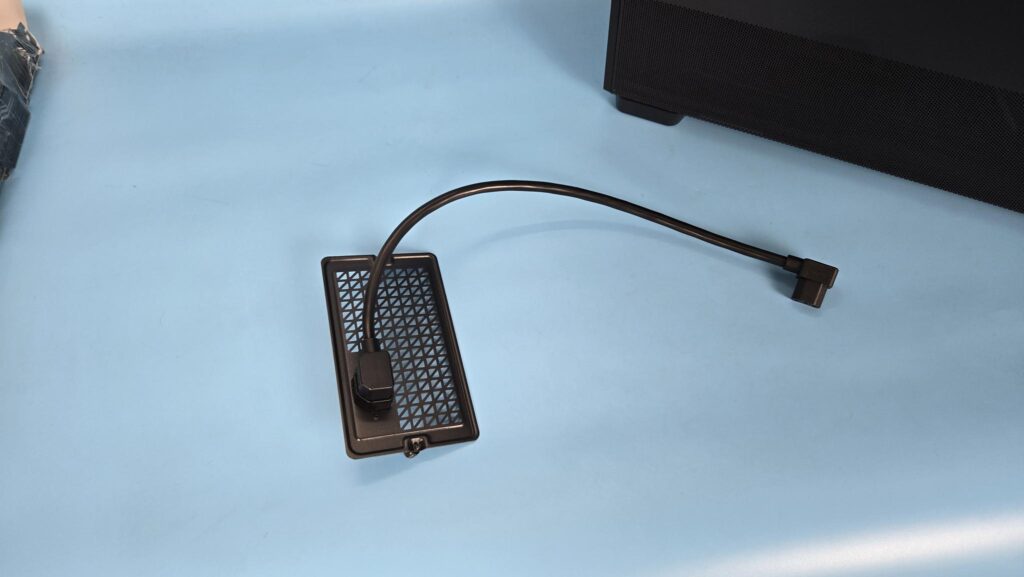
There you see the bracket and the pre-installed internal power cable or cord. This case supports the PSU in a 90° rotation for which this bracket and cable would be required. You can check the provided paper for the orientation of the bracket, subject to the placement of the PSU. Noctua has also provided a standard bracket in the accessories, which allows you to install the PSU in a standard layout.
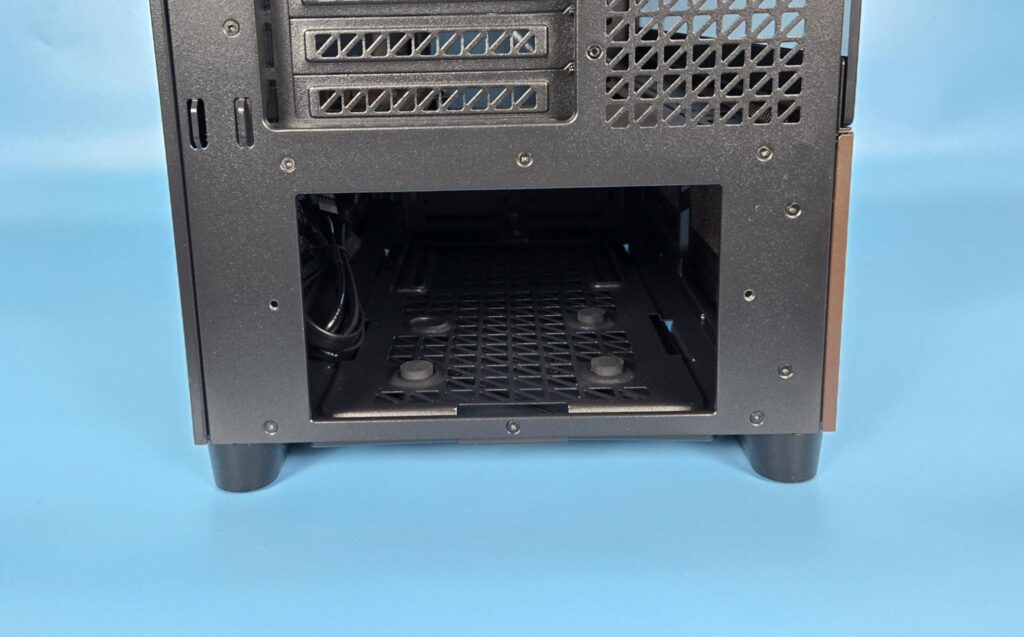
I am showing the PSU bay from the rear after removing the bracket. Look closely, one rubber foot is missing in the PSU area.
Bottom View of the Case
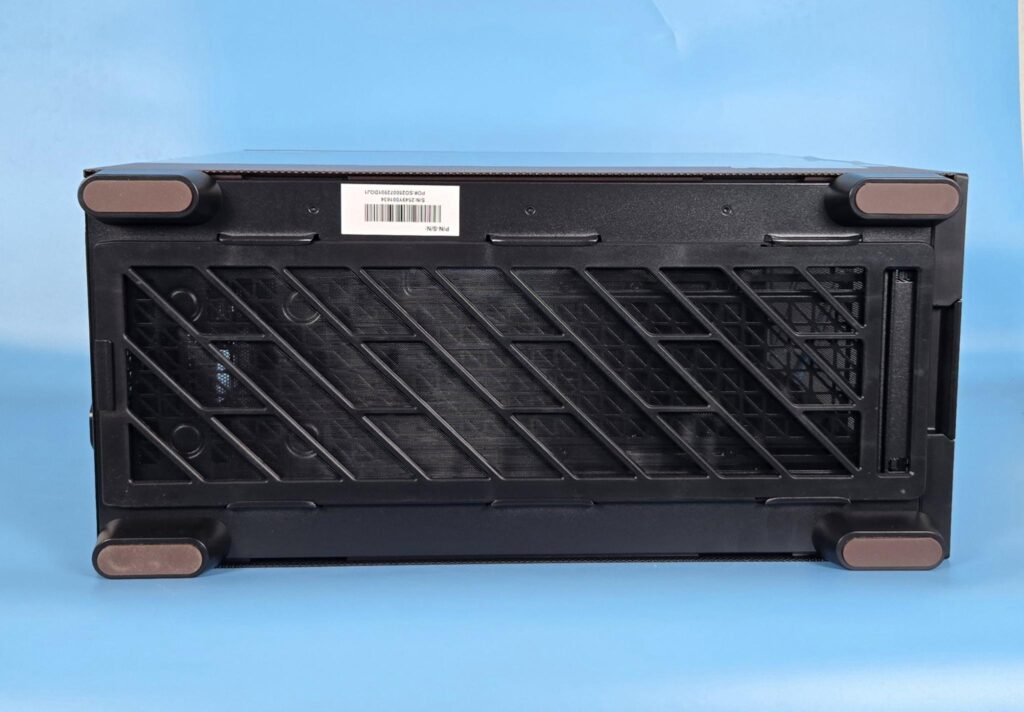
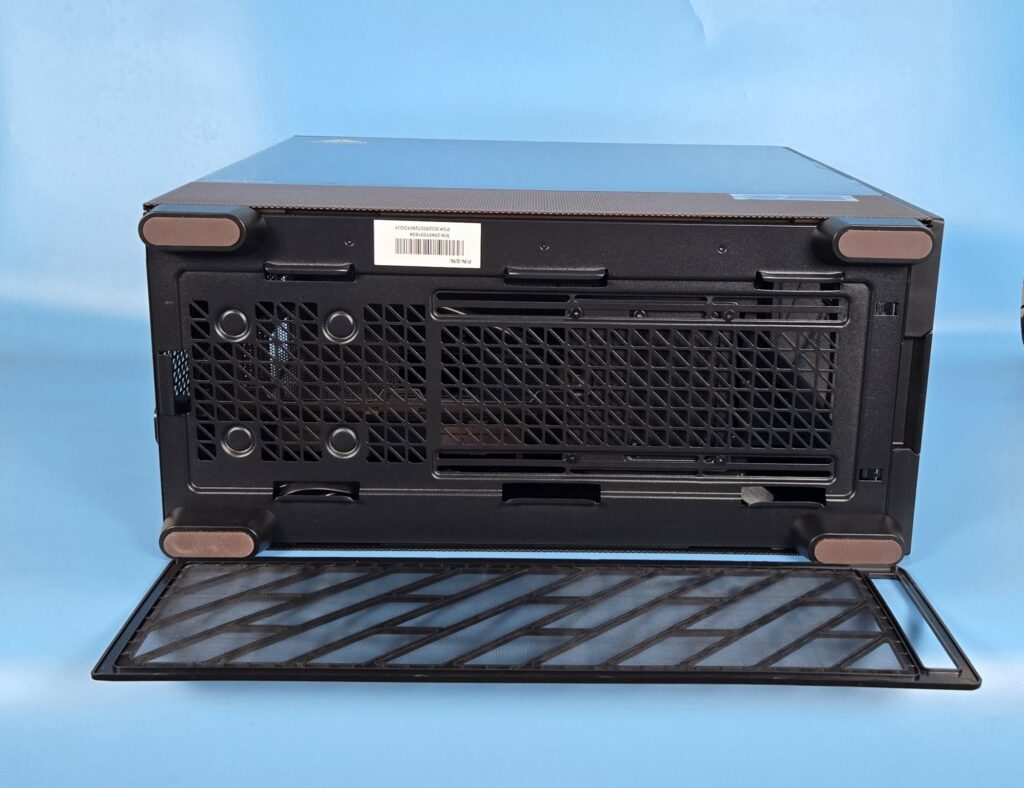
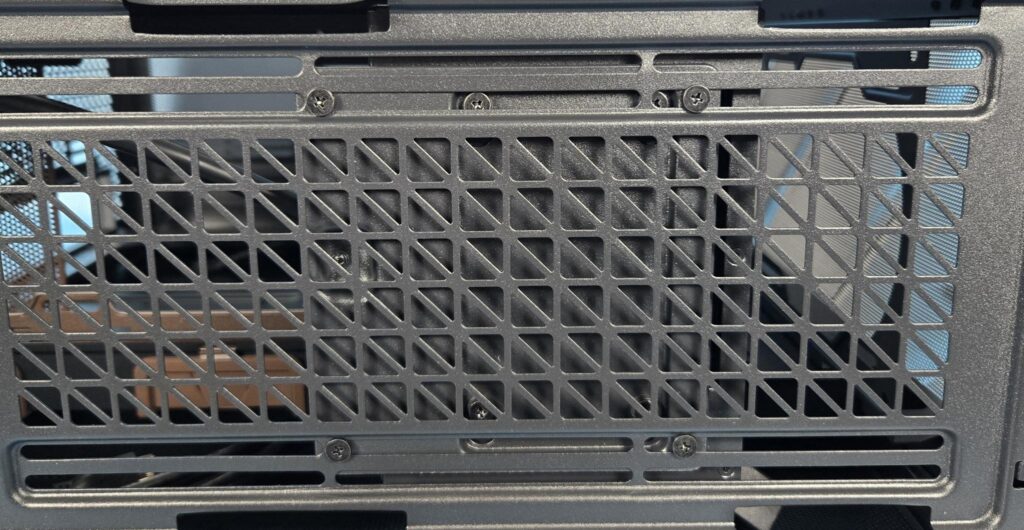
You can see a full-length dust filter on the bottom, which is handled from the front side of the case. The complete area is vented, which is a wise move. The area next to the PSU bay has dial mounts indicating that you can install fans and a radiator here. The details are:
- Up to 2x 120mm or 140mm fans
- Up to 1x 240mm radiator
Also, you can see 4x screws securing a bracket on the floor. This bracket holds the drive cage. Both are removable, but do take the bracket out initially if you plan to install cooling gear on the floor. Did you notice the brown/tan-colored rubber feet? Noctua has been paying attention to the minute details.
Top View of the Case
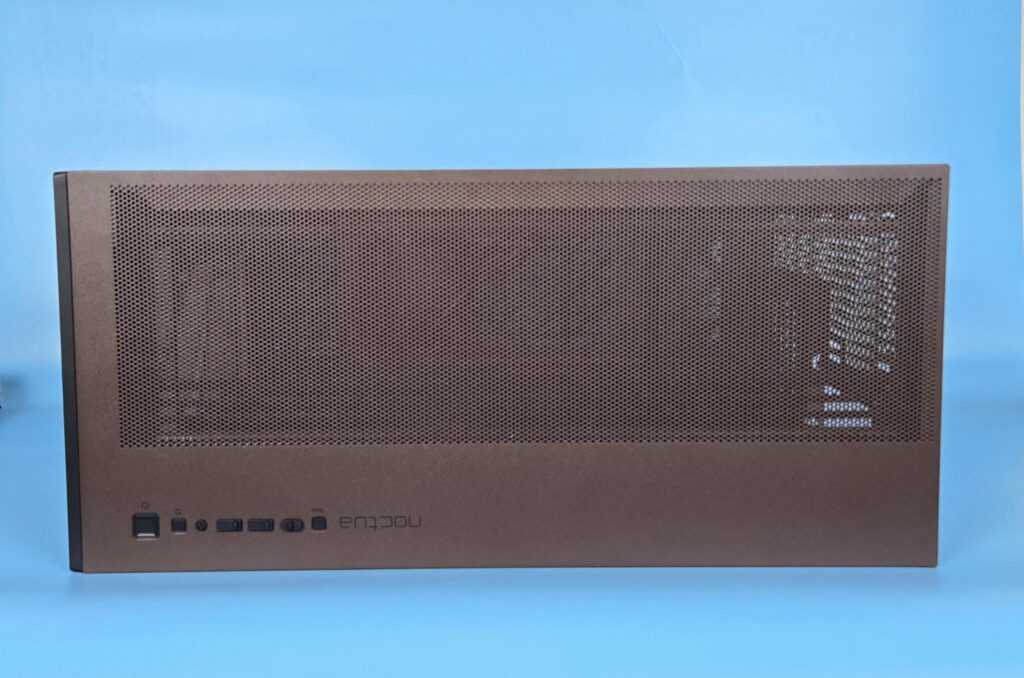
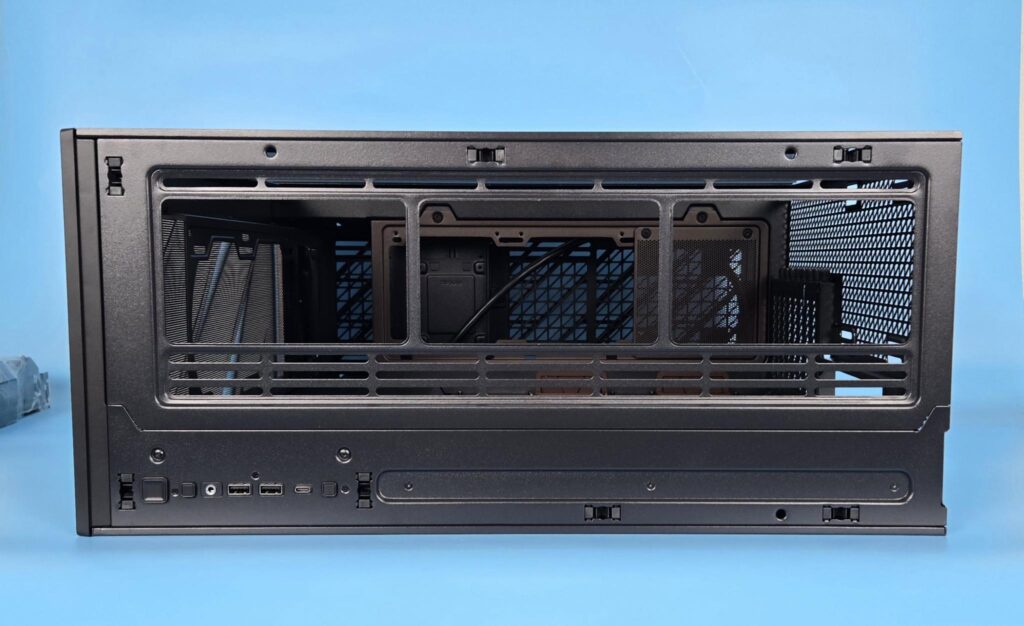
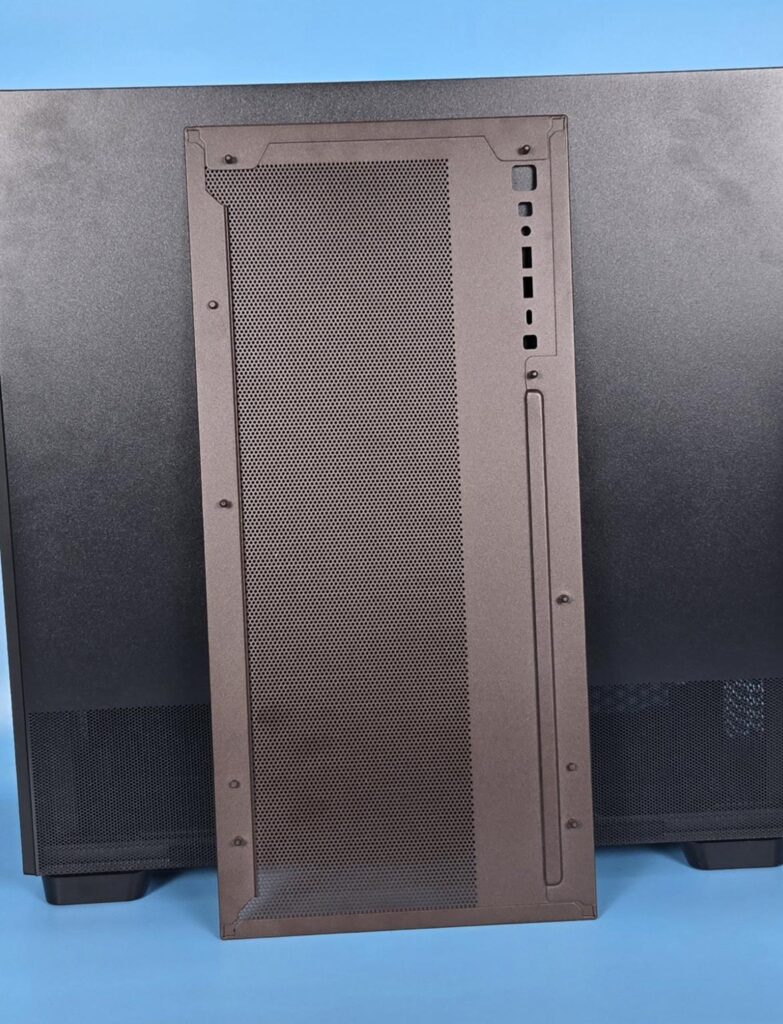
The top panel has a Noctua color on it, and man, I must say, this color combination looks dope in person. I wish Noctua had done this color on the right side panel as well! The top panel has a mesh design, and it covers the top-mounted IO panel. You can see protective covers on the IO ports.
It is surprising to see no dust filter under the mesh on the top panel. The same is the case on the front. Anyhow, the panel is tool-less so you can remove it with just one hand by pulling it from the rear. Under this panel, you will find a fan bracket, which is also removable. It has rail mounts. The detail is:
- Up to 3x 120mm or 140mm fans
- Up to 1x 360mm or 420mm radiator
A maximum thickness of 75mm is allowed on top for a combination of fans and a radiator.
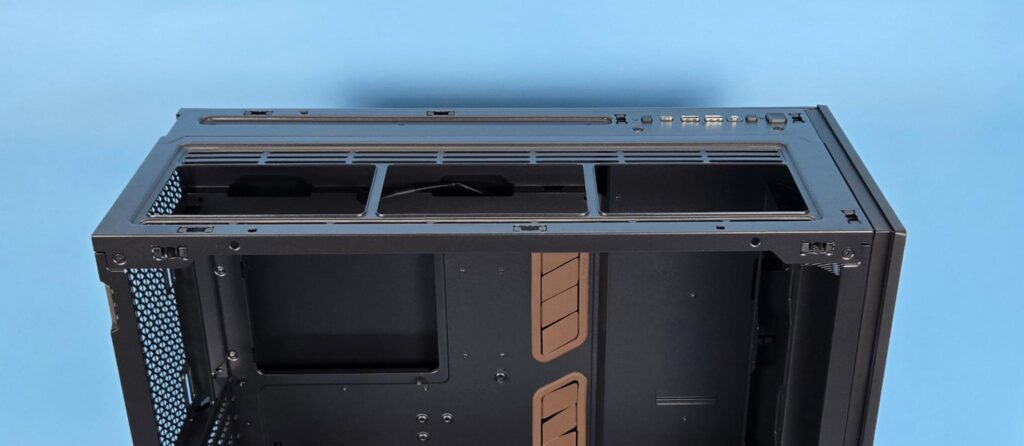
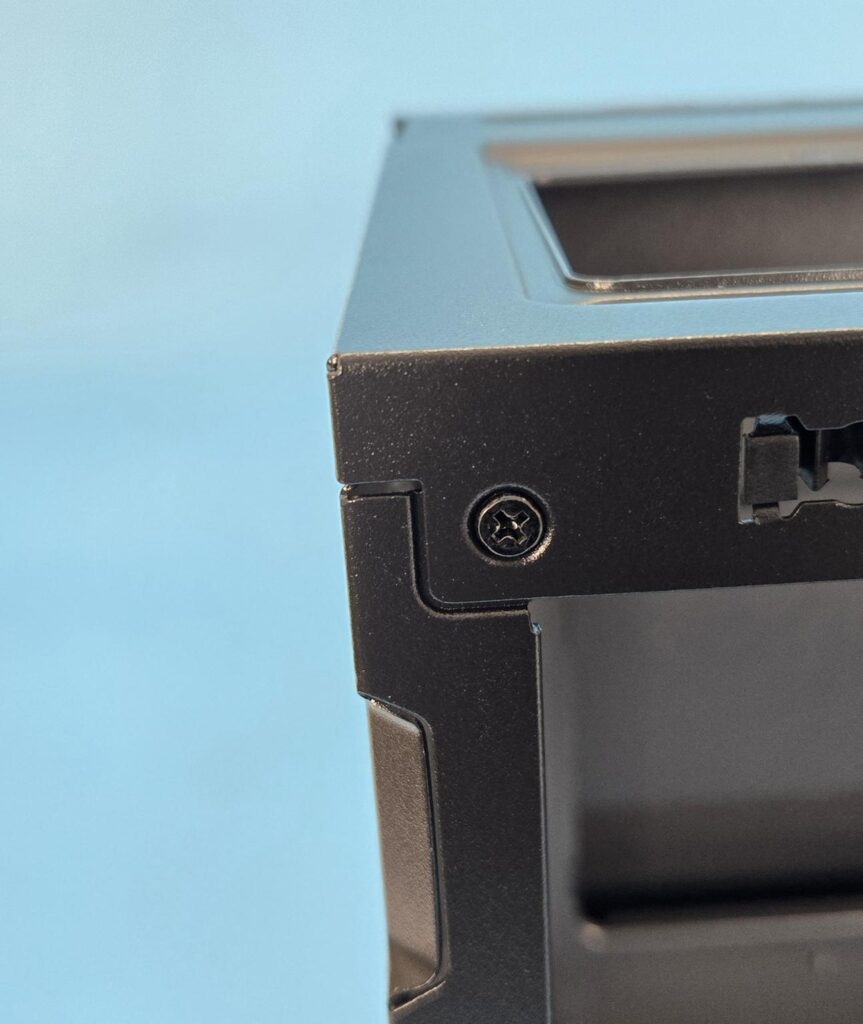
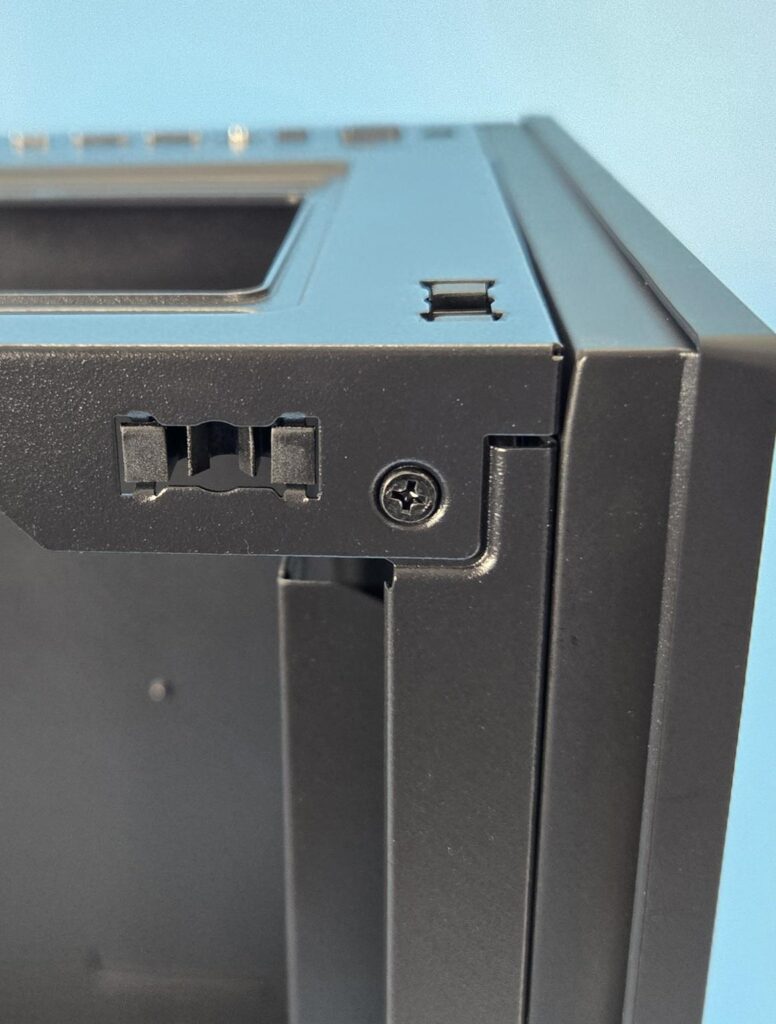
To remove the top fan bracket, you need to remove the side glass panel and undo the two screws on the opposite sides. It reminds me of the Fractal Design Meshify 2 case that has a similar design.
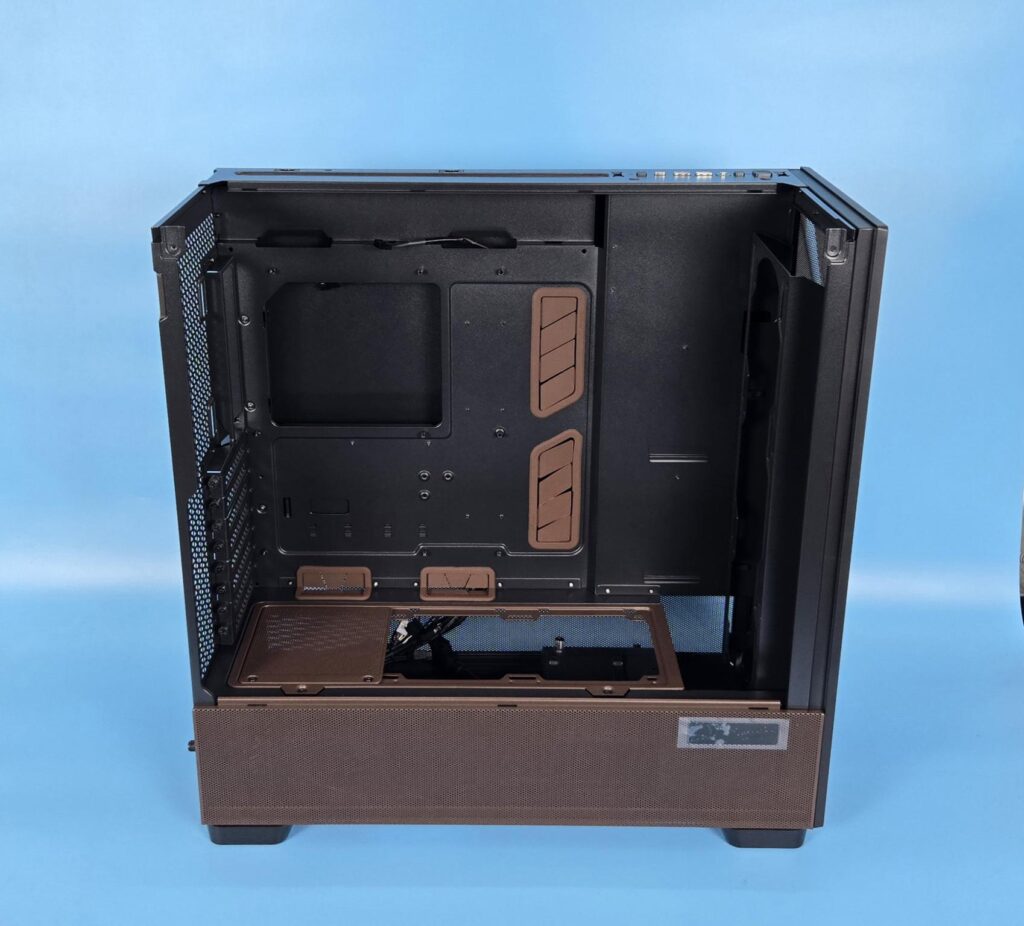
You have got a spacious layout and area to work on.
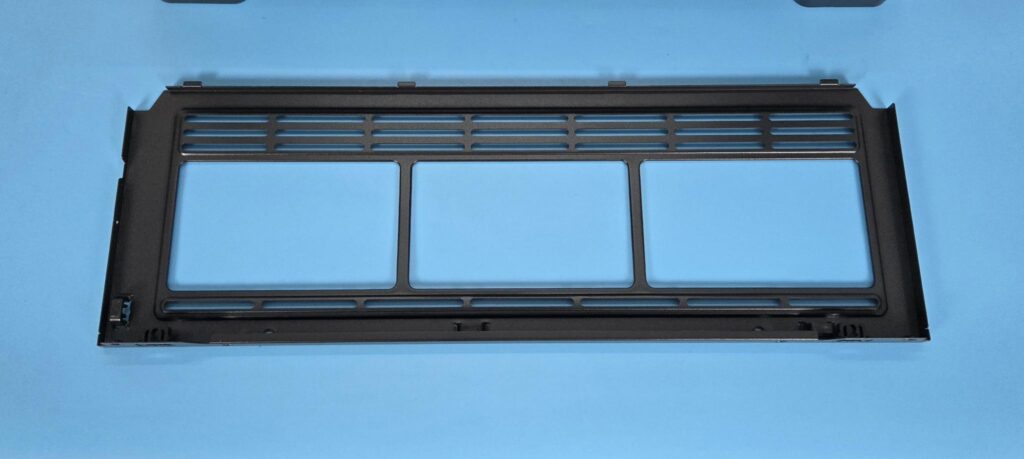
The top and front fan brackets are not the same, hence can’t be swapped.
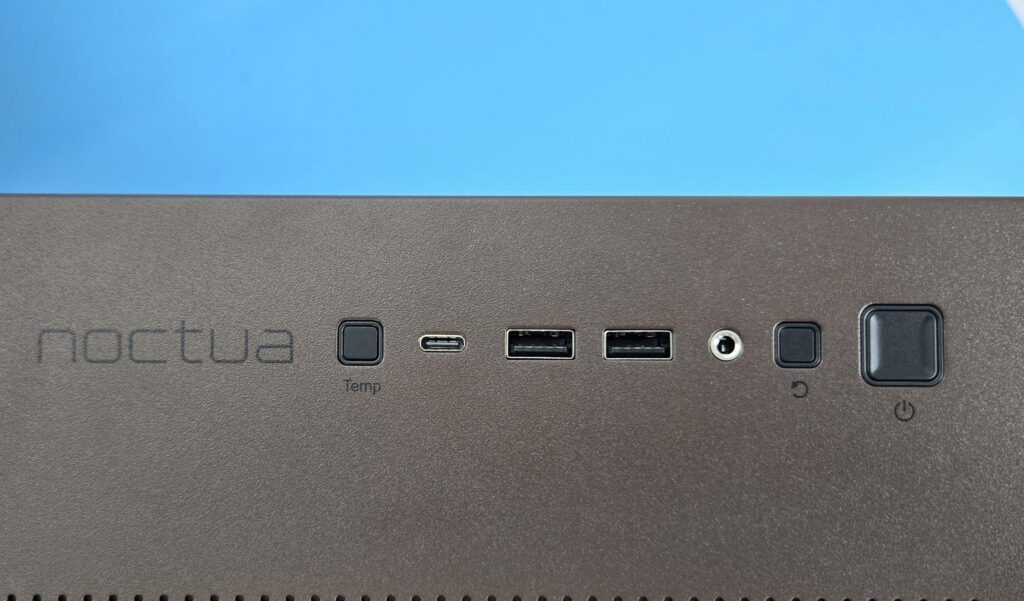
The IO panel has the following ports:
- 1x USB-C 3.1 (10 Gbps)
- 2x USB-A 3.0 (5 Gbps)
- 1x 3.5 mm headphone/mic combo jack
- 1x Power button
- 1x Reset button
- 1x Temperature & display switch
Noctua branding is visible on the top frame along the line of IO ports. I would have preferred a USB 3.2 Gen2 minimum!
Interior View
Let’s take a look at the sides and internals of the case.
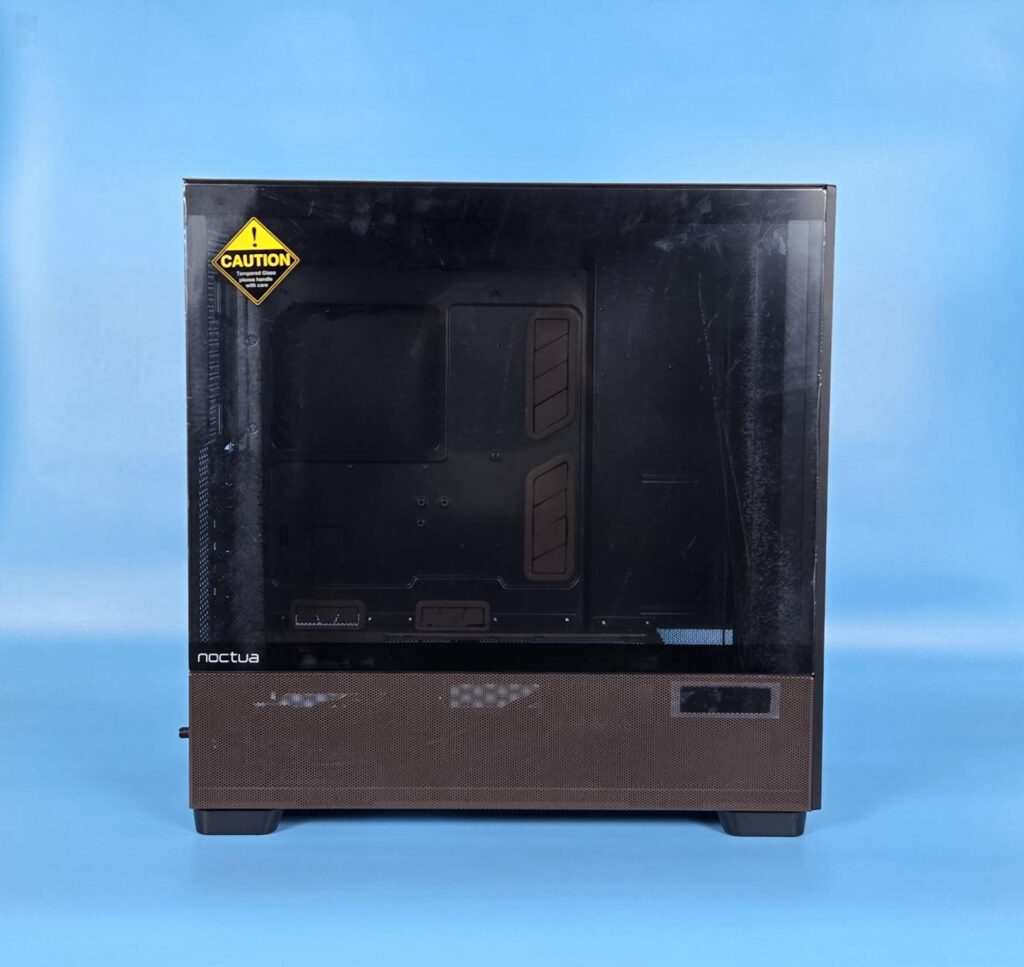
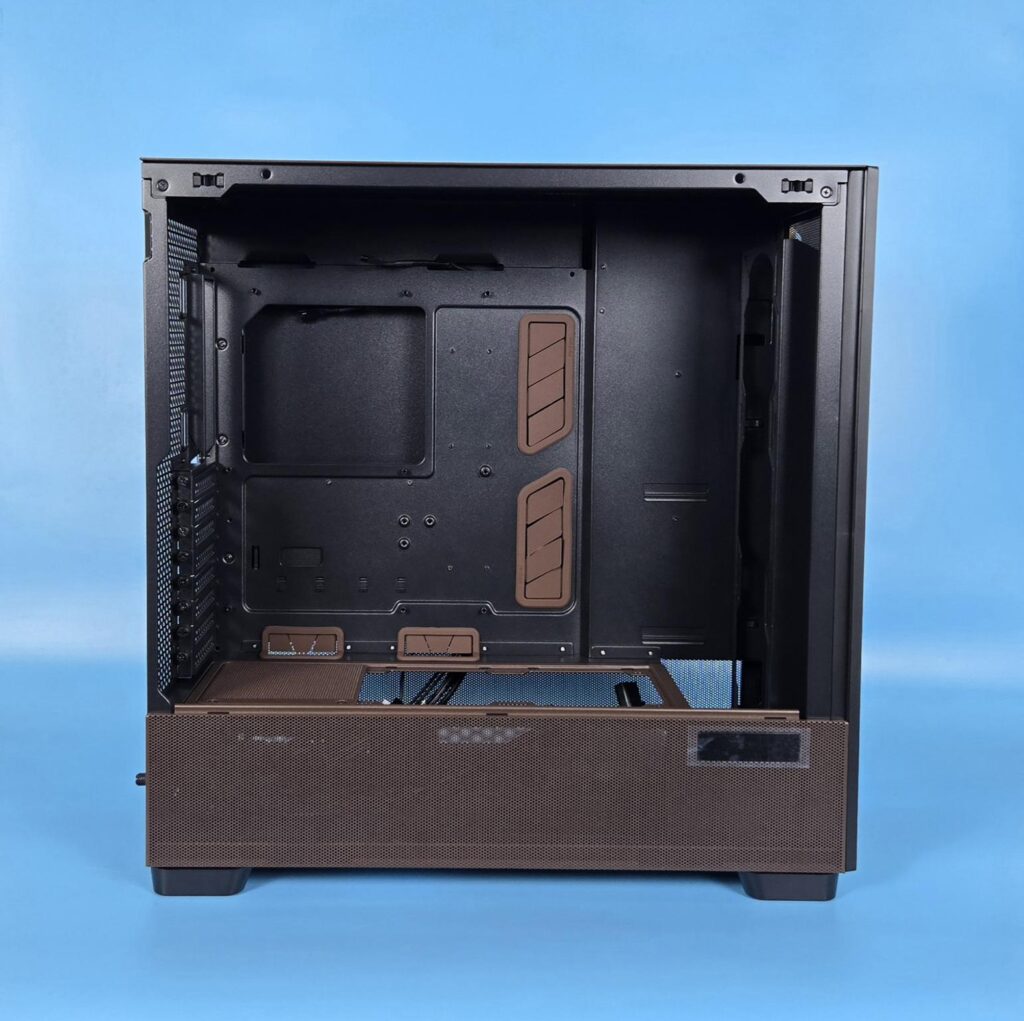
This case comes equipped with a tinted tempered glass panel having a 4mm thickness. It uses a snap-on design using latches and bolts, making it convenient to handle. The brown color mesh panel on the bottom serves as a full air intake for proper ventilation. It will come in handy for the radiator/fans mounted inside this area.
Removing the glass panels shows a spacious layout. The grommets are brown, and so is the PSU shroud bracket, which I will cover shortly. The area on the right of the motherboard tray does not have any function on the front side, except on the backside, where they provide a cutout on which the drive brackets are rested. In my opinion, there should be a provision to mount a radiator/pump combo on the side.
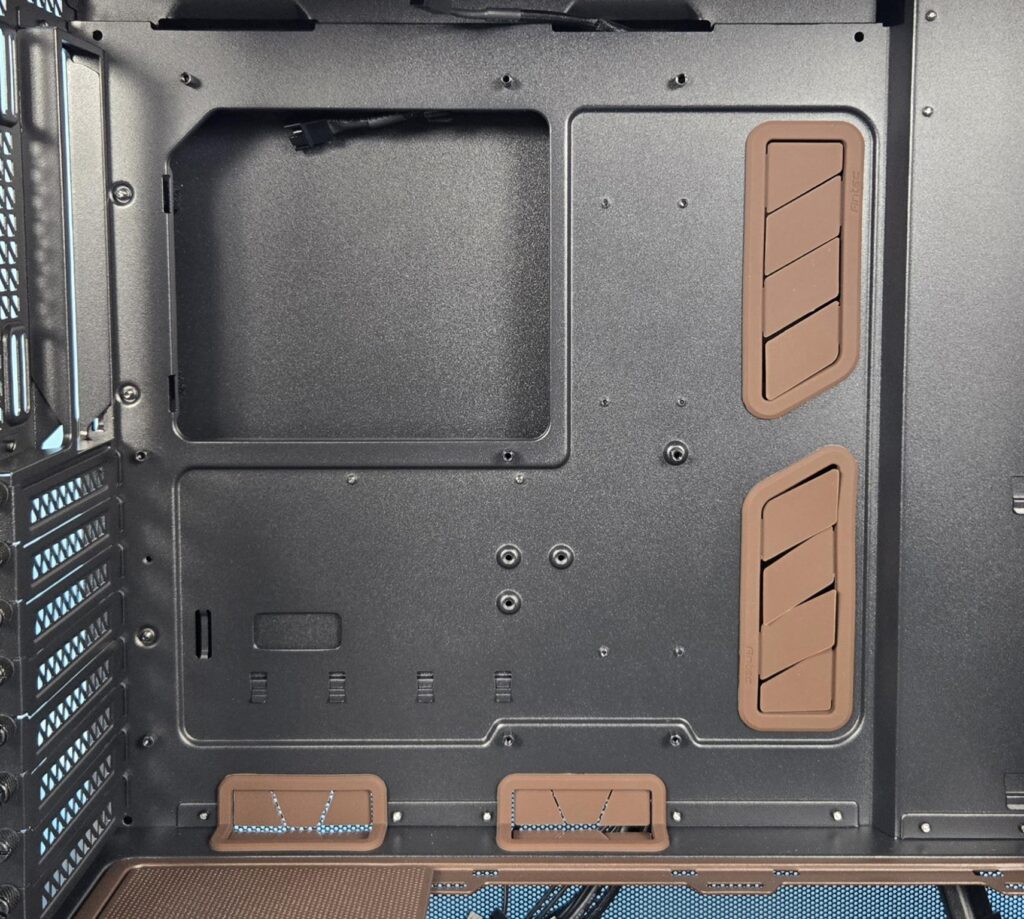
The motherboard tray does not have flex in it. This case supports motherboards up to the E-ATX form factor with a maximum allowed width of 280mm. The rubber grommets feel flimsy during handling. I hope they will last. They have Antec branding. The standoffs are pre-installed, which is a nice touch. The CPU cutout is not as large as I have seen, even in mid-towers. I have tested the case with the AM5 motherboard, so I am not sure if there is any obstruction to installing the cooler’s back plate/bracket on the Intel platform.
I appreciate the side and bottom cutouts with proper grommets. The top cutouts have a distinctive style with a flat inset on top, hence I am giving it a pass.
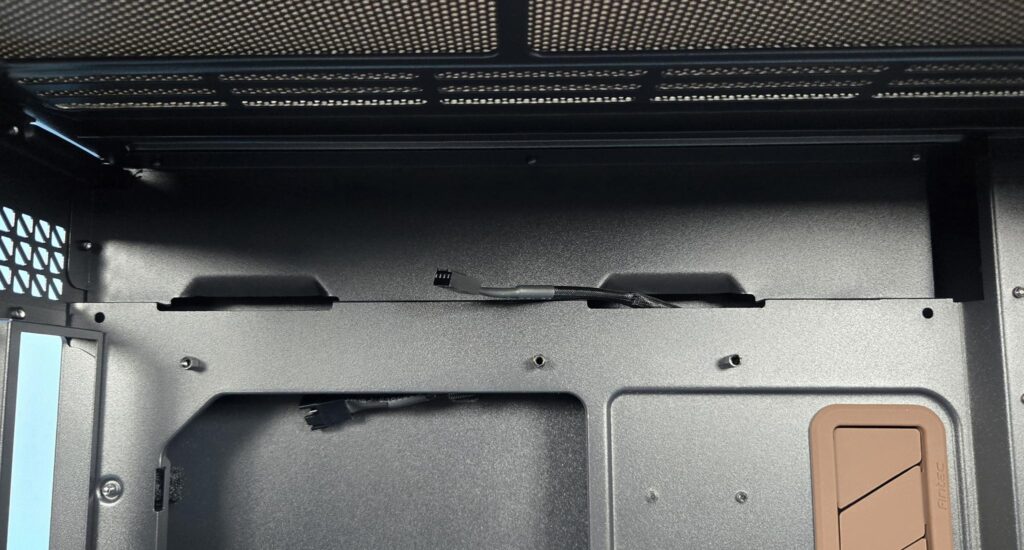
You easily get 70mm of space above the motherboard tray, which is too good. You would get a good clearance for the high-profile RAM in this case. You can see a 4-pin PWM connector coming out from the back side. This cable comes from the fan hub NA-FH1 and allows you to regulate the speed of connected fans using the motherboard; otherwise, fans will run at full speed since the NA-FH1 is SATA powered. I have also observed that in the absence of a SATA connection, NA-FH1 will still run the fans if this connector is attached to the motherboard. This is an oversight in my opinion, and should not have been allowed in the first place due to the power consumption/drawn ratings of the fans and the power rating of the fan header. Anyhow, NA-FH1 has good safety features. I would urge the users to connect the SATA connector before connecting the hub to the motherboard.
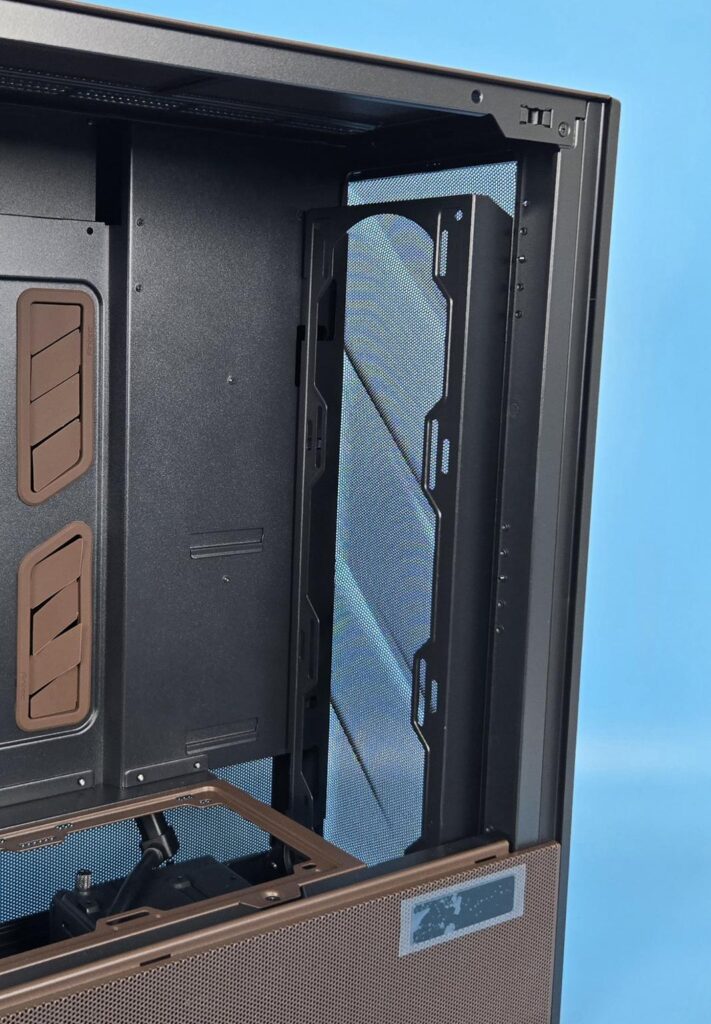
The front of the case shows a fan bracket that is inset into the case. The gap on the front between the PSU shroud and the fan bracket is approximately 60 mm, giving you a total of 90mm space from the front to the shroud for the cooling gear.
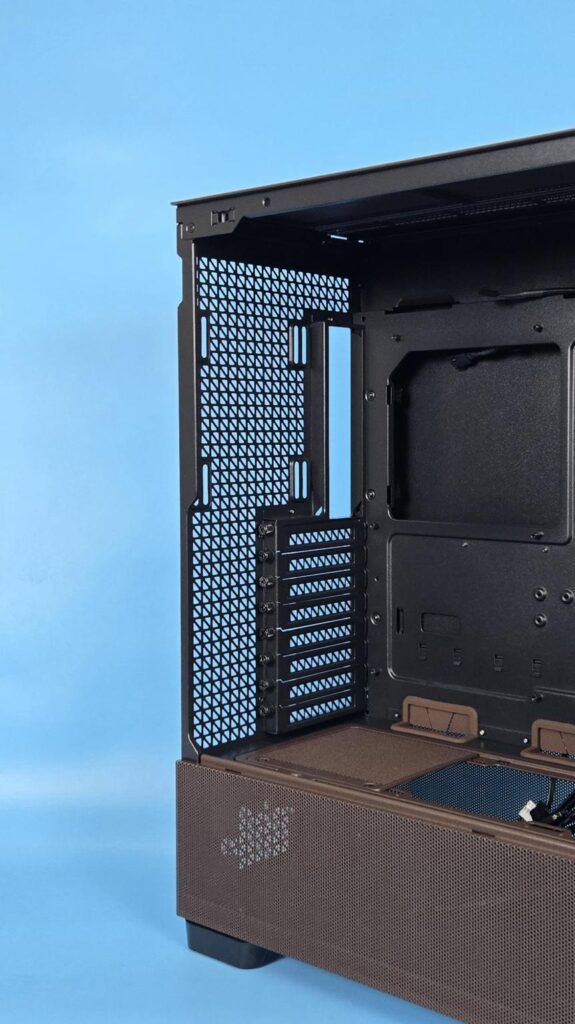
You can mount a 120mm or 140mm fan on the rear. 8x PCIe slots are implemented inside the case, for which the side has a groove or recessed frame providing direct approach towards the screws. I have observed that removing the PCIe cover screw will not release that cover; instead, you have to loosen the next screw to remove the cover.
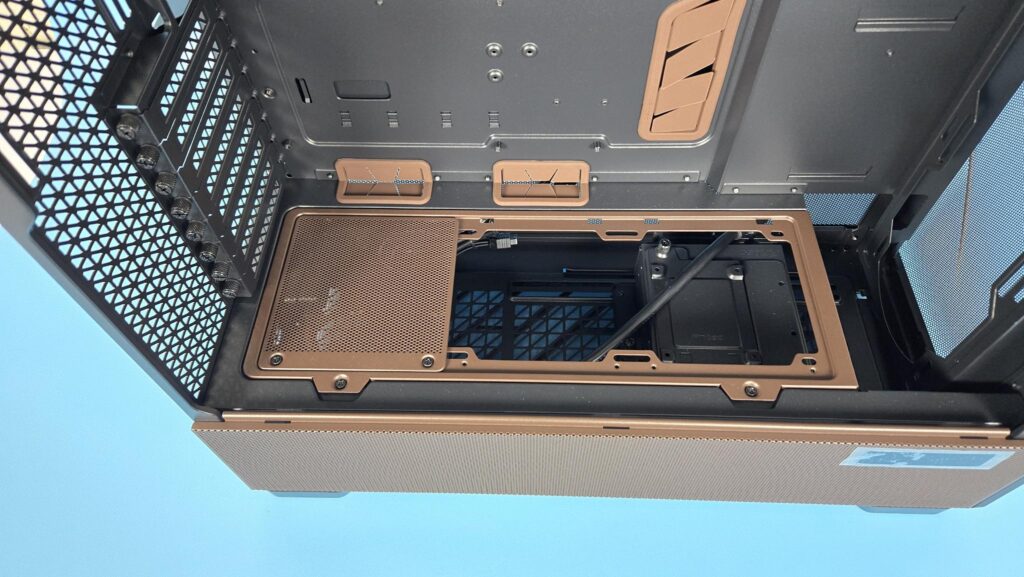
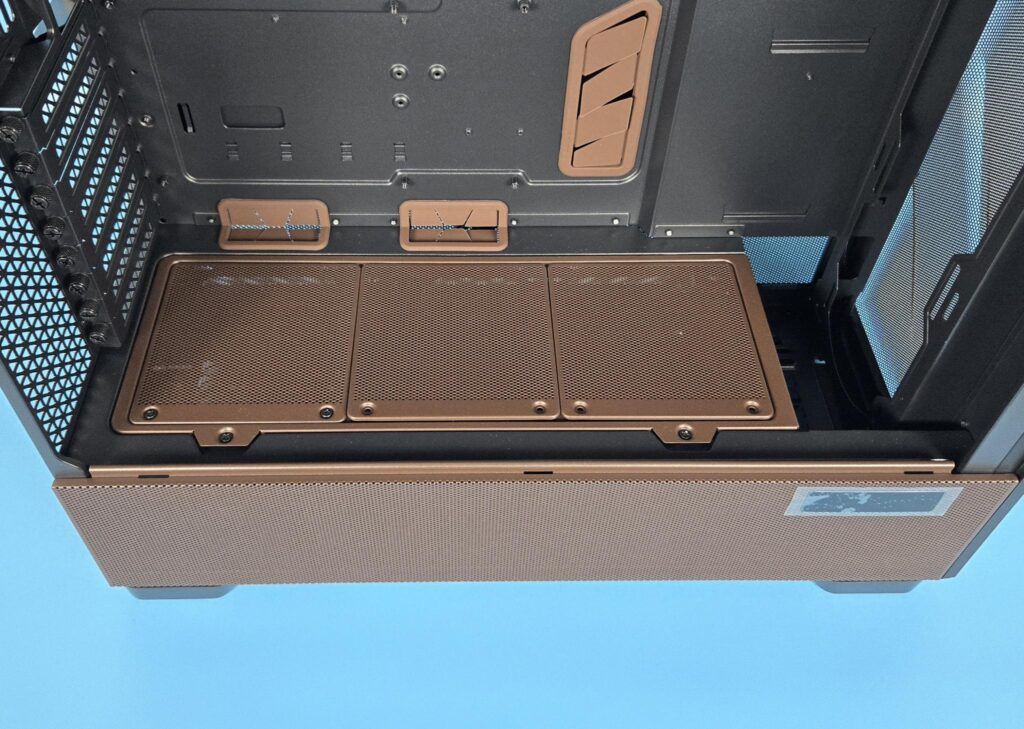
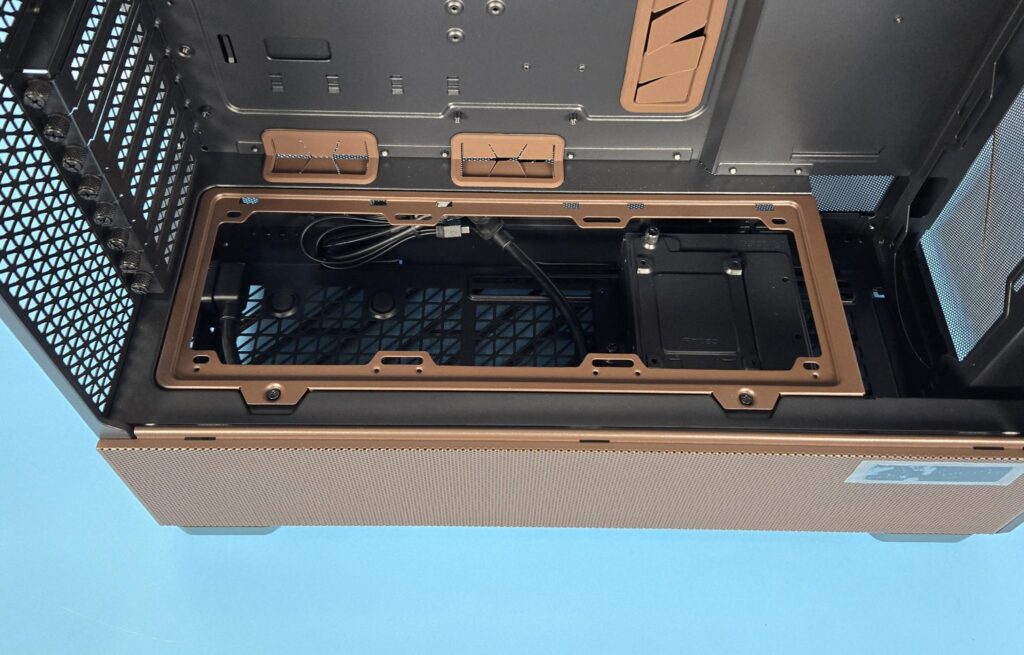
Now, I am showing another beauty of this case. A 360mm PSU shroud with three covers. One cover comes pre-installed as it sits right over the PSU bay. The other two are provided in the accessory box. The complete shroud is secured using two Philips screws and can easily be removed.
The cooling gear possibility is:
- Up to 3x 120mm fans
- Up to a 360mm radiator in a 120mm size
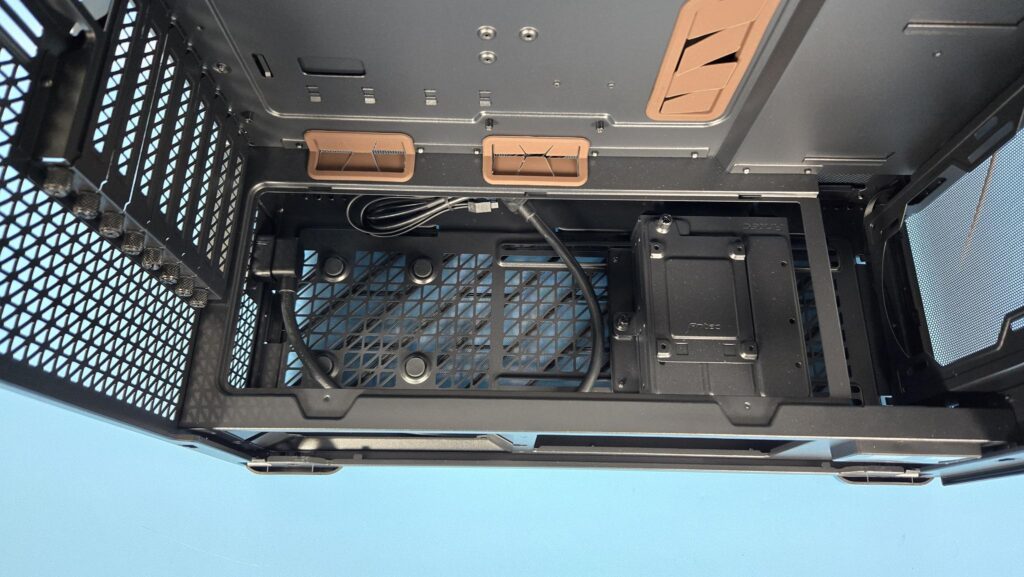
I have removed the PSU shroud. You can see the base area completely. I really wish that Noctua had provided a removable cover for the front gap between the fan bracket and PSU shroud for better aesthetics.
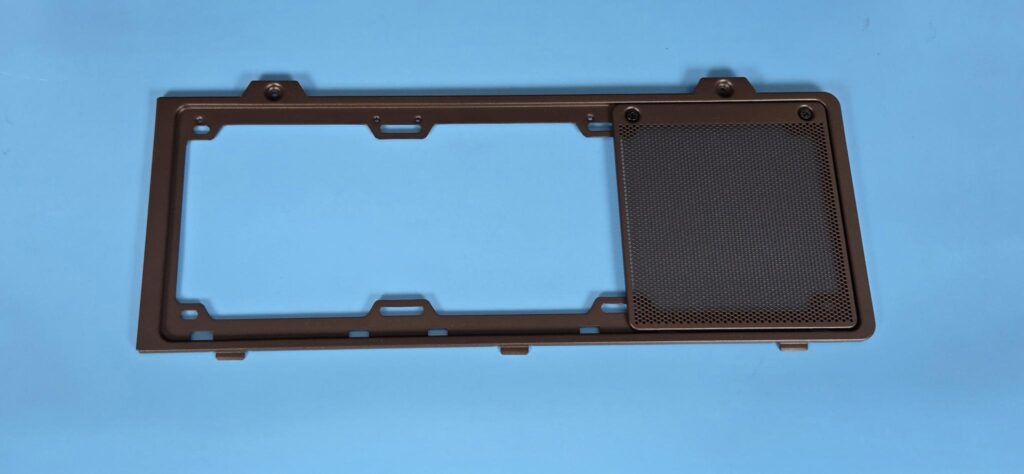
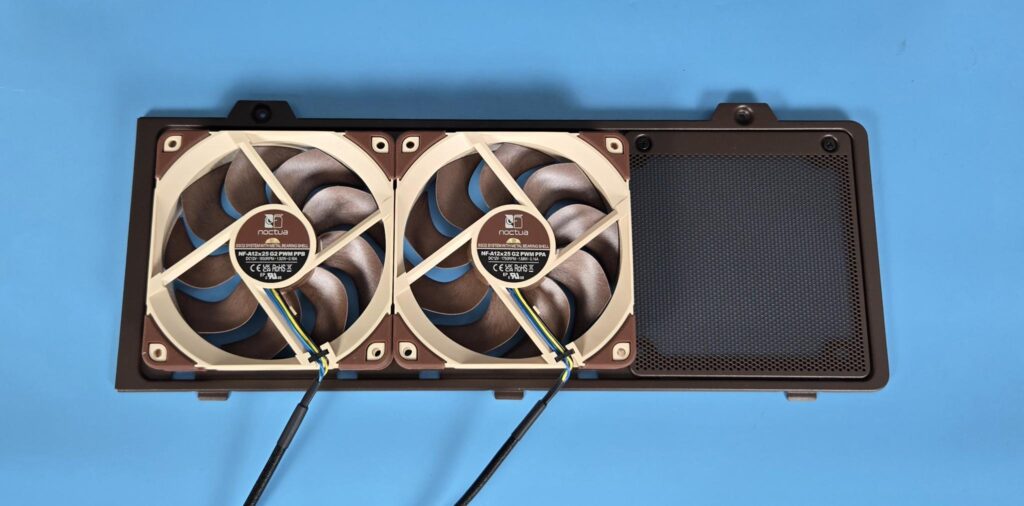
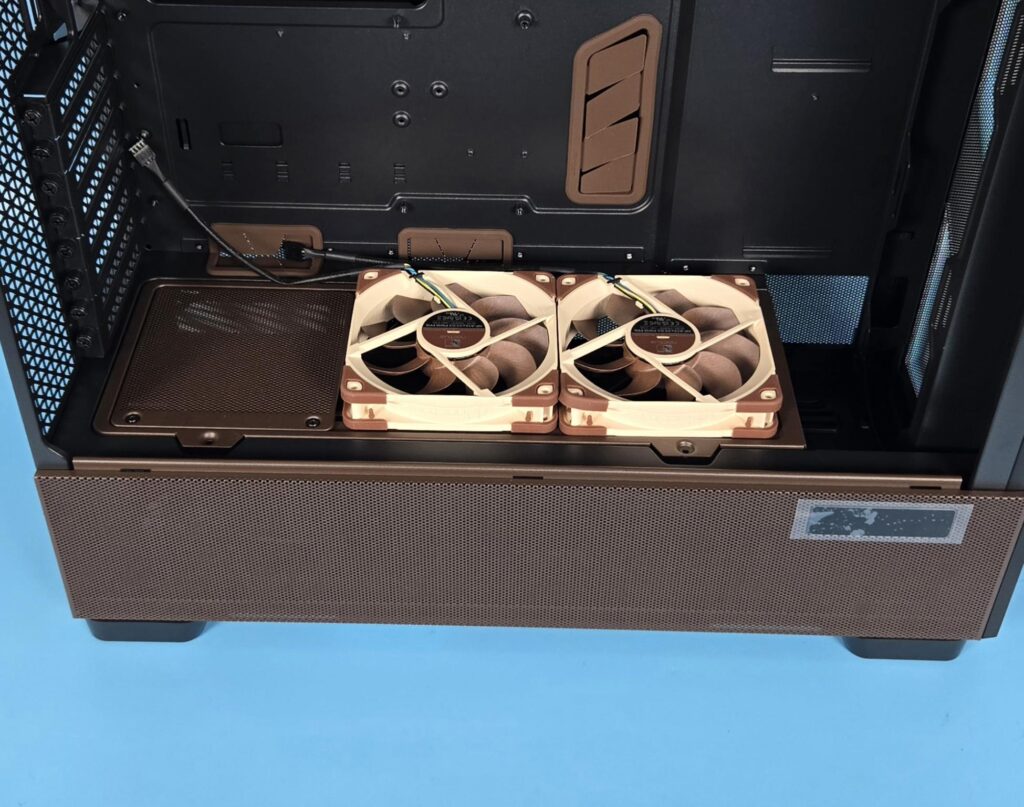
The bundled two NF-A12x25 PWM G2 fans can either be installed over the PSU shroud or under it, which is subject to the PSU’s orientation. I have installed both fans under the cover for a clean look. It is up to you. It would hardly make any difference in overall thermals.
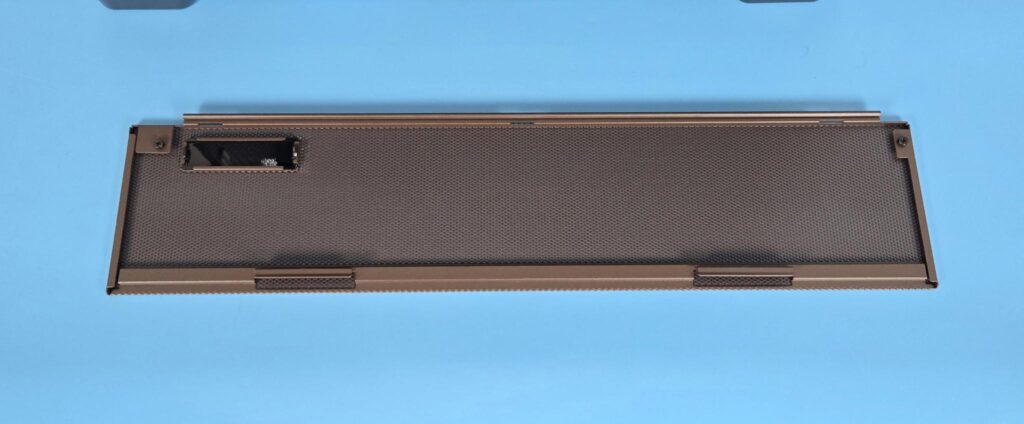
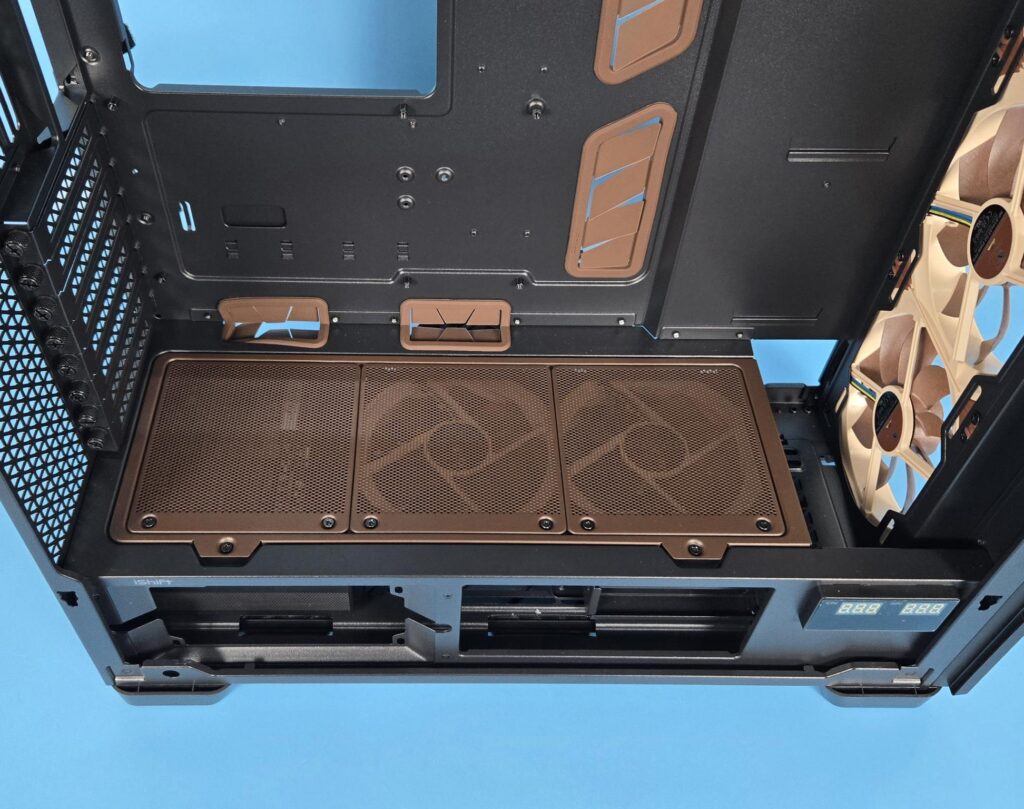
Now, I have removed the bottom mesh cover. You just need to pull upward, and it will come off. Again, I am not seeing a dust filter on this mesh. The cutout on the top right faces the display screen that is integrated into the main frame of the case.
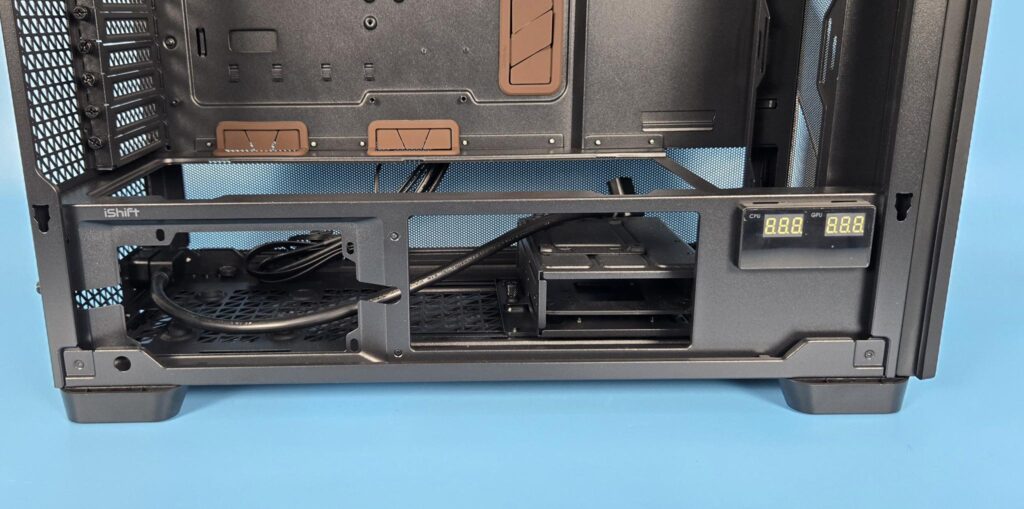
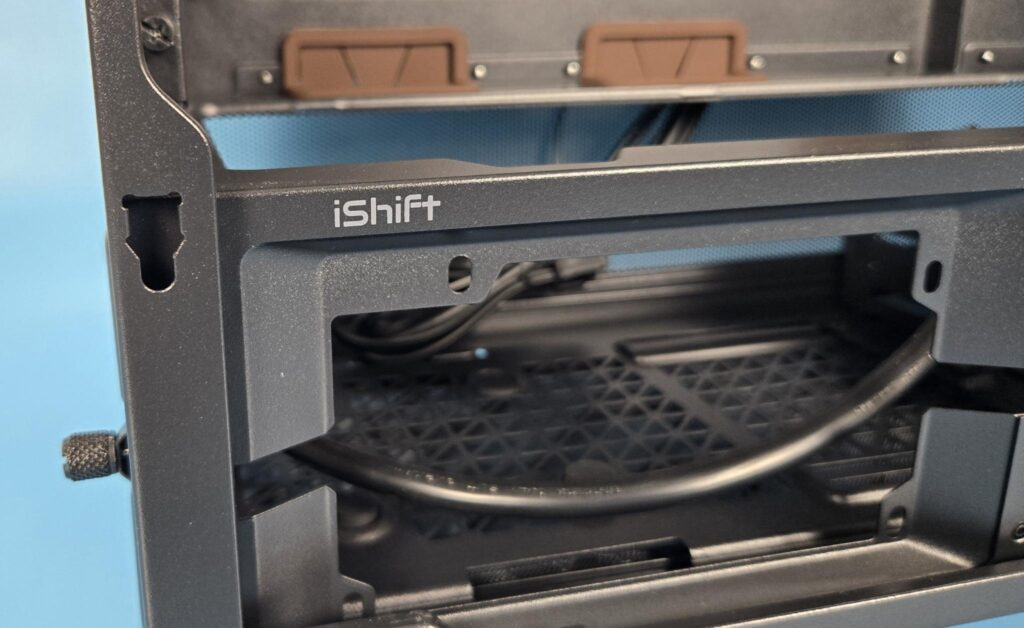
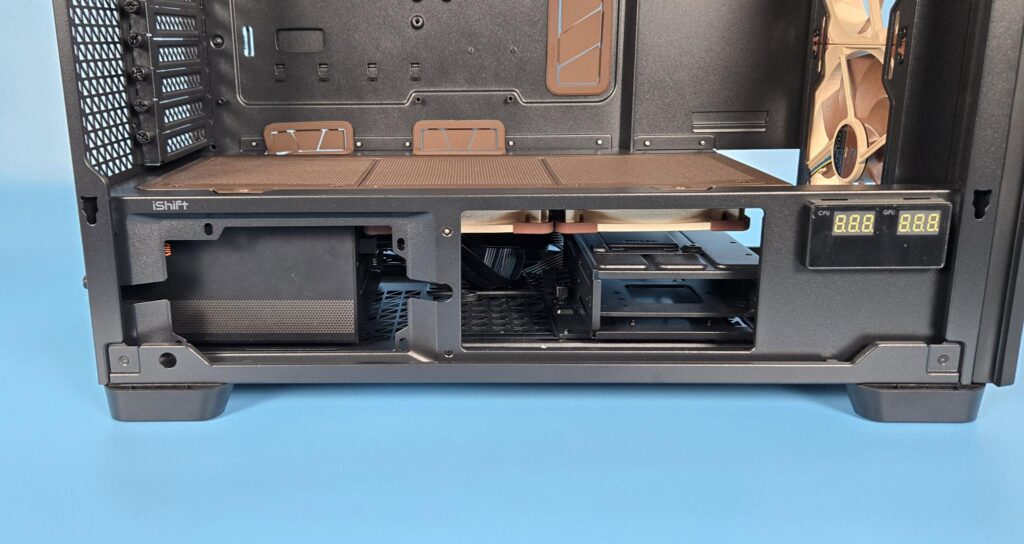
You can see a side view of the bottom chamber. The leftmost side hosts the PSU in either of two directions. The middle portion provides an unobstructed area for air intake. The storage drive bracket can be seen.
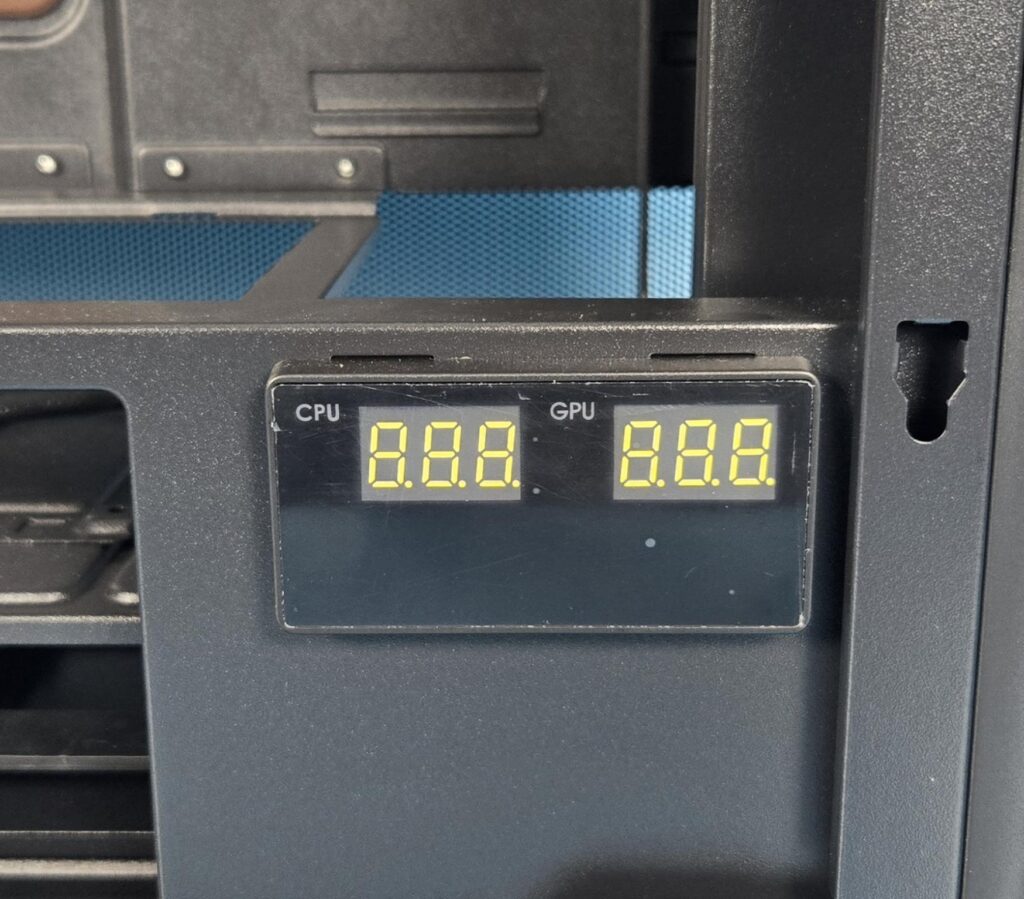
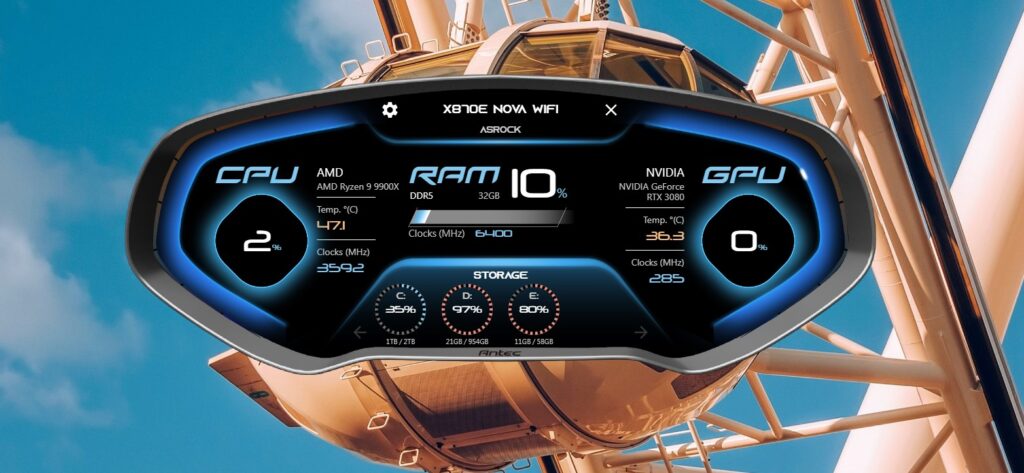
The front has a solid cover on which the display screen is installed. It is controlled via a 9-pin USB 2.0 header for which the cable is pre-routed. The screen displays the CPU and GPU temperature using the iUnity software from Antec.
You can install the PSU in either a 90° orientation by default or in a standard layout for which a bracket is provided in the accessory box. iShift here refers to the 90° degree orientation, which provides the flexibility for convenient cable connection on the PSU since the PSU’s connectors side faces the right side.
Clearance
Since we are at it, let’s see the clearance restrictions of components in this chassis:
- 190mm CPU Air Cooler
- PSU maximum length is 300mm in standard layout with HDD cage
- PSU maximum length is 470mm in standard layout without HDD cage
- PSU maximum length is 180mm in 90° layout
- Graphics Card’s maximum length is 455mm
- Cable Management space is 32mm.
It is now time to look at the backside of the case.
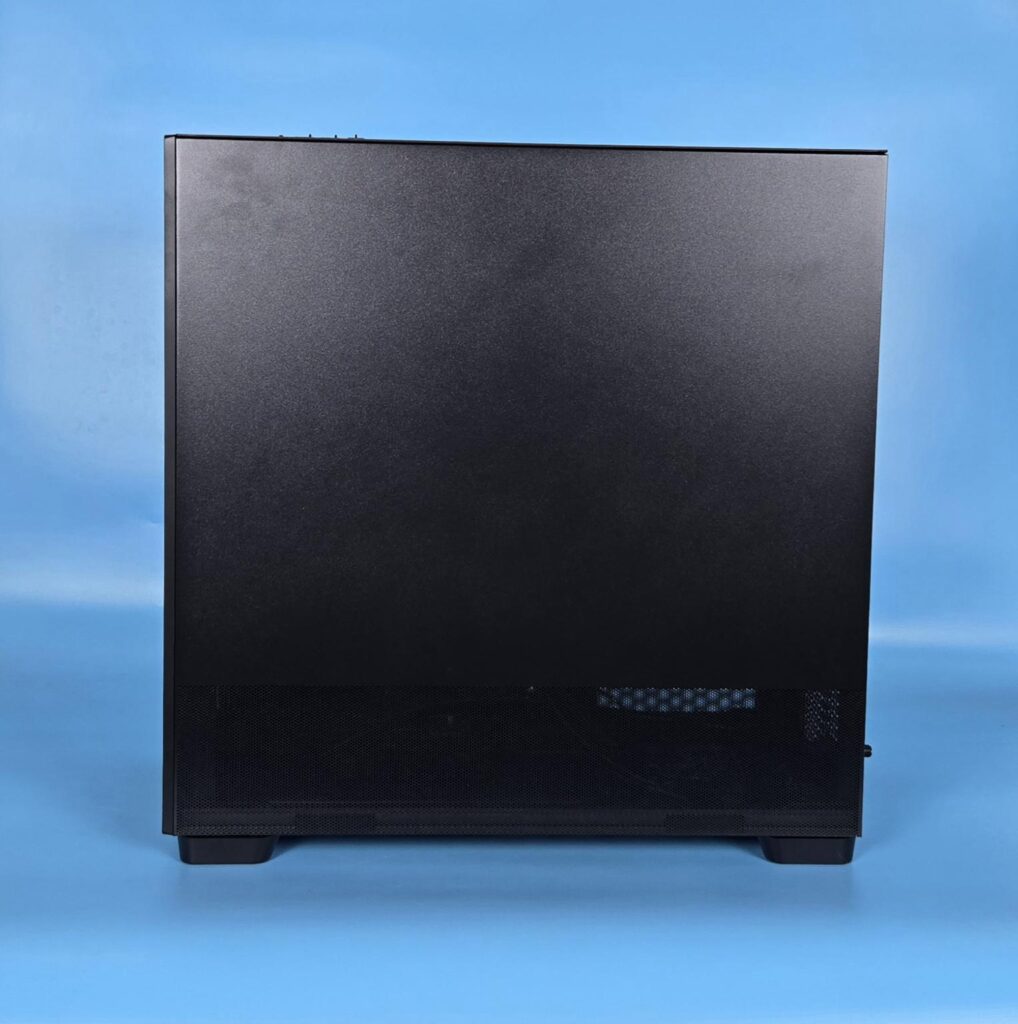
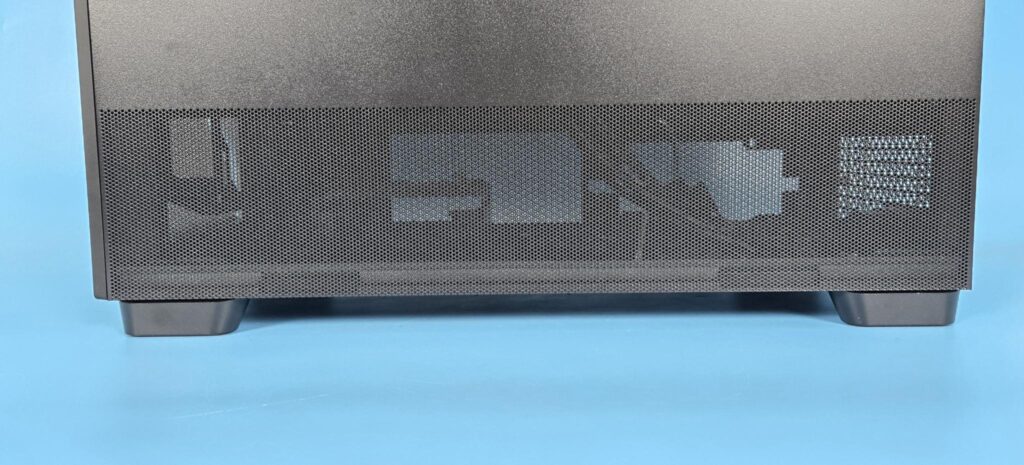
The side steel panel is made of steel, and it has the same fitment as the glass panel on the left side. You can also see a similar mesh cover on the base that is on the left side, except that this complete side is in black.
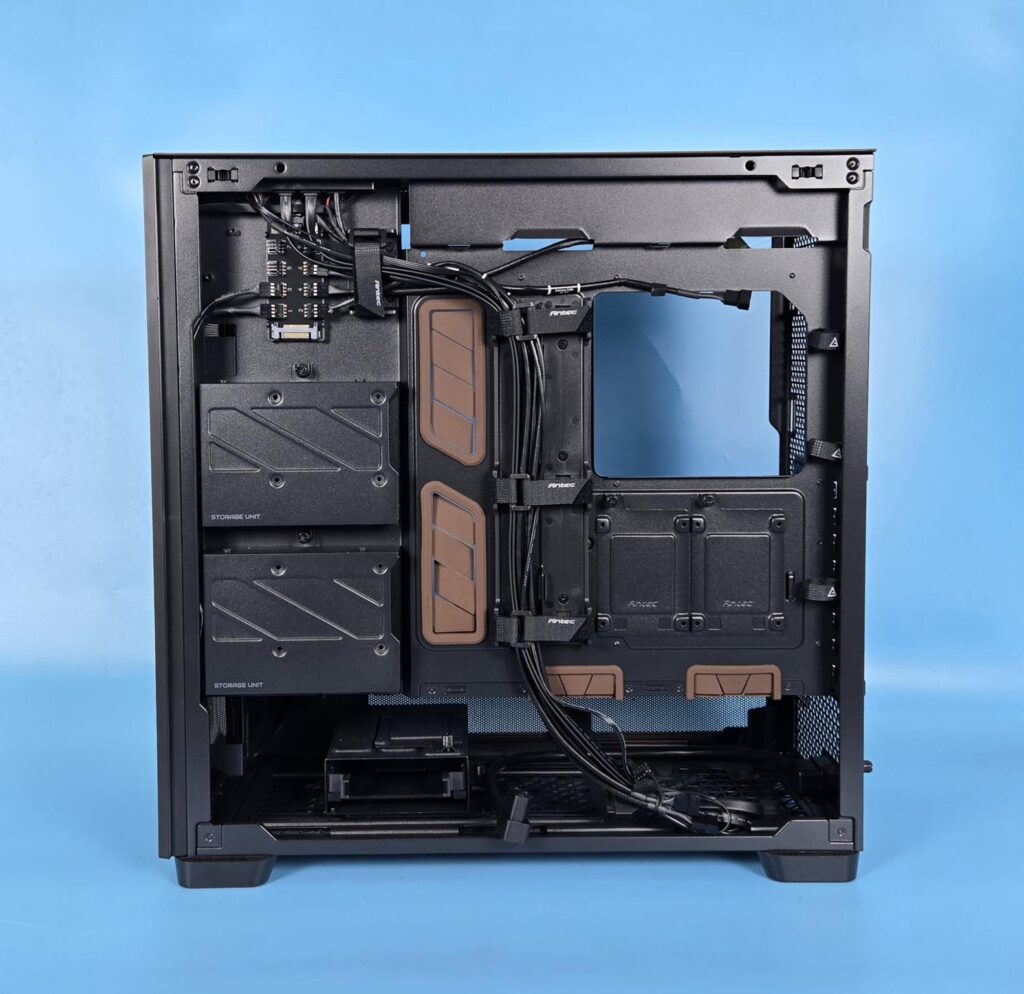
One look and you may become overwhelmed by the complexity of what is on the back, but fear not. You don’t need to do much here anyway, since Noctua has covered it for good already. I will be covering this side in detail ahead.
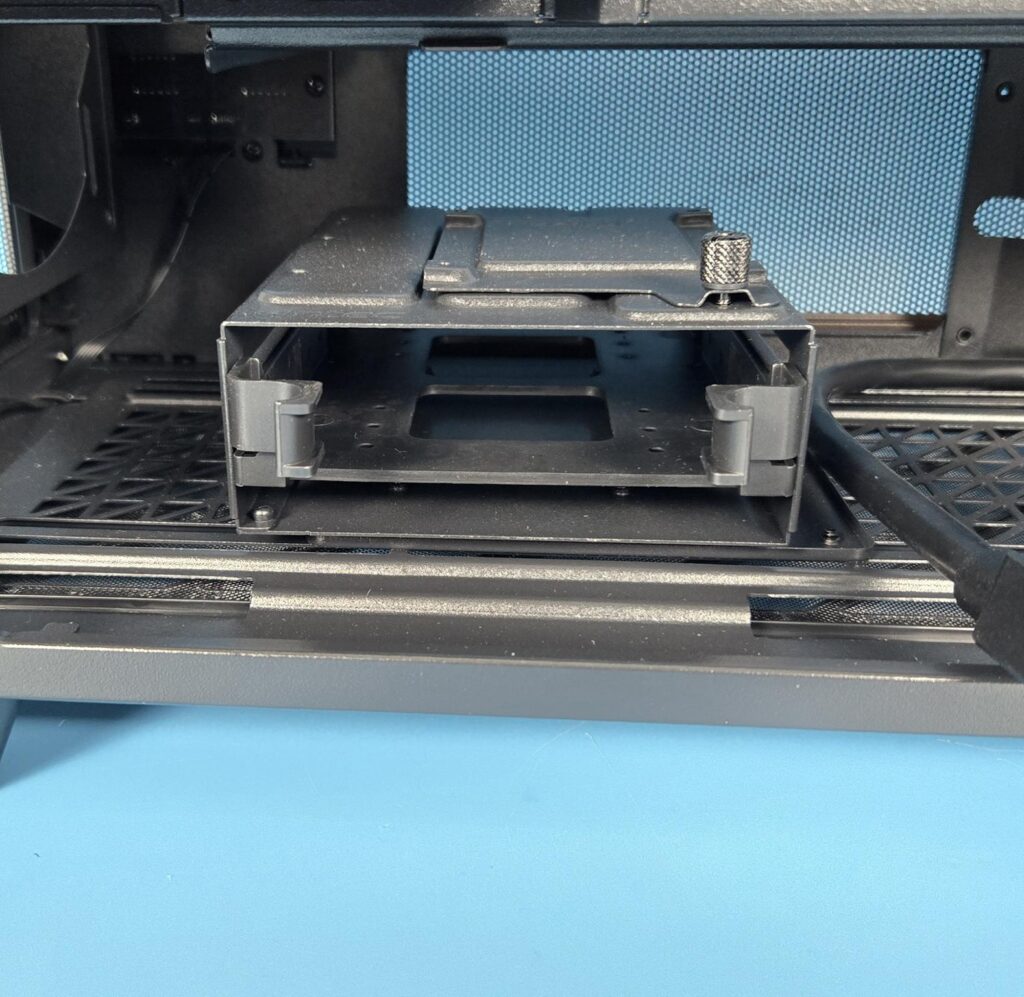
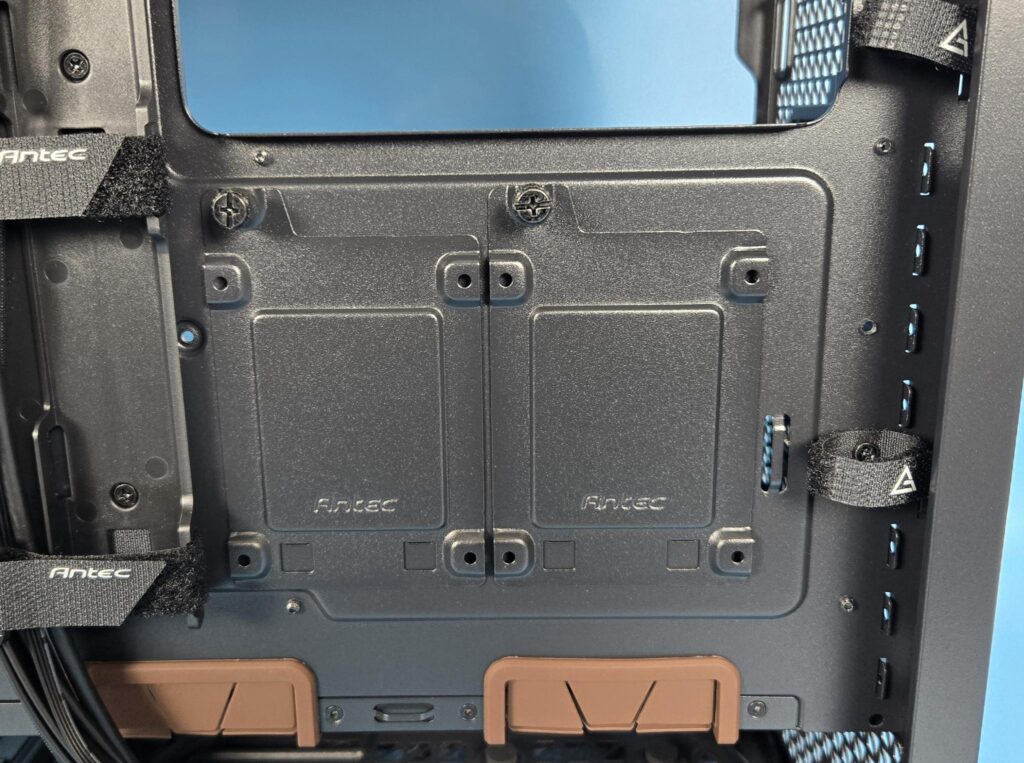
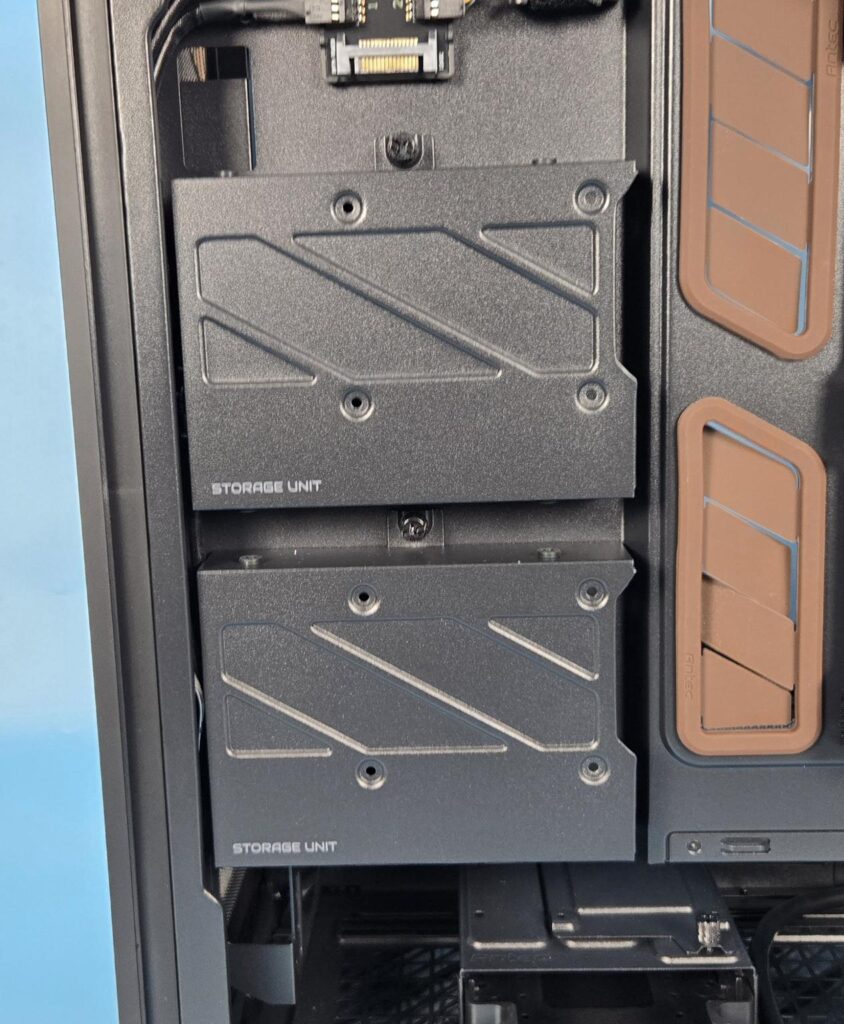
This case comes pre-equipped with a drive cage on the floor. It can house 2.5” and 3.5” drives at the same time. Two 2.5” drive brackets come pre-installed on the back of the motherboard tray. Two 3.5” drive brackets or bays come pre-installed on the side frame.
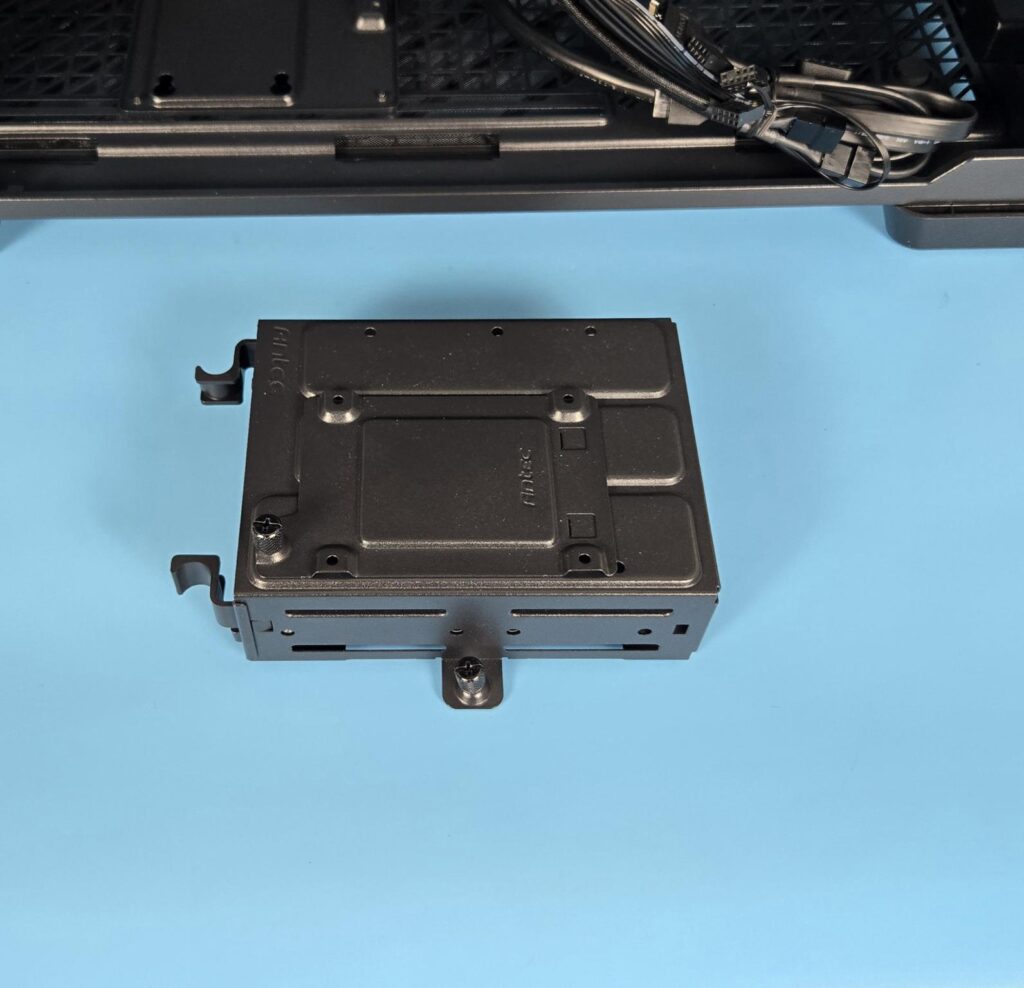
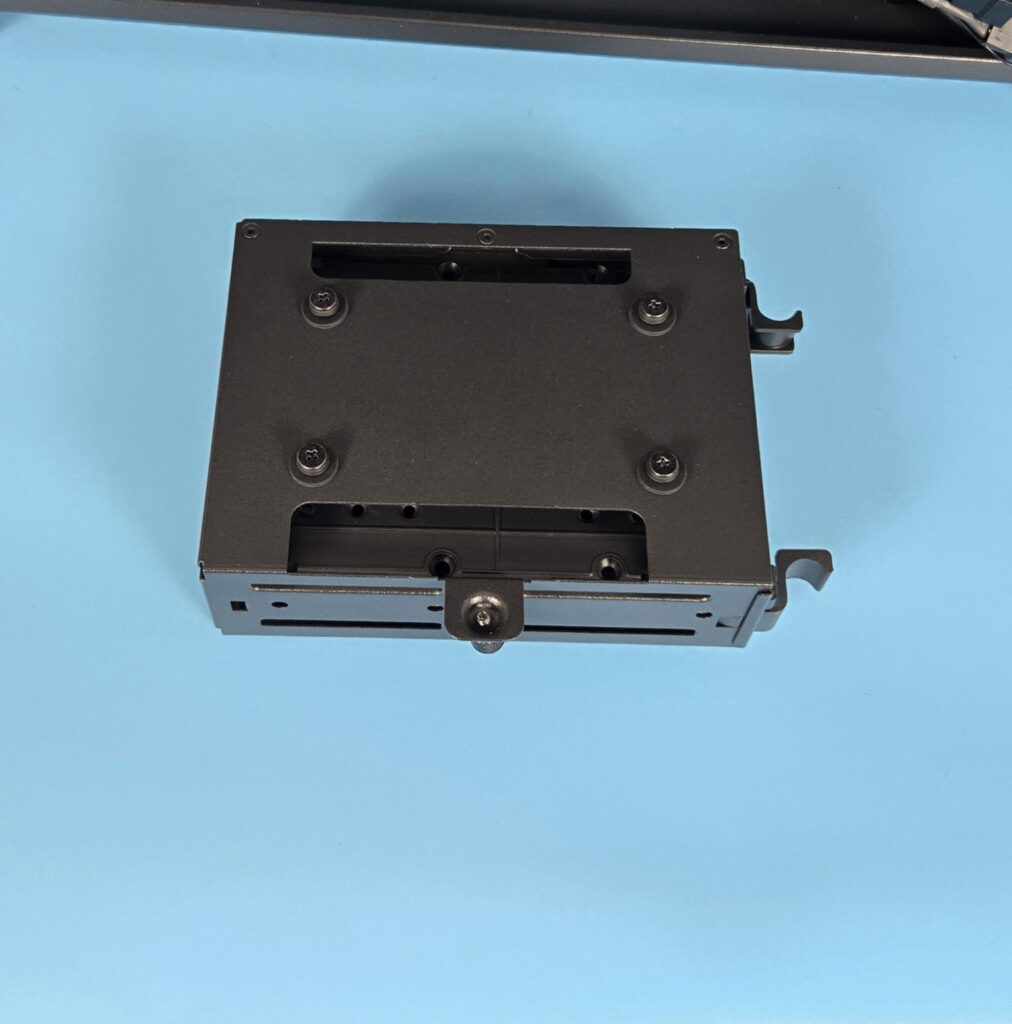
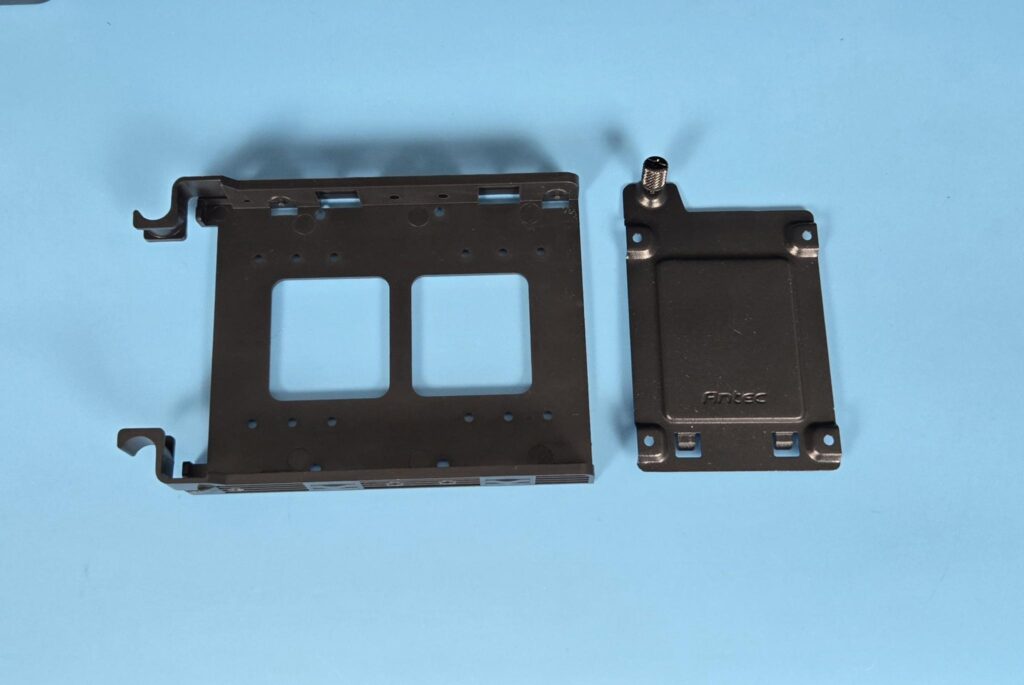
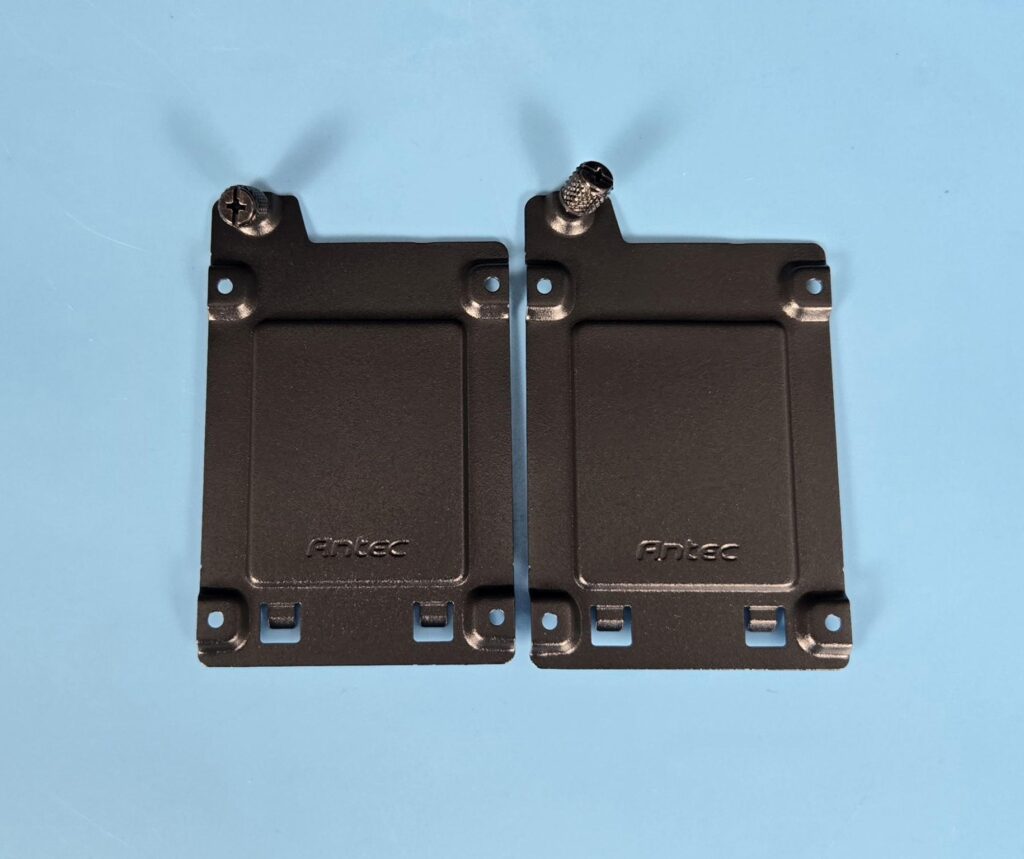
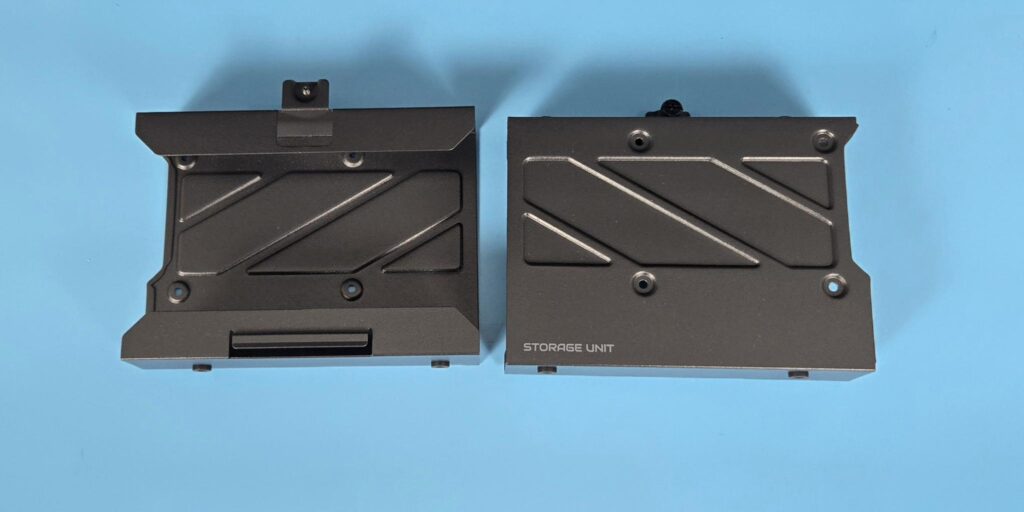
You can see the drive brackets and cage above.
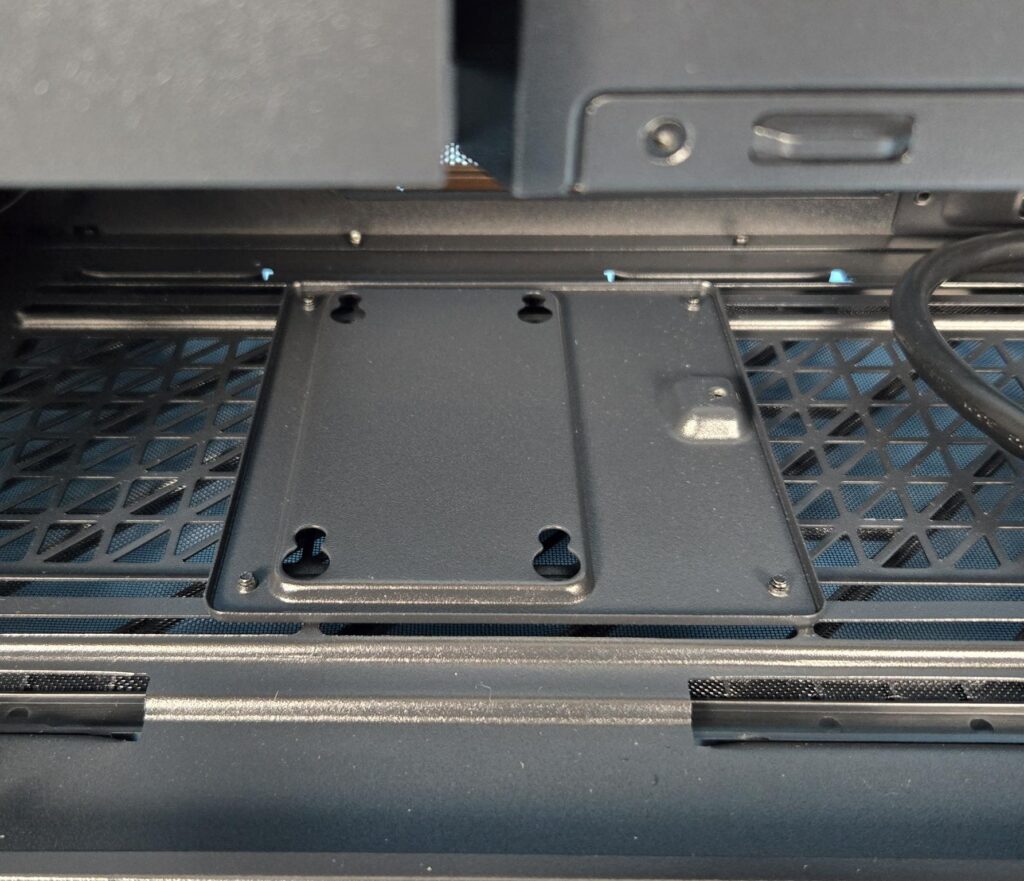
I have removed the drive cage and am showing the platform or bracket on which it was installed. You can adjust the position of this cage on the left or right, or even remove it altogether. If moving it left or right, don’t forget the front cooling and PSU clearance.
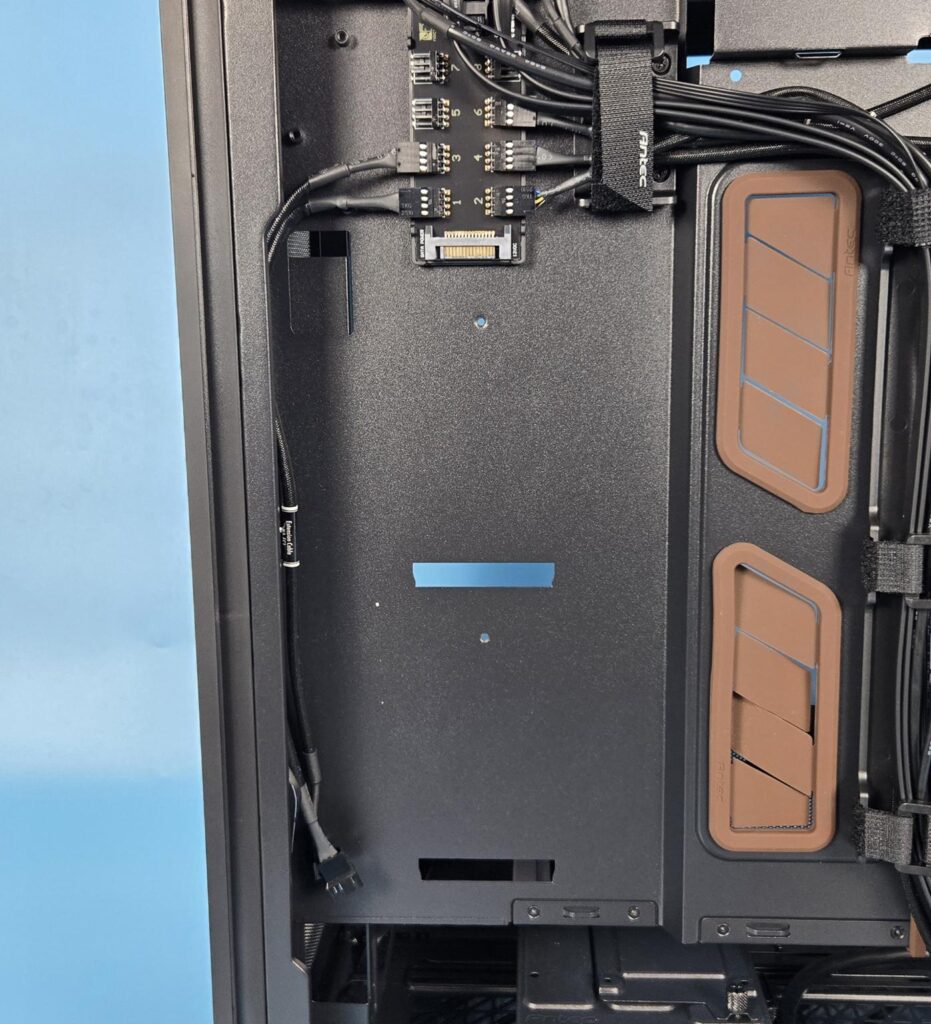
I have removed two 3.5” drive brackets from the side, showing you the available space. Take note of two NA-EC1 30cm extension cables tucked on the left side of these brackets, effectively hiding them. These cables are placed in such a way that the cables of the bottom two fans on the front fan bracket will come out towards the connectors of NA-EC1. Job well done, Noctua or Antec or both!
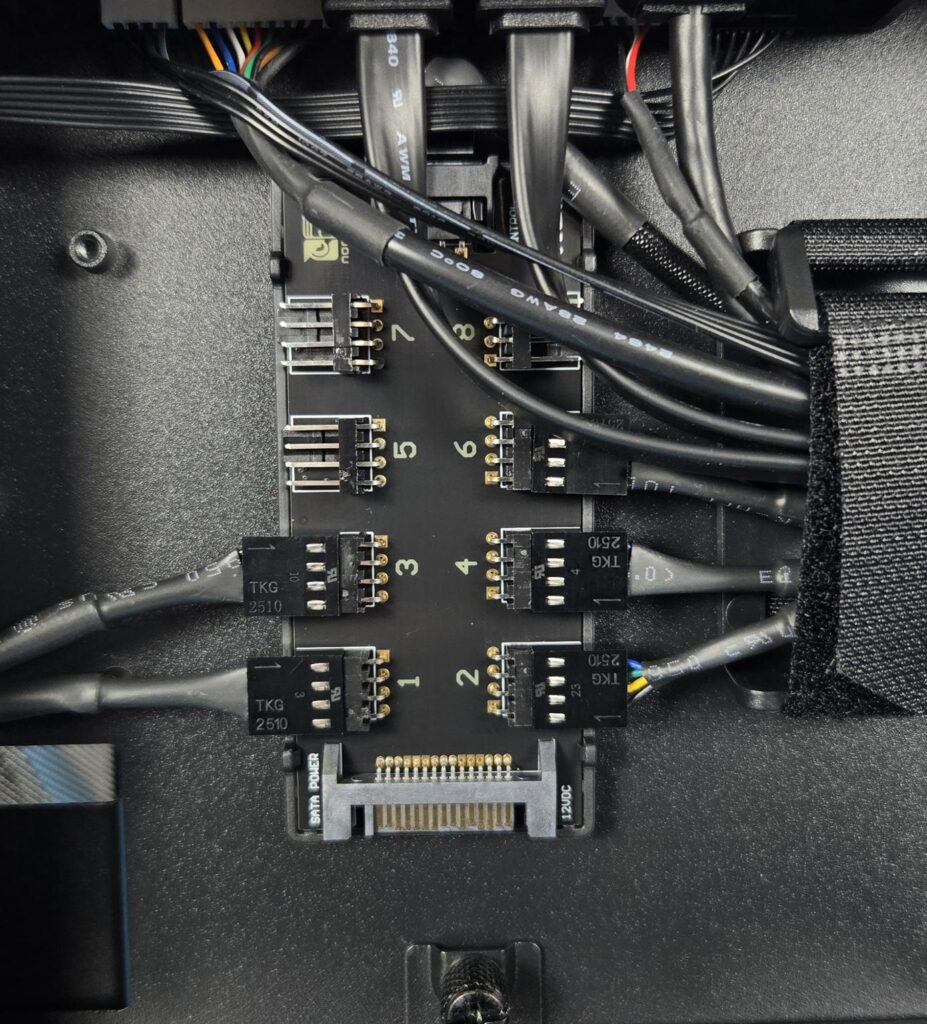
Noctua has provided a premium NA-FH1 fan hub pre-installed and configured in this case. It is an 8-port 4-pin PWM fan hub, which is SATA powered. The headers marked as 1 and 3 have two NA-EC1 cables connected to them. You can connect the bottom two fans on the front fan bracket to these two cables. You need to connect the top-most front-mounted fan directly to the fan header labeled 5. The headers on 2,4,6, and 8 have two NA-EC1 and two NA-EC3 cables connected. The EC3 cables are provided for the PSU shroud or bottom-mounted fans. This hub has a magnetic attachment, which is super cool. However, Noctua did not provide a SATA extension cable. A pre-connected and routed cable would have been a welcome addition. You need to route a SATA cable from the PSU to the fan hub. This will check your cable management skills!
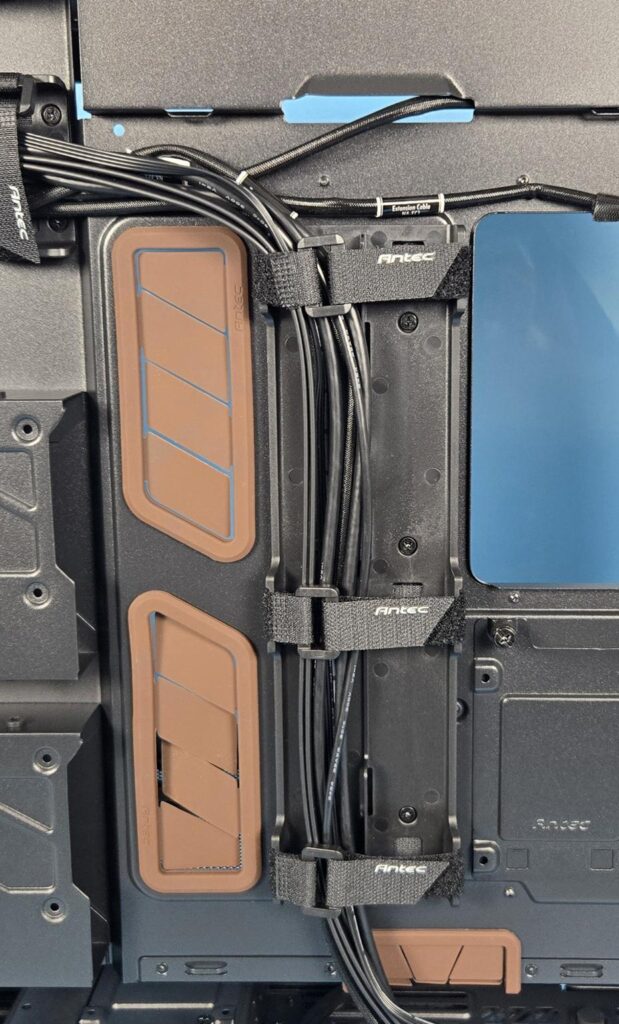
The center area has a two-way cable management tray with Velcro hook and loop strips. I love this approach from Antec and Noctua, making our job easy. The straps have Antec branding. You will find similar catchers in other areas on the backside as well. There are plenty of cable tie positions for cable management needs.
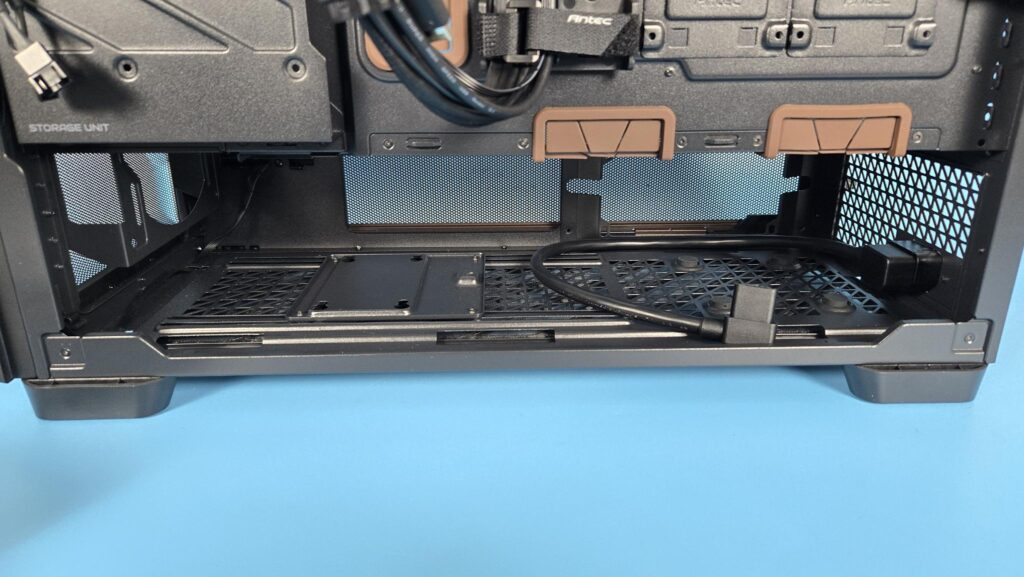
We have a spacious layout on the base for PSU and cables management, or a combination of cooling gear and PSU as per your need.
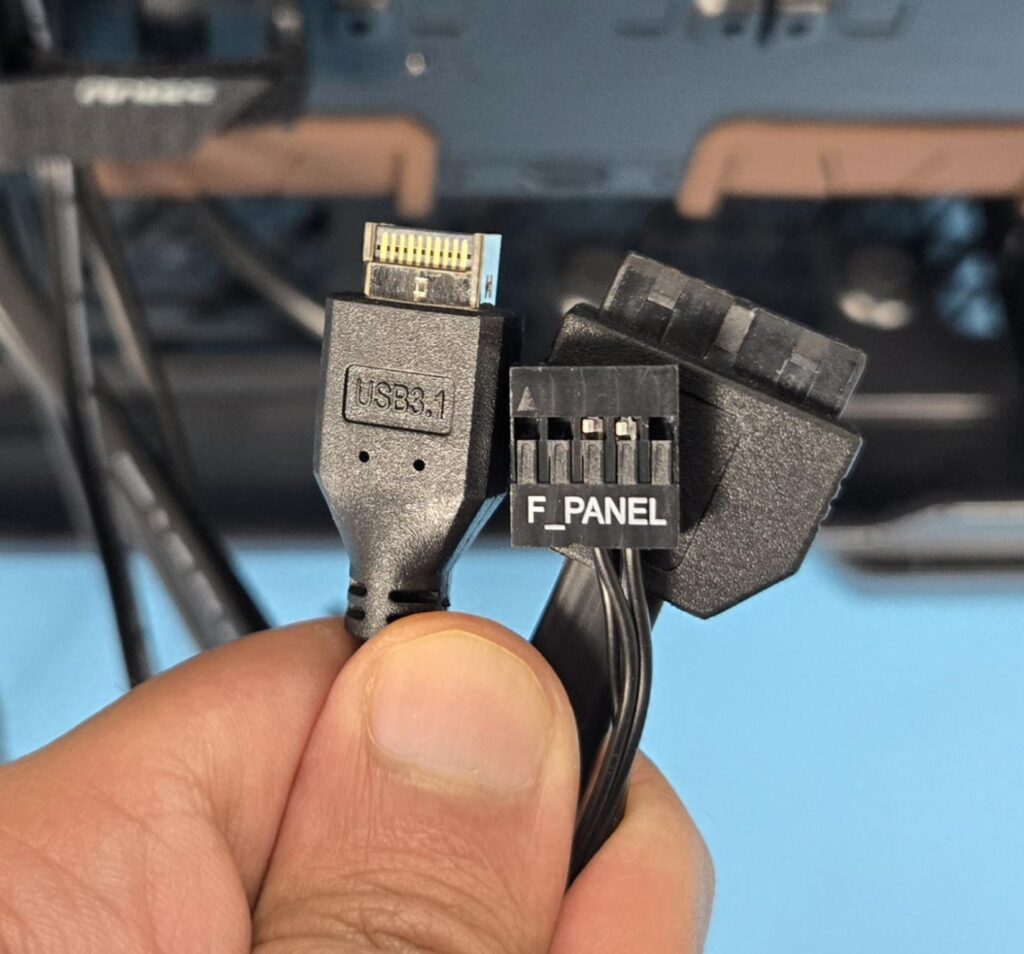
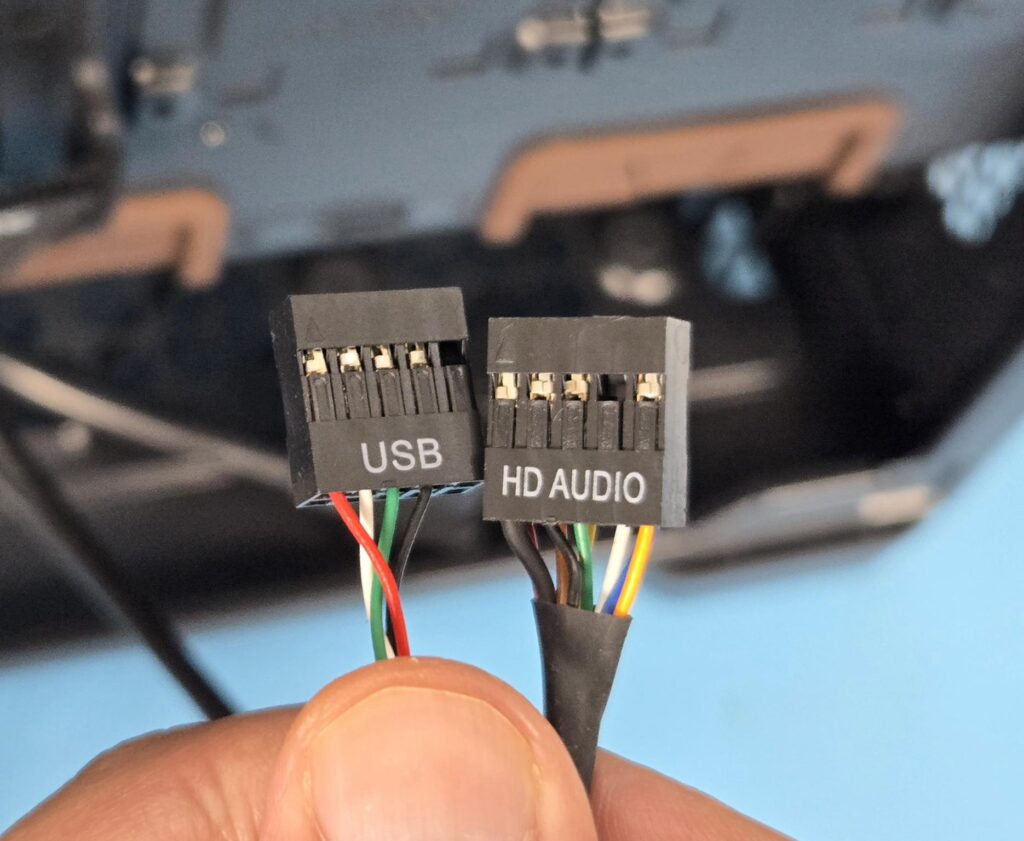
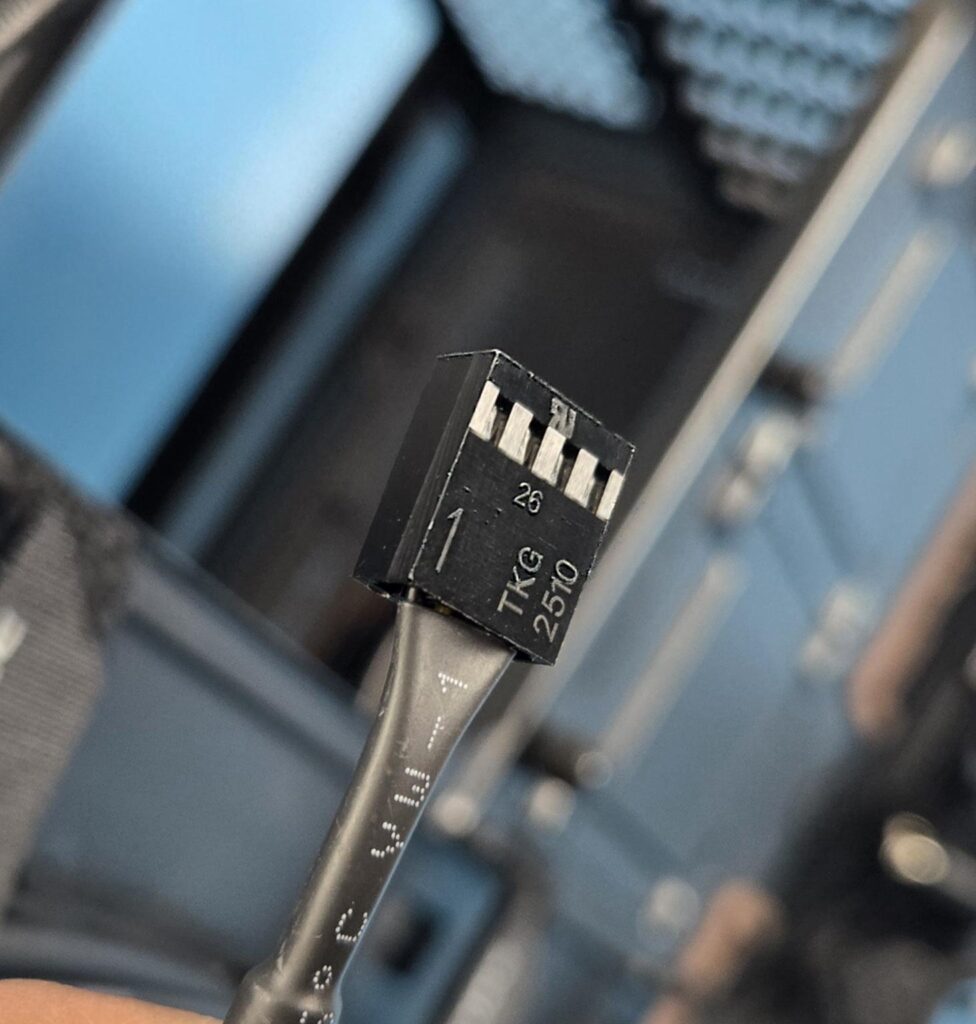
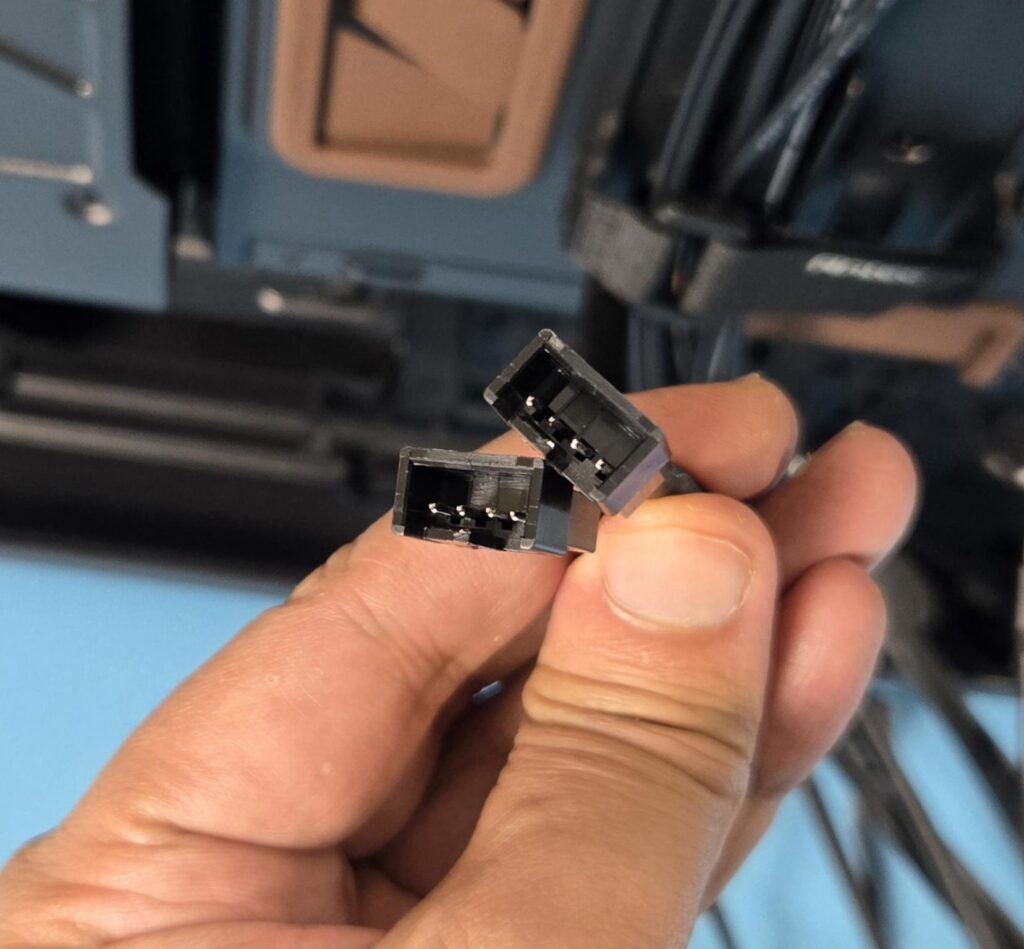
The following cables/connectors are provided for the top IO panel and display screen:
- USB 3.0 Connector
- USB Type-C Connector
- HD-Audio Connector
- Front Panel Single Connector
- USB 2.0 Connector for Display Screen
- 4-pin PWM connector coming from NA-FH1
- NA-EC1 and NA-EC3 cables pre-routed with 4-pin sockets
Installation
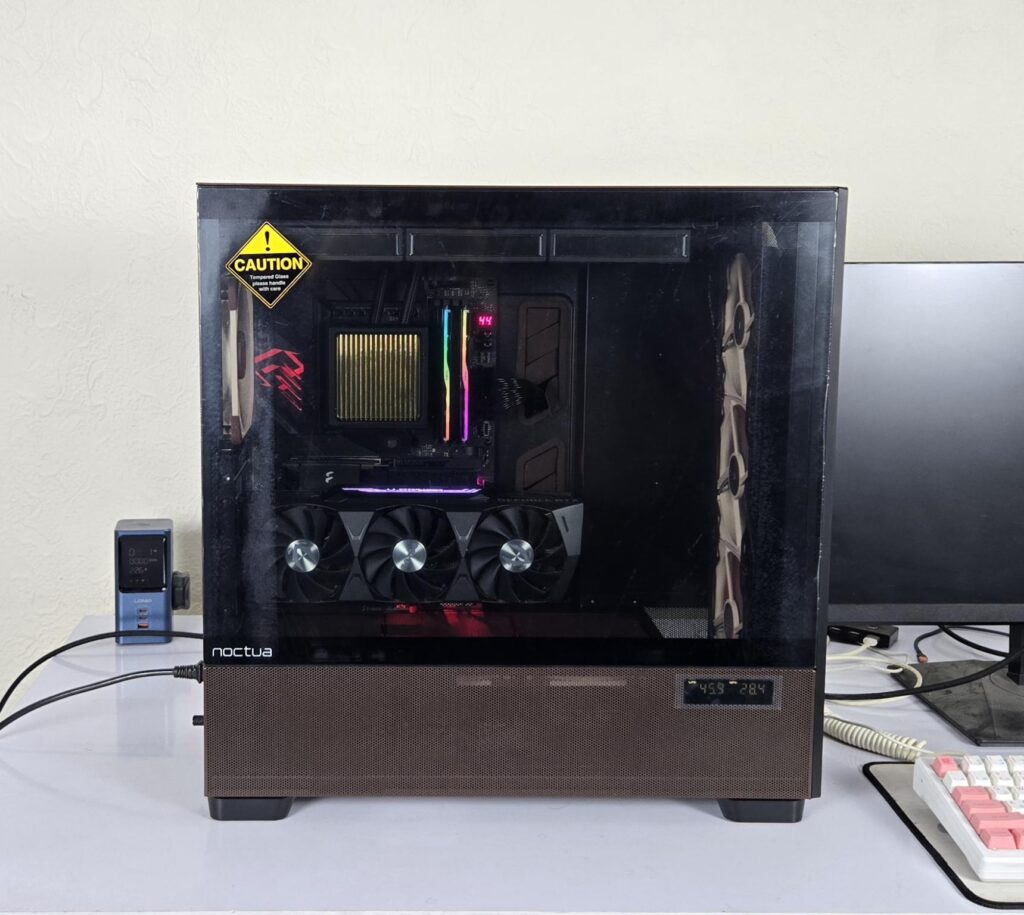
I have used air cooling and liquid cooling using AIO to test both configurations. These are:
- AMD Ryzen 9 9900X [Stock, Auto]
- ASRock X870E NOVA WiFi
- Zotac GeForce RTX 3080 Trinity OC
- Noctua NH-D15 G2 LBC
- ID-Cooling DX360 GDL
- Noctua NT-H2 Thermal Paste
- G.Skill Trident Z5 NEO RGB 2x16GB @ 6400MHz CL30 DDR5
- Sabrent Rocket 4 Plus 1TB NVMe SSD
- Sabrent Rocket 4 Plus 2TB NVMe SSD
- CPS YN1000 PSU
- 3x Noctua NF-A14x25 PWM G2 on Front as intake
- 1x Noctua NF-A14x25 PWM G2 on Rear as exhaust
- 2x Noctua NF-A12x25 PWM G2 on PSU shroud as intake
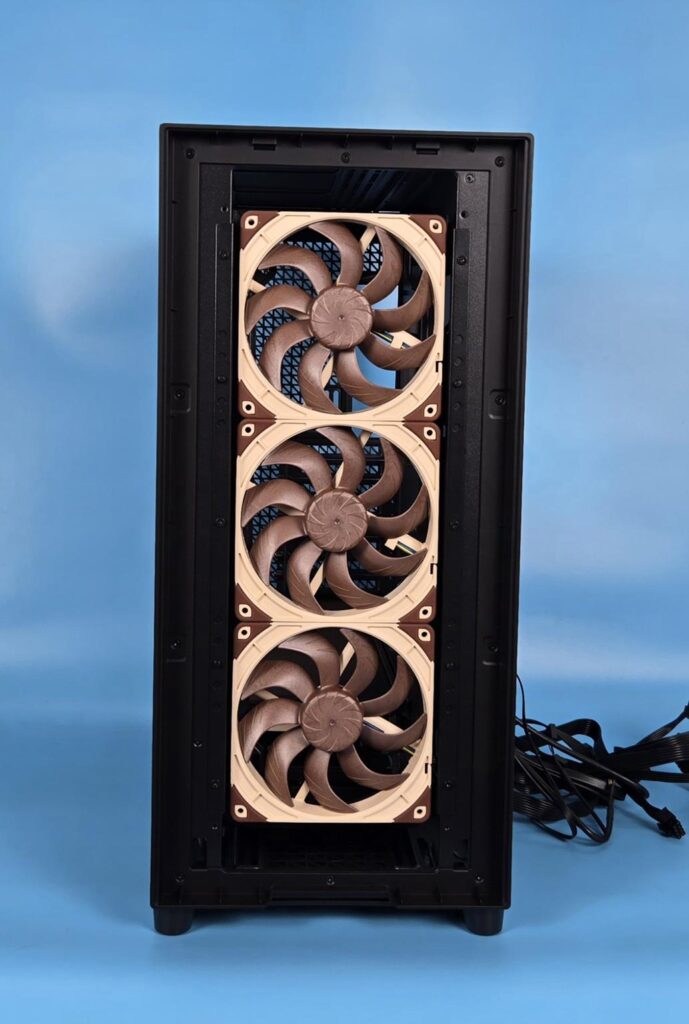
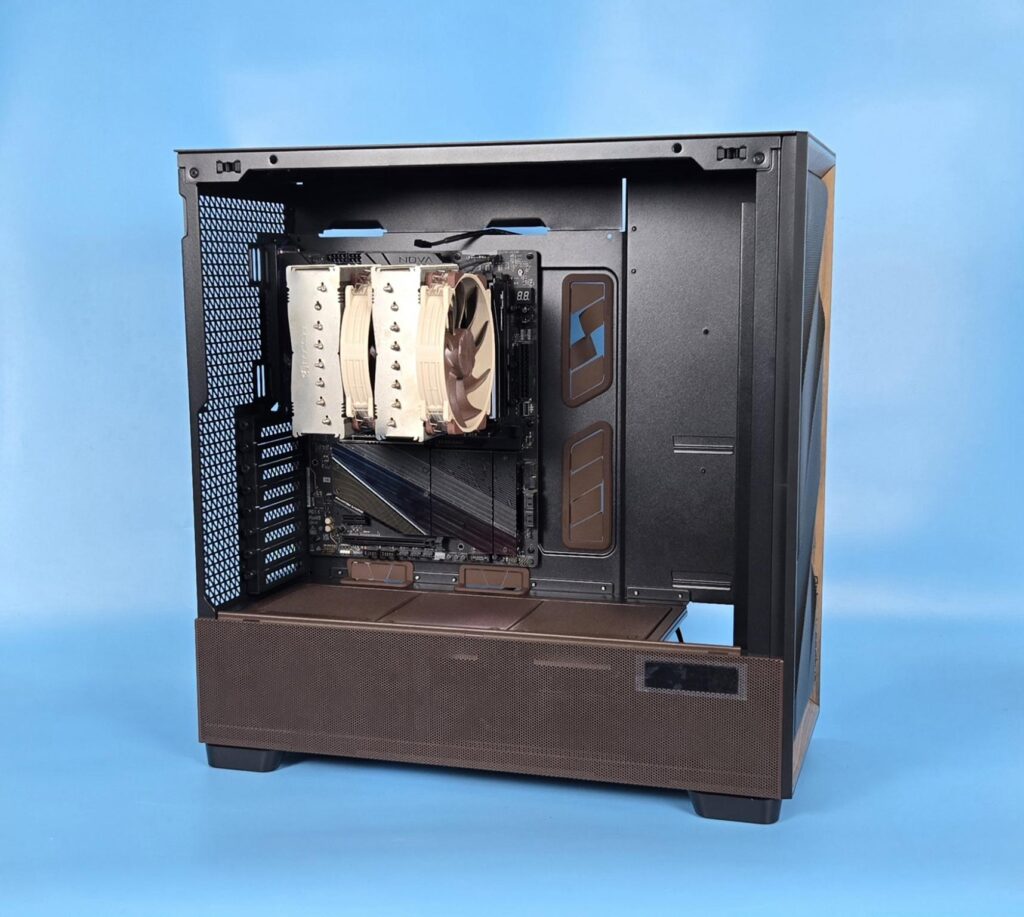
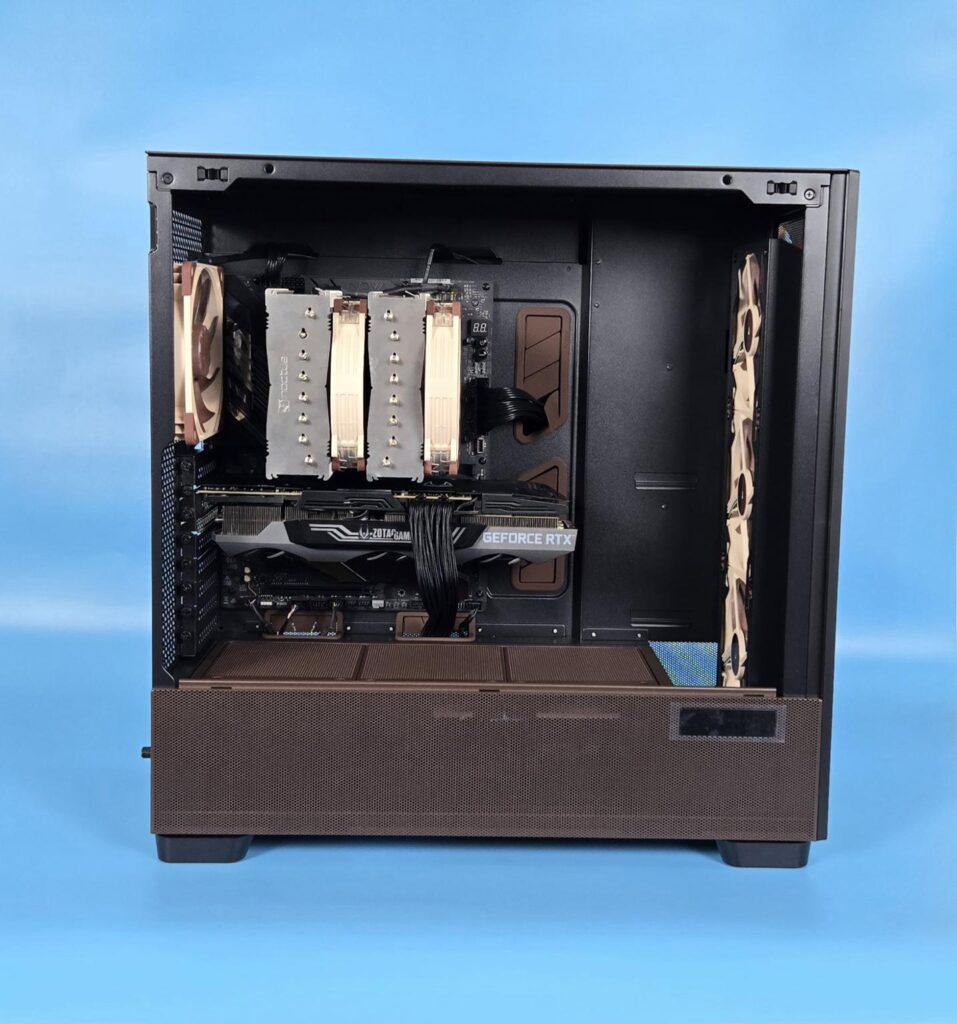
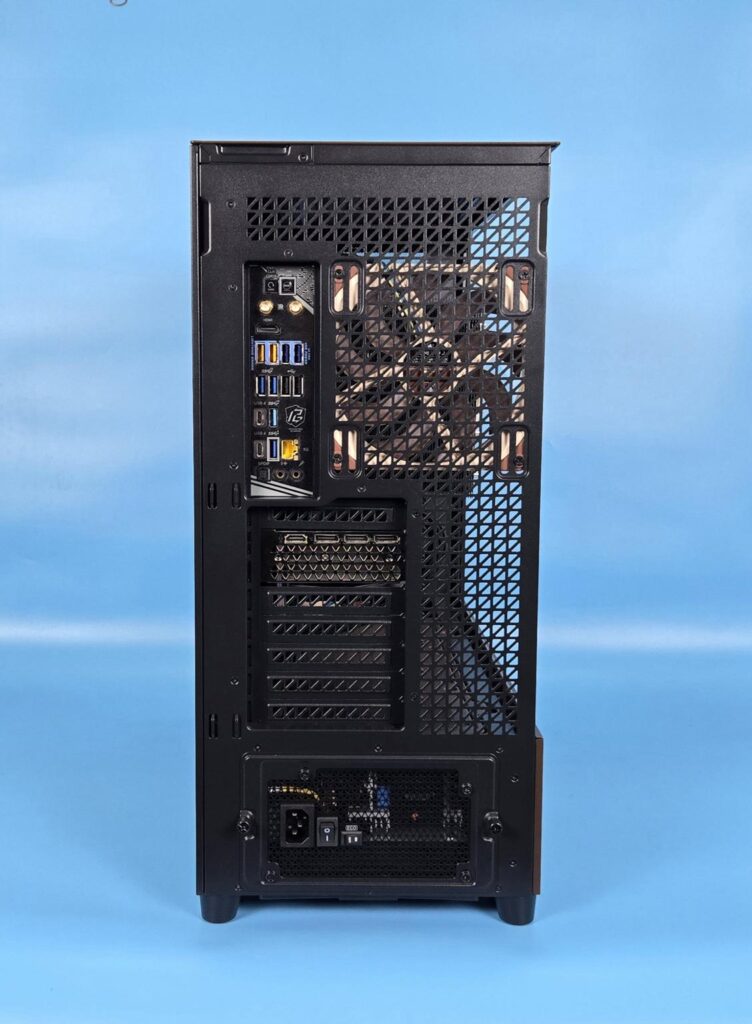
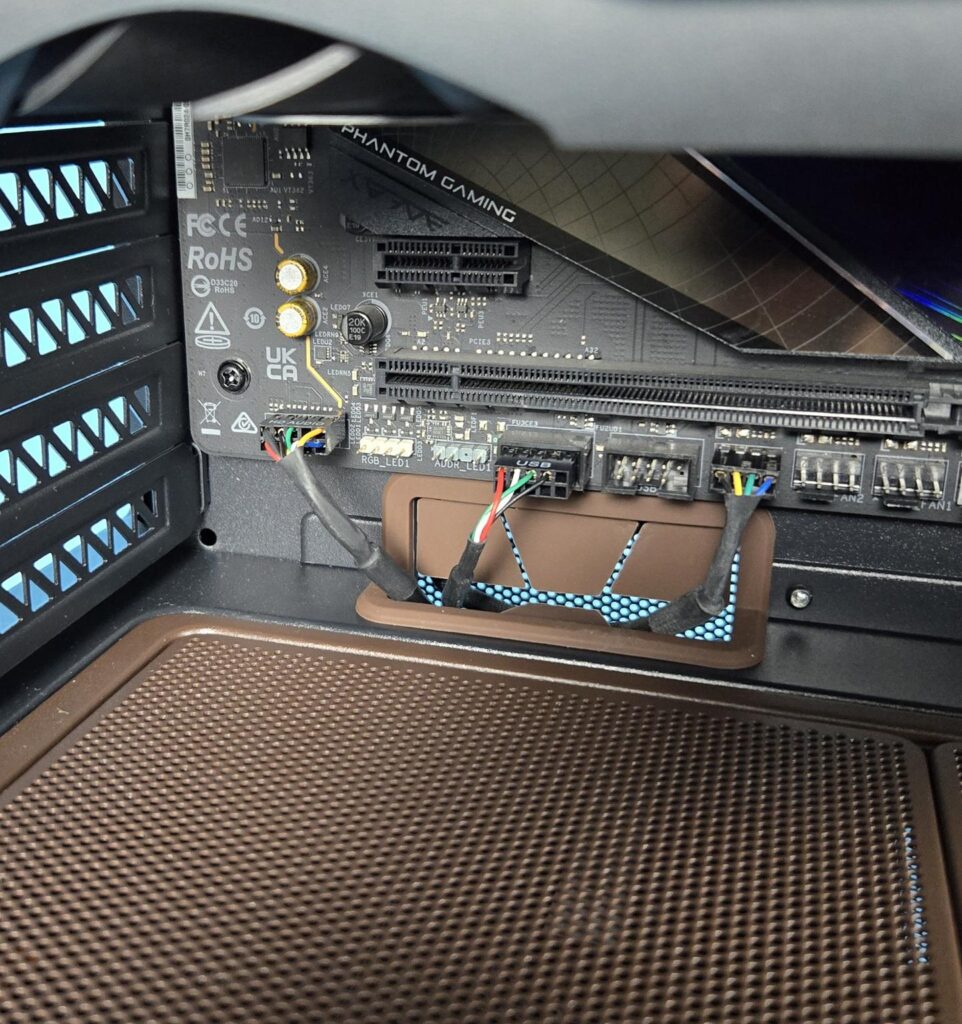
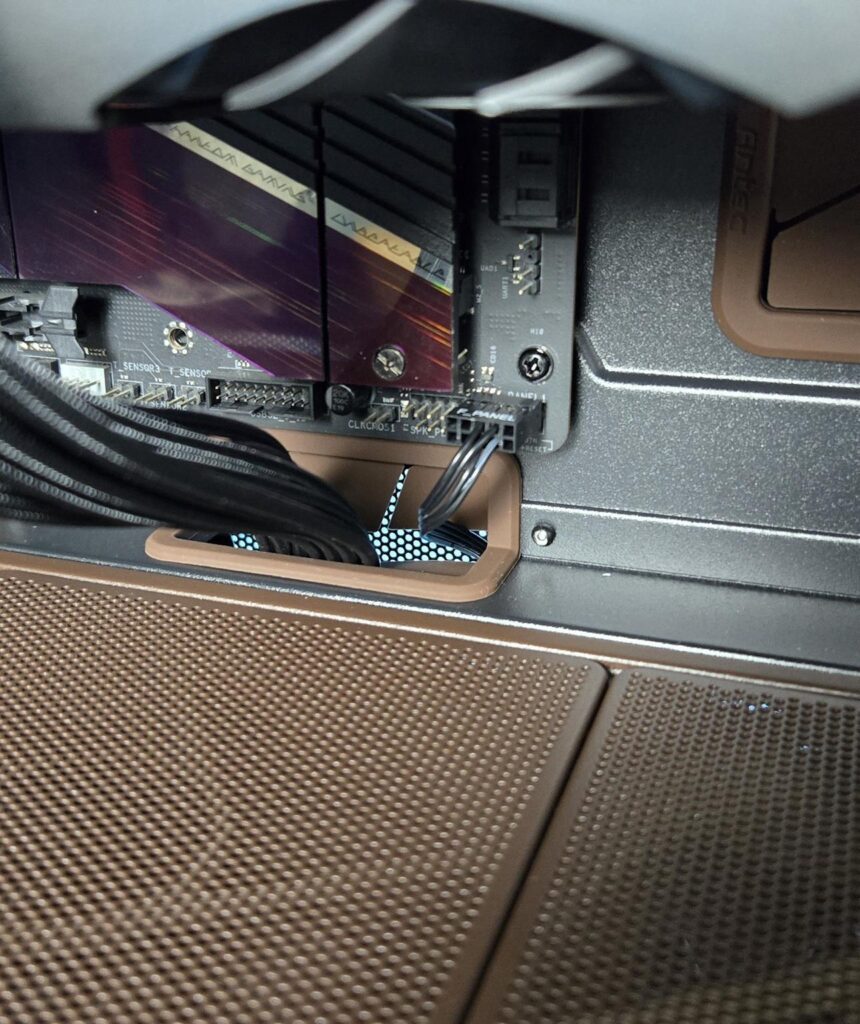
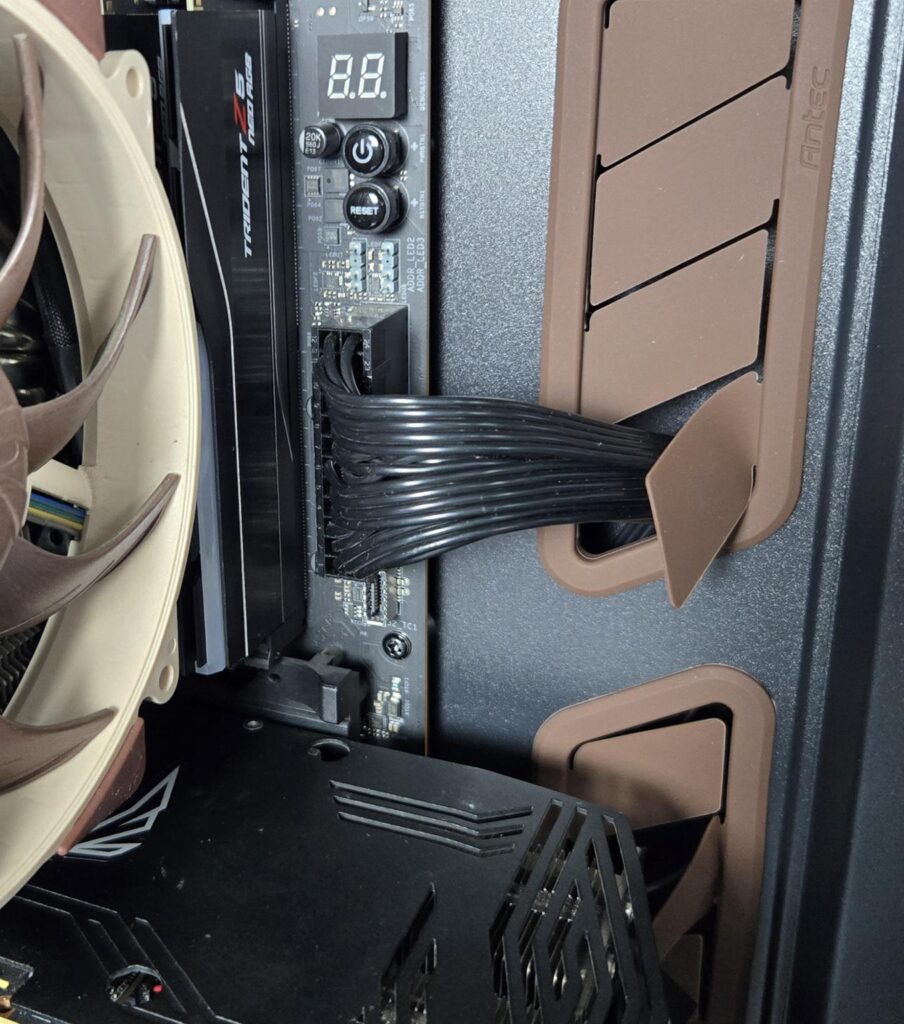
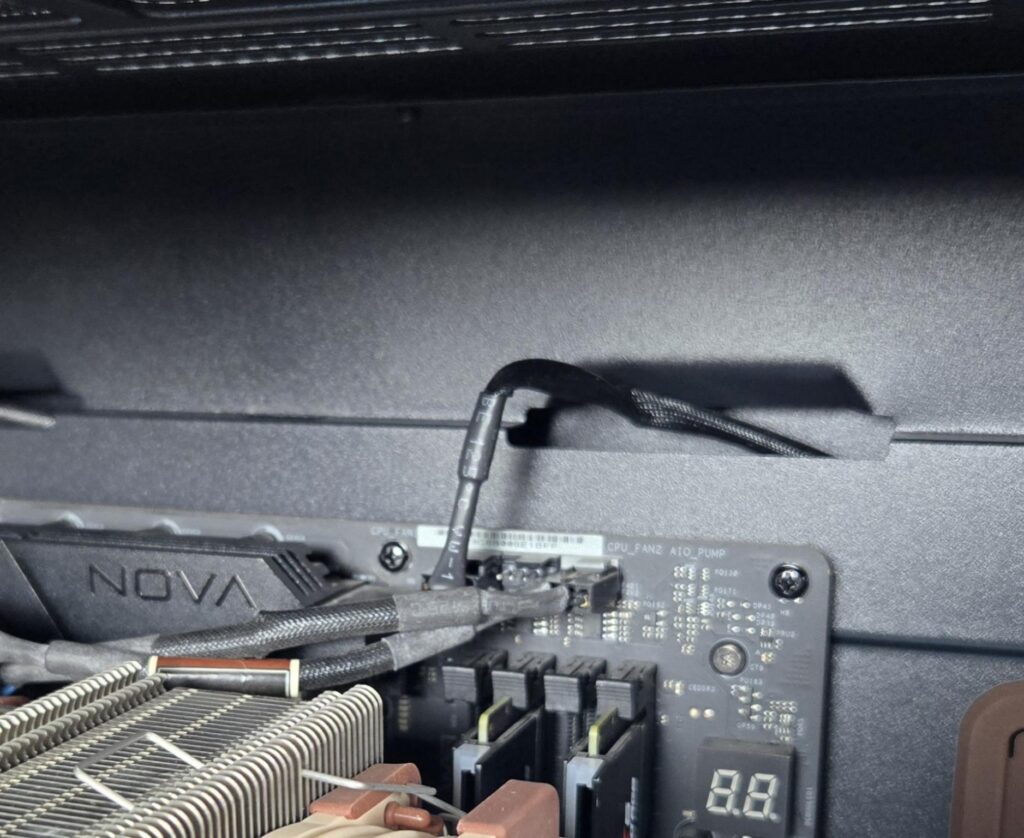
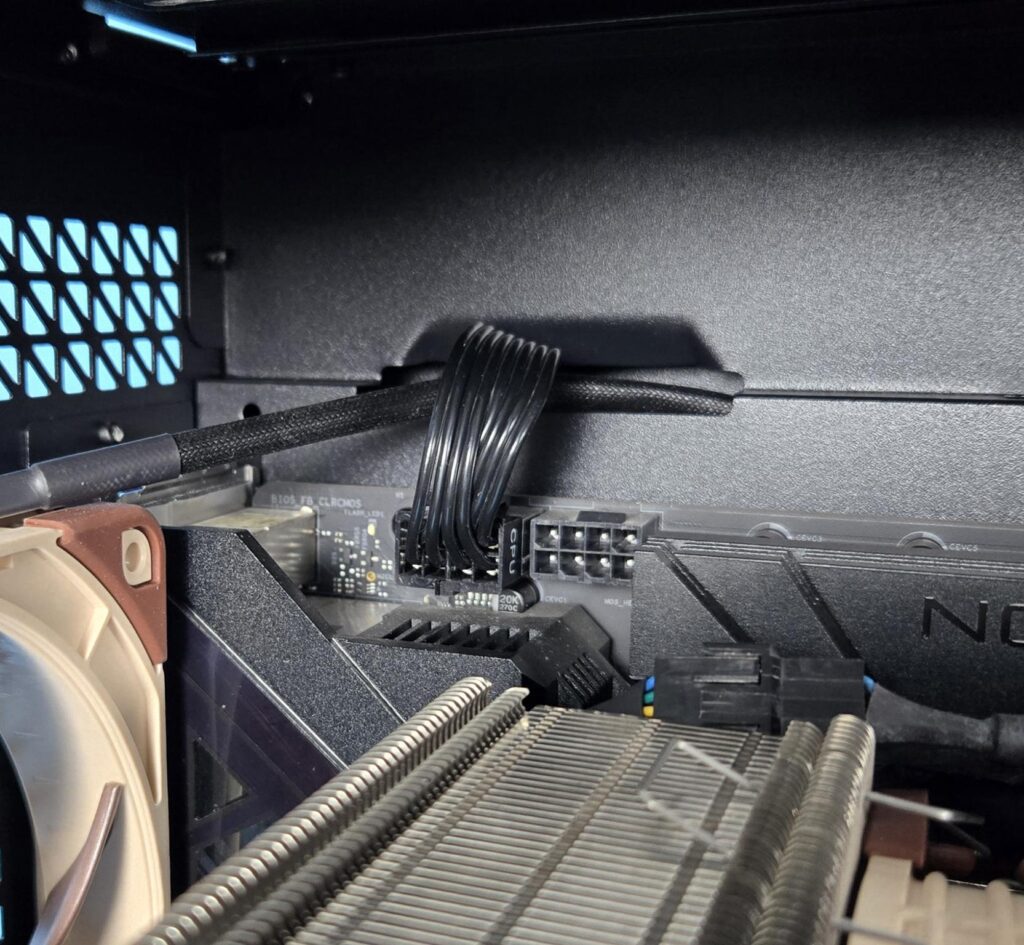
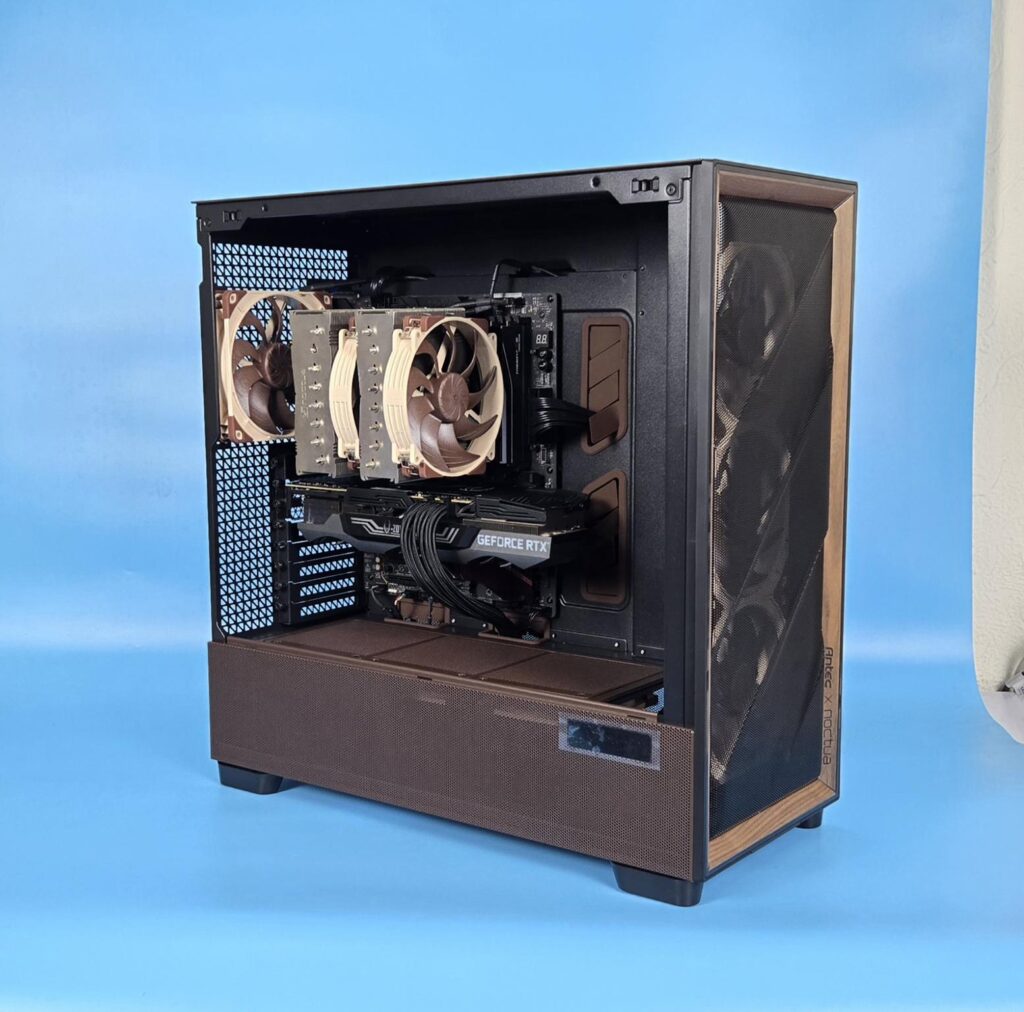
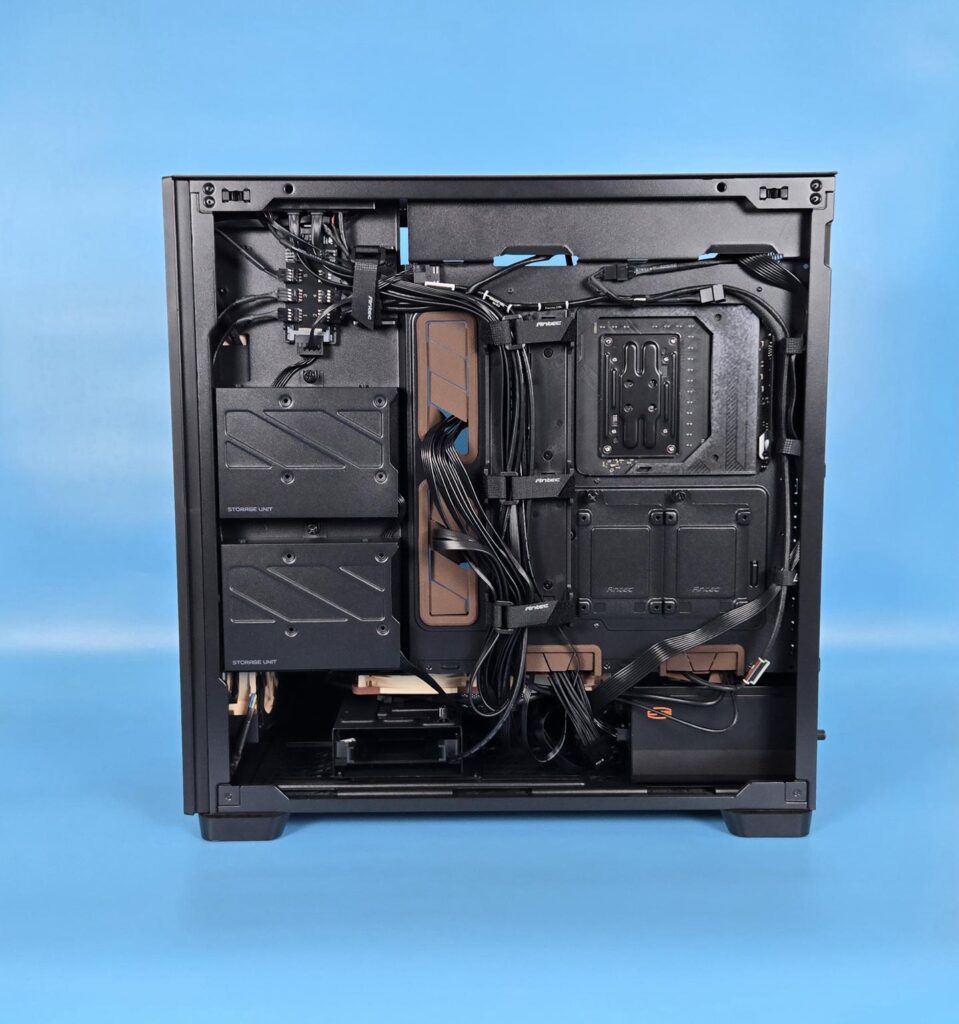
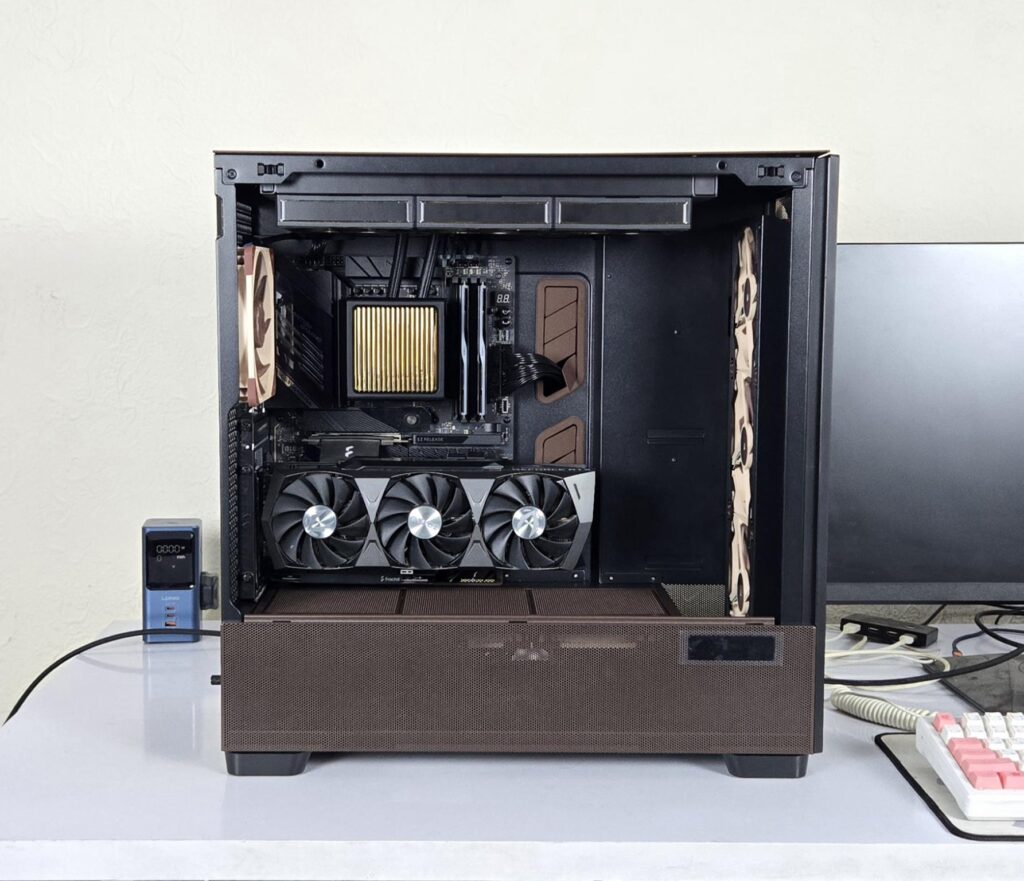
I always start my builds with the motherboard, and I did the same this time as well. I encountered an issue where one screw got stuck on the standoff, and I had to remove the motherboard and use pliers with a screwdriver to take the screw out. I ended up changing that standoff with extra from the accessory box. CPU, air cooler, and RAM were installed outside the case. Then the PSU was installed in a standard layout, which enabled me to install the second 120mm fan under the PSU shroud.
Next, the cables were routed and connected. A SATA connection was made to the NA-FH1 hub. Then I installed a graphics card in a horizontal layout with an air cooler and connected its cables. Then I did the backside cables with minimum cable management, and it still came out clean.
The liquid cooler was installed after completing testing the build with an air cooler. It was also a comfortable fit with no issues. For liquid cooling, I installed the graphics card in a vertical layout. The overall installation is buttery smooth, and I faced no glaring issues to report here.
Thermal Testing
The following testing methodology is used for the thermal behavior of this case:
- First Test is done without any fan installed in the case using an air cooler.
- The second test is done with 3x 140mm fans on the front, 1x 140mm fan on the rear, and 2x 120mm fans on the PU Shroud. All fans at 50% PWM.
- The third test is done with all fans at 100% PWM.
- The fourth test is done with a liquid cooler with all three fans at 100% PWM.
- During all the first three tests, fans on NH-D15 G2 were at 100% PWM.
- The graphics card was at stock settings with auto fan curve.
- 5 dots of NT-H2 were applied on CPU IHS, which is my standard way of testing coolers.
- PC was left idling for 10 minutes before recording the idle temperature.
- After completion of a test, the PC ran on idle for 15 minutes.
- A 45-minute interval was given between each test during which the PC was off.
- A sound meter was used to record the overall sound level during each test.
Throughout the testing session, the ambient temperature varied from 24.2°C to 25.5°C; hence, I will show a graph with the delta temperature for accurate comparison. The first graph shows absolute temperature.
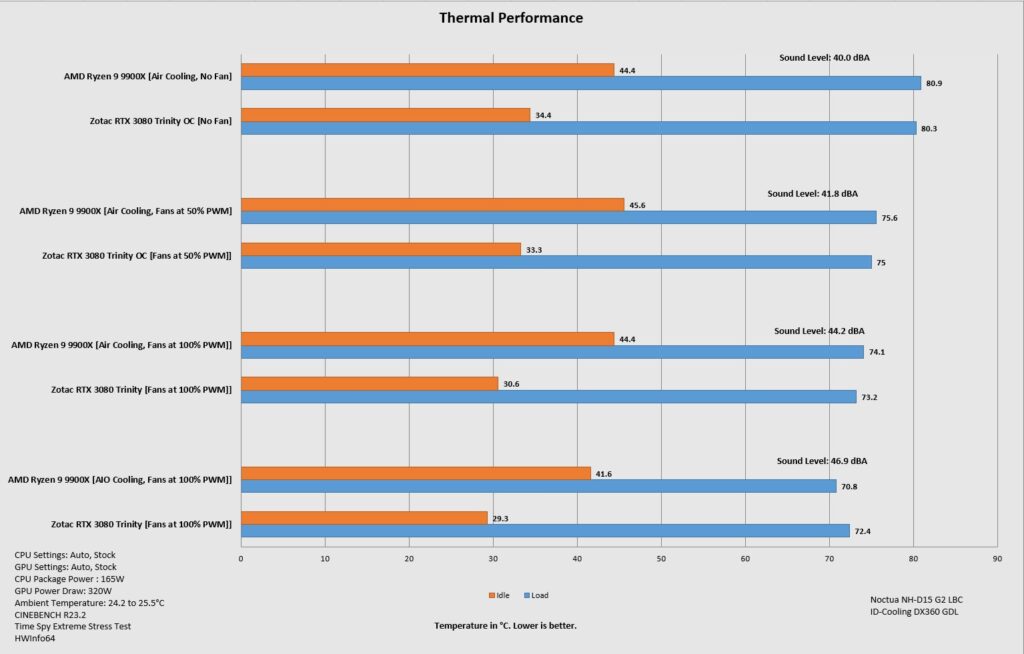
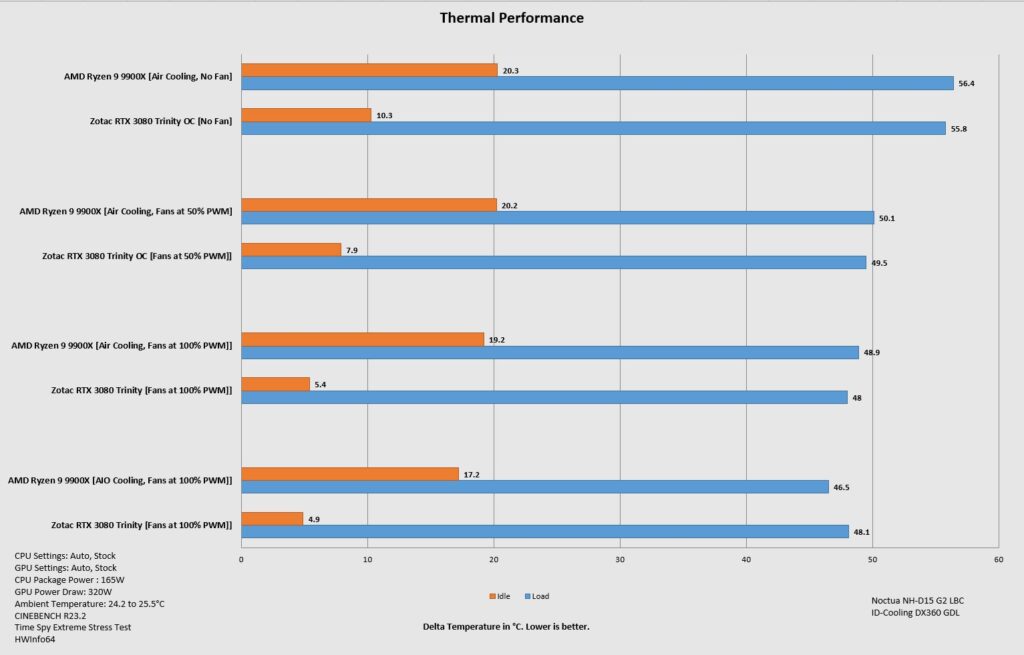
In all honesty, this graph is self-explanatory. Noctua has given us the best possible performance in terms of noise and thermal performance using an air cooler. The case with a liquid cooler is different. We are paying high sound for a 2.4°C overall drop between the air cooler and the liquid cooler.
44.2 dB(A) with 6x case fans, 2x cooler fans, 3x graphics card fans, and 1x PSU fan is too good. It is a brilliant performance, giving you the best efficiency possible out there. The Antec Flux Pro is just made awesome with Noctua cooling.
Conclusion
Ok, so I am done testing, evaluating, and writing about the Antec Flux Pro Noctua Edition PC Case. First things first, this is a full tower PC case, not a mid-tower, so this might not be your cup of tea if you are into lower volume cases in compact form. Having said that, this case has amazed me, and I am forced to praise this cross of Antec and Noctua, which has brought the best possible solution for a case and cooling. Obviously, caveats are also there, but the total positives are way more than the negatives. The brown and tan color scheme is speaking out loud and needs no advocacy.
This case has a dimension of 245x545x530mm (WxHxL). The 22mm lift is provided using the large feet. By the way, the rubber on the feet is also brown! The main material used for this case is steel, tempered glass, steel mesh, plastic, and Walnut wood. I love the original wood texture on the front panel, augmenting the case’s look and feel. The Noctua branding all over the case shows you its pride and brand association/identity. I can tell why, Noctua! Well done!
The case comes equipped with 4x NF-A14x25 PWM G2 and 2x NF-A12x25 PWM G2 and NA-FH1 fan hub with 4x NA-EC1 and 2x NA-EC3 extension cables. Now, you can guess where the high price tag comes from!
The fan support is as follows:
- 3x 120mm or 3x 140mm fans on the front
- 3x 120mm or 3x 140mm fans on top
- 1x 120mm or 1x 140mm fan on rear
- 2x 120mm or 2x 140mm fans on the bottom
- 3x 120mm fans on the PSU shroud
The radiator support is as follows:
- Up to 420mm on the front
- Up to 420mm on top
- Up to 360mm on the PSU Shroud
- Up to 240mm on the bottom
- 1x 140mm on Rear
Clearance is:
- 190mm CPU Air Cooler
- PSU maximum length is 300mm in the standard layout with the HDD cage
- PSU maximum length is 470mm in the standard layout without the HDD cage
- PSU maximum length is 180mm in a 90° layout
- The graphics card’s maximum length is 455mm
- Cable Management space is 32mm.
Storage provision is:
- 4x Combined 2.5”/ 3.5” Drive Bays
- Dedicated 2x 2.5” Drive Bays
Dust Filtration:
- Non-Magnetic bottom filters
The dust filtration department surprises me. The front, top, and side mesh panels are simply mesh with no additional filters. This case supports a motherboard up to the E-ATX form factor with a maximum width of 280mm. The cooling department, as can be seen, is lavish. Not only that, but the front panel has 5 positions on which the removable fan bracket can be adjusted to make room for a thicker radiator and fan assembly on the top.
Noctua has installed a magnetic NA-FH1 fan hub and pre-configured and routed the extension and other cables. The IO panel cables also come pre-routed. You don’t need to worry about it. Just install the fans and connect the cables to the extension cables, and call it a day. I wish Noctua had provided an extension SATA cable routed as well!
The PSU shroud is also brown and can house additional fans for fresh air intake towards the graphics card, or it can be removed for the addition of a radiator and fan on the bottom. Noctua has provided two covers for the shroud in the accessories. Hint: you can also mount 120mm fans under the shroud 😉.
The gap between the front bracket and PSU shroud is 60mm, and it is not covered, which it should have been for proper aesthetics. The top displacement is near 70mm, which is excellent clearance. This case has 8x PCIe slot covers. The case out of the box does not provide any support for the graphics card’s vertical mount. You would need to buy a bracket and riser cable for that.
Another salient feature is the iShift PSU mount, in which you can install a PSU in a 90° layout by default. In this layout, the connector side of the PSU faces the right side of the case, providing easy access to the connector side for cable addition/removal. You can also install PSU in the standard layout for which a bracket is provided in the accessory box.
The cable management provision is top-notch with hook and lock Velcro styles and dedicated channels for cable routing. The drive brackets are removable as well. The top of the case has a removable fan bracket as well, for which the 4mm glass panel needs to be removed.
This case also packs a display screen that shows the CPU and GPU temperature using iUnity software from Antec. A 9-pin USB 2.0 connector cable is provided for this purpose. I wish Noctua had installed the IO panel on the side bottom for convenient access!
Antec Flux Pro is not a new platform, but Noctua has perfected this aged platform, providing a breath of fresh air with Noctua style and powerful cooling. This case has an MSRP of 399.90, which is quite a steep price for the case but makes sense when you account for the fans and other provisions. Noctua offers a 6-year warranty for this case, including fans, fan hub, etc.
Speaking of installation, it is a walk in the park, thanks to the spacious layout provided by the design of this case and its form factor. I tried to do a complete Noctua-themed build in this case, but could not manage the PSU and graphics card. For once, Noctua ought to do the blade color of NF-A12/14×25 PWM G2 fans on the frame as well! This will bode well with this case’s tan color scheme! My two cents!
What about the thermals? Using Noctua air cooling with powerful NH-D15 G2 and Noctua fans, the 9900X did 74.1°C for a 165W load, and Zotac GeForce RTX 3080 Trinity OC did 73.2°C. The 6x case fans and NH-D15 G2 fans were set to run at 100% PWM, and the combined sound output was roughly 44 dB(A). This is too good for the best possible noise to thermal performance efficiency, winning our three awards.
Pros:
- Premium Full Tower
- Noctua Edition in Tan and Brown Scheme
- Walnut wood on the front
- Up to 420mm radiator support on the front and top
- Up to 360mm radiator support on PSU shroud
- Up to 240mm radiator support on the bottom
- Adequate Storage Provision
- NA-FH1 Fan Hub
- 4mm Tinted TG Panel
- Tool-less side panels
- Excellent Cable Management Provision
- Removable Fan Brackets on top and front
- USB Type-C Port
- 4x NF-A14x25 PWM G2 Fans
- 2x NF-A12x25 PWM G2 Fans
- Thermal Performance
- Noise Performance
- Excellent Warranty
- iShift PSU Mount
- Integrated Temperature Display Screen
Cons:
- Price
- I was expecting a minimum USB 3.2 Gen2 on the IO Panel
- No Backplug motherboard support
- Bracket to cover the gap on the front
- A SATA Extension Cable would be nice
- Side Frame could provide mounting for a pump/reservoir combo